


Operator's manual
DVD PLAYER
DV-P4410
ON/STANDBY
DVD/MP3/K ODAKP ICTUREC D/CD/CD-R/CD-RWP LAYER
STOP PLAY/PAUSE MENU
ENTER
POWER
LEVEL |
PHONES |
MIN

 MAX
MAX
DV-P4410
Operator's manual |
1~20 |

Getting started
Dear customers:
May we take this opportunity to thank you for purchasing this DVD player. We strongly recommend that you carefully study the
operating instructions before operating the unit.
Main Features
 Fully compatible with DVD, MP3,CD, CD-R and CD-RW disc.
DTS-compatible digital audio output.
Compatible with full DVD playback functions: multi-angle, multi-language, multi-story, parental control, etc..
Advanced 10-bit/27MHz video D/A converter with over 500 lines of horizontal resolution.
Video output: Normal video output, S-video output, 21 pin scart,
Audio output: Dolby Digital 2ch output, MPEG-II Audio output,Coaxial and optical digital output Linear PCM decoding output.
24-bit/96kHz audio D/A converter.
3-step zoom/smooth scan.
NTSC/PAL TV system compatible.
Features of playback specifications
 This product complies the MPEG II standardization law.
-720 X 480 £¨30Hz£©
-720 X 576 £¨25Hz£©
PAL and NTSC
Features of audio specifications
 DTS (Digital Theater System) digital audio output
 Dolby Digital 2ch decoding output
 MPEG-II Audio output
 Linear PCM audio decoding output
 MP3 audio decoding output
Playback features
Skipping ahead and skipping back |
Programmable playback |
Multi-speed slow motion playback |
Time search |
3-step zooming playback |
|
3-way repeat playback |
|
Numeric selection |
|
 Before using the player, please ensure that the local AC voltage is suitable for this unit.
Getting started
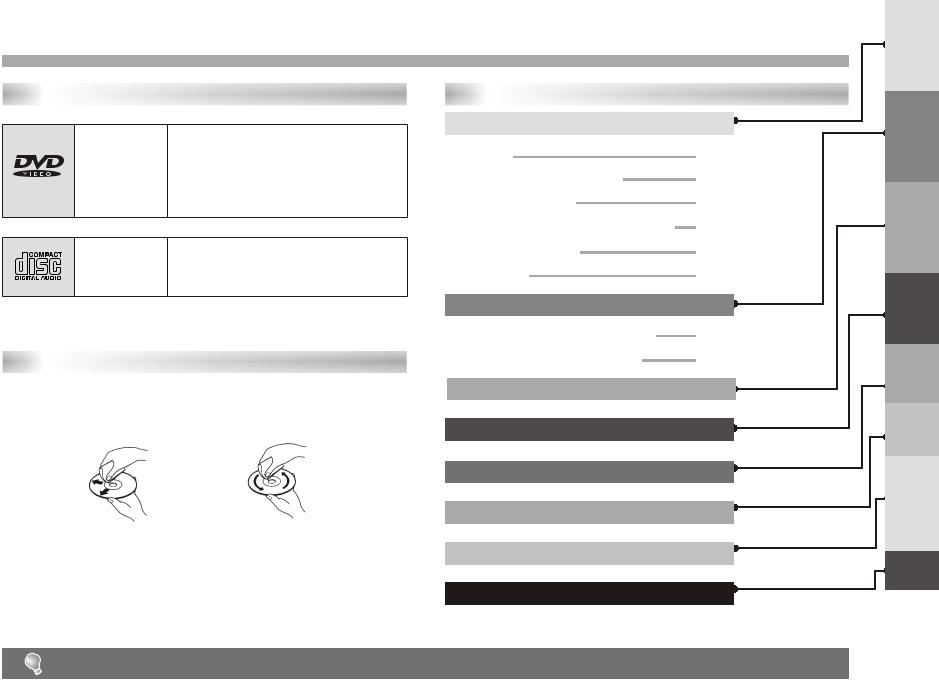
Disc types
Audio & Video
Audio
Disc size 12cm
Single side, single layer /single side, double layer
PAL and NTSC DVD disc
Playback time 135min/240min max.
Disc size 12cm/8cm
CD disc
Playback time 74min/20min max
Disc maintenance
-Before playback, wipe the disc from the center hole toward the outer edge with a clean cloth.
Right |
Wrong |
-Never use benzine, thinner, cleaning fluid, static electricity prevention liquids or any other solvent.
Dirty disc may cause bad picture.
Table of contents
Getting Started |
P1-P6 |
Features |
P1 |
Disc types & maintenance |
P2 |
Safety precautions |
P3 |
Accessories and remote control unit |
P4 |
System connection |
P5 |
Front panel |
P6 |
Basic operation |
P7-P8 |
Starting playback and function buttons |
P7 |
Searching buttons and other buttons |
P8 |
MP3 & JPEG operations |
P9 |
Playback mode |
P11 |
Menu and program |
P13 |
Initial settings |
P14 |
Troubleshooting tips |
P17 |
Definition of terms |
P18 |
started Getting |
|
operation Basic |
|
operations |
MP3/JPEG |
mode |
Playback |
program |
& Menu |
settings |
Initial |
Troubleshooting |
|
Terms |
|
2
Getting started
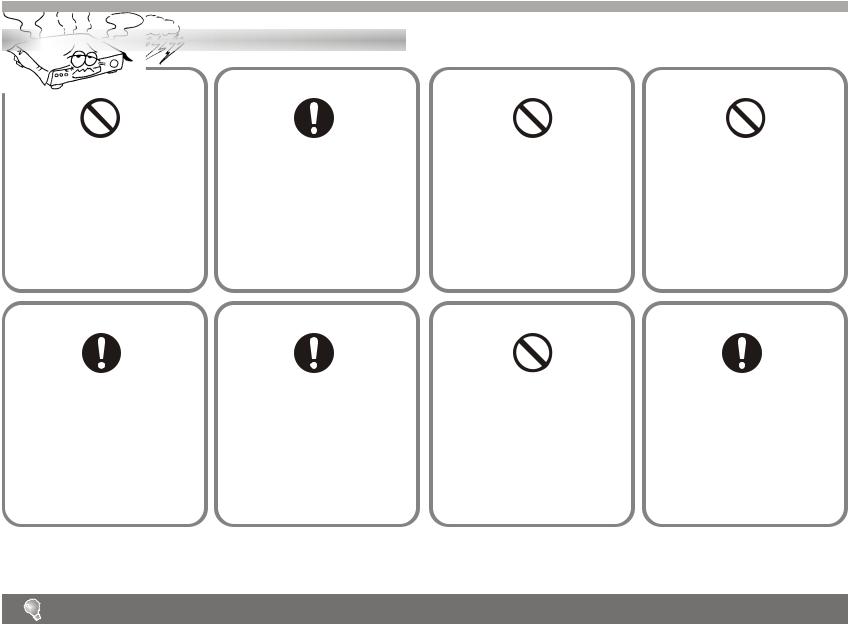
S a f e t y p r e c a u t i o n s
W A R N I N G A T T E N T I O N W A R N I N G W A R N I N G
To avoid electrical shock, do not open the cabinet, refer servicing to qualified personnel only.
If smoke, malodor or noises are emitted from the unit, turn off the power and disconnect the AC power cord.
Keep the unit away from flower
vases, tubs, sinks, etc.. If liquids
Do not expose this equipment
are spilled into the unit, serious
to rain or moisture.
damage could occur.
A T T E N T I O N A T T E N T I O N W A R N I N G A T T E N T I O N
|
|
|
|
Touching the unit is dangerous, |
When left unused for a long period |
||
of time, the unit should be unplugged |
|||
If thunder. |
from the household AC outlet. |
||
Do not block ventilation holes of the unit so that air can circulate freely.
Be sure to turn the unit off and disconnect the AC power cord before cleaning the unit surface .
If the surface is dirty, wipe clean with a cloth which has been dipped in a weak soap-and -water solution and wrung out thoroughly, and then wipe again with a dry cloth.
Notes: This unit is a class 1 laser product and uses a visible laser beam which could cause hazardous radiation exposure if directed. Be sure to operate it correctly as instructed.
The above items are true of not only this unit but also most of the household electronic products.
3
Getting Started
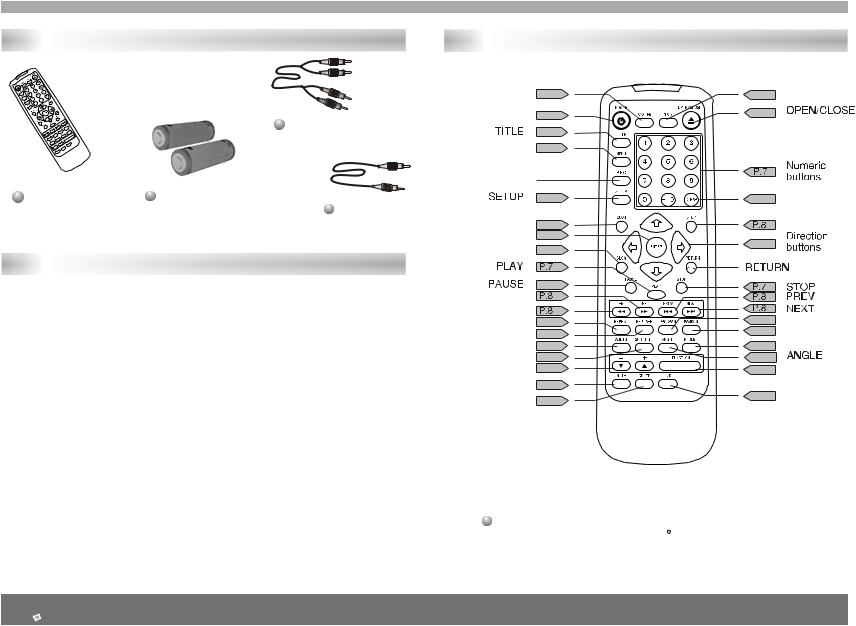
Accessories |
Remote control unit |
Audio cord
Remote |
Batteries |
Video cord |
control unit |
(size AAA, R03, UM-4) |
Battery installation(remote control unit)
1.Remove the battery cover.
2.Insert two batteries(AAA, R03, UM-4 type) making sure the polarity(+/-) matches the marks inside the unit.
3.Replace the cover.
SYSTEM P.12
POWER P.7
P.12
MENU P.13
PBC
P.14
ZOOM P.11
ENTER P.14
SLOW P.8
P.7
FAST FORWARD
FAST BACKWARD
REPEAT P.11
REP A-B P.11
 P.11
P.11  P.11 +&- P.12
MUTE P.12
GO TO P.8
P.12 OSD
P.7
P.13 CLEAR
STEP
P.9
P.13 PROGRAM
P.12 RANDOM
P.11 RESUME
P.11
P.12 FUNCTION
P.12 L/R
--Do not attempt to recharge, short-circuit, disassemble, heat or throw the batteries into the fire.
--Do not mix old and new batteries.
 Weak batteries can leak and severely damage the remote control unit.
Point remote control unit no more than 8m from the remote sensor and within about 60 of the front of the unit.
4
 Loading...