

Page 1
- User Brochure
•
•
•
U 510
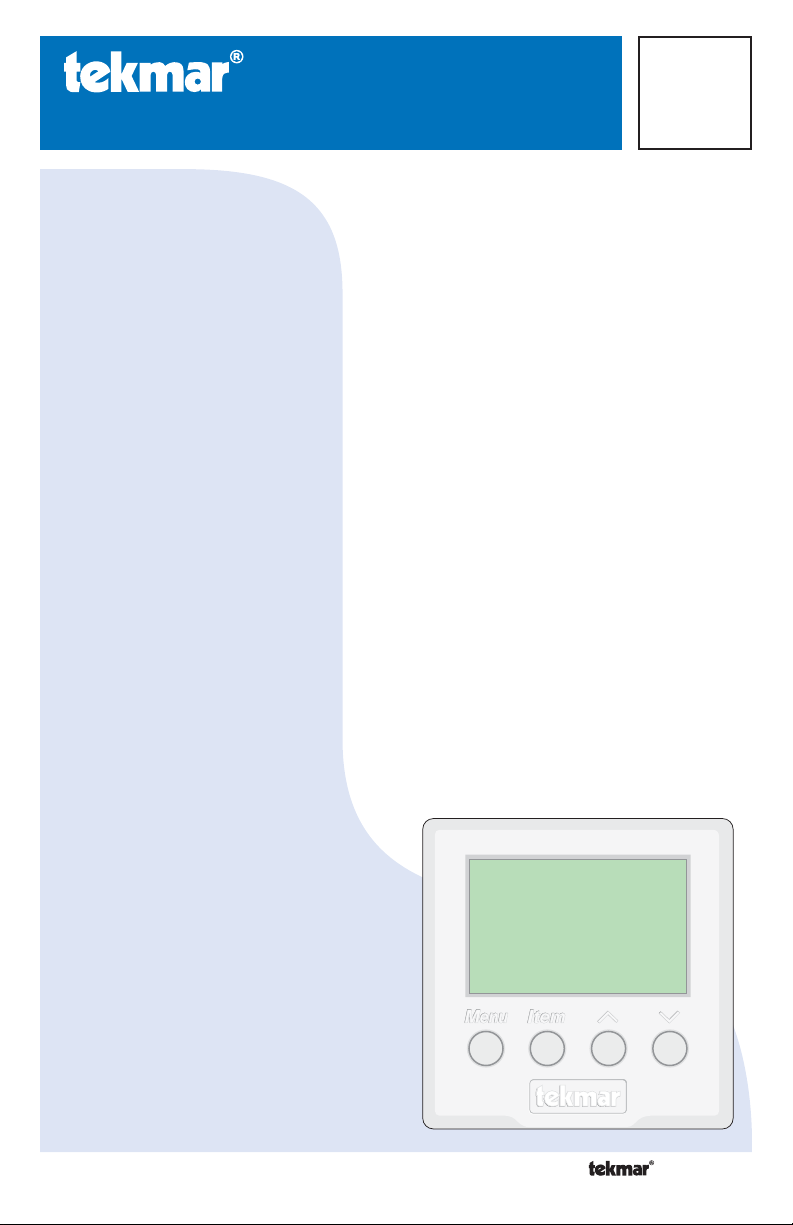
Programmable Thermostat 510 and 511
Table of Contents
Congratulations
on the purchase
of your tekmar
programmable
thermostat. This
thermostat combines
easy-to-use
programming with
advanced features to
increase both comfort
and energy efficiency.
Your tekmar
thermostat features:
• User friendly 4button interface
with backlit LCD
display
• Multiple program
schedules
• Options to control
floor and air
temperature for
enhanced comfort
Please refer to page 6
for schedule details to
ensure your new thermostat
is operating as efficiently as it
was designed to.
Display ........................................................ 2
Symbols ...................................................... 2
User Interface ............................................. 3
Viewing Current Temperatures ................... 4
Viewing Current Time ................................. 5
Setting Time and Day ................................. 5
Mode of Operation ......................................6
Schedules ................................................... 6
Adjusting Room Temperatures ...................7
Adjusting Floor Minimum Temperatures ..... 7
Temporary Override .................................... 8
Permanent Override ................................... 8
Extended Absences/Vacation ..................... 9
Advanced Schedule Settings ......................9
Units of Temperature ................................ 10
Backlight ................................................... 11
Cleaning the Thermostat ......................... 11
Error Messages ........................................ 11
Warranty ................................................... 12
02/12
Replaces: 09/09
1 of 12 © 2012 U 510 - 02/12
Page 2

Display
Menu Field
Displays the
current menu
Status Field
Displays the
current status
of the control’s
inputs, outputs
and operation
Symbols
Sleep Wake
UnOcc
Item Field
Displays the
selected item
Number Field
Displays the
current value of
the selected item
MODE OF OPERATION
Displays selected mode of operation (OFF, HEAT).
HEAT
Indicates the stage of heat that is operating.
LOCK
Displays when in the User access level. Also indicates when
an item is visible but not adjustable.
EARLY START
Indicates the thermostat is in early start. With schedules active,
this intelligent feature learns room warming/cooling patterns and
ensures area is up to proper temperature for each event.
SCHEDULED EVENT
Indicates the current scheduled event.
TEMPORARY OVERRIDE
© 2012 U 510 - 02/12 2 of 12
Indicates that the temperature has been temporarily adjusted
from the scheduled event temperature.
WARNING
Indicates an error is present.
Page 3

User Interface
Access Levels
This thermostat has two access levels:
•
USER (User)
•
INST (Installer)
This brochure covers all features available in the USER level. Only qualified service
people should adjust the INST settings.
Menu
All of the items displayed by the thermostat are organized into four menus:
View
•
Adjust
•
Item
Each menu has several items. The abbreviated name of the selected item will be
displayed in the Item Field of the display. To view the next available item, press
and release the Item button.
Adjustment
To make an adjustment to a setting in the thermostat:
1. Use the Menu button to select the appropriate menu.
2. Use the Item button to select the desired item.
3. Use the Up or Down button to adjust the setting.
4. To cycle backwards through a menu, hold Item and press .
Time
•
Schedule
•
Default Item
When you display an item in the menu for more than 5 seconds it becomes
the default item. After you navigate other menus, the display reverts back to the
default item after 60 seconds of button inactivity.
When is selected, it will be displayed indefinitely until Menu is pressed.
3 of 12 © 2012 U 510 - 02/12
Page 4

Viewing Current Temperatures
Use the menu to view the current temperatures being sensed by the thermostat.
To view the available temperatures, use the Menu button to go to the menu.
Use the Item button to cycle through temperatures.
Room Temperature
This is the current air temperature of the room being
controlled.
Outdoor Temperature
If an outdoor sensor is connected to the thermostat, this is
the current outdoor air temperature.
Floor Temperature
If a floor sensor is connected to the thermostat, this is the
current floor temperature.
Remote Temperature
If a remote sensor is connected to the thermostat, this is
the current temperature at the remote sensor location.
© 2012 U 510 - 02/12 4 of 12
Page 5

Viewing the Current Time
To view the current time:
1. Use the Menu button to select the menu.
Note: Time can only be viewed when schedules are in
use.
Setting Time and Day
1. Use the Menu button to select . The current
time and day displays. If the clock has not been set,
the time will flash.
2. Use the Item button to advance to the minutes
adjustment. The minutes begins to flash. Press the
or buttons to adjust.
3. Use the Item button to advance to the hour adjustment.
The hour begins to flash. Press the or buttons
to adjust.
4. Use the Item button to advance to the next item.
The day begins to flash. Press the or buttons to
adjust.
5 of 12 © 2012 U 510 - 02/12
Page 6

Mode of Operation
The 510 thermostat has two modes of operation:
Off: Does not provide heating.
•
Heat: Provides heating only.
•
To choose the Mode of Operation:
1. Use the Menu button to select the
menu.
2. Use the Item button to select MODE.
3. Use the or button to select the
desired mode of operation.
510 Thermostat MODE options
Schedules
By default, this thermostat uses four adjustable ‘events’ on a 24 hour cycle. Each
event is a time of day requiring a room temperature change. This optimizes system
efficiency by reducing room temperatures when the building is less likely to be
occupied.
Default Schedule Settings
Although default schedule settings are
recommended, they are fully adjustable.
Please refer to the “Advanced Schedule
Settings” section on Page 9 for more
detailed settings.
Displays
the current
event when
a schedule is
active
© 2012 U 510 - 02/12 6 of 12
Schedule
Mode
4 events per
day
or
2 events per
day
Event Time
Wake 6:00 AM
Unoccupied 8:00 AM
Occupied 6:00 PM
Sleep 10:00 PM
Occupied 6:00 AM
Unoccupied 10:00 PM
Page 7

Adjusting Room Temperatures
Desired room temperatures are easily adjustable, even on a schedule with multiple
events.
To change the desired room temperature:
1. Use the Menu button to select .
2.
Use the Item button to select the ROOM
item.
When using a schedule, press Item to select
the event you would like to change (Wake,
UnOcc, Occ or Sleep).
3. Use the or buttons to change the
desired temperature.
Adjusting Floor Minimum Temperatures
If a floor (Slab) sensor is installed, you can set the minimum floor temperature.
Caution: Setting a high floor minimum temperature can result in overheating the
room.
1. Use the Menu button to select .
2. Use the Item button to select SLAB MIN.
3. Use the or buttons to change the desired temperature.
To set the minimum floor warming temperatures on a schedule, follow the
‘Adjusting Schedule Temperatures’ steps listed above (ROOM is now SLAB for
this adjustment).
7 of 12 © 2012 U 510 - 02/12
Page 8

Temporary Override (Schedule Only)
A temporary override changes the desired room temperature for a short period of
time. After 3 hours, the original schedule resumes normal operation. If you would
like to temporarily change the desired room temperature:
1. Use the Menu button to select .
2.
ROOM should be displayed. If not, press the
Item button to select ROOM.
3.
Use the or button to override the current
set temperature. The menu changes to
and ‘OVR Tmpy’ will flash indicating a
temporary change. Continue pressing the or
button to adjust the desired temperature.
4. Wait 10 seconds. Screen will return to default
with ‘OVR Tmpy’ displayed at bottom.
5.
To cancel the temporary hold before it expires,
Wait 10
seconds
press the Menu button until ‘OVR Tmpy’ is
removed.
Permanent Override
Note: A permanent override stays in effect until a new override is selected. A permanent
override does not change the existing schedule.
1.
Press and release the Menu button until the Schedule (SCHD) Menu is
displayed.
2. Use the
To cancel a permanent override, use the following procedure.
1. Press and release the Menu button until the Schedule (SCHD) is displayed.
2. Use the
or button to select the desired permanent override.
or button to select the None setting.
© 2012 U 510 - 02/12 8 of 12
Page 9

Extended Absences/ Vacation
If you are going away for an extended period of time, an Away Override can be
used. This reduces energy use by setting heating temperature to 62°F and cooling
temperature to 82°F. These temperature settings are not adjustable.
To select Away Override:
1. Use the Menu button to select the menu.
2. Press the button until AWAY is selected.
To cancel the Away Override, simply select
and press button until NONE is shown.
Advanced Schedule Settings
Schedule Mode
The schedule allows for either 2 or 4 temperature changes per day. These changes
are called ‘events’.
To select the schedule mode:
1. Press Menu button to select .
2. Press Item button to display .
3. Press the or buttons to select schedule mode.
NONE - no schedule will be used
•
- 2 events can be programmed (Occ and UnOcc)
•
- 4 events can be programmed (Occ, UnOcc, Sleep, Wake)
•
Cycle Period
The cycle period can be changed to either 24 hour or 7 day.
To select the cycle period:
1. Press Menu button to select .
2. Press the Item button to display .
3. Press the or buttons to select the desired schedule cycle.
24hr - All days have the same schedule.
•
7day - Each day of the week has its own individual schedule.
•
9 of 12 © 2012 U 510 - 02/12
Page 10

Setting the Schedule
To set the schedule:
1.
Use the Menu button to select .
Use the Item button to select the first event of the schedule.
2.
Use the or button to set the start time of the event.
3.
If you wish to skip the event, select “– –:– –” as the time. “– –:– –” is found
•
between 11:50 PM and 12:00 AM.
4.
Use the Item button to advance to the next available event.
Repeat steps 3 and 4 for each available event.
5.
Sleep
62°F
Wake
70°F
60°F
UnOcc. (Day)
Occ. (Evening)
70°F
Sleep
62°F
6:00 AM
8:00 AM
6:00 PM 10:00 PM
Schedule operation with 4 events and suggested start times
Units of Temperature
You can display temperatures in either Fahrenheit (°F) or in Celsius (°C).
To change the units of temperature:
1. Use the Menu button to select the menu.
2. Use the Item button until the units flash.
3. Use the or button to select Fahrenheit (°F) or Celsius (°C):
or
© 2012 U 510 - 02/12 10 of 12
Page 11

Backlight
The thermostat’s display has a backlight. By default the backlight is temporarily On.
You can also set the backlight to be either permanently On or permanently Off.
To change the backlight setting:
1. Use the Menu button to select the menu.
2. Use the Item button to select LITE.
3. Use the or button to select a setting:
OFF Backlight stays off.
•
ON Tmpy (Temporary): Backlight stays on for 30
•
seconds after a button is pressed.
ON: Backlight stays on permanently.
•
Cleaning the Thermostat
Clean the thermostat’s exterior using a damp cloth. Moisten the cloth with water
and wring out prior to wiping the thermostat. Do not use solvents or cleaning
solutions.
Error Messages
When the thermostat encounters a problem, a Warning Symbol appears and a
description of the error message is displayed. To troubleshoot how to correct the
error, please refer to the Data Brochure or contact a qualified installer.
An electronic version of the Data Brochure D 510 is available on the tekmar website:
www.tekmarcontrols.com.
Warning Symbol
11 of 12 © 2012 U 510 - 02/12
Page 12

Limited Warranty and Product Return Procedure
Limited Warranty The liability of tekmar under this warranty is limited. The Purchaser, by taking receipt
of any tekmar product (“Product”), acknowledges the terms of the Limited Warranty in effect at the time
of such Product sale and acknowledges that it has read and und erstands same.
The tekmar Limited Warranty to the Purchaser on the Products sold hereunder is a manufacturer’s passthrough warranty which the Purchaser is authorized to pass through to its customers. Under the Limited
Warranty, each tekmar Product is warranted against defects in workmanship and materials if the Product
is installed and used in compliance with tekmar’s instructions, ordinary wear and tear excepted. The passthrough warranty period is for a period of twenty-four (24) months from the production date if the Product is
not installed during that period, or twelve (12) months from the documented date of installation if installed
within twenty-four (24) months from the production date.
The liability of tekmar under the Limited Warrant y shall be limited to, at tekmar’s sole discretion: the cost of parts
and labor provided by tekmar to repair defects in materials and / or workmanship of the defective produc t; or to
the exchange of the defective product for a warrant y replacement product; or to the granting of credit limited to
the original cost of the defective product, and such repair, exchange or credit shall be the sole remedy available
from tekmar, and, without limiting the foregoing in any way, tekmar is not responsible, in contract, tor t or strict
product liability, for any other losses, costs, expenses, inconvenienc es, or damages, whether direct, indirect,
special, secondary, incidental or consequential, arising from ownership or use of the product, or from defects in
workmanship or materials, including any liability for fundamental breach of contract.
The pass-through Limite d Warranty applies only to those defective Products returned to tekmar during the warranty period. This Limited Warranty does not cover the cost of the par ts or labor to remove or transport the defective Product, or to reinstall the repaired or replacement Product, all such costs and expenses being subjec t to
Purchaser’s agreement and warrant y with its customers.
Any representations or warranties about the Products made by Purchaser to its customers which are dif ferent
from or in excess of the tekmar Limited Warranty are the Purchaser’s sole responsibility and obligation. Purchaser
shall indemnif y and hold tekmar harmless from and against any and all claims, liabilities and damages of any
kind or nature which arise out of or are related to any such representations or warranties by Purchaser to its
customers.
The pass-through Limited Warranty does not apply if the returned Product has been damaged by negligence by
persons other than tekmar, accident, fire, Act of God, abuse or misuse; or has been damaged by modifications,
alterations or at tachments made subsequent to purchase which have not been authorized by tekmar; or if the
Product was not installed in compliance with tekmar’s instructions and / or the local c odes and ordinances; or if
due to defective installation of the Product; or if the Product was not used in compliance with tek mar’s instructions.
THIS WARRANT Y IS IN LIEU OF ALL OTHER WARRANTIES, EXPRESS OR IM PLIED, WHICH THE GOVERNI NG
LAW ALLOWS PARTIES TO CONTRACTUALLY EXCLUDE, INCLUDING , WITHOUT LIMITATION, IMPLIED WARRANTIES OF MERCHANTABILITY AND FITNESS FOR A PARTICULAR PURPOSE, DURABILITY OR DESCRIPTION OF THE PRODUCT, ITS NON-INFRINGEMENT OF ANY RELEVANT PATENTS OR TRADEMARKS, AND
ITS COM PLIA NC E WIT H O R NON-V IOL ATI ON OF ANY APPLICABLE ENVIRO NMEN TAL, H EALTH OR SAFE TY
LEGISLATION; THE TERM OF ANY OTHER WARRANT Y NOT HEREBY CONTRACTUALLY EXCLUDED IS LIMITED SUCH THAT IT SHALL NOT EXTEND BEYOND TWENTY-FOUR (24) MONTHS FROM THE PRODUCTION
DATE, TO THE EXTENT THAT SUCH LIMITATION IS ALLOWED BY THE GOVERNING LAW.
Product Warranty Return Procedure All Products that are believed to have defects in workmanship or materials must be returned, together with a writ ten description of the defect, to the tekmar Representative assigned to
the territory in which such Product is located. If tekmar receives an inquiry from someone other than a tekmar
Representative, including an inquiry from Purchaser (if not a tekmar Representative) or Purchaser’s customers,
regarding a potential warranty claim, tekmar’s sole obligation shall be to provide the address and other contact
information regarding the appropriate Representative.
tekmar Contro l System s Ltd., Cana da
tekmar Contro l System s, Inc., U.S.A.
Head O ffic e: 5100 Sil ver Sta r Road
Vernon, B.C. Can ada V1B 3K4
(250) 54 5-7749 Fax. (2 50) 545-0650
Web Site: w ww.te kmar contr ols.c om
All specifications are subject
to change without notic e
Product design, soft ware and literature
are Copyright © 2012 by:
tekmar Control Systems Ltd. and tekmar
Control Systems, Inc.
12 of 12 U 510 - 02/12
 Loading...