


24TL510V
Table of contents
 Loading...
OWNER’S MANUAL
Safety and Reference
(LED TV*)
* LG LED TV applies LCD screen with LED backlights.
Please read this manual carefully before operating your TV and retain it for future
reference.
24TL520U 24TL520V
28TL520V
24TL510V
28TL510V
www.lg.com
Copyright 2019 LG Electronics Inc. All Rights Reserved.

Table of contents
Licenses ----------------------------------------------3
Open source software notice information -3
ENGLISH
Preparing --------------------------------------------3
Lifting and moving the TV ----------------------4
Setting up the TV ----------------------------------4
Using the button ----------------------------------5
Mounting on a table ------------------------------5
Mounting on a wall -------------------------------6
Connections (notications) --------------------7
Remote control ------------------------------------9
Settings -------------------------------------------- 10
To see web manual ------------------------------ 16
Maintenance -------------------------------------- 17
Troubleshooting---------------------------------17
Specications ------------------------------------ 18
2
Licenses
A
A
<
Preparing
Supported licenses may dier by model. For more information about
licenses, visit www.lg.com.
The terms HDMI and HDMI High-Denition Multimedia Interface,
and the HDMI Logo are trademarks or registered trademarks of
HDMI Licensing Administrator, Inc. in the United States and other
countries.
Manufactured under license from Dolby Laboratories. Dolby, Dolby
Vision, Dolby Audio, Dolby Atmos, and the double-D symbol are
trademarks of Dolby Laboratories.
Open source software notice information
To obtain the source code under GPL, LGPL, MPL, and other open
source licenses, that is contained in this product, please visit http://
opensource.lge.com.
In addition to the source code, all referred license terms, warranty
disclaimers and copyright notices are available for download.
LG Electronics will also provide open source code to you on CD-ROM
for a charge covering the cost of performing such distribution (such
as the cost of media, shipping, and handling) upon email request to
opensource@lge.com.
This oer is valid for a period of three years after our last shipment of
this product. This oer is valid to anyone in receipt of this information.
NOTE
y Image shown may dier from your TV.
y Your TV’s OSD (On Screen Display) may dier slightly from that
shown in this manual.
y The available menus and options may dier from the input source
or product model that you are using.
y New features may be added to this TV in the future.
y The TV can be placed in standby mode in order to reduce the power
consumption. And the TV should be turned o if it will not be
watched for some time, as this will reduce energy consumption.
y The energy consumed during use can be signicantly reduced if the
level of brightness of the picture is reduced, and this will reduce
the overall running cost.
y The items supplied with your product may vary depending on the
model.
y Product specications or contents of this manual may be changed
without prior notice due to upgrade of product functions.
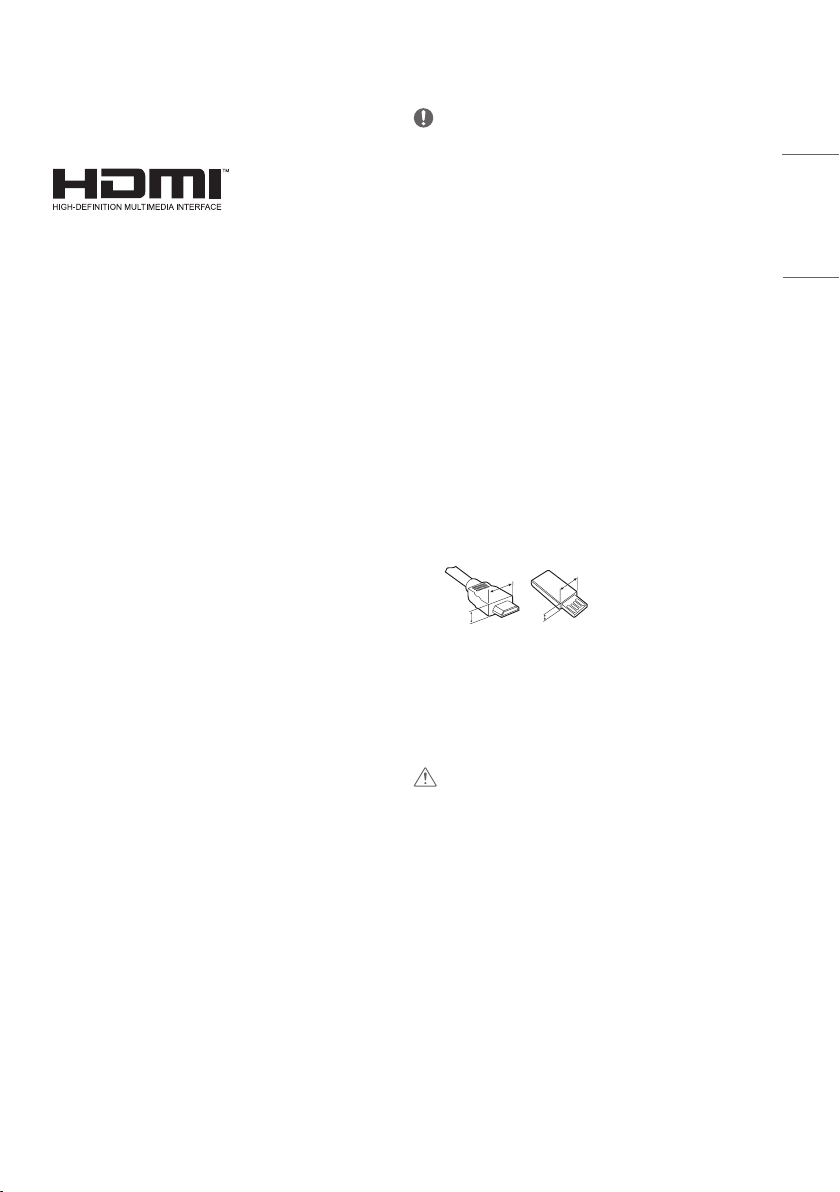
y For an optimal connection, HDMI cables and USB devices should
have bezels less than 10 mm thick and 18 mm width. Use an
extension cable that supports USB 2.0 if the USB cable or USB
memory stick does not t into your TV’s USB port.
B
y Use a certied cable with the HDMI logo attached. If you do not use
a certied HDMI cable, the screen may not display or a connection
error may occur.
y Recommended HDMI cable types
- High-Speed HDMI®/™ cable
- High-Speed HDMI®/™ cable with Ethernet
CAUTION
y Do not use any unapproved items to ensure the safety and product
life span.
y Any damage or injuries caused by using unapproved items are not
covered by the warranty.
B
*A < 10 mm
18 mm
*B
ENGLISH
3
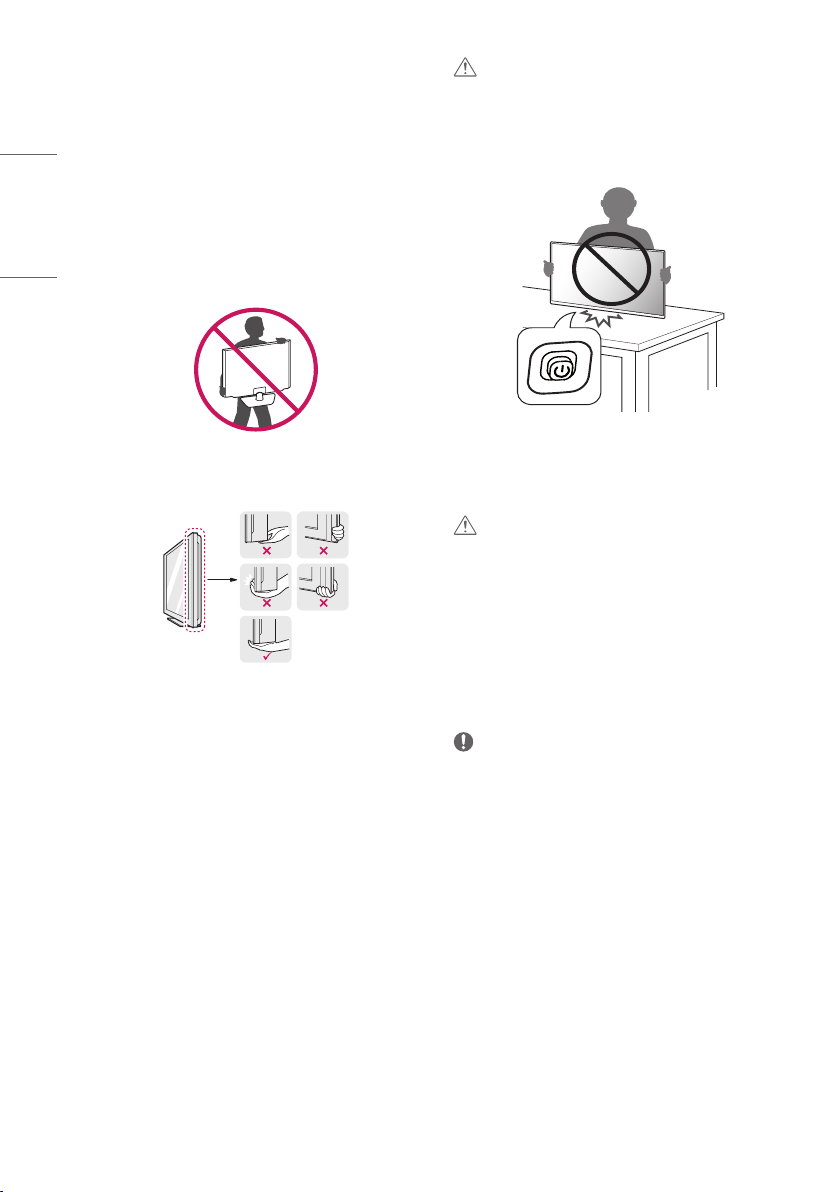
Lifting and moving the TV
Please note the following advice to prevent the TV from being
scratched or damaged and for safe transportation regardless of its
type and size.
ENGLISH
y It is recommended to move the TV in the box or packing material
that the TV originally came in.
y Before moving or lifting the TV, disconnect the power cord and all
cables.
y When holding the TV, the screen should face away from you to
avoid damage.
y Hold the top and bottom of the TV frame rmly. Make sure not to
hold the transparent part, speaker, or speaker grill area.
y When transporting the TV, do not expose the TV to jolts or excessive
vibration.
y When transporting the TV, keep the TV upright, never turn the TV
on its side or tilt towards the left or right.
y Do not apply excessive pressure to cause exing/bending of frame
chassis as it may damage screen.
CAUTION
y Avoid touching the screen at all times, as this may result in damage
to the screen.
y When handling the TV, be careful not to damage the protruding
joystick button. (Depending on model)
Setting up the TV
CAUTION
y When attaching the stand to the TV set, place the screen facing
down on a cushioned table or at surface to protect the screen
from scratches.
y Do not carry the TV upside-down by holding the stand body (or
stand base) as this may cause it to fall o, resulting in damage or
injury.
y Do not apply foreign substances (oils, lubricants, etc.) to the screw
parts when assembling the product. (Doing so may damage the
product.)
NOTE
y Remove the stand before installing the TV on a wall mount by
performing the stand attachment in reverse. (Only TL520*)
y Lift up the latch at the bottom of the stand base and detach the
stand base from the TV. (Only TL510V)
4
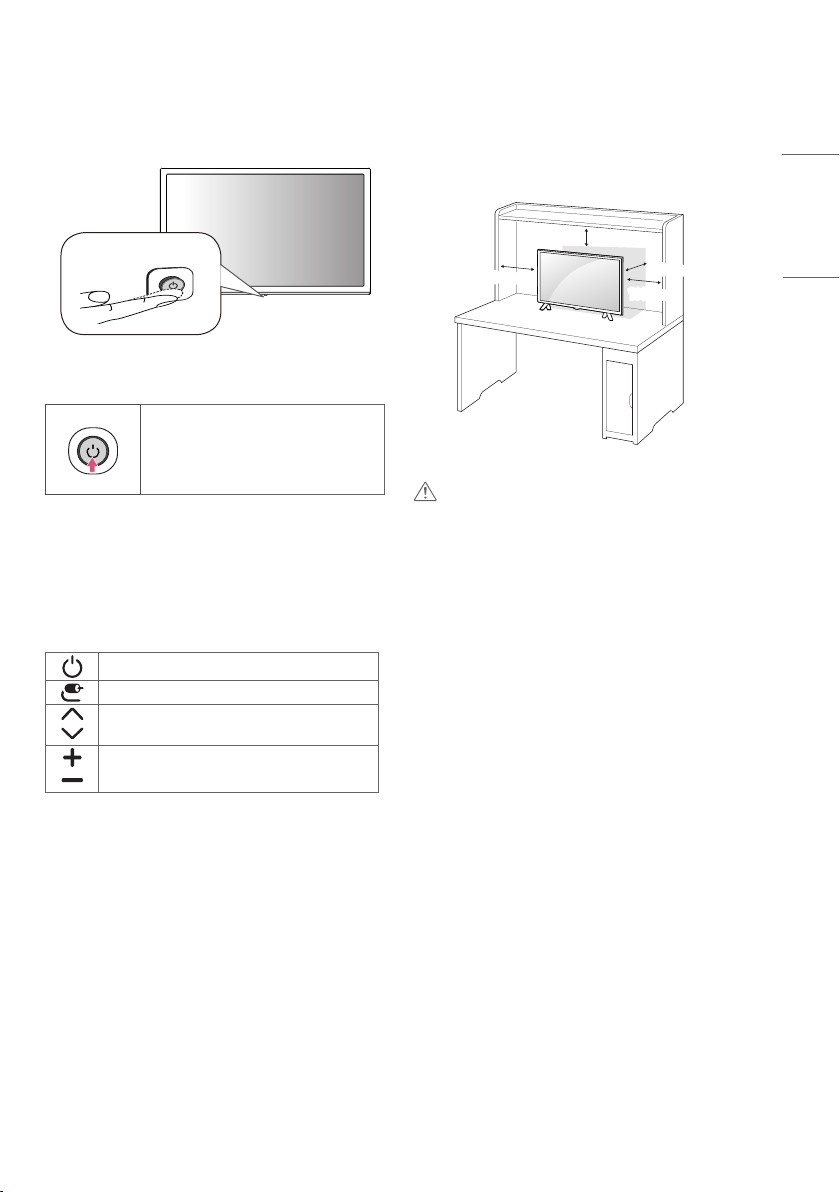
Using the button
Mounting on a table
y You can operate your TV by pressing the button.
y Image shown may dier from your TV.
Basic functions
Power On (Press)
Power O (Press and Hold)
Menu Control (Press1)
Menu Selection (Press and Hold2)
1 You can access and adjust the menu by pressing the button when
TV is on.
2 You can use the function when you access menu control.
Adjusting the menu
When the TV is turned on, press the button one time.
You can adjust the Menu items using the button.
Turns the power o.
Changes the input source.
Scrolls through the saved programmes.
y Image shown may dier from your TV.
1 Lift and tilt the TV into its upright position on a table.
- Leave a 100 mm (minimum) space from the wall for proper
ventilation.
100 mm
100 mm
2 Connect the AC-DC Adapter and power cord to a wall outlet.
CAUTION
y Do not place the TV near or on sources of heat, as this may result in
re or other damage.
y Please be sure to connect the TV to the AC/DC power adapter before
connecting the TV’s power plug to a wall power outlet.
100 mm
100 mm
ENGLISH
Adjusts the volume level.
5
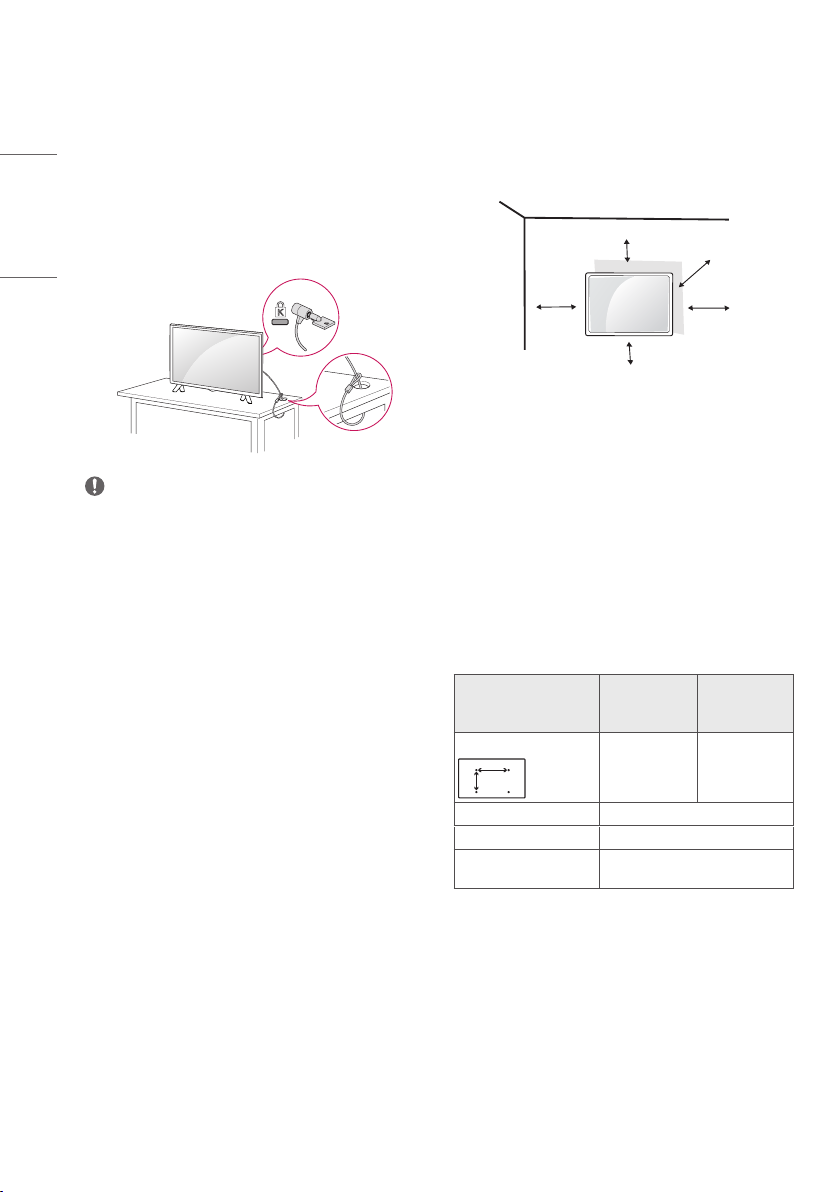
Using the kensington security
system (optional)
(This is not available for all models.)
y Image shown may dier from your TV.
The Kensington security system connector is located at the rear of
ENGLISH
the TV. For more information of installation and using, refer to the
manual provided with the Kensington security system or visit http://
www.kensington.com. Connect the Kensington security system cable
between the TV and a table.
Mounting on a wall
For proper ventilation, allow a clearance of 100 mm on each side and
from the wall. Detailed installation instructions are available from
your dealer, see the optional Tilt Wall Mounting Bracket Installation
and Setup Guide.
100 mm
100 mm
NOTE
y The Kensington security system is optional. You can obtain
additional accessories from most electronics stores.
100 mm
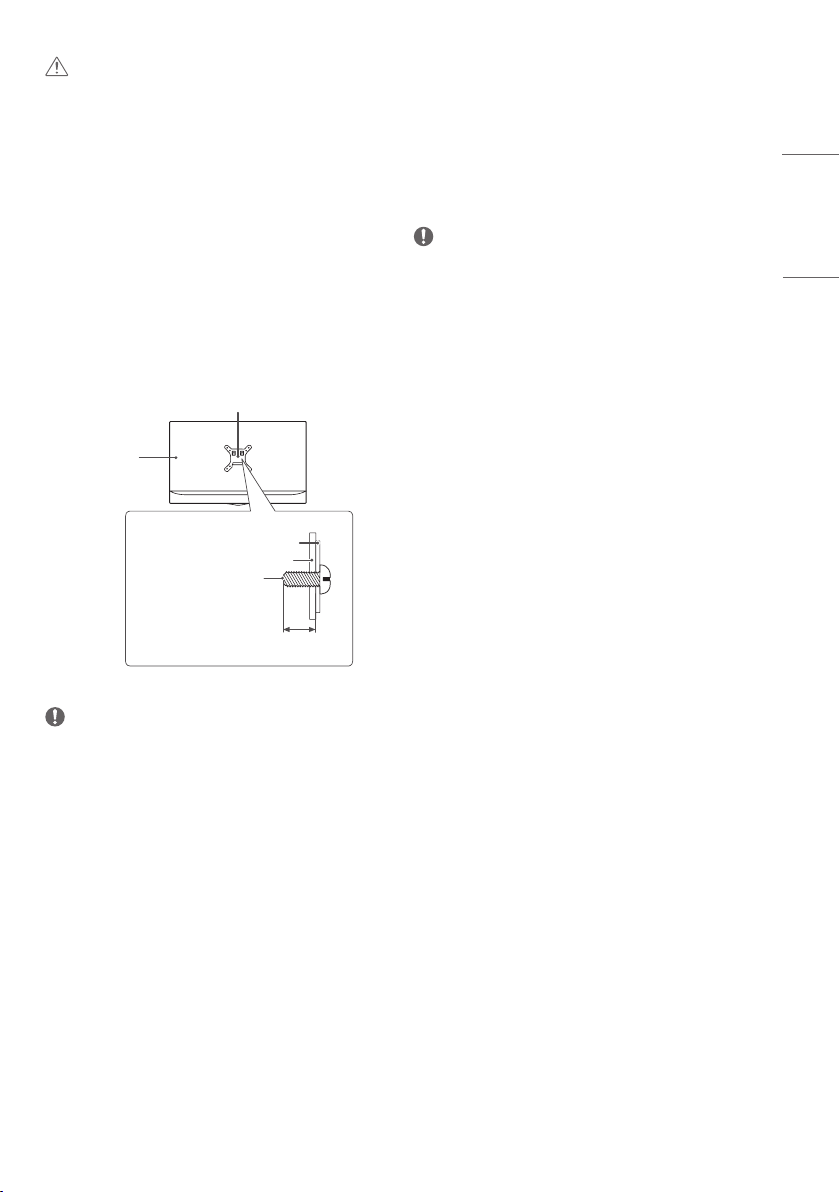
If you intend to mount the TV to a wall, attach Wall mounting
interface (optional parts) to the back of the TV.
When you install the TV using the wall mounting interface (optional
parts), attach it carefully so it will not drop.
1 If you use screw longer than standard, the TV might be damaged
internally.
2 If you use improper screw, the product might be damaged and
drop from mounted position. In this case, LG Electronics is not
responsible for it.
100 mm
100 mm
Separate purchase
(Wall mounting bracket)
Model
Wall mount (A x B) (mm)
A
B
Standard screw M4 x L10
Number of screws 4
Wall mount bracket
(optional)
24TL520V
24TL520U
24TL510V
75 x 75 100 x 100
RW120
28TL520V
28TL510V
6
CAUTION
y Must use the enclosed screw in the box. (Depending on model)
y Disconnect the power rst, and then move or install the TV.
Otherwise electric shock may occur.
y If you install the TV on a ceiling or slanted wall, it may fall and
result in severe injury.
y Use an authorized LG wall mount and contact the local dealer or
qualied personnel.
y Do not over tighten the screws as this may cause damage to the TV
and void your warranty.
y Use the screws and wall mounts that meet the VESA standard. Any
damages or injuries by misuse or using an improper accessory are
not covered by the warranty.
y Screw length from outer surface of back cover should be under 8
mm.
Wall mount Pad
Back Cover
Wall mount Pad
Back Cover
Standard screw
: M4 x L10
Connections (notications)
Connect various external devices to the TV and switch input modes
to select an external device. For more information about an external
device’s connection, refer to the manual supplied with each device.
Available external devices are: HD receivers, DVD players, VCRs, audio
systems, USB storage devices, PC, gaming devices, and other external
devices.
NOTE
y The external device connection may dier from the model.
y Connect external devices to the TV regardless of the order of the
TV port.
y If you record a TV programme on a DVD recorder or VCR, make
sure to connect the TV signal input cable to the TV through a DVD
recorder or VCR. For more information of recording, refer to the
manual provided with the connected device.
y Refer to the external equipment’s manual for operating
instructions.
y If you connect a gaming device to the TV, use the cable supplied
with the gaming device.
y In PC mode, there may be noise associated with the resolution,
vertical pattern, contrast or brightness. If noise is present, change
the PC output to another resolution, change the refresh rate to
another rate or adjust the brightness and contrast on the [PICTURE]
menu until the picture is clear.
y In PC mode, some resolution settings may not work properly
depending on the graphics card.
ENGLISH
Max.8 mm
NOTE
y Use the screws that are listed on the VESA standard screw
specications.
y The wall mount kit includes an installation manual and necessary
parts.
y The wall mount bracket is optional. You can obtain additional
accessories from your local dealer.
y The length of screws may dier depending on the wall mount. Be
sure to use the proper length.
y For more information, refer to the instructions supplied with the
wall mount.
Antenna connection
Connect the TV to a wall antenna socket with an RF cable (75 Ω) (Not
Provided).
y Use a signal splitter to use more than 2 TVs.
y If the image quality is poor, install a signal amplier properly to
improve the image quality.
y If the image quality is poor with an antenna connected, try to
realign the antenna in the correct direction.
y An antenna cable and converter are not supplied.
y Supported DTV Audio : MPEG, Dolby Digital, Dolby Digital Plus,
HE-AAC
7
Loading...