


Esa412j-l
SERVICE MANUAL
Order No.$&69
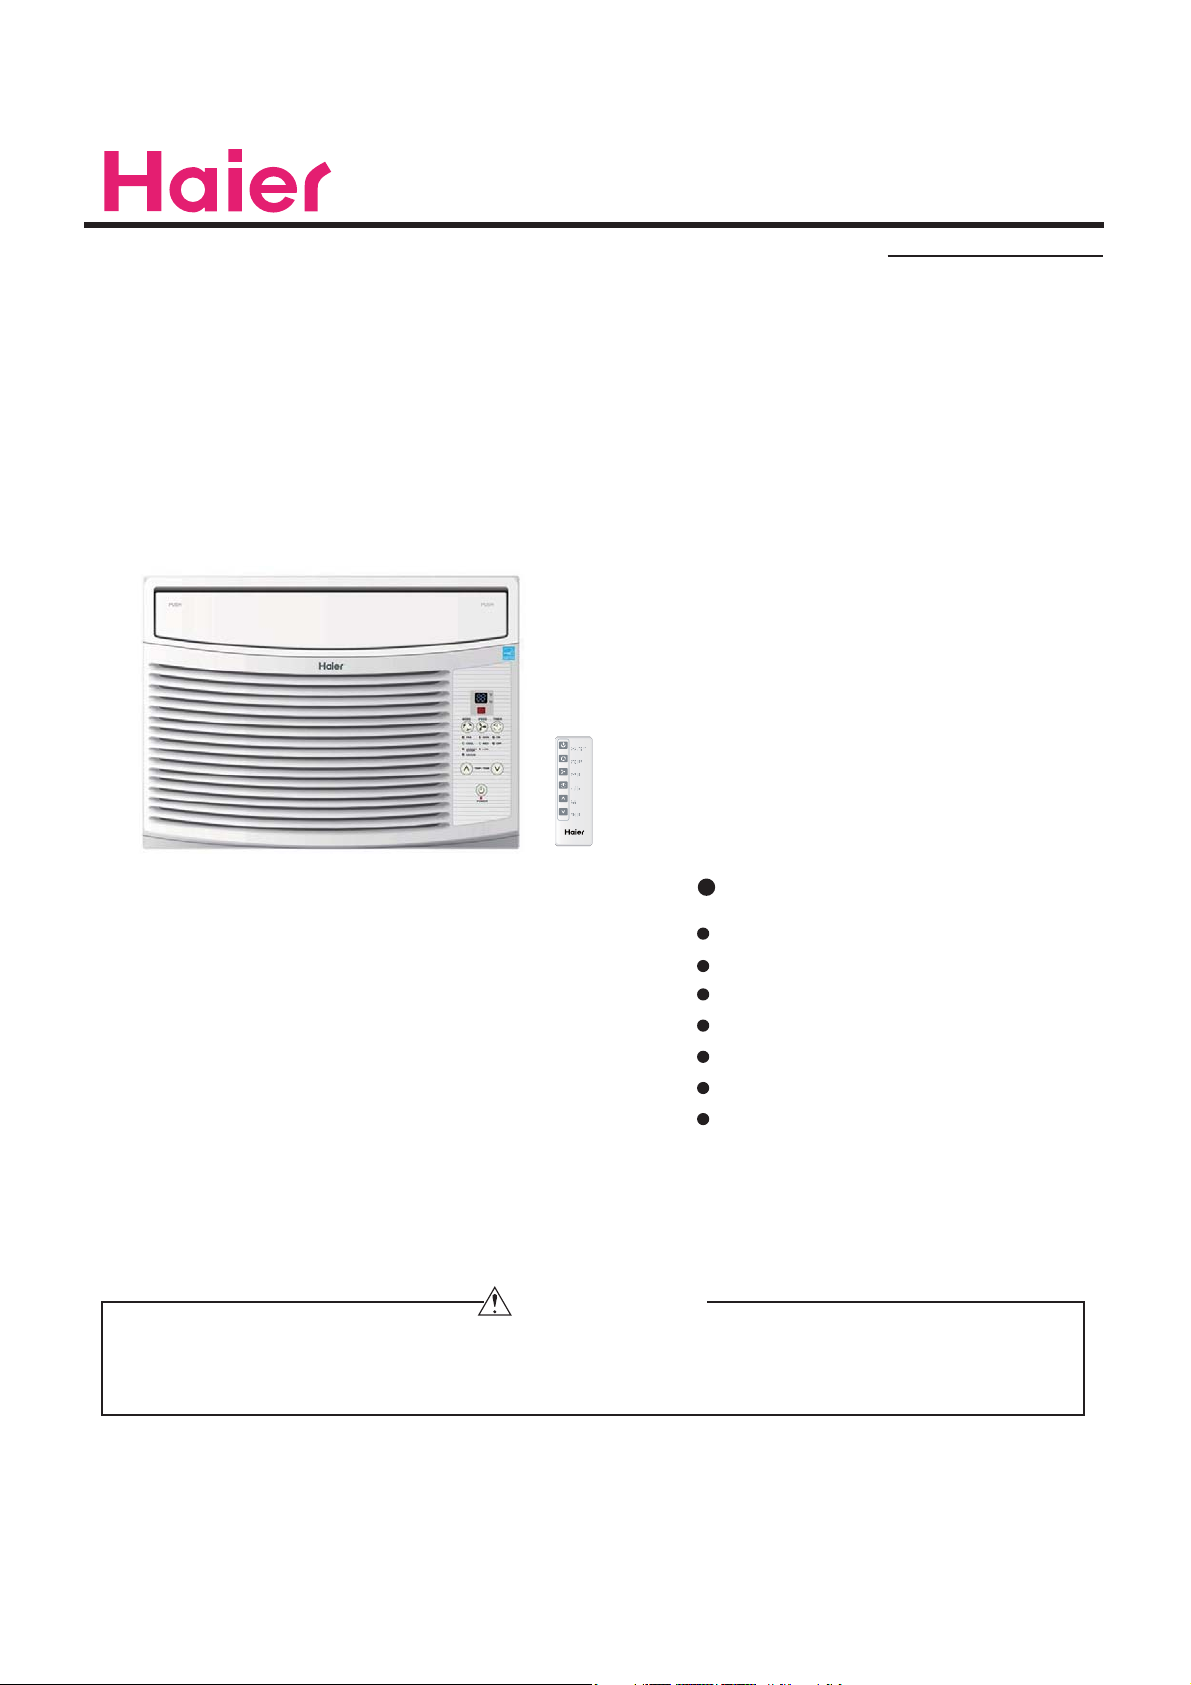
Model No. ESA41J
ON/OFF
MODE
SPEED
TIMER
TEMP/TIME
TEMP/TIME
Feature
Top Discharge Airflow Pattern
Modern Family-look Design
3 Coo l Settings, 3 Fan Settings
Easy-to-ins tall Mounting Kit
Easy-Access Washable Filter
Digital Time & Temperature Display
24 Ho ur on/off Timer
WARNING
s service information is
Thi
It
does not contain warnings or c
Products powered by electricity should be serviced or repaired only by experienced professional technicians. Any attempt to service or
air the product or products dealt with in this service information by anyone else could result in serious injury or death
rep
designed for experienced repair technicians only and is not designed for use by the general public.
au
tions to advise non-technical individuals of potential dangers in attempting to service a product.
All right reserved .Unauthorized copying and distribution is a violation of law
©2009 (Qingdao Haier Air Conditioner General corp.,Ltd)
Haier Group
Table of Contents
ESA412J Table of Contents
1. Product Code Illumination and Series introduction.......................................
2. Specifications....................................................................................................
3. Safety and Precaution.......................................................................................
4. Warning and Cautions.......................................................................................
5. Installation and Accessory Parts......................................................................
6. Parts and Functions.........................................................................................
7. Abnormity Diagnose.........................................................................................
14
18
8. System Flow Chart...........................................................................................
9. Circuit Diagram................................................................................................
10. Wiring Diagram..............................................................................................
21
23
2
3
4
5
6
20
1
Domestic Air Conditioner
1. Product Code Illumination and Series Introduction
1). Model identification:
ESA412J Table of Contents
ESA
A: Abbre viation of Energy Star
B: The type of refrigerant
4:R410A
C: Nominal cooling capacity (BTU/h) with the first two numbers based on one thousand unit
D: Desigh code
Examples:
ESA412J
It represents remote control window air condition r. Cooling capacity is 12000BTU/h and the power supply
is 115V/60Hz.
ƶ
A
ƶƶƶ
B
CD
2). Standard situation/conditions
No. Operating condition
1 Nominal cooling 26.7 19.4 35 23.9
Indoor air state outdoor air state
D.B. ć W.B. ć D.B. ć W.B. ć
2
Domestic Air Conditioner

2. Specification
ESA412J Specification
Item Unit ESA412J
Cooling capacity
Heating capacity /
BTU/h 12000
BTU/h
Power supply Ph,V, Hz 1, 115, 60
Power input W 1110
Running current A 10Cooling
BTU/(h.w) 10.8
EER
Power input W /
Running current A / Heating
COP
Sound Level
Case
Packaging
dimensions
Weight
/
Indoor side dB(A) 62
Outdoor side
67
Height inches
Width inches
Depth
inches
Height inches
Width inches
inches
Depth
Net lbs 65
lbs 73
Gross
BTU/(h.w)
dB(A)
14 3/8
19
18 1/8
17
21 1/4
22
Type Rotary
Compressor
Pressure
Refrigerant
Type
Fan
Fan Speed
Model /
Running cap. For comp μF
ASD073SW-H3AG
60μF/250
Hi-Pressure Psig 570
Low-Pressure
Psig 240
Model R22 or R410A R410A
Charge
OZ 26.8
Indoor unit / centrifugal
Outdoor unit
Indoor unit r/min
/ axial
1460±30/1290±30/1160±30
V
Air volume CFM 270/250/220
Moisture removal Pints/hr 3.5
3
Domestic Air Conditioner

ESA412J Safety and Precaution
3. Safety and Precaution
WARNING:
1) Air conditioner must be connected to proper electrical outlet with the correct electrical supply .
2) Proper grounding must be ensured to reduce the risk of shock and fire .
DO NOT CUT OR REMOVE THE GROUNDING PRONG.
If you do not have a three-prong electric receptacle outlet in the wall, have a certified electrician install the
proper receptacle . The wall receptacle MUST be properly grounded .
3) DO not use if power cord is frayed or damage . Also avoid using if there are cracks or abrasion damage
along the length ,plug or connector .
4)DO NOT USE AN ADAPTER OR AN EXTENSION CORD.
5)When installing your air conditioner in a window,make sure the window is strong enough to hold the weight
of the air conditioner.You also want to secure and correctly install your air conditioner property to prevent it
from falling.Extra brackets or support may be required depending on your window.
6) Do not black airflow inside or outside the air conditioner with blinds,drapes,protective covers,shrubs or
bushes.
7)Be careful of sharp edges on the front and rear fins of the unit that could cut and cause serious injury.
8)Be careful when lifting the air conditioner to install or remove the unit . Always use two or more people
for this .
9)Always unplug the air conditioner before servicing it or moving it .
Following these basic precautions will reduce the risk of fire ,electrical shock ,injury or death
when using your air conditioner .
4
Domestic Air Conditioner
ESA412J Warning and Cautions
4.Warning and Cautions
WARNINGS:
Following the safety messages is very important.
These messages can save you from being injured or killed. Warning symbols alert you to be
careful and means Danger . Always follow instructions to be safe and reduce chances of injury
or death . Warning and Danger signs will precede safety messages.
Electrical Safety
GROUNDING:
WARNING:
Do not, under any circumstances, cut or remove the third (ground) prong from the
power cord.
Adapter Plug:
This room air conditioner must be grounded. Grounding reduces the risk of electric shock by
providing an escape wire for the electric current. The power cord has a grounding wire with a
grounding plug . Plug it into an outlet that is properly installed and grounded.
Improper use of the grounding plug can result in a risk of electric shock.
Call a qualified electrician if you don’t understand the grounding instructions or if you are not sure
if the air conditioner is properly grounded. If the wall outlet is not grounded, please contact an
electrician to have it replaced with a proper grounded outlet.
We strongly advise against using an adapter plug.
5
Domestic Air Conditioner
ESA412J Installation and Accessory Parts
5. Installation and Accessory Parts
Check the following before you install your air conditioner:
1) The unit is free of all obstructions inside and outside the room e.g. drapes, curtains, furniture, plants,
shrubs, bushes, trees, other structures like building, garage etc.
Air conditioner must have clear unobstructed airflow through the condenser to remove the heat.
2) The window is strong enough to hold the weight of the air conditioner. Extra brackets or supports may be
needed depending on your windows. Brackets or supports not not provided in all models.
3) The window sill and track are strong enough to hold the weight of the air conditioner.
4) The wall is strong enough to hold the unit. Extra brackets or supports may be needed depending on the
wall. (Brackets or Supports not provided in all models).
5) There is adequate and proper power supply near the air conditioner.
6) DO NOT use adopter plugs.
7) DO NOT use extension cords.
8) DO NOT cut or remove the ground prong.
9) DO NOT modify the plug or the electrical wall outlet in any way. If plug does not fit the electrical outlet
have a certified electrician do the necessary change.
10) NOT connect electrical power to the unit before installation.
11) DO NOT use if power cord is worn out, hayed or damage. Avoid using if here are cracks or abrasion
damage along the length, plug or connection.
12) DO NOT install into any existing cabinet or sleeve which does not have ride and top air vents.
13) Be careful of exposed sharp edges of the cabinet and sharp coils (fins) on the back of the unit that could
cut and cause serious injury.
6
Domestic Air Conditioner
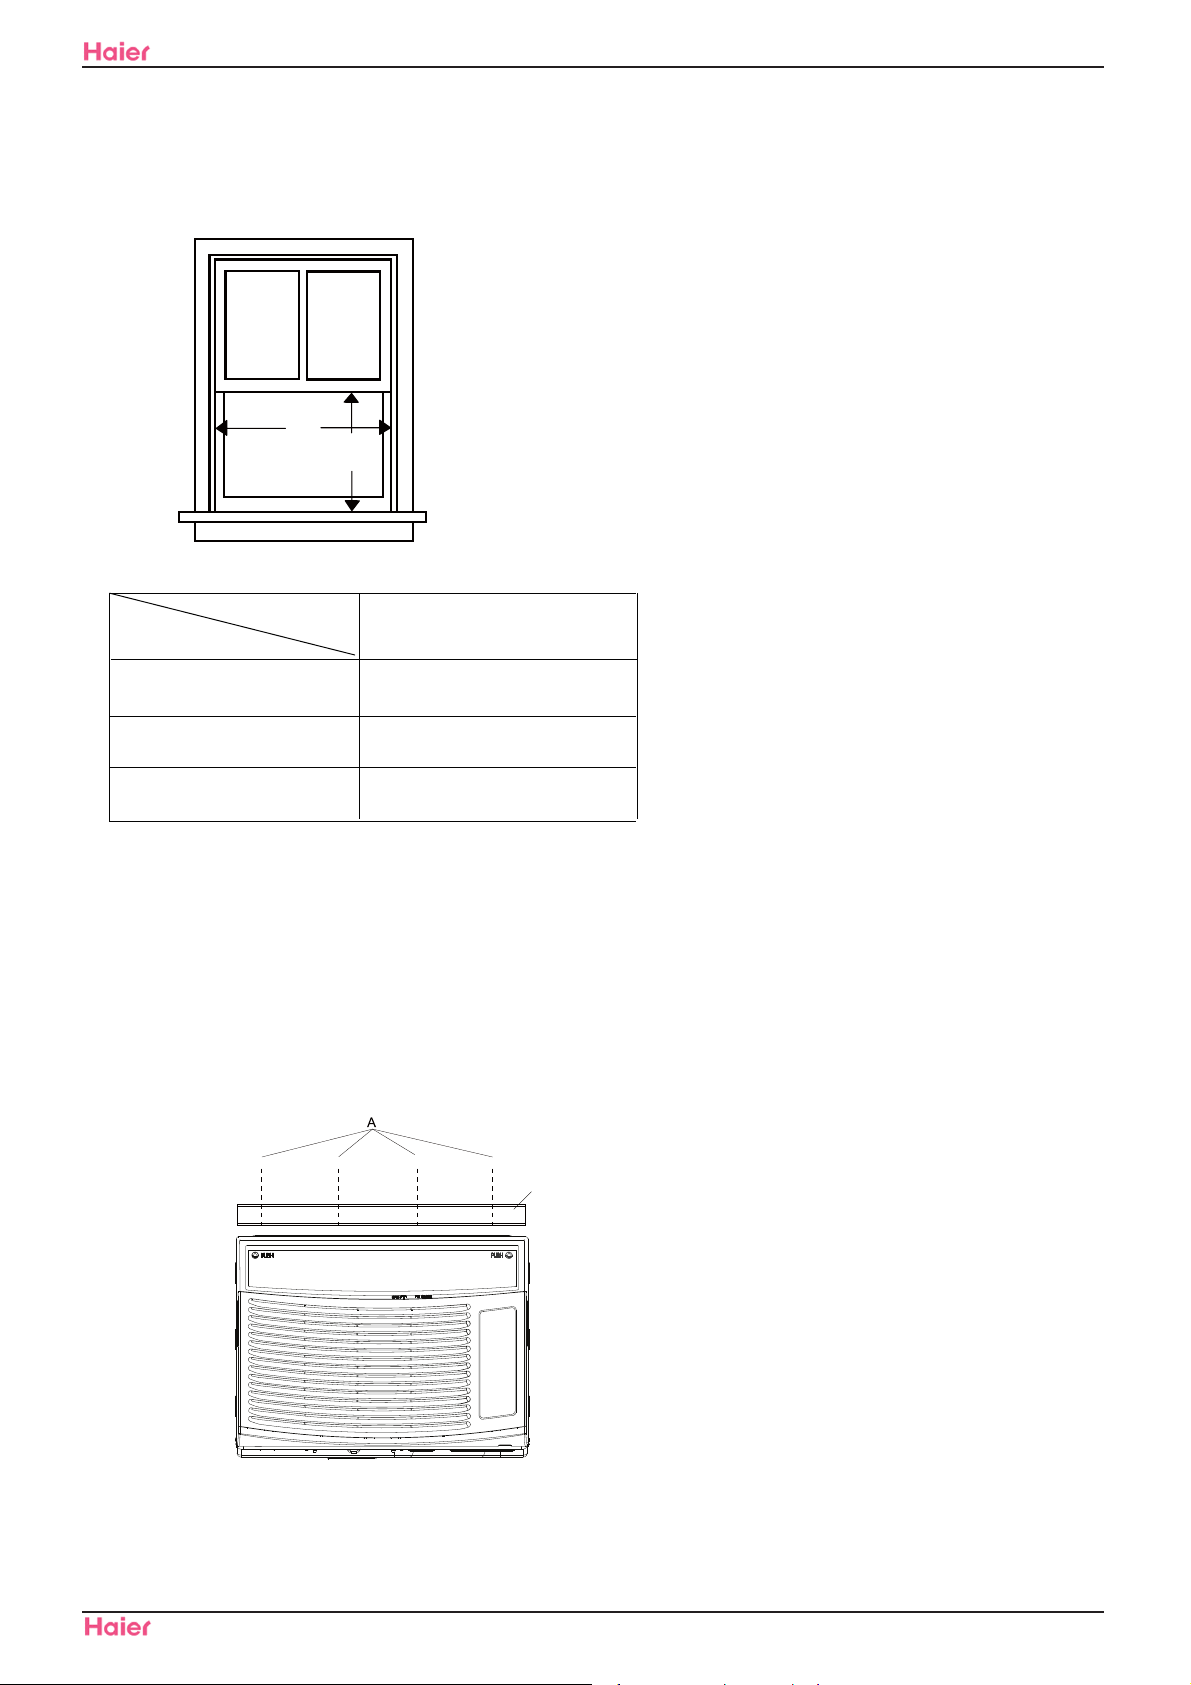
Window Installation
Window opening measurements:
"
#
ESA412J
A. Width
B. Height
Installation and Accessory Parts
MODEL
Dimension
A(inch) Min
A(inch) Max
B(inch) Max
ESA412J
24 ”(62.2cm)
38”(96.5cm)
149/16”(37cm)
Prepare Air Conditioner for Installation
Install Top Channel
1. Place the top channel on the top of the air conditioner, lining up the holes in the top channel with the holes in the top
of the air conditioner.
2. U
sing four ©c ” screws, attach the top channel to the air conditioner.
NOTE:Your model may differ from the one shown.
B
A. ©c ” screws
B. Top channel
7
Domestic Air Conditioner
 Loading...