


English
VideoCAM GF112 Features
1Snap Shot button
2Lens
3Adjustable base
Installing the VideoCAM GF112
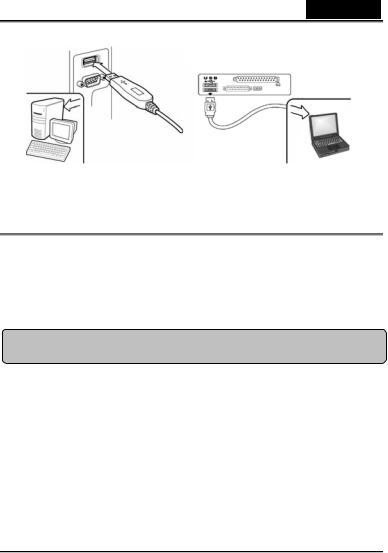
1.Please install the driver first and then connect VideoCAM GF112 to the USB port.
2.Installing the VideoCAM GF112 driver
a.Insert the VideoCAM GF112 Installation CD into the CD-ROM drive.
b.The Autorun screen will bring up the installation screen. Click on “Driver” then simply follow the on-screen instructions.
c.Install “DirectX” from the CD.
Notice: If the Autorun screen doesn’t start, please follow these steps:
zClick on “Start Menu”.
zType D \SETUP.EXE , then click “Enter” key.
(Assume your CD-ROM is in Drive D)
3.Insert the VideoCAM GF112’s USB cable to your desktop’s or laptop’s USB port.
-1-
English
4.Complete software and hardware installation. You can install the software you would like for video conferencing or chat with your friends.
 NOTE
NOTE
To remove the driver installation:
Windows Environment:
Please go to the taskbar and follow “Start” Æ “Program” Æ “VideoCAM GF112”Æ Click “Uninstall”, then follow the on-screen instructions to remove the driver.
Genius Application (Windows Only)
You can use our software to capture the real-time image, record or execute the simply security function.
To run the software, please go to the task bar and follow “Start”Æ Click “Program”Æ Choose “VideoCAM GF112”Æ Click “VideoCAM
GF112”. Or you may execute the software by simply clicking the shortcut of “VideoCAM GF112”.
-2-
English
 NOTE
NOTE
After installing the driver of VideoCAM GF112, the system will automatically create a file (C:\WINDOWS\Album or C:\WINNT\Album)to save the images you take using the Genius Application.
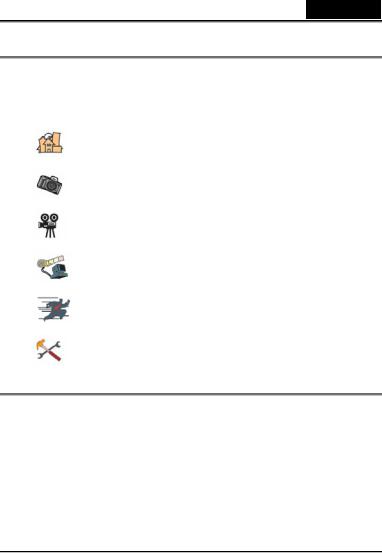
1.Description for the major icon
Preview mode
Snapshot mode
Video Clip Mode
Security monitoring system
Exit the Genius VideoCAM Series UI
Camera Control
 NOTE
NOTE
 In the “camera control section”, you can personalize your camera settings for different circumstances.
-3-

English
1- You can flip the image horizontally or vertically by choosing “Image Mirror” or “Image Flip”.
-When the light is not sufficient, you may click on “Low Light” to get a clear image.
2You can adjust different values for different circumstances and environment
3You may adjust values toward image appearance. Before adjusting values, you
have to unclick “Auto” to unlock.
4-Press “Reset” to return to the manufacturer’s settings. -Press “Restore” to return to the previous settings. -Press “Save” to save the values you set up.
5Select the correct frequency according to the country where you are using the web camera. (Before doing this, you will need to select “Indoor”.)
6-If your web camera is located in backlight position, you may click “Backlight compensation” to get a sharper image.
-You can have a black-and-white photo effect by clicking on “B/W Mode”.
-4-
 Loading...