

Page 1
™
Page 2
™
Magic Shield: “Skolir!”
Power: Strong
Damage: 0
Effect on Hit:
Knockback
Effect on Blocking
Enemies:
Breaks the
block
Base Recast
Time: 6 seconds
(Daret Docks)
Recast Bonus per Level: – 5% per level completed
Minimum Recast Time: 3.6 seconds (Urgal Encampment)
As you might imagine, the shield provides you with a scant
few seconds of defense against foes. It also knocks back any
foe caught in its initial radius, but you likely won’t be using
this much because it simply gives your foes more time to
surround you, making things even hairier than they were
previously. However, if you fi nd yourself surrounded and
there are a lot of ledges about, try this to send enemies
fl ying—hopefully over an edge.
Power: Very
Strong
Damage: 750
over 5 seconds
Effect on Hit:
Lights the
enemy on fi re
and burns them
for 5 seconds
Effect on Blocking Enemies: Breaks the block
Base Recast Time: 6 seconds (Daret Docks)
Recast Bonus per Level: – 5% per level completed
Minimum Recast Time: 3.6 seconds (Urgal Encampment)
This is the single best form of magic you have. It recharges
fairly quickly, does substantial damage, and takes a foe out
of a fi ght for fi ve full seconds regardless of armor status. It
also sends foes careening over ledges as easily as push and
pull magic does, making it a triple threat. Once you earn this
ability at Durza’s Fortress you’ll fi nd that it renders those
other forms of magic obsolete.
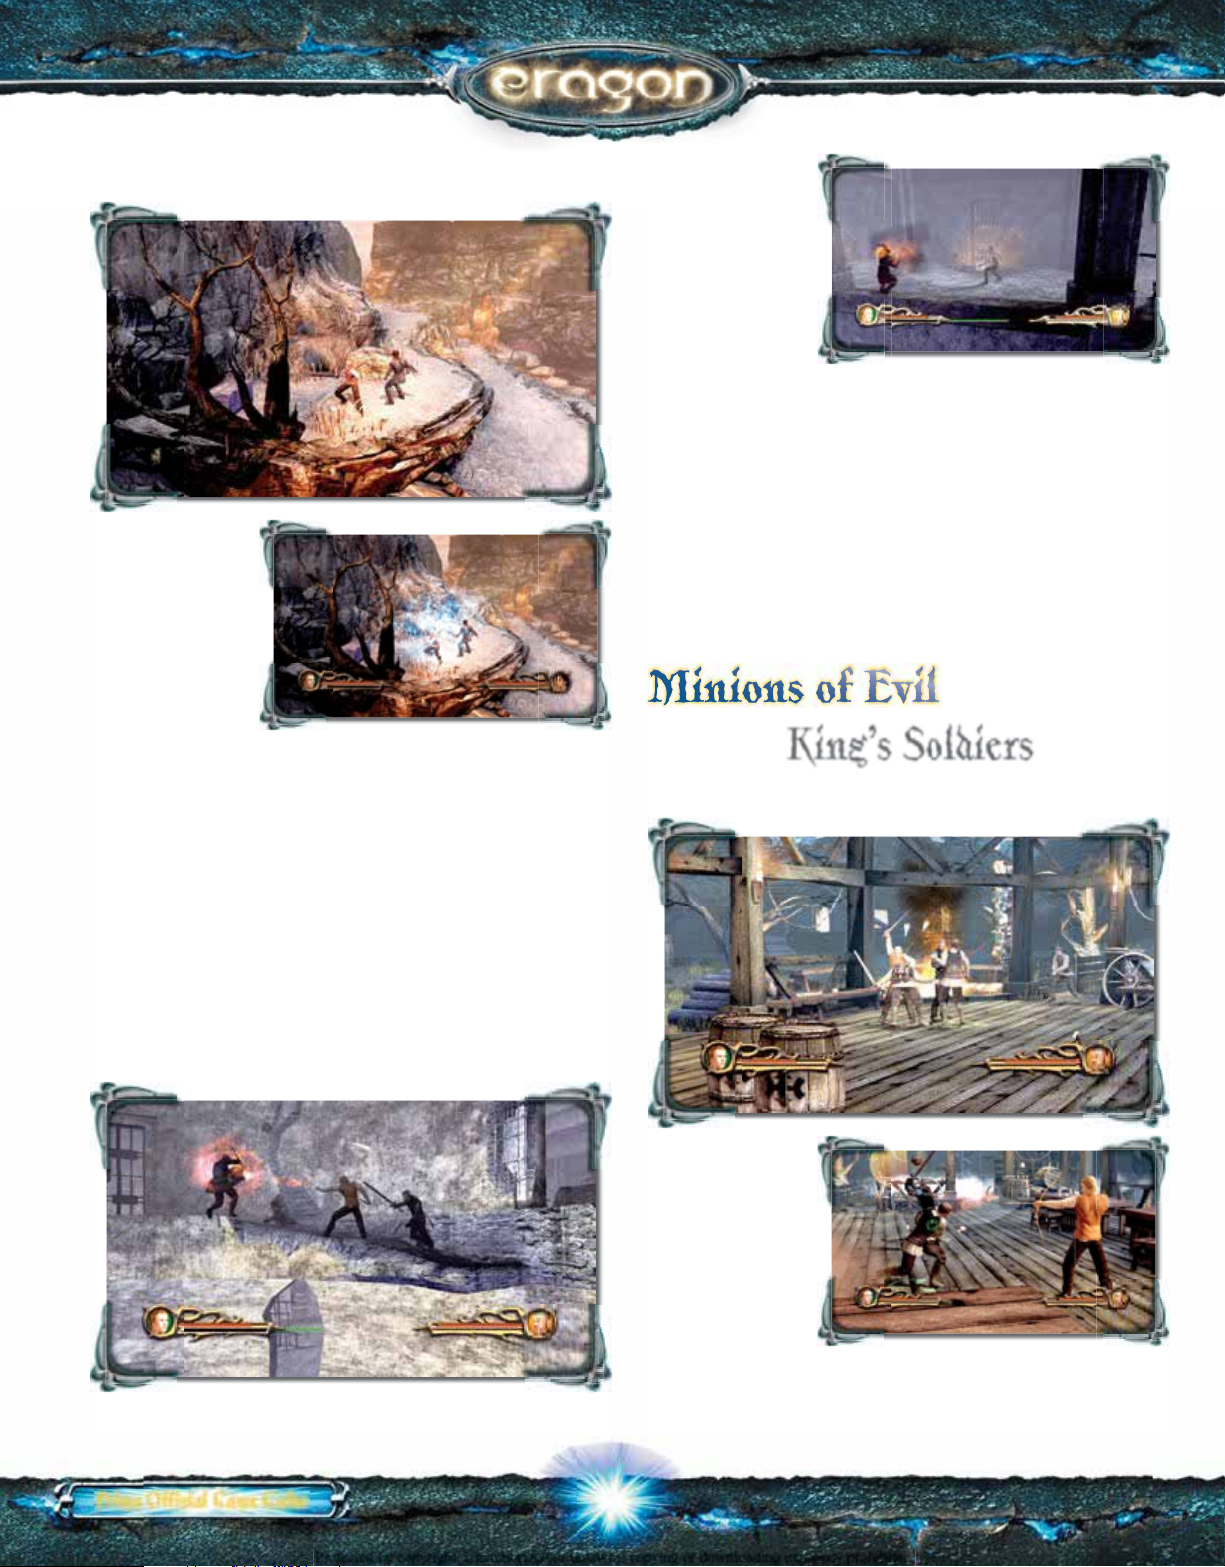
Minions of Evil
King’s Soldiers
Soldier Recruit
Magic Fire: “Brisingr!”
Prima Offi cial Game Guide
Base Health: 750
Armor: None
Immunities: None
Block Chance:
None
Evade Chance:
Low
Enemy
Specialties:
Dying quickly
Special Tactics: None
12
Page 3
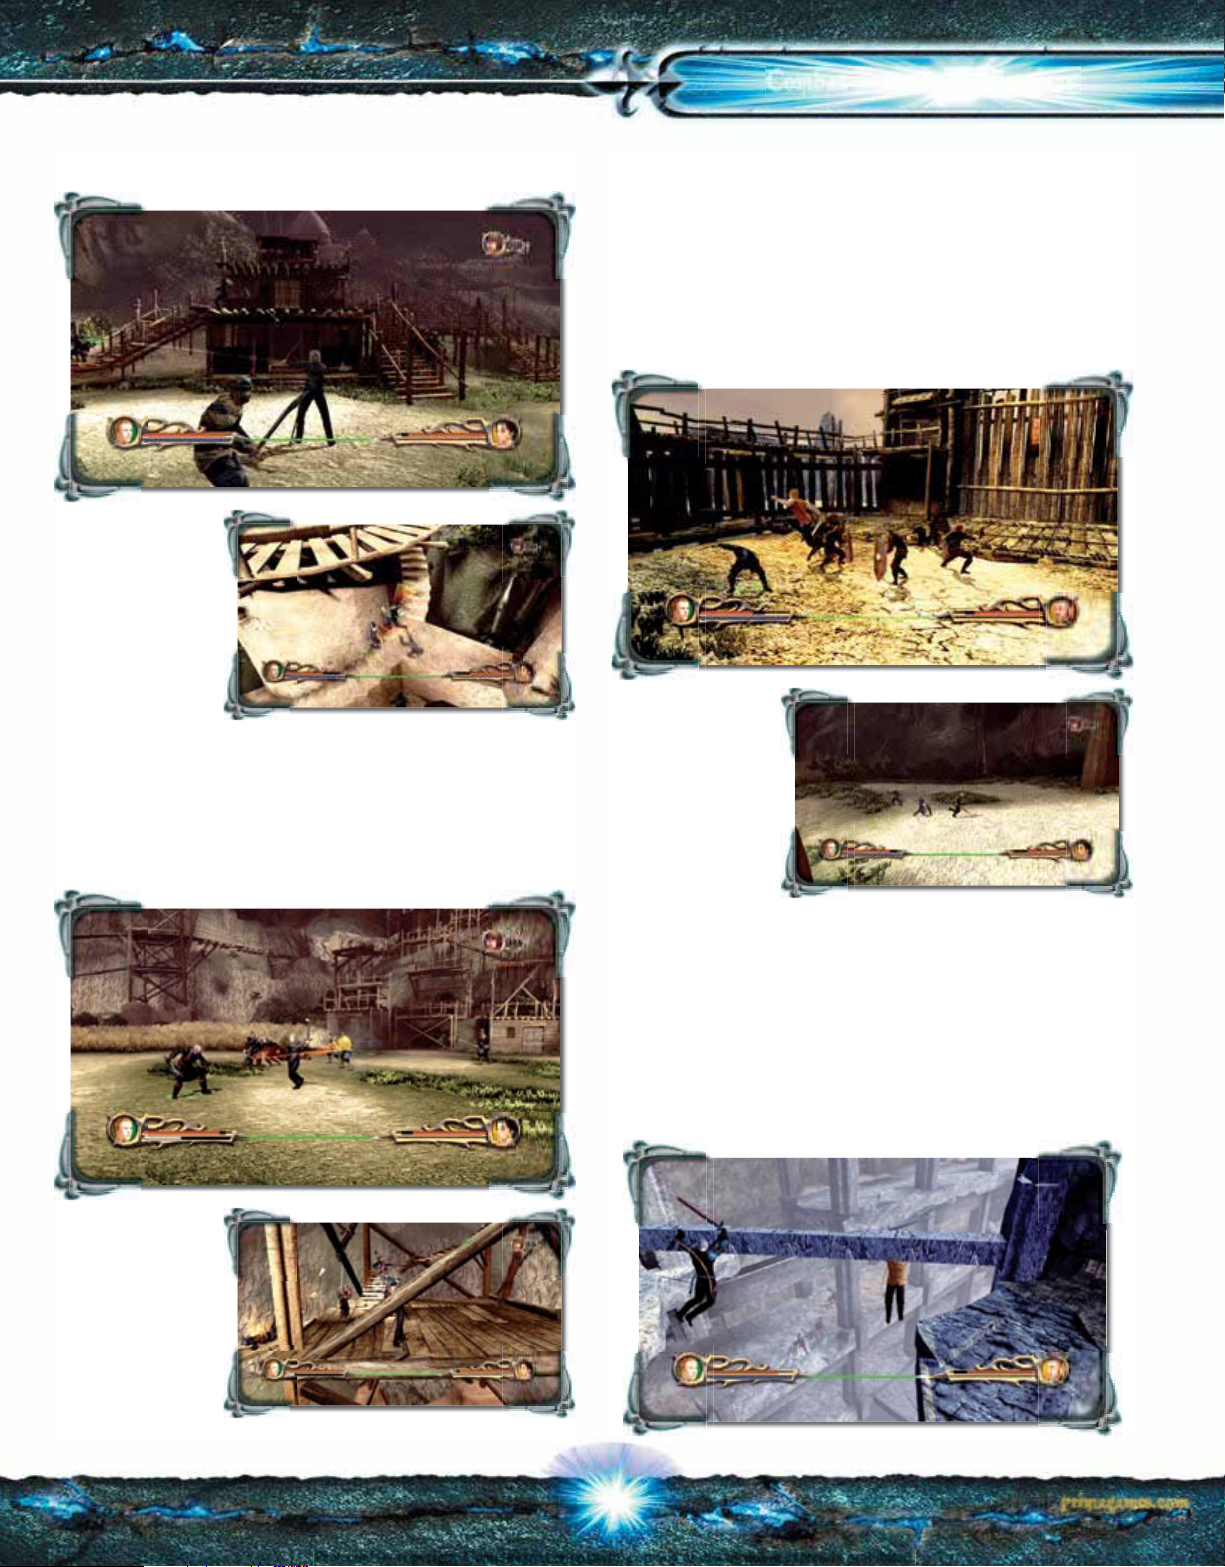
Combat Essentials & Bestiary
Soldier Grunt
Base Health:
1,250
Armor: Medium
Armor
Immunities: None
Block Chance:
Low
Evade Chance:
Very High
Enemy Specialties: The Soldier Grunt is trained to evade
attacks and then attack with his own round of melee
attacks.
Special Tactics: As the Soldier Grunt evades a great deal,
attacks with knockdown effects will keep him in place.
Soldier Commander
Block Strength: Medium
Evade Chance: None
Enemy Specialties: Heavy blocking and heavy armor make
this a tough opponent to beat.
Special Tactics: Knockdown and Magic Arrow work well
against the Commander. Do not use Headshot Arrow
against the Commander until his helm is knocked off.
Soldier Shieldbearer
Base Health: 750
Armor: Heavily
Armored (with
shield), None
(without shield)
Immunities: None
Block Chance:
Constant from
the front when
shielded
Evade Chance: None
Enemy Specialties: This enemy’s shield prevents nearly all
attacks from the front. He will also bash the player away
from him when shielded.
Special Tactics: Magic Arrow or Pounding Jump Attack can
remove this enemy’s shield easily. Attacking the Soldier
Shieldbearer from behind also works well.
Base Health:
1,200
Armor: Heavily
Armored
Immunities:
Headshot
Arrow, while
armored
Block Chance:
Very High
Soldier Archer
13
primagames.com
Page 4
™
Base Health:
1,250
Armor: None
Immunities: None
Block Chance:
None
Evade Chance:
None
Enemy
Specialties: Arrow attacks from this enemy can be deadly.
Special Tactics: Headshotting an archer can take him down
before he can do too much damage. Dodge his shot and
then line up for a Headshot Arrow.
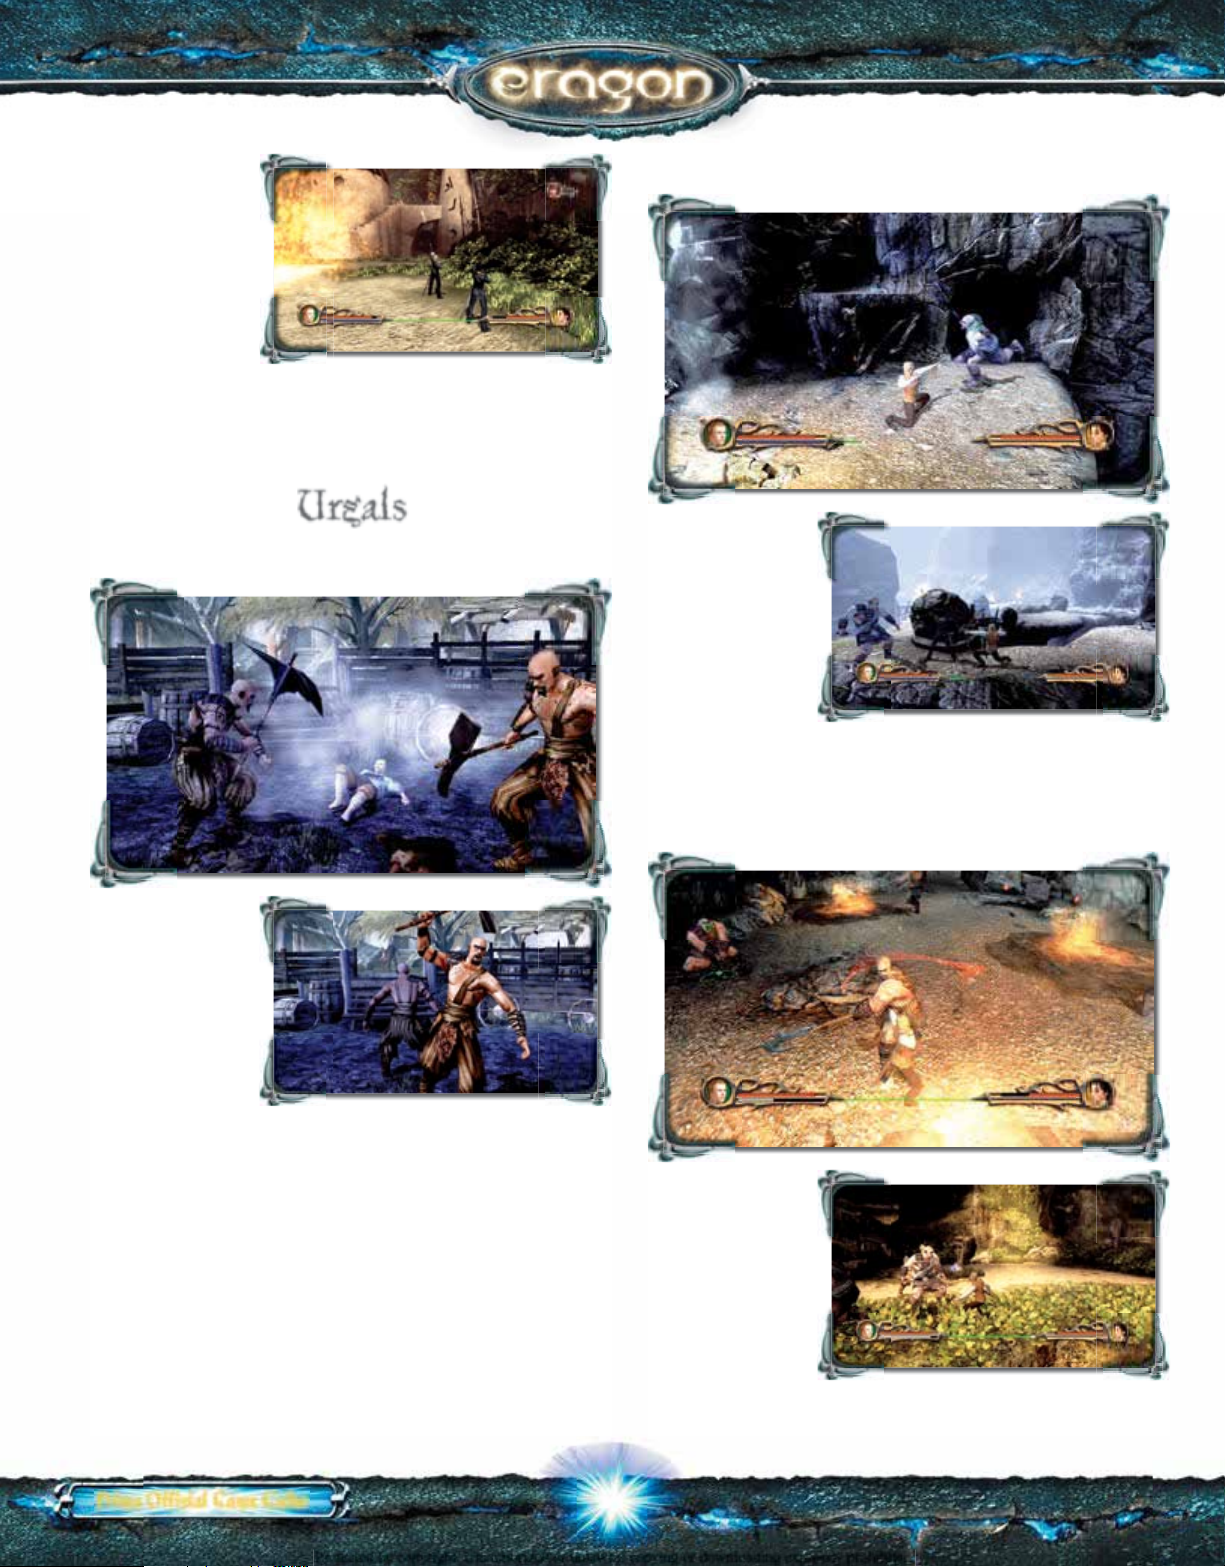
Urgals
Urgal Grunt
Urgal Scout
Base Health:
1,000
Armor: None
Immunities: None
Block Chance:
High
Evade Chance:
High
Enemy
Specialties: Smaller then their Grunt counterparts, these
Urgals are usually the fi rst raiders into towns and villages.
Special Tactics: See Urgal Grunt.
Base Health:
1,500
Armor: None
Immunities: None
Block Chance:
High
Evade Chance:
None
Enemy
Specialties: With heavy blocking and heavier hits, these
Urgals are the bread and butter of the Urgal horde.
Special Tactics: Parry the Urgal’s attack and then stun him to
grab and then beat him down—this would also be a good
time to grab and throw one into his cohorts.
Urgal Berserker
Base Health:
2,000
Armor: None
Immunities: None
Block Chance:
High
Evade Chance: Low
Enemy Specialties:
These are the
biggest and meanest Urgals.
Prima Offi cial Game Guide
14
Page 5
Daret Docks
covered by a too small breastplate. An
™
n Urgal stood over him,
face set in a gross leer. The
monster was tall, thick, and
broader than a doorway, with gray
skin and yellow piggish eyes. Muscles
bulged on his arms and chest, which was
iron cap rested over the pair of ram’s
horns curling from his temples, and
a roundshield was bound to one
arm. His powerful hand held a
short, wicked sword.
—Eragon by Christopher Paolini
Prima Offi cial Game Guide
24
Page 6

Daret Docks
Walkthrough
Finding themselves
on the docks of
Daret town, Brom
and Eragon are
immediately set
upon by a band
of enemies from
the right. This
fi ght is fairly
straightforward,
but it features
some interesting
elements. You can
launch foes off
the dock by using
combos or, more
simply, by luring
them to the edge
and jumping and using a strong attack to send them over
the edge to a watery demise. Alternately, use charged shots
with arrows while Brom absorbs most of the onrushing foes’
attacks, treating him as a wedge to keep the foes at bay. From
there, you may pick them off at your leisure.
hile “wedging” is a very viable technique
W
all the way through the game, you must be
wary because Brom (and, later, Murtagh) are not
invincible. Remember: if they die, you die.
Multiplayer Mayhem
down incoming foes from your prior position. Their lifeless
bodies hit the dock with a dull, wet thud. Even Brom joins in
the arrow-fl inging action, doubling your fi repower and making
short work of troublemakers.
Now that the second band of hooligans is defunct, turn
your attention to the opposite direction, shatter the nearby
barrels, and use your bow to pick off foes in the distance as
they race, in vain, to strike at you before a missile pierces
their blackened hearts.
After taking
down a half
dozen or so,
continue
forward to the
next landing,
smash the
debris blocking
the path, and
resume fi ring
till the foes stop coming. With the bodies piled high, crack
open the two chests nearby and collect the goods (health, if
you’re wounded, and power for your Team Power meter.)
When you play with two players, it’s even easier to
dispatch foes. You can both execute jumps followed up
with strong attacks, making short work of a rather large
crowd.
After dispatching
that fi rst,
futile band of
interlopers, leap
down to the left
and crack open
the chest. From
there, begin
drawing your
bow and taking
Now keep
following the
docks upward,
along the path.
Once the path
ahead splits
to the left and
right, take up
your bow once
more and begin
shooting down offscreen interlopers. Keep fi ring till your foes
are so much bloody chaff, and then press on.
25
primagames.com
Page 7

Not too much
farther along,
you’ll see foes
pursuing the
area’s innocent
denizens
(just to your
left.) Take up
your bow and
aid them by
striking swiftly from afar till they menace your kin no more.
Drop down from
the dock to a level
just above the
water, and proceed
till you come upon
a gang of barrels.
Pause here and,
once more, draw
your bow to strike
down foes that
think themselves
safe from
retribution. Be
wary, however, as
foes approach from
behind, and have
your blade at the
ready. It will taste
blood shortly.
emember: you can launch foes into the water
R
if you can force enemies near the edge, and
then jump with a strong attack.
™
As the cinema unfurls,
Eragon is granted the fi rst
of several gifts of magic.
Utilizing the nearby battle
full of steel shafts, follow
the on-screen prompts and
begin hurling them at distant
enemies—one hit equals one
kill. After mowing down that
bunch, turn your attention
to the nearby crane and give
it a push to send it careening
around. Mount it and
continue on your way.
The next few
steps are fairly
straightforward:
you have to take
out a few Urgals
after you smash
some crates barring
your progress. Pass
another barrel of
steel shafts—you
won’t need them
as you can gang up
on each Urgal as it
comes.
When the ruckus dies down, shatter the barrels and leap
up to the exposed ledge. At the top you fi nd a chest, then
continue around the thatched-roof building to the right to
dispatch another pair of barrels. After that, a cinema plays.
Prima Offi cial Game Guide
Ere long, you
reach another
crane. Once
more, give it
a magicallypowered
shove to send
it spinning
‘round, then
take aim at the
counterweight with your bow. This sends the very hefty load
straight into the (no longer) menacing Urgals below.
26
Page 8

From there, drop
down to the beam
just below the edge
of the dock you are
currently standing
on and keep moving
forward. Another
crane awaits here,
so spin it ‘round
and drop its load
to clear the path
ahead. From there,
use your magic to
construct a path
so that you may
proceed.
Daret Town
Continuing forward
around a ring-like
section of dock,
you come to a ramp
heading downward.
Rushing toward
you are several
enemies—let loose
with arrows to cut
them down, and
keep heading to
the far right till you
fi nd a set of chests
at the very end of
the dock.
Once you reach
an open section of
dockwork, you spot
another barrel of
shafts, and then a
rapidly increasing
number of Urgals (up
to fi ve at once). Using
jump attacks, you
can quickly and easily
drive foes over the
edge. You can also use
the shafts but, in all
likelihood, this act is
more dangerous than
a sound strategy. Keep
moving till your foes
no longer do and the
battle will be yours.
If you run
the dock, you can
smash open a chest
to claim a pickup.
After that, clamber
up your recently
constructed ledge
and then move atop
the dock leading
off to the right.
Prepare yourself
for a multi-Urgal
encounter…
under
Once you’ve
dispatched all your
foes from afar and
claimed the chests,
use your magic
to pull the mast
around to you.
Climb aboard and
clamber across it,
then drop on the
ship. From there,
spin the mast once
more and then
fi nish your journey
across to the
opposite side.
Once across, head
all the way left and
follow the path
as it leads back
under the dock
you were recently
atop. Within its
shadowed eaves,
you discover this
level’s hidden egg!
27
primagames.com
Page 9

Prima Offi cial Game Guide
Doubling back,
make your way
over to the mast,
but instead of
continuing, take the
path leading away
from the camera
and you spot a hut
on the left (there’s
a chest in there).
Also, you see foes
massing at the far
end of the dock.
Use your bow to
take down as many
as possible from
afar, then engage in
close-range warfare
with your blade, using jump attacks to prevent them from
getting a steady bead on you.
Following the
docks as they
unfurl ahead,
drop down
before long—
directly behind
you at this point
is another chest
in the shadows.
Once you have
it, keep heading left and clamber atop the dock as it continues
onward.
™
You now have a series of brief
encounters with foes, mainly
because you are pushing and
pulling most of them into the
water. Keep your eyes open and
make sure you push where you
should push and pull where
you should pull—otherwise
you’ll do little more than
distract a foe for a scant few
seconds (due to their range).
You can also mix in jump attacks
and one-hit kills with arrows
when in between magical
charges. Navigate numerous beams as you go to make progress.
Eventually you reach a point
where the way ahead is out:
simply utilize your magic to
reconstruct the debris to bridge
the gap ahead, then clamber up
another beam to the left and
haul yourself onto the ledge till
you reach the waterfall room.
Prima Offi cial Game Guide
Prima Offi cial Game Guide
At this point you
fi nd yourself
beneath a very large
structure—you also
gain access to push
and pull magic! Use
it on the fi rst foe
that approaches
to push him into
the brackish
water. From there,
clamber across the
swill by using the
nearby beam.
Once you are in the waterfall
room, immediately hoist
yourself up the nearest ledge
and cut down the fi rst archer
available. From there, begin
taking aim and pulling foes
to their deaths (mixing in
arrows during downtime) to
clear the room of immediate
threats. From there, clamber
across the beam spanning the
rushing torrent and head up
the left side of the area, killing
as you go. Once you reach the
doorway at the top, you’re
home free!
282828
Page 10

Trapped!
™
™
owever, I can tell you
this: they aren’t human.
When I glimpsed
one’s head, it appeared to have
something resembling a beak
and black eyes as large as my
fi st—though how they manage our
speech is a mystery to me. Doubtless
the rest of their bodies are just as
twisted.
—Eragon by Christopher Paolini
Prima Offi cial Game Guide
42
Page 11

Walkthrough
his level consists of freeing Saphira, who fell
T
into a trap set by the twisted Ra’zac.
As the confl ict
begins, Eragon
and Brom
(along with
the dragon,
Saphira) fi nd
themselves in a
wooded glade.
Saphira is
pinned beneath
several trees and tied down with vines. Eragon must use
his magic to remove the vines and trees so that Saphira can
be freed.
As you attempt
to free the
trapped dragon,
a single Ra’zac
menaces you.
If the Ra’zac
is targeting
Eragon, run
by Brom till he
picks up the
Ra’zac, then get to work.
Trapped
First you must
undo fi ve spots
with your magic.
As soon as Brom
is dealing with
the Ra’zac, start
undoing the debris
holding Saphira.
Start on the left
and work right as
new spots light up
(then back left if
need be). Heavier
debris (primarily
the trees) takes
longer to move
and might require
exerting effort for a
few moments
the targeting icon is
fi lled.
after
Multiplayer Mayhem
The 2P strategy for this sequence is
1P. The player using Brom must keep the Ra’zac off of
Eragon’s back or he won’t be able to free Saphira and,
thus, complete the level.
exactly
the same as
43
primagames.com
Page 12

After the fi rst
fi ve spots are
opened up,
attack the
Ra’zac with
Brom. Your best
bet is repeated
jumping strong
attacks. It may
not look pretty,
but the Ra’zac seems oddly incapable of dealing with this
manner of attack. Brom will likely keep fi ring arrows while
you slowly grind the creature to death.
™
™
Now repeat the
process on the
second Ra’zac
and dispatch it
as you did the
fi rst. As you’re
doing this,
move toward
the camera and
grab the hidden
egg at the edge of the screen.
Another Ra’zac
soon appears.
Once the fi rst
Ra’zac dies,
proceed to undo
the next three
spots holding
the dragon
down. Once
more, allow
Brom to hold the Ra’zac at bay and go to work, gradually
freeing Saphira.
Once the second
Ra’zac goes down,
two
will take its
place. As before,
run around till
Brom snags both,
then proceed to
free Saphira once
more—this time
there are fi ve
hotspots. Once you
clear them, the level
comes to a very
abrupt end for your
Ra’zac “friends.”
Prima Offi cial Game Guide
44
Page 13

Trapped
Protected by copyright. Unauthorized or unlawful copying or downloading expressly prohibited.
Protected by copyright. Unauthorized or unlawful copying or downloading expressly prohibited.
45
primagames.com
Page 14

The Prima Games logo is a registered trademark of Random House, Inc., registered in the United States and other countries.
Primagames.com is a registered trademark of Random House, Inc., registered in the United States.
 Loading...