

Emos P5801 User Manual
P5801
GB
CZ
SK
PL
POWER CONSUMPTION METRE
MĚŘIČ SPOTŘEBY ELEKTRICKÉ ENERGIE
MERAČ SPOTREBY ELEKTRICKEJ ENERGIE
LICZNIK ZUŻYTEJ ENERGII ELEKTRYCZNEJ
User manual
1911000010_31-P5801

2
Power consumption metre
GB
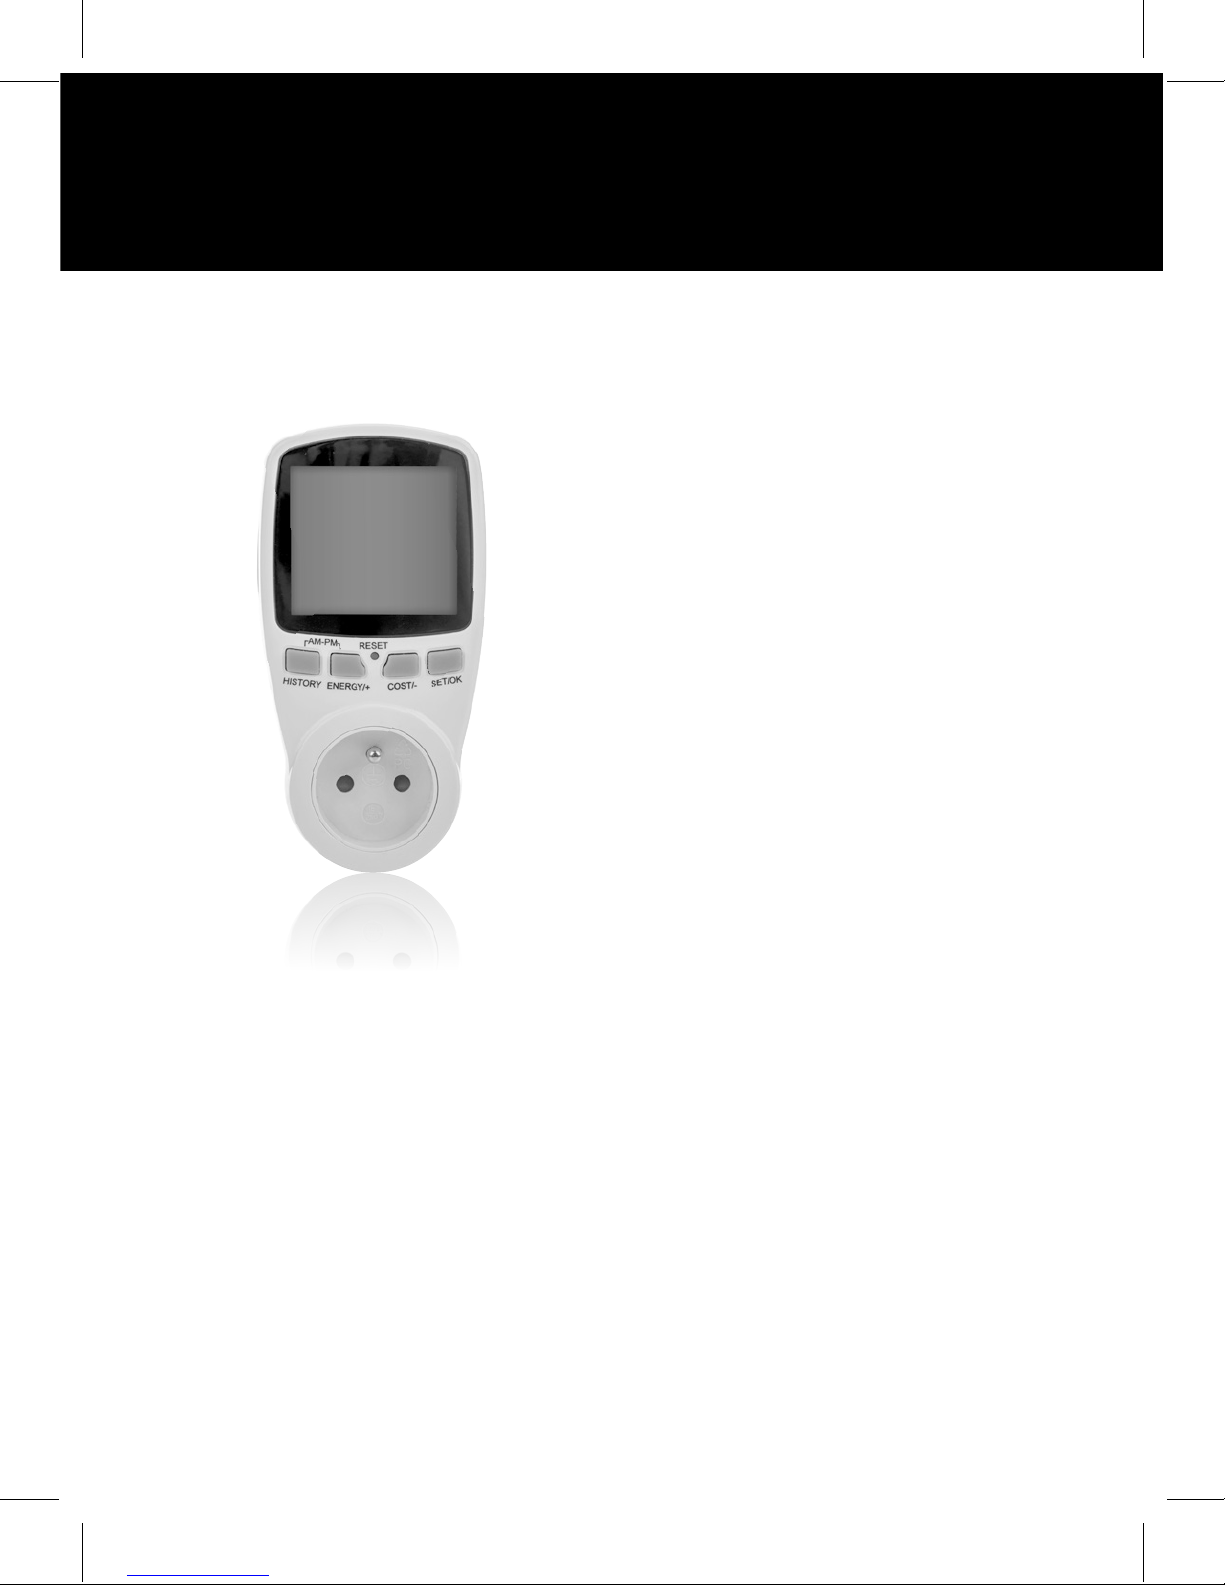
Device description
The power consumption metre P5801 (hereinafter referred to as metre) is an
electronic device which measures power consumption and can also calculate and
display operating costs of the measured appliance on agraph. The graph can be set
up to display the last 7 days/weeks/months. This function allows the user to reduce
power costs and decrease CO
2
emissions.
Specications:
Nominal voltage: 230–240 V~/50 Hz
Nominal current: max. 16 A
Max. load: 3 680 W
Operating voltage: 175–276 V~/50 Hz
Period recorded: 0 sto 9 999 days
Operating temperature: 0–50 °C
Measuring range: 2 to 3 680 W
Power consumption range: 0 kWh to 9 999 kWh
Battery: 2× 1.5 V (LR44/AG13)
Use in normal dry conditions with relative humidity ranging from 20 to 90 %
Connection:
First, remove the plastic ring from the battery space at the rear of the metre, as
shown in the picture. The installed batteries 2× 1.5V (LR44/AG13) are used to power
the metre memory.
Then, connect the metre to a230 V~ power network. Do
not connect any appliance to the metre yet. If the display
of the metre does not show any data or the data is dicult
to read, press the „RESET“ button using a sharp pointy
object such as a pen or a pencil. Then, the screen will
display all characters as shown on the gure below. This
display will remain for ca 3 seconds.
3
P5801
Display settings:
1. current time setup
1.1 Press and hold the „SET/OK“ button for 3 seconds. You will enter the settings
mode and the clock icon will start blinking.You can change the time values using
the buttons „ENERGY/+“ (increasing values) or „COST/-“ (decreasing values). Pressing
the „HISTORY“ button will switch between hours and minutes. Once current time is
set, press „SET/OK“.
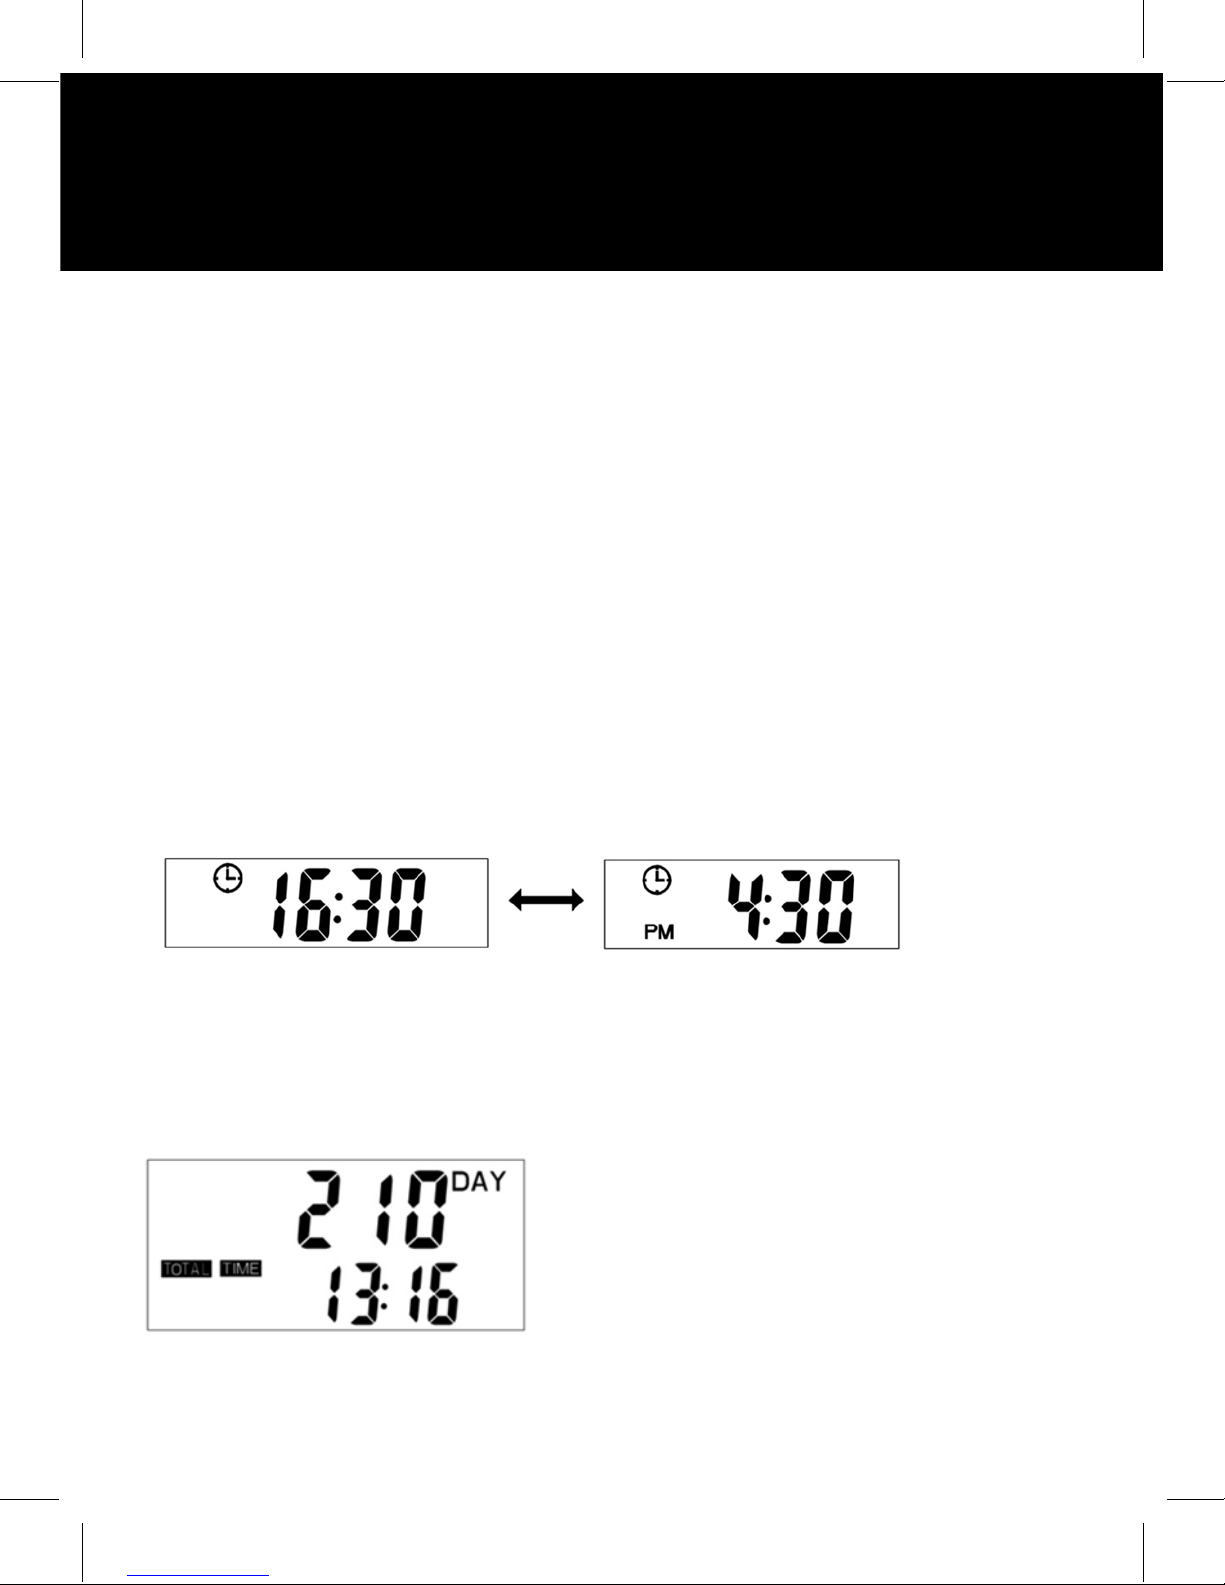
Switching to 12/24 hour mode
After setting the current time, the metre will work on a 24 hour time cycle. If
you want to switch to 12 hour mode, simultaneously hold the „HISTORY“ and
„ENERGY/+“ buttons for 3 seconds. The display will show the AM or PM symbol. AM
indicates morning hours, PM afternoon hours. Set the desired time mode (12/24).
1.2 Total operating time of the connected appliance (TOTAL TIME):
Once the load (input power of the connected appliance) exceeds 2 W, total time will
start recording automatically. You can display the total operating time by pressing
the „COST/-“ button.
4
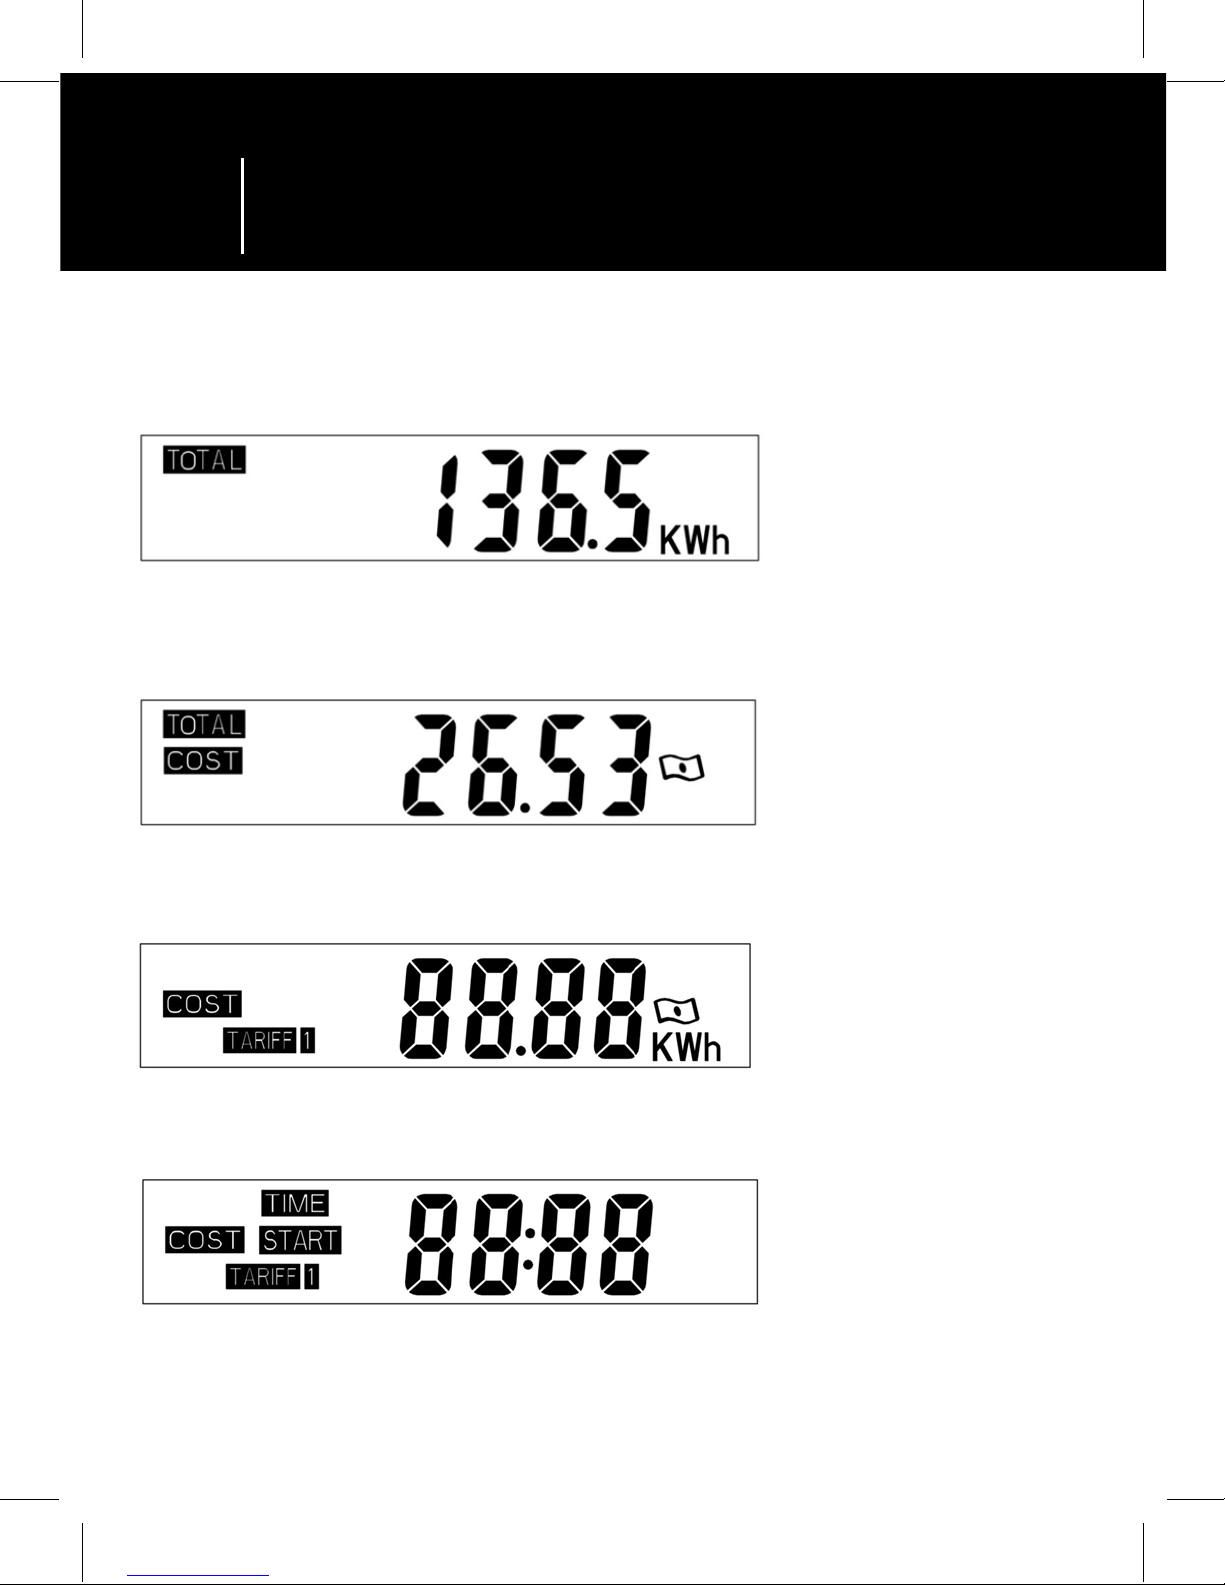
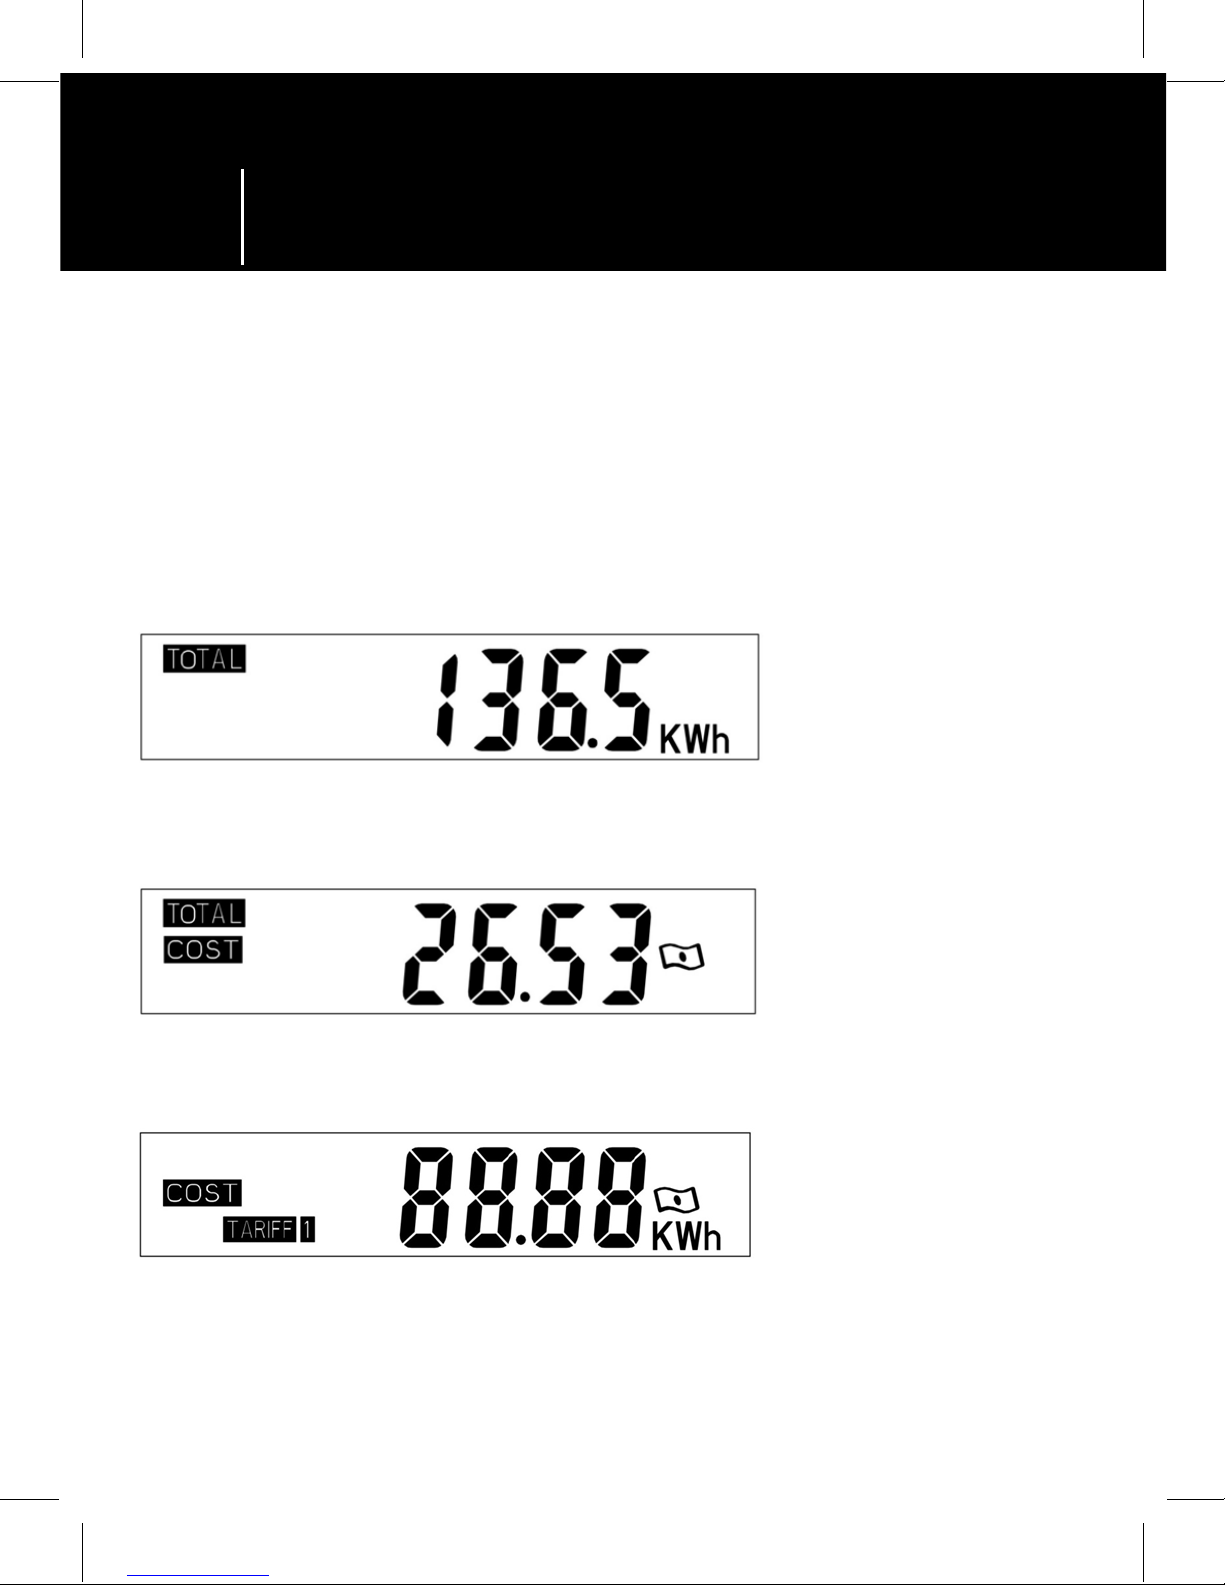
1.3 using the „COST/-“ button, the display will show the following, in order:
• Total operating time
• Total power consumption 0.00–9 999 kWh
• Total power costs 0.00–9 999 EUR
• Power costs in tari 1 (0.00 EUR/kWh – 9 999 EUR/kWh)
• Tari 1 start time
Power consumption metre
GB
5
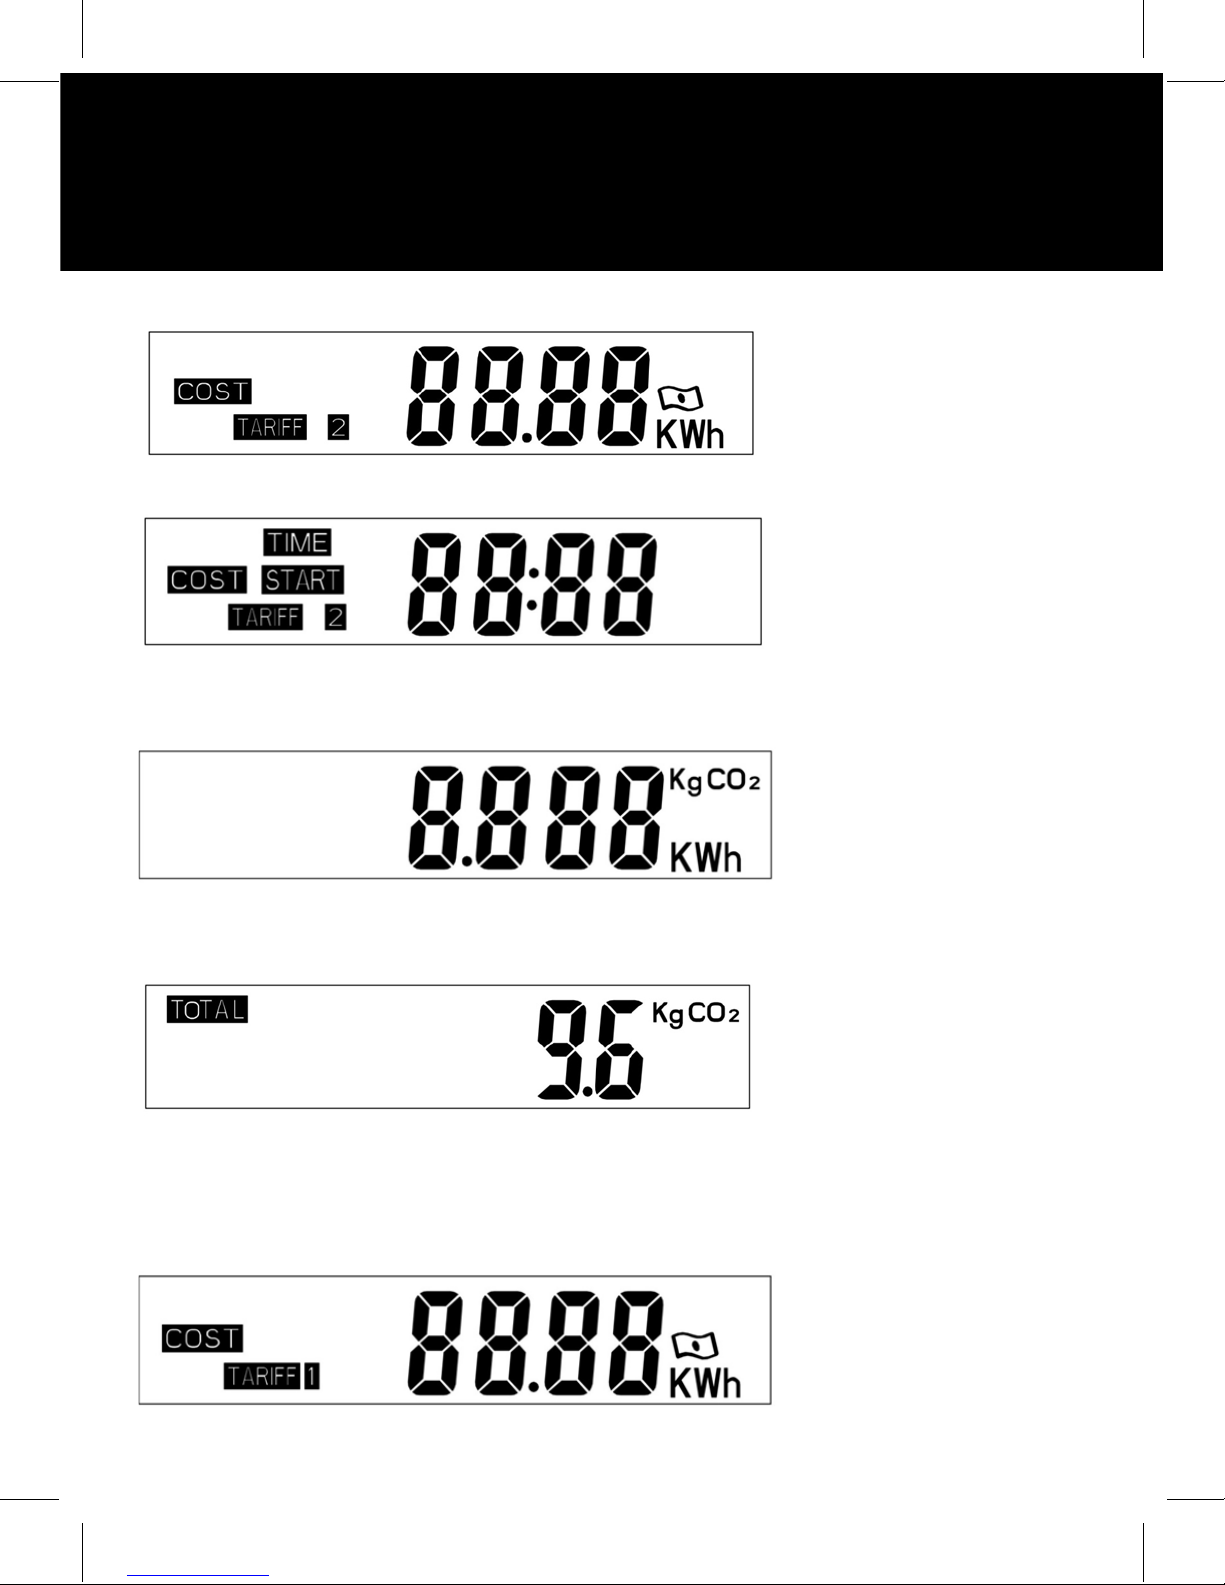
• Power costs in tari 2 (0.00 EUR/kWh – 9 999 EUR/kWh)
• Tari 2 start time
• CO2 volume in kg: 0.00 – 9 999 kg CO2 /kWh
• Total CO2 consumption in kg 0.00 – 9 999 kg
2. Setting power current tari
Keep pressing the „COST/-“ button until you reach the power current tari settings.
P5801
6
Power consumption metre
GB
Hold the „SET/OK“ button for 3 seconds. „DUAL TARIFF“ will start blinking. Again
press „SET/OK“ – use the „HISTORY“ button to change the number, then press
„ENERGY/+“ or „COST/-“ to set arange between 0.00 EUR/kWh and 9 999 EUR/kWh;
you can move between numbers using the „HISTORY“ button. Finally, press „SET/OK“
to conrm the set values.
1.3 using the „COST/-“ button, the display will show the following, in order:
• Total operating time
• Total power consumption 0.00–9 999 kWh
• Total power costs 0.00–9 999 EUR
• Power costs in tari 1 (0.00 EUR/kWh – 9 999 EUR/kWh)
• Tari 1 start time

7
P5801
• Power costs in tari 2 (0.00 EUR/kWh – 9 999 EUR/kWh)
• Tari 2 start time
• CO2 volume in kg: 0.00 – 9 999 kg CO2 /kWh
• Total CO2 consumption in kg 0.00 – 9 999 kg
2. Setting power current tari
Keep pressing the „COST/-“ button until you reach the power current tari settings.
8
Hold the „SET/OK“ button for 3 seconds. „DUAL TARIFF“ will start blinking. Again
press „SET/OK“ – use the „HISTORY“ button to change the number, then press
„ENERGY/+“ or „COST/-“ to set arange between 0.00 EUR/kWh and 9 999 EUR/kWh;
you can move between numbers using the „HISTORY“ button. Finally, press „SET/OK“
to conrm the set values.
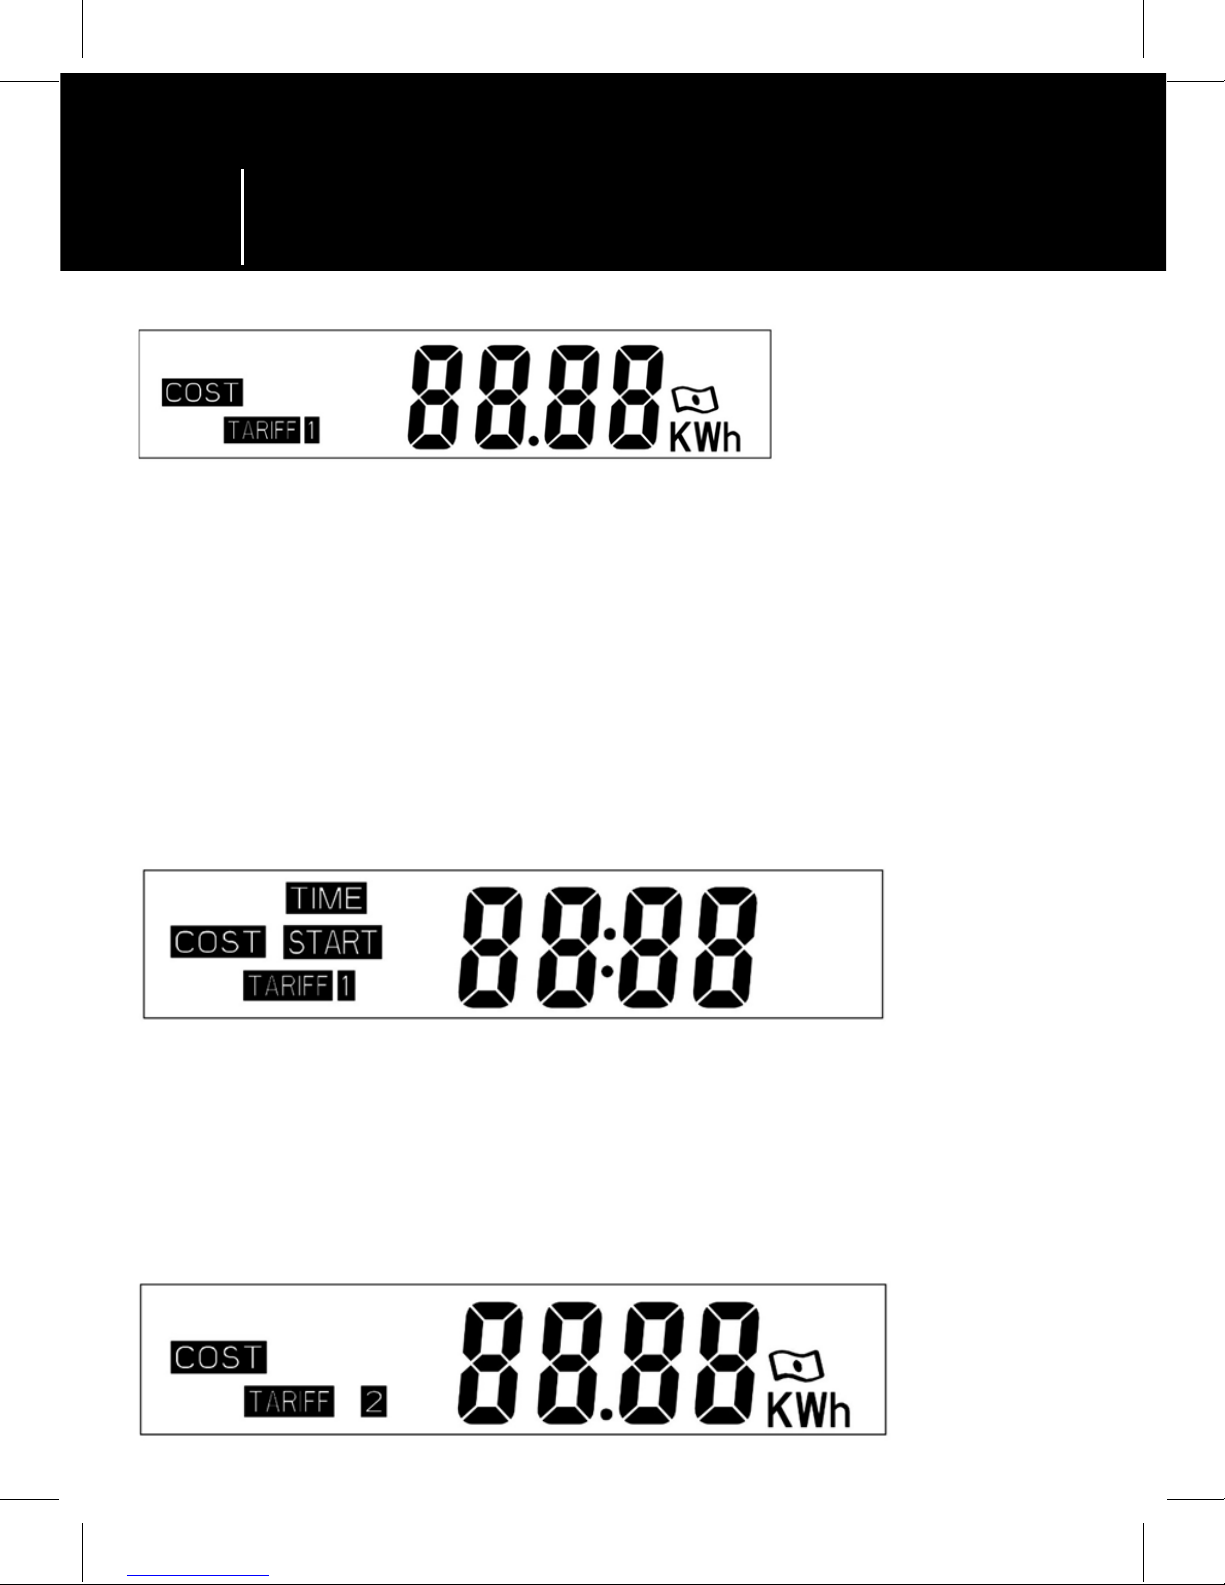
2.1 Setting power current tari 1 time
After setting the tari values, the screen will show „TIME START“
Press the „HISTORY“ button and select which value you want to change. By pressing
„ENERGY/+“ or „COST/-“, you can increase or decrease the values. When you are
done, press „SET/OK“.
2.2 Setting power current tari 2
To set up power current tari 2, proceed as described in points 2 and 2.1
Power consumption metre
GB

9
Note:
If dual tari is set, tari 1 will start from the set time and turn o when the set time for tari
2 comes. Current tari 2 will end the moment tari 1 begins.
3. Overload settings
Hold the „ENERGY/+“ button for 3 seconds; the top left corner of the screen will
now display „OVERLOAD“. Then, using the „HISTORY“ button, move between values
and set the maximum load. The default setting is 3 680 W. You can save the settings
by pressing „SET/OK“. After exceeding the set value, the „OVERLOAD“ sign will start
blinking.
4. Setting CO
2
:
Keep pressing „COST/-“ until you reach the following screen.
Then hold the „SET/OK“ button for 3 seconds. Using the „HISTORY“ button, move
between values. „ENERGY/+“ and „COST/-“ increase/decrease the values. You can
save the settings by pressing „SET/OK“.
5. Consumption graph for the last 7 days/weeks/months
Using the „HISTORY“ button, you can change display settings to the last 7 days,
7 weeks or7months.
P5801
10
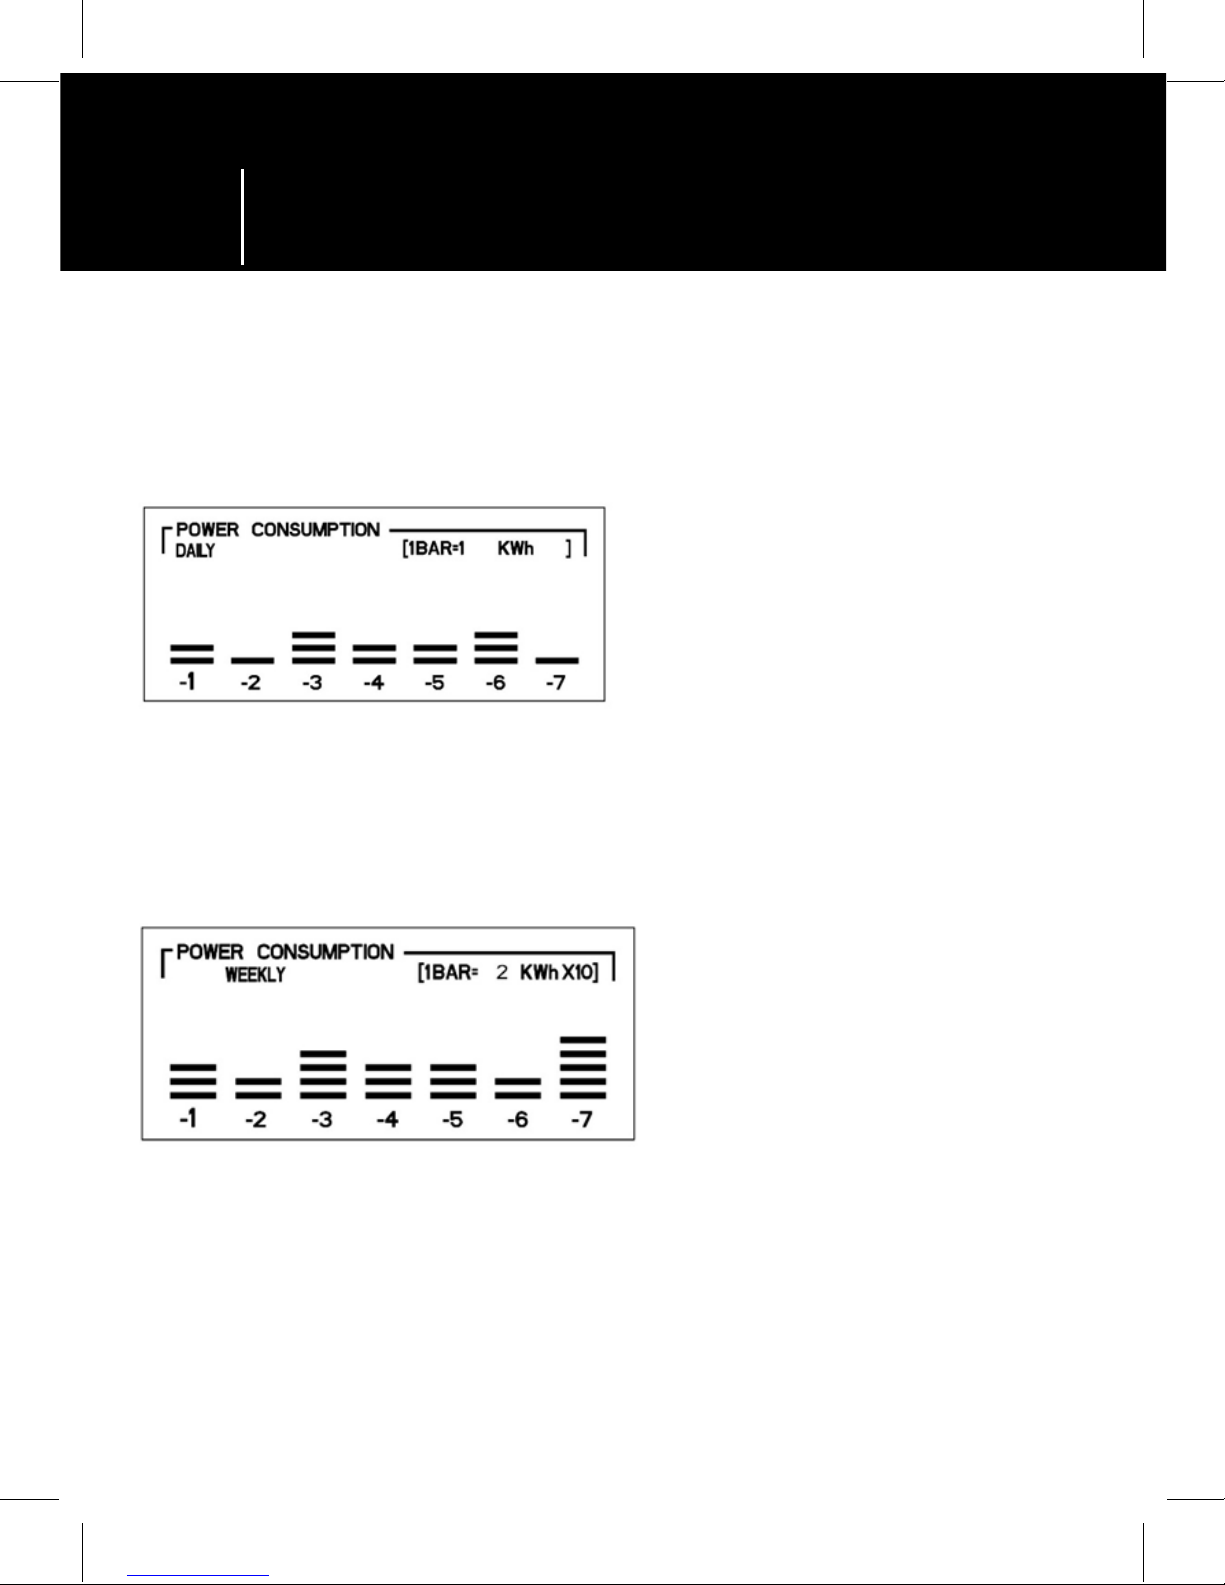
7 days
the top right corner of the graph shows the conversion ratio, indicating the power
consumed. In this case, each bar corresponds to 1 kWh, i.e. yesterday, power
consumption was 2 kWh (1 kWh × 2 bars)
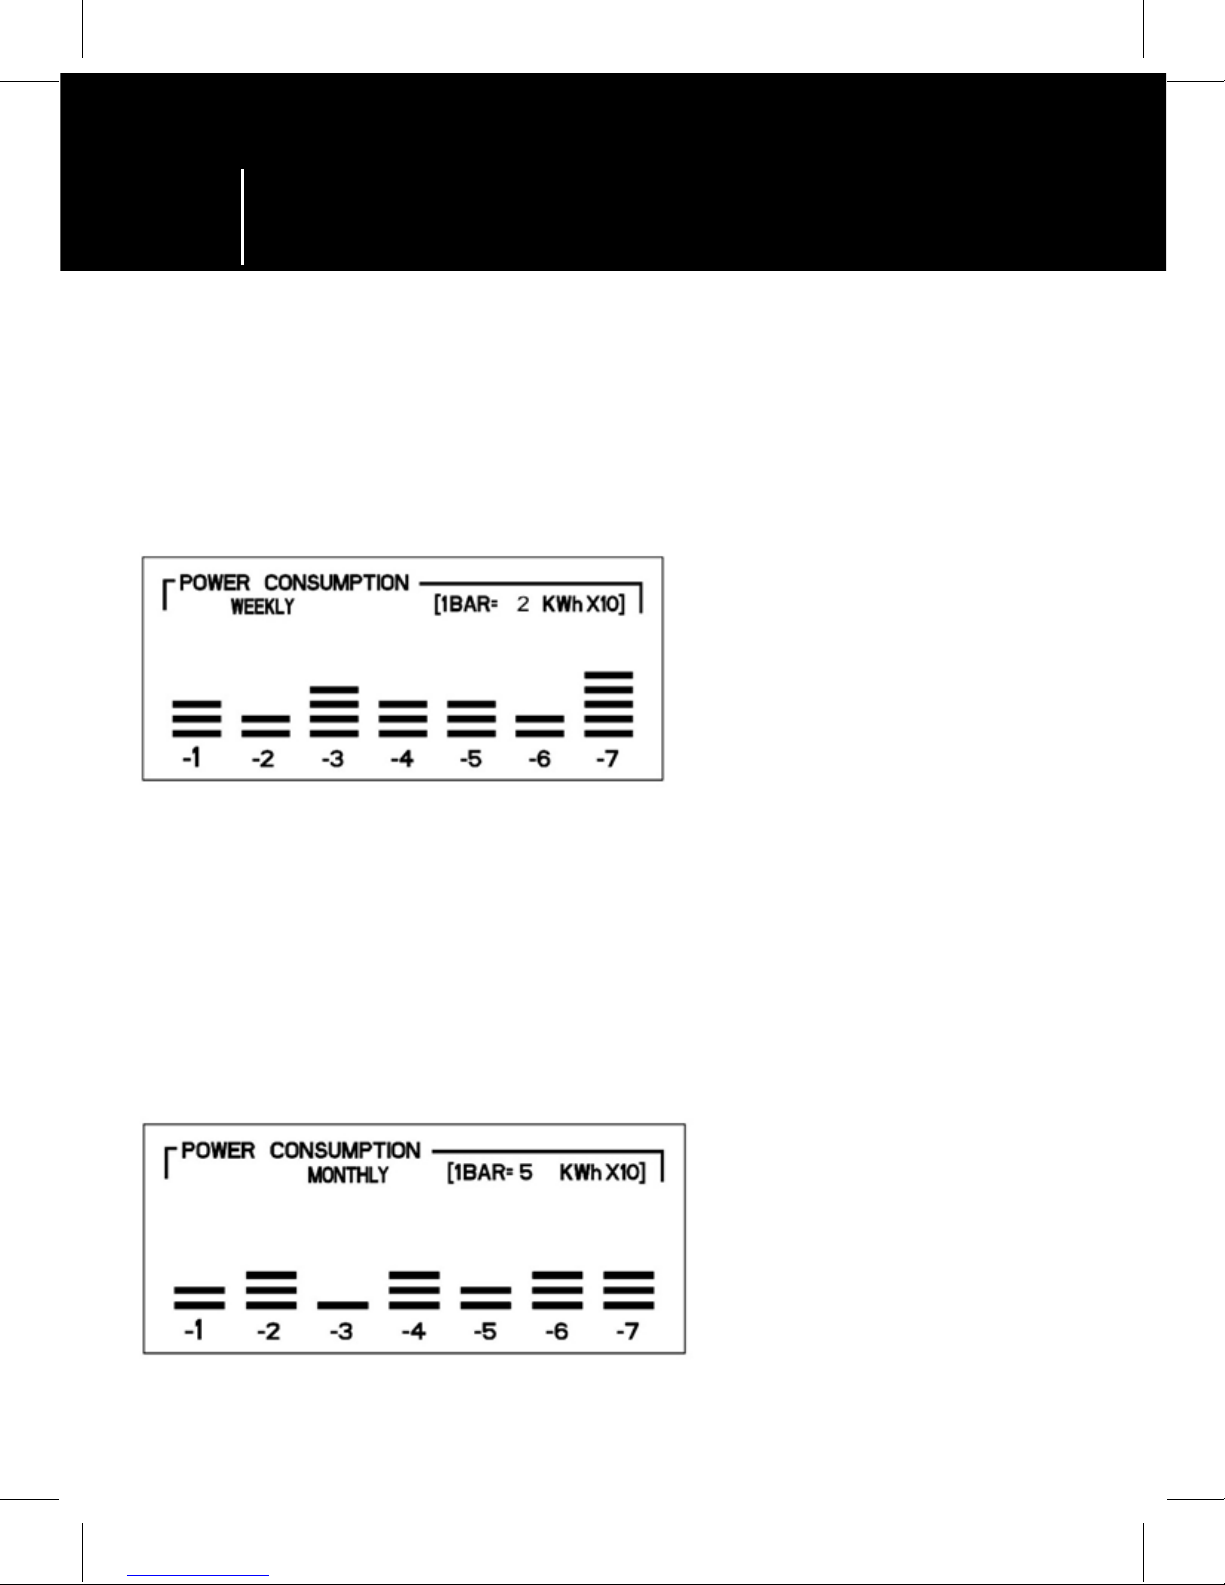
7 weeks
the top right corner of the graph shows the conversion ratio, indicating the power
consumed. In this case, each bar corresponds to 20 kWh (2 kWh × 10), i.e. last week,
power consumption was 60 kWh (20 kWh × 3 bars)
7 months
the top right corner of the graph shows the conversion ratio, indicating the power
consumed. In this case, each bar corresponds to 50 kWh (5 kWh × 10), i.e. last month,
power consumption was 100 kWh (50 kWh × 2 bars)
Power consumption metre
GB

11
P5801
The individual power consumption values shown using bars are:
1BAR = 1 kWh
1BAR = 2 kWh
1BAR = 3 kWh
1BAR = 5 kWh
1BAR = 1 kWh × 10 (10 kWh)
1BAR = 15 kWh
1BAR = 2 kWh × 10 (20 kWh)
1BAR = 3 kWh × 10 (30 kWh)
1BAR = 5 kWh × 10 (50 kWh)
6. Actual consumption in days/weeks/ months
6.1. Actual power consumption in the last 7 days:
Hold the „HISTORY“ button for 3 seconds once the screen shows the „daily“ value.
12
Press „ENERGY/+“ or „COST/-“ to select the day you want to show. Display
-1 means yesterday, -2 two days ago etc. up to -7 a week back. The real power
consumption is shown on the second line.
6.2. Actual power consumption in the last 7 weeks:
Hold the „HISTORY“ button for 3 seconds once the screen shows the „weekly“ value.
Press „ENERGY/+“ or „COST/-“ to select the week you want to show. -1 indicates last week,
-2 two weeks ago etc. up to -7 seven weeks ago. The real power consumption is
shown on the second line.
6.3. Actual power consumption in the last 7 months:
Hold the „HISTORY“ button for 3 seconds once screen shows the „monthly“ value.
Press „ENERGY/+“ or „COST/-“ to
select the month you want to
show. -1 indicates last month,
-2 two months ago etc. up to
-7 seven months ago. The real
power consumption is shown on
the second line.
Power consumption metre
GB
13
7. Quickly deleting data
7.1. Press and hold „ENERGY/+“ and „COST/-“ simultaneously for 3 seconds, until
the screen starts blinking.
7.2. Then press and hold „SET/OK“ for 3 seconds. All the data will be erased.
8. Replacing batteries
8.1. Open the battery compartment cover on the back side of the consumption
metre.
8.2. Remove the at batteries.
8.3. Insert new 2× 1.5 V (LR44/AG13) batteries. Make sure you observe the correct
polarity. Use alkaline batteries only, not rechargeable ones.
8.4. Close the cover.
Safety warning
• Connect the metre to a230 V~/50 Hz (±10 %), max. 16 Anetwork tted with
asafety switch/contact.
• Only appliances powered by 230 V~/50 Hz voltage can be connected to the metre.
• Pay attention to the data on the type label of the appliances connected to the
device.
• T he maximum input power of the connected appliances must not exceed 3 680
W (max. current 16 A).
• Use the metre in closed spaces and dry environments only. Using the metre
outdoors is strictly forbidden!
• The screen is powered using alkaline batteries. Do not recharge, short circuit
or destroy the batteries or throw them in are. Do not combine new and old
batteries, dierent types, systems or brands. Remove the batteries if the device is
not used for alonger period of time. Store the batteries out of range of children.
• Any use of the device which is not listed in the previous sections of this manual
will lead to damaging the product and can create arisk of short circuiting, injury
by electric current etc. The metre must not be altered or otherwise restructured!
Safety warnings must be followed unconditionally.
• We take no responsibility for material damage and injury to persons caused by
P5801

14
improper use of the metre or disregard of instructions and safety warnings listed in
the manual. Any claim for warranty is voided in these cases.
• Make sure that the lead-in protective conductor is not disrupted – the life of the
user may be endangered if the protective conductor is disrupted.
• Recommended ambient temperature of the operation of the metre is 0 °C to +50
°C. Higher temperatures, especially when measuring larger appliances, can lead to
overheating and permanent damage or destruction of the metre.
• The metre must only be used in areas with no danger of unfavourable operating
conditions such as ammable gasses, vapours and dust.
• For safety reasons, never use the metre when wet or in awet environment.
• When cleaning or maintaining the device, the device must always be disconnected
from lead-in power supply. The capacitors in the device may still be charged,
especially if the devices was only disconnected from voltage recently.
• In schools and education institutes, interest workshops and self-help workshops,
the use of the device is permitted only under the supervision of qualied personnel.
• Do not insert needles or other metal or conductive instruments into the device.
• If the device is used in amanner not specied by the manufacturer, the protection
provided by the device may become damaged.
• Regularly check the P5801 device for damage.
• Any maintenance or repair of the device must be performed by atrained professional
electrical engineer who is demonstrably familiar with the corresponding safety
and electrical engineering regulations.
• When cleaning the device and the LCD screen, only use asoft dry cloth. Do not use
any cleaning agents or immerse the device in water!
• This appliance is not intended for use by persons (including children) whose
physical, sensory or mental disability or lack of experience and expertise prevents
safe use, unless they are supervised or instructed in the use of the appliance by
aperson responsible for their safety. Children should be supervised to ensure that
they do not play with the appliance.
Power consumption metre
GB
15
P5801
Do not dispose of electrical appliances as unsorted municipal waste, use
sorted waste collection points. Contact local authorities for up-to-date
information about collection points. If electrical appliances are deposited
in waste landlls, hazardous substances can leak into the groundwater, get
into the food chain and harm your health.
 Loading...