


Thank you very much for purchasing this Brother product. To obtain the best performance from ~his1Jroduct, it is important-to have a full understanding of the correct method of operation.
Vielen Dank fur den Kauf dieses Brother-Produktes. Fur eine optimale Leistung ist es wichtig, daB Sie die Betriebsweise richtig verstehen.
Nous vous remercions d'avoirachete ce produit Brother. Pour profiter au mieux des possibilites de ce produit, il est important de bien comprendre comment le faire fonctionner.
Muchas gracias por haber adquirido este producto Brother. Para lograr el maximo rendimiento posible de este producto, es muy importante que comprenda correctamente su funcionamiento.
From the library of: Superior Sewing Machine & Supply LLC
INSTALLING OPTIONS OPTIONS D'INSTALLATION MONTAGEOPTIONEN OPCIONES PARA INSTALACION
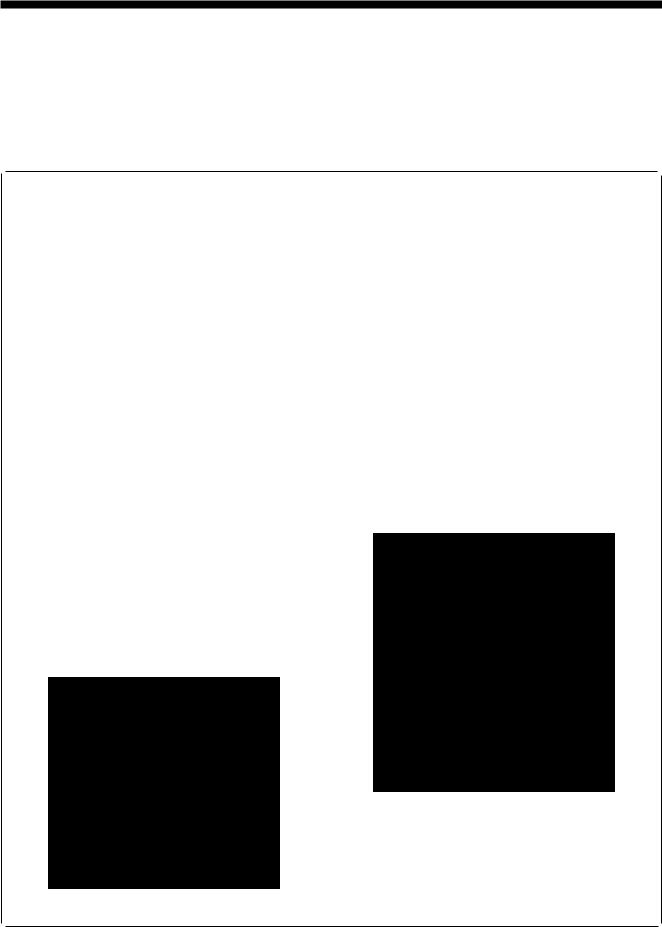
Ill Installing the control panel/Montage des 8edienungsfeldes/lnstallation du panneau de commande/lnstalaci6n del panel de controles
082-8737 type/Typ 082-8737/Type 082-8737/Tipo 082-8737
*After removing the sewing machine panel (E-0), install the operation panel.
*Entfernen Sie vor der Montage des Bedienungsfeldes die Abdeckung (E-O).
*Deposer le panneau (E-0) de Ia machine acoudre, puis installer le panneau de commande.
*Despues de desmontar el panel de Ia maquina de coser (E-0), instalar el panel de controles.
*Ypu can turn the removed panel upside down and use it as an accessory box. Secure the panel to the right edge of the work table with the screws.
*Die entfernte Abdeckung kann als Ablagefach verwendet warden, wenn Sie sie umgekehrt am Nahtisch anbringen. Befestigen Sie die Abdeckung auBen auf der rechten Seite des Nahtisches mit den Schrauben.
*II est possible de retourner le panneau depose et de l'utiliser comme boite aaccessoires. Fixer le panneau sur le cote droit de Ia table de travail avec les vis.
*El panel desmontado se puede dar vuelta y usar como una caja de accesorios. Asegurar el panel al borde derecho de Ia mesa de trabajo con los tornillos.
Set screw
Schraube
Vis de fixation
Tornillo de fijaci6n
Panel guide bracket
Bedienungsfeldhalterung
Support du guide de panneau
Mensula de gula de panel
Cord
Kabel
Cordon
Cable
Cord holder
Kabelhalter
Porte-cordon
Soporte del cable
From the library of: Superior-1Sewing- Machine & Supply LLC

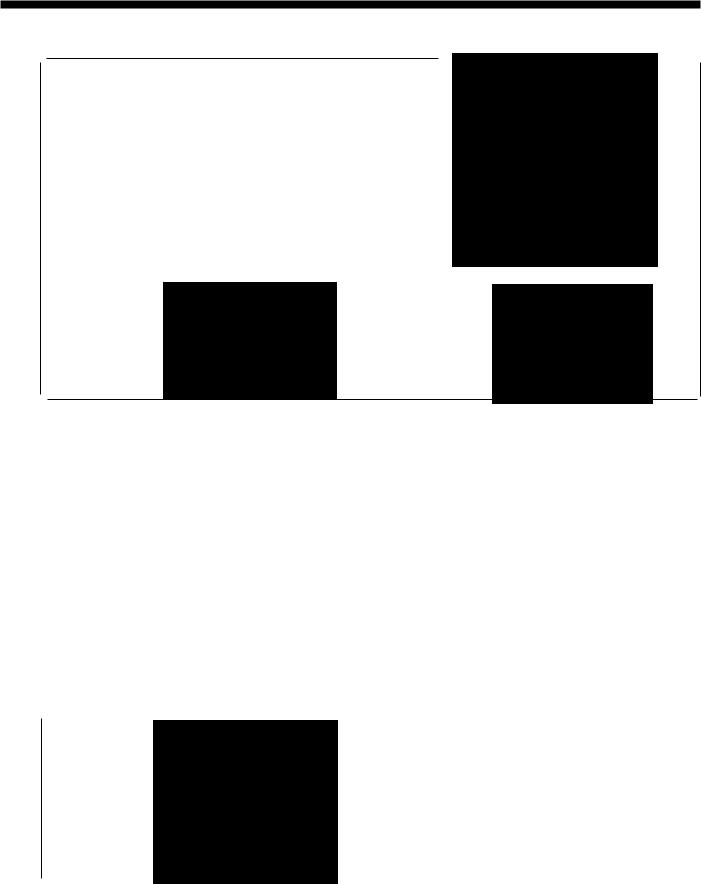
Ill Installing to the machine head/Montage am Maschineneoberteil/
Installation sur Ia tete de machine/lnstalaci6n en Ia cabeza de Ia maquina
082-8748 |
082-8774-6 |
082-8791 |
082-8798 |
082-8774-3 |
|
1.Remove the three screws 0 from the reverse side of the arm bed.
2.The operation box is provided with six screws. Use the three long screws 0 which are of the same thickness as the removed screws 0.
3.Install the operation box mounting plate 0 to the reverse side of the arm bed with the three screws 0.
1.Entfernen Sie die drei Schrauben 0 an der ROckseite des Oberteils.
2.Mit dem Bedienungsfeld werden sechs S~<_hrauben mitgeliefert Verwenden Sie die drejlangen Schrauben 0, die gleich
dick wie die entfernten Schrauben 0 sind. |
- |
· |
3.Montieren Sie die 8edienungsfeldplatte $ mit den drei Schrauben 0 an der ROckseite des Oberteils.
1.Retirer les trois vis 0 de I'envers du bras.
2.Le boitier de commande est fournie avec six vis. Utiliser les trois vis longues 0 qui sont de Ia meme epaisseur que les vis retirees 0.
3.Installer Ia plaque$ de fixation du boitier de commande sur l'enversdu bras aI'aide des trois vis 0.
1.Quitar los tres tornillos 0 dellado de atras de Ia maquina.
2.El panel de control viene con seis tornillos. Usar los tres tornillos largos 0 que son del mismo grosor que los tornillos quitadosO.
3.lnstalar Ia placa de montaje del panel de control $ dellado de atras de Ia maquina con los tres tornillos 0.
Ill Installing to the machine head/Montage am Maschineneoberteil/
Installation sur Ia tete de machine/lnstalaci6n en Ia cabeza de Ia maquina
|
|
|
1. |
Remove the three screws 0 from the reverse side of the |
|
|
|||
L12-8842, L12-8845, |
|
|
|
arm bed. |
LT2-8847, LT2-8848, |
|
|
2. Use the three long screws 0 which are provided with |
|
LT2-8872, LT2-8875 |
|
|
|
the operation panel. |
|
|
|
3. |
Install the operation box mounting plate 0 to the |
|
|
|
|
reverse side of the arm bed with the three screws 0. |
|
|
|
1. Entfernen Sie die drei Schrauben 0 an der ROckseite |
|
|
|
|
|
des Oberteils. |
|
|
|
2. |
Verwenden Sie die drei Iangen Schrauben 0, die mit |
|
|
|
|
dem 8edienungsfeld mitgeliefert werden. |
|
|
|
3. |
Montieren Sie die 8edienungsfeldplatte 0 mit den drei |
|
|
|
|
Schrauben 0 an der ROckseite des Oberteils. |
|
|
|
|
|
1.Retirer les trois vis 0 de l'enversdu bras.
2.Utiliser les trois vis longues 0 qui sont fournies avec le panneau de commande.
3.Installer Ia plaque$ de fixation du boitier de commande sur l'enversdu bras aI'aide des trois vis 0.
1.Quitar los tres tornillos 0 dellado de atras de Ia maquina.
2.Usar los tres tornillos largos 0 que vienen con el panel de control.
3.lnstalar Ia placa de montaje del panel de control 0 dellado de atras de Ia maquina con los tres tornillos 0.
From the library of: Superior-3Sewing- Machine & Supply LLC

USING THE OPERATION PANEL
VERWENDUNG DER BEDIENUNGSTAFEL
*Key operations and the number of stitches cannot be changed while sewing. Be sure to confirm all key settings and the stitch number before beginning to sew. Note that the end backtack key can be cancelled while sewing.
*With all keys, the indicator will light when the key is ON and go out when OFF.
*To set the stitch number, press the D. key to increase, and the \1 key to decrease the setting.
*Refer to the directions below, and then set the desired sewing pattern.
*Wahrend dem Nahen konnen keine Tasten betatigt oder Stichzahlen eingestellt werden. Daher muB vor dem Nahbeginn genau kontrolliert werden, ob die Tasten und Stichzahlen richtig eingestellt sind. Das Zurucknahen am Ende kann jedoch durch Tastenbetatigung ausgeschaltet werden.
*Bei eingeschalteten Tasten leuchtet die entsprechende Anzeige. Bei nicht leuchtenden Anzeigen sind die Tasten ausgeschaltet.
*Zum Einstellen der Stichzahl kann die Zahl mit den Tasten D. bzw. \1 erhoht bzw. verringert werden.
*Die nachstehenden Anweisungen beachten und das gewunschte Nahprogramm einstellen.
Ill Part names and functionsLTeilebezeicbnung und Funktion/
Nome et fonctions des pieces/Denominaci6n de las piezas y funcionamiento
•
A |
B I |
c |
0 |
E-40
0
!2SJ ~ !lSJ fli}
0000
f5Z] EZJ |
!5ZJ Ell |
F I |
I E I |
0 Start backtack key/ZurOcknahtaste fOr den Anfang!Touche de points d'arreten debut de couture!Tecla de rematado por atras inicial
• Press to light the indicator. The number of stitches set for A·B(0-9) will be sewn with a start backtack stitch.
•Die Taste drucken, so daB die Anzeige aufleuchtet. Am Anfang warden die eingestellten Sticha A·B(0-9) zuruckgenaht.
•Appuyer de fat;on il ce que le temoin s'allume.Le nombre de points choisi pour A·B(0 a 9) sera cousu avec le point d'arreten debut de couture.
•Oprimir para que se encienda el indicador. Se cosera el numero de puntadas programado por A·B (0-9) comenzando con un rematado por atras inicial.
f)End backtack key/Zurucknahtaste fUr das Ende/Touche de points d'arreten fin de couture/Tecla de rematado por atras final
• Press to light the indicator. The number of stitches set for C·D (0-9) will be sewn with an end backtack stitch.
•Die Taste drOcken, so daB die Anzeige aufleuchtet. Am Ende warden die eingestellten Sticha C·D (0-9) zurOckgenaht.
•Appuyer de fat;on a ce que le temoin s'allume.Le nombre de points choisi pour C·D(0 a 9) sera cousu avec
le point d'arreten fin de couture.
•Oprimir para que se encienda el indicador. Se cosera el numero de puntadas programado por C·D(0-9) con un rematado por atras final.
E)Continuous backtack key/Taste fur kontinuierliches Zurucknahen/Touche de couture en points d'arret!Teclade rematado por atras continuo
tel II lj
ASCO
v v
•Press to light the indicator. A continuous backtack will be sewn for the number of stitches (0-9) set at A·B·C
and D. Thread trimming will be automatically performed after the A·B·C·Dcycle is completed.
• Die Taste drucken, so daB die Anzeige aufleuchtet. Die eingestellte Stichzahl (0-9) fur das ZurOcknahen A·B·C·Dwird kontinuierlich genaht. Nach abgeschlossenem Zyklus A·B·C·Dwird der Faden automatisch abgeschnitten.
• Appuyer de fa~;on ace que le temoin s'allume.Une couture continue du nombre de points d'arretregie (0 il 9) pour A·B·C·Dsera effectuee. Les fils seront coupes a Ia fin du cycle A·B·C·D.
•Oprimir para que se encienda el indicador. Se cosera un rematado por atras continuo para el numero de puntadas (0-9) programado en A·B·C·DSe. realizara automaticamente el corte del hilo una vez completado el ciclo A·B·C·D.
From the library of: Superior Sewing- 4 - Machine & Supply LLC
 Loading...