


USER MANUAL
Tumble Dryer EN
133356320 |
EDV705G |
Contents
Important Safety Instructions |
|
Use |
|
|
|
Dryer Safety |
Page 2 |
The Control Panel |
Page |
5 |
|
Fire Hazards |
Page 2 |
Operating Sequence |
Page |
6 |
|
Cleaning the Lint Filter |
Page 3 |
Hints |
Page |
8 |
|
Drying Guide |
Page 3 |
||||
Troubleshooting |
Page |
9 |
|||
|
|
||||
Installation Instructions |
Page 4 |
Warranty |
Page 10 |
||
Important Safety Instructions
DRYER SAFETY FIRE HAZARDS
bottom of the door opening for voltage information.
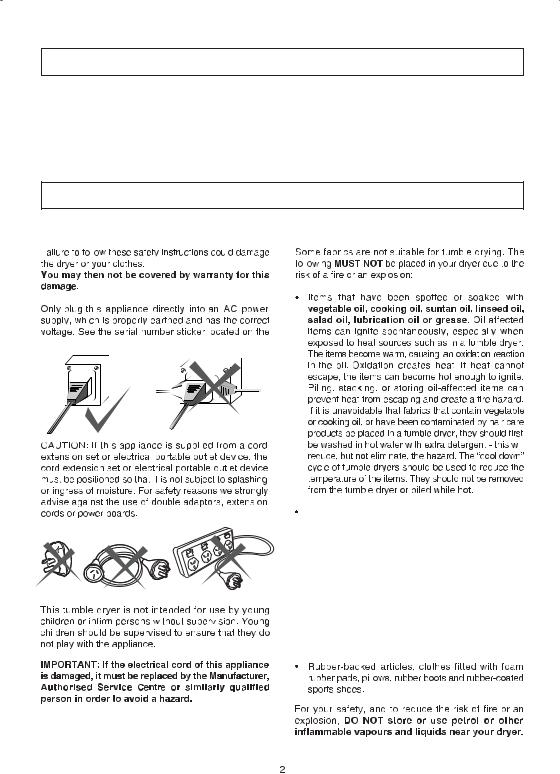
Items that have previously been cleaned in, washed in, or spotted with petrol/gasoline, industrial chemicals used only for cleaning, dry-cleaning solvents or other flammable or explosive substances are highly flammable. Highly flammable or explosive commonly found around the house include acetone, (nail polish remover) denatured alcohol, petrol/gasoline, kerosene, some spot removers, turpentine, waxes and wax removers should not be put in the dryer. Items containing foam rubber (also known as latex foam) or similarly textured rubber-like materials. Foam rubber materials can produce fire by spontaneous combustion when heated.
These dryers are for drying clothes, towels and linen at home. Do not use them for commercial or any other purpose.

Important Safety Instructions
CLEANING THE LINT FILTER |
DRYING GUIDE |
LINT BUILD-UP IS A FIRE HAZARD
Do not tumble dry
The lint filter is located at the front of your dryer at the bottom of the door opening.
“Normal”
LINT
FILTER
 “Delicates”


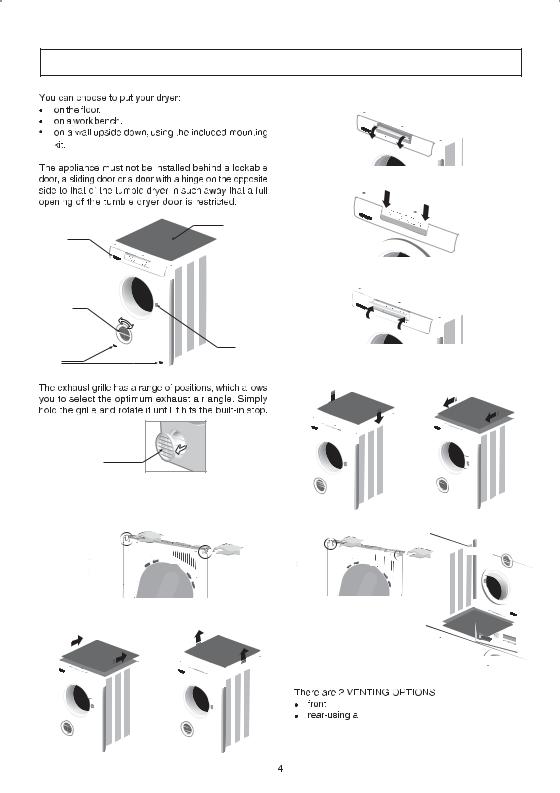
Installation Instructions
WORKTOP
NAME
BADGE
EXHAUST
GRILLE
|
DOOR |
|
SAFETY |
|
SWITCH |
LEGS |
BUTTON |
|
REMOVABLE
EXHAUST GRILLE
Trim Insert
You can invert the trim insert when you want to mount your dryer upside down on the wall.
1. Remove two screws at the back as indicated below.
2. Slide worktop to the back and lift up.
SLIDE THE WORKTOP |
LIFT UP THE WORKTOP |
TO THE BACK |
|
3. Unclip the cover trim insert window from the panel.
4. Insert reverse label provided in accessory bag.
5. Clip back the cover trim insert window.
6.Place worktop onto original position, then slide to the front.
|
SLIDE THE WORKTOP |
PLACE ONTO ORIGINAL POSITION |
TO THE FRONT |
7. Put two screws at the back.
DRYER
WASHING MACHINE
venting kit (optional extra)
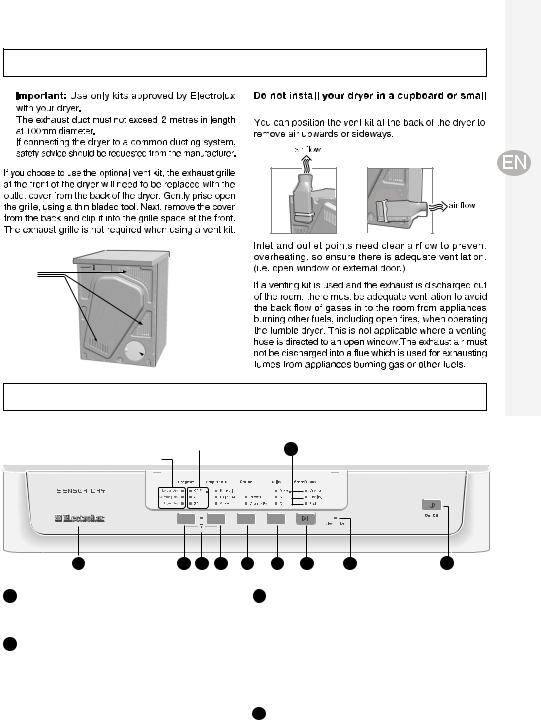
Installation Instructions
unventilated room.
INLETS
 OUTLET COVER
Use
THE CONTROL PANEL
Timer Programs |
|
9 |
|
Sensor Programs
10 |
6 |
8 |
5 |
4 |
3 |
2 |
7 |
1 |
1 On/Off Button |
|
|
|
3 |
Delay Button |
|
|
|
This button switches the dryer on. At the end of the program, press the button again to switch the dryer off.
This button is a feature that permits you to start the dryer after a defined number of hours, ranging from 3, 6, and 9 hours.
2Start/Pause Button
This button allows you to start or pause the dryer to check the contents of the load or perhaps add more clothes to the load.
NOTE: It will not start or restart a program unless the door safety button has also been pressed in. If the safety button is not pressed in a door switch fault will be indicated (sound “beeps” 6 times).
To abort the Delayed Start, press the Start/Pause button, which puts the machine into paused mode, allowing you to change the delay time.
NOTE: Make sure you have set the disired program before setting the delay.
4Option Button
This button allows you to select Buzzer and Crease Free.
5
 Loading...