


9015

5, 8, 10, 16 & 22 PATTERN SEWING MACHINES
Instruction Manual

TABLE OF CONTENTS
Important Safeguards
1. Getting to Know Your Machine
Principal Parts
Accessories
2. Getting Ready to Sew
Connecting the Machine/Running the Machine
Choosing and Changing Needles
Free Arm Sewing
Changing Presser Foot
Replacing Presser Foot with Shank
Attaching Feed Cover
Winding a Bobbin
Threading the Machine
Inserting a Wound Bobbin
Raising Bobbin Thread
Selecting a Pattern
3. Straight Stitching
Preparation
Sewing a Seam
Free Motion Embroidery
Inserting a Zipper
4. Special Stitches
Preparation
Patterns capability and graphics illustration
Zig-Zag Stitch
Zig-Zag Blindstitch
Multi Stitch Zig-Zag
" M " Stitch/Sandcastle Stitch
Crescent Stitch/Chinese/Dynasty Stitch/Solid
Scallop Stitch
Arrow Stitch/Bunting Stitch/Privet Stitch
Wizard Stitch/Random Ric-Rac Stitch
Stretch Overedge Stitch
Ric-Rac/Straight Stretch Stitch
Road Runner/Fagoting Stitch
Honeycomb Stitch
Slant Overedge Stitch/Seagull Stitch
5. Four Step Buttonholing
6. Caring for Your Machine
Removing and Replacing Bobbin Case
Removing and Replacing Light Bulb
Cleaning the Machine
Performance Checklist
Additional Accessories
Fabric, Thread and Needle Table
CONGRATULATIONS
Dear Customer:
You are about to begin an adventure in creativity: You
are going to sew! And, you are going to sew with one
of the easiest to use machines ever made.
The following features have been included on your
machine, promising rewarding hours of uncomplicated
sewing pleasure:
• Clearly defined thread path, reducing the possibility
of threading errors.
• Built in buttonholer for fast, easy buttonholes.
• Slant needle designed do allow you to sit, see & sew
better.
• One-step pattern selection, eliminating complicated
selection operation.
In addition, this machine features a removable bed
extension, permitting both flat and free-arm sewing;
snap-on presser feet that are quickly removed and
easily replaced; and a one-way needle-clamp that
makes it impossible to put the needle in backwards.
Take some time to acquaint yourself with this owner's
manual and your machine. Whether you are a novice
or an experienced sewer, you will discover how easy it
is to create something uniquely your own!
We recommend that for future reference you record
the Serial Number of your Sewing Machine in the
space provided.
Refer to illustration below for location of Serial Number
on your machine.
Serial No.
Model No. ______________________
Serial No. ______________________
To ensure that you are always provided with the most
modern sewing capabilities, the manufacturer reserves
the right to change the appearance, design or accessories of this sewing machine when considered necessary.
*A Trademark of The Singer Company
3

IMPORTANT SAFETY INSTRUCTIONS
When using this machine, basic safety precautions
should always be followed including the following:
Read all instructions before using this machine.
DANGER
To reduce the risk of electric shock:
• The machine should never be left unattended when
plugged in. Always unplug the machine from the electric outlet immediately after using and before cleaning.
• Always unplug before changing light bulb. Replace
bulb with the same type rated 15 watts. Be sure to
replace the face plate which covers the light bulb
before operating the machine.
• Always unplug the machine from the electrical outlet
when removing covers, lubricating, or when making
any other user servicing adjustments mentioned in
the Operator's Guide.
• Do not attempt to adjust the motor belt. Contact your
nearest Service Center should any adjustment be
required.
• Do not unplug by pulling on cord. To unplug, grasp
the plug, not the cord.
• Handle the foot controller with care and avoid dropping it on the floor. Be sure not to place anything on
top of it.
• Always use the proper needle plate. The wrong plate
can cause the needle to break.
• Do not use bent needles.
WARNING
To reduce the risk of burns, fire, electric shock or injury
to persons:
• Be sure that the electrical voltage of the socket outlet
(wall receptacle) is the same as the rated voltage of
the motor.
• Use this machine only for its intended use as
described in this Operator's Guide. Use only attachments recommended by the manufacturer as contained in the Operator's Guide.
• To disconnect, turn all controls to the off ("0") position, then remove plug from outlet.
• Disconnect the power-line plug from the socket outlet
or switch the machine off when making any adjustments in the needle area, such as threading needle,
changing needle, changing needle plate or changing
presser foot, etc.
• When sewing, keep fingers away from all moving
parts. Special care is required around the sewing
machine needle.
• Do not pull or push fabric while stitching. This may
deflect the needle causing it to break.
• Before removing the bobbin case, remove plug from
the socket outlet.
• For double insulated machines, when servicing, use
only identical Singer replacement parts. See instructions for Servicing of Double-lnsulated Appliances.
• Never operate the machine if it has a damaged cord
or plug, if it is not working properly, if it has been
dropped or damaged, or dropped into water. Return
the machine to the nearest authorized dealer or
Service Center for examination, repair, electrical, or
mechanical adjustment.
4

Safety Instructions continued...
SAVE THESE INSTRUCTIONS
• Never operate the machine with any air openings
blocked. Keep ventilation openings of the machine
and foot controller free from the accumulation of lint,
dust, and loose cloth.
• Never drop or insert any object into any opening.
• Do not use outdoors.
• Do not operate where aerosol (spray) products are
being used or where oxygen is being administered.
• Do not allow to be used as a toy. Close attention is
necessary when the machine is used by or near children.
• SERVICING OF DOUBLE-INSULATED PRODUCTS.
In a double-insulated product, two systems of insulation are provided instead of grounding. No grounding
means is provided on a double-insulated product, nor
should a means for grounding be added to the product. Servicing of a double-insulated product requires
extreme care and knowledge of the system, and
should be done only by qualified service personnel.
Replacement parts for a double-insulated product
must be identical to those parts in the product. Adouble-insulated product is marked with the words
"DOUBLE-INSULATION" or "DOUBLE-INSULATED".
Servicing should be performed by an authorized service representative.
This product is intended for household use.
FOR EUROPEAN AND SIMILAR TERRITORIES:
This product is suppressed for radio and television
interference with the International Electrotechnical
Commission requirements of the CISPR.
Machines for Great Britain and some other countries
having similar wiring standards are shipped from the
factory with a plug for connection to the mains. The
wires in this mains lead are coloured in accordance
with the following code:
Blue: neutral (N) Brown: live (L)
As the colours of the wires in the mains lead of this
appliance may not correspond with the coloured markings identifying the terminals in your plug, proceed as
follows:
The wire which is coloured blue must be connected to
the terminal which is marked with the letter N or
coloured black. The wire which is coloured brown must
be connected to the terminal which is marked with the
letter L or coloured red. If a 13 Amp. (BS 1363) plug is
used, a 3 Amp. fuse must be fitted, or if any other type
of plug is used, a 5 Amp. fuse must be fitted either in
the plug or adaptor or at the distribution board. Neither
cord is to be connected to the earth terminal of a
three-pin plug.
5

SECTION 1
GETTING TO KNOW YOUR MACHINE
Principal Parts
1. Hand Wheel provides a means for raising
or lowering the needle.
2. Bobbin Winder lets you fill the bobbin
with thread quickly and easily.
3. Pattern Display Panel shows a variety of
patterns available for your sewing needs.
4. Spool Pin and Cap hold the top thread
supply and allow it to unwind smoothly as
the spool does not turn.
5. Stitch Width Lever controls the width of
patterns and sets the needle for straight
stitching.
6. Snap-In Thread Guide helps to insure a
smooth flow of thread from the spool of
tension.
7. Bobbin Winder Tension Disc provides
thread tension for bobbin winding.
8. Needle Thread Tension Dial controls top
thread tension.
9. Face Plate is a removable cover protecting movable
parts and sewing light.
10. Sewing Light illuminates sewing area.
11. Needle Clamp holds needle in machine and pre-
vents incorrect insertion.
12. Needle Plate supports the
13. Removable Extension Table lets you change the
machine bed from flat to free arm.
16. Slide Plate opens for easy removal and replace-
ment of bobbin.
17. Feed System moves fabric under presser foot.
18. Presser Foot holds fabric against the feed system
and snaps on and off.
19. Stitch Length Lever allows for a variety of stitch
lengths.
20. Power and Light Switch turns on the machine
and sewing light at the same time.
21. Reverse Lever provides either momentary or continuous reverse fabric movement.
22. Reverse Lever provides either momentary or continuous reverse fabric movement.
23. Pattern Selector Dial turns directly to any of the
pattern display panel.
6
Principal Parts Continued...
14. Presser Foot Lifter, at the back of machine, lets
you raise and lower presser foot.
15. Thread Cutter
24. Electrical Power Cord connects machine to your
electrical outlet.
25. Speed Controller regulates the sewing machine
speed. fabric during sewing.
7

ACCESSORIES
The accessories for your machine are designed to
simplify many of your sewing projects.
1. General Purpose Needle Plate (A), and Presser
Foot (B), are standard on the machine. Used for
straight and zigzag sewing.
2. Zipper Foot (E), for inserting zippers.
3. Feed Cover (F), used for button sewing, free motion
work and darning. It keeps the feed from moving
fabric.
4. Special Purpose Presser Foot (J), used for deco-
rative and zig-zag stitching.
5. Buttonhole Presser Foot (L), used to make four-
step buttonholes.
6. Spool Holder, for medium and large thread spools.
7. Lint Brush, for cleaning the machine.
8. Needle Pack, includes an assortment for sewing
various types of fabrics.
9. Bobbins, transparent for easy viewing.
10. Blindstitch Hem Guide, is used to position the
hem for blindstitch hemming.
8

SECTION 2
GETTING READY TO SEW
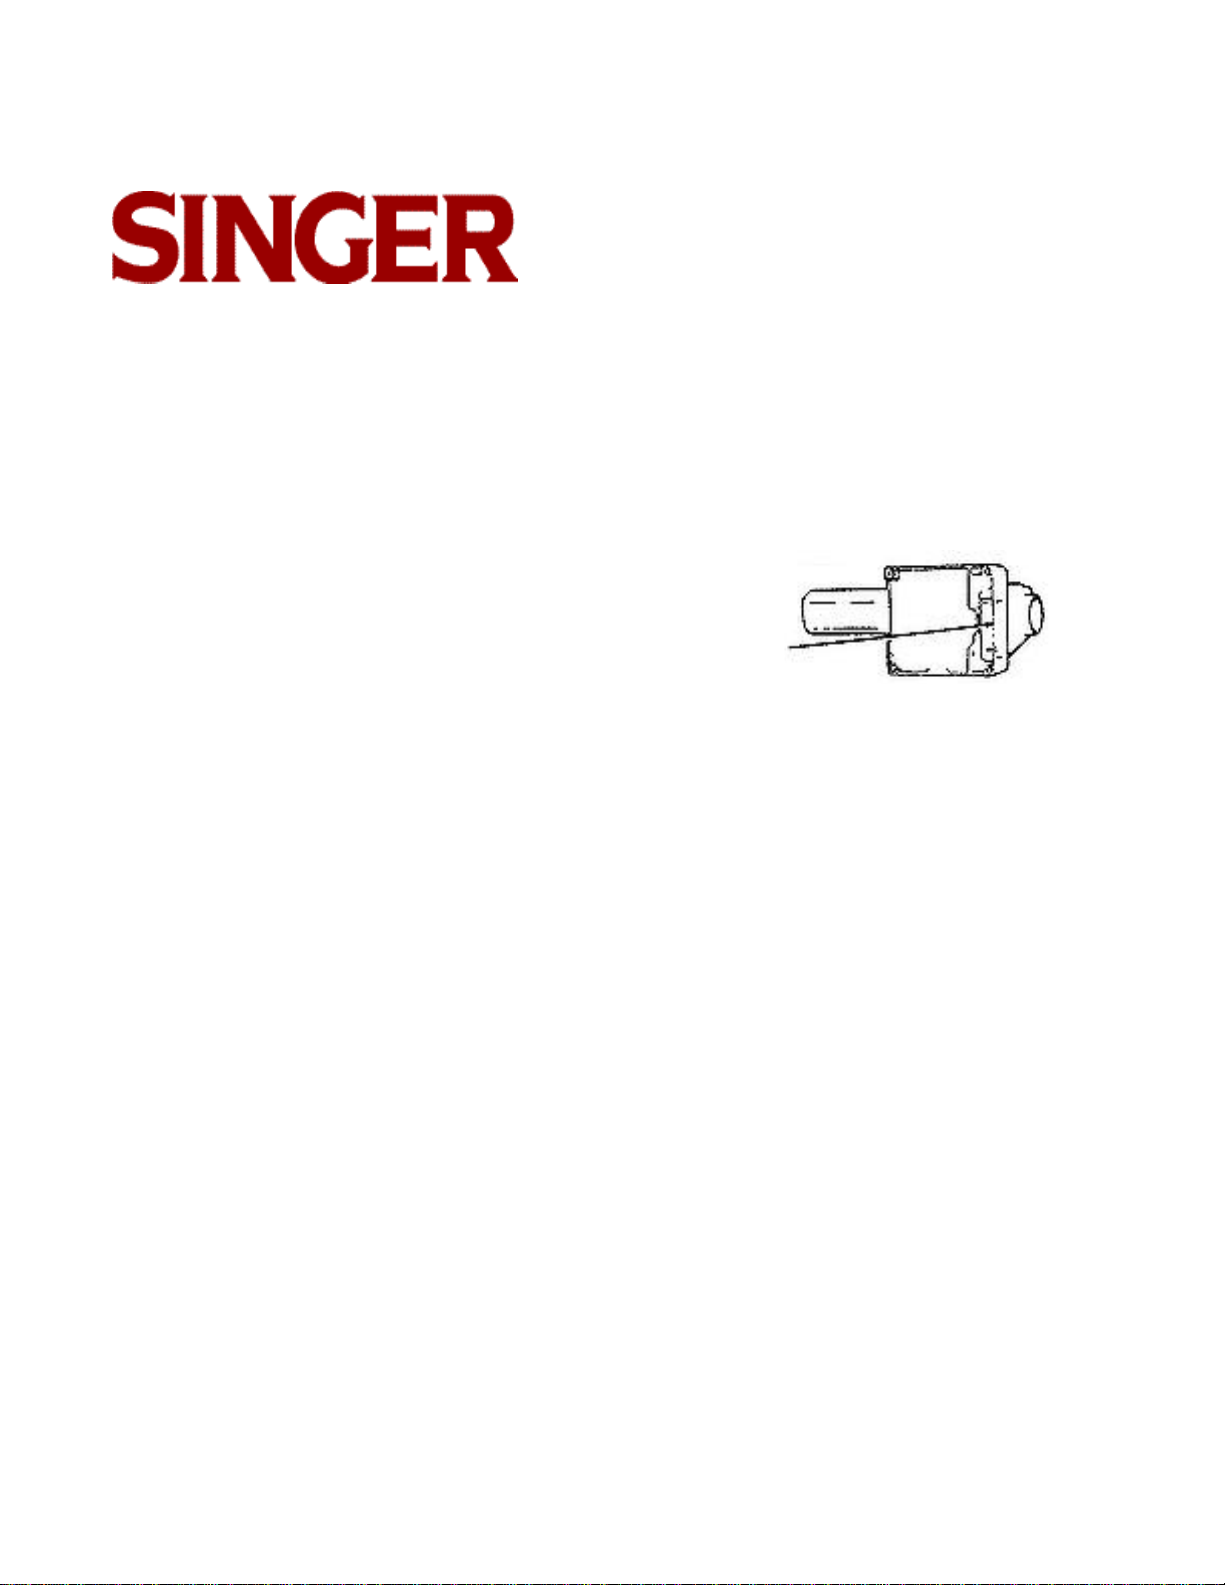
CONNECTING THE MACHINE
Before plugging in your machine, be sure that the voltage and number of cycles indicated on the electrical
data table (1), conform to your electrical power supply.
Plug the controller (2), into the receptacle, at the right
end of the machine.
Then connect the electrical power cord plug (3), to
your electrical outlet.
Do not operate machine without material under the
presser foot as this may damage the feed and the foot.
RUNNING THE MACHINE
The machine and the sewing light are turned on and
off by the same power switch.
POWER SWITCH
Power on-press "1" side of switch. Power off-press "0"
side.
To run the machine, press the speed controller. The
harder you press, the faster the machine will sew.
To stop the machine from sewing, remove pressure
from speed controller.
9
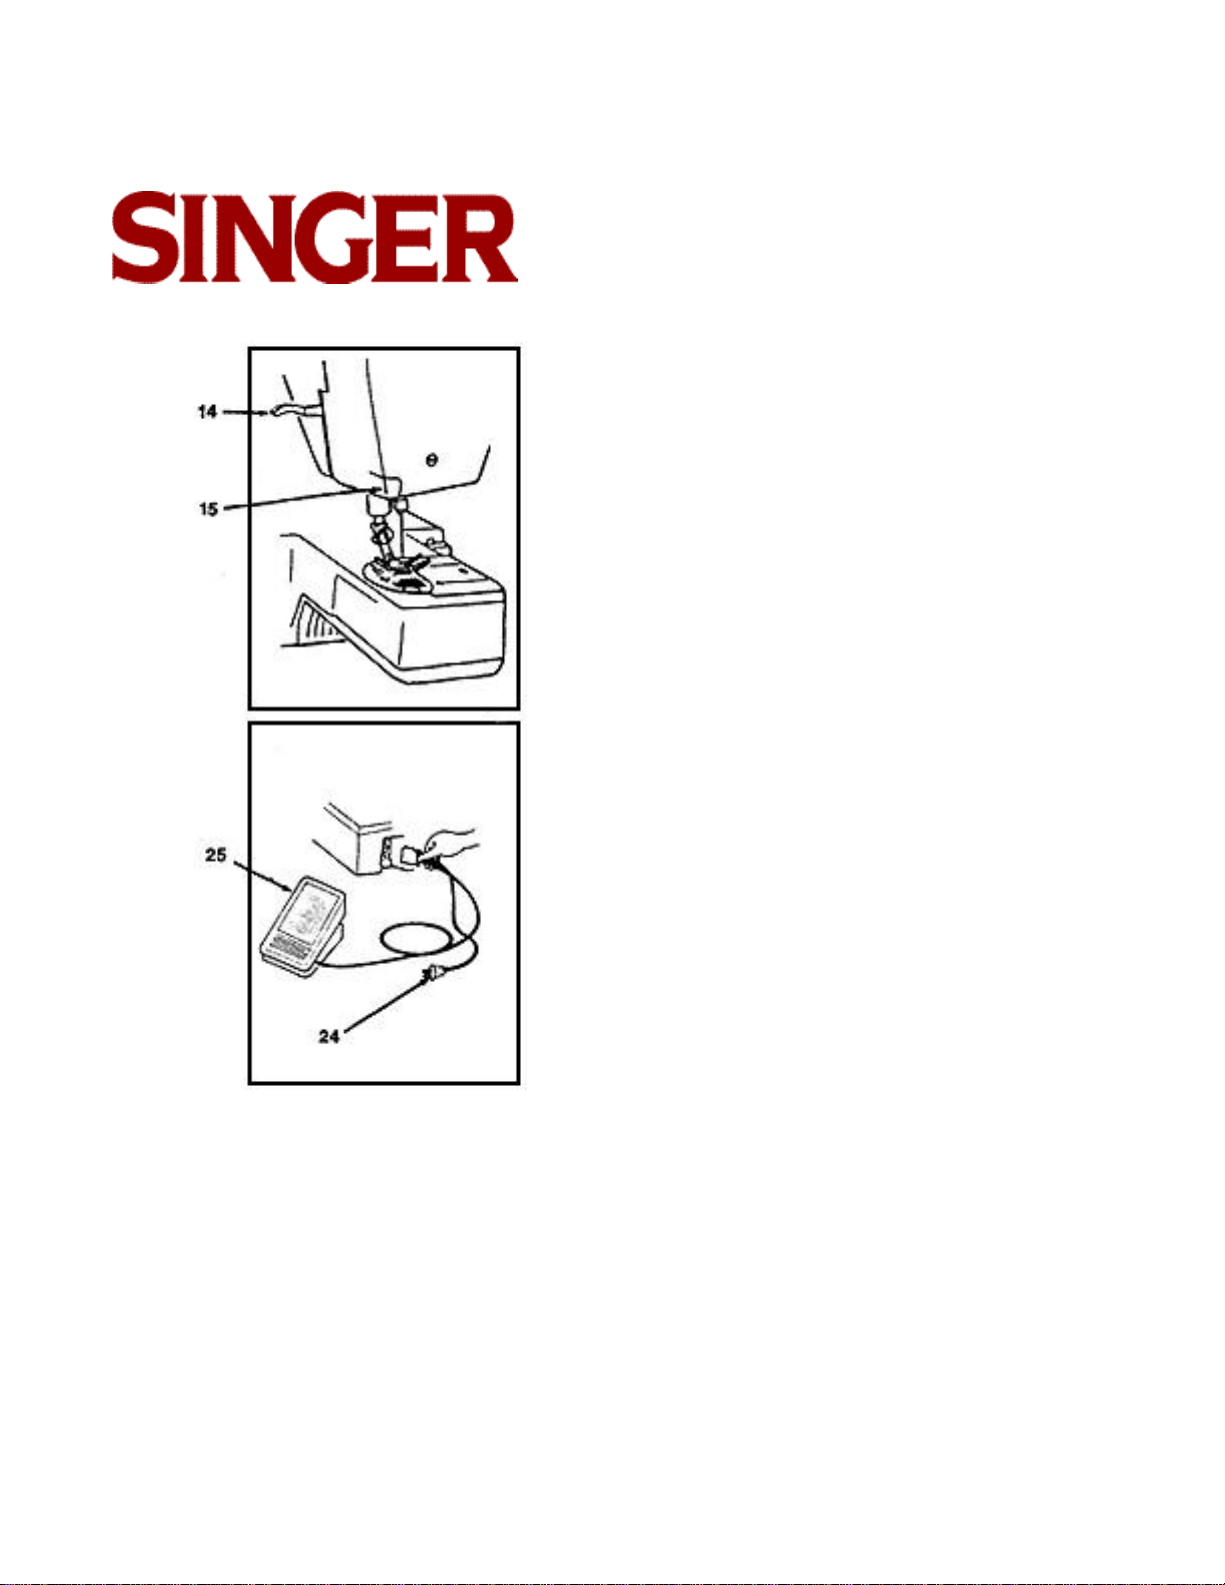
CHOOSING AND CHANGING NEEDLES
IMPORTANT: For best sewing results, use only Singer
* needles. Check the needle package, and the Fabric,
Thread and Needle Table for the correct needle and
fabric combination.
• Raise needle to its highest position.
• Loosen needle clamp screw and remove needle.
• With flat side of, needle to the back insert new nee-
dle up into clamp as far as it will go.
• Tighten needle clamp screw securely.
FREE ARM SEWING
Free arm sewing makes it easier to sew hard-to-reach
areas.
To change machine for free arm sewing, push in and
lift right edge (1) of extension table, slide it to the left
and off the machine.
• Topstitch edges on sleeves, or finish waistbands and
pants legs easily.
• Sew buttonholes without stretching cuffs or neck-
bands.
10

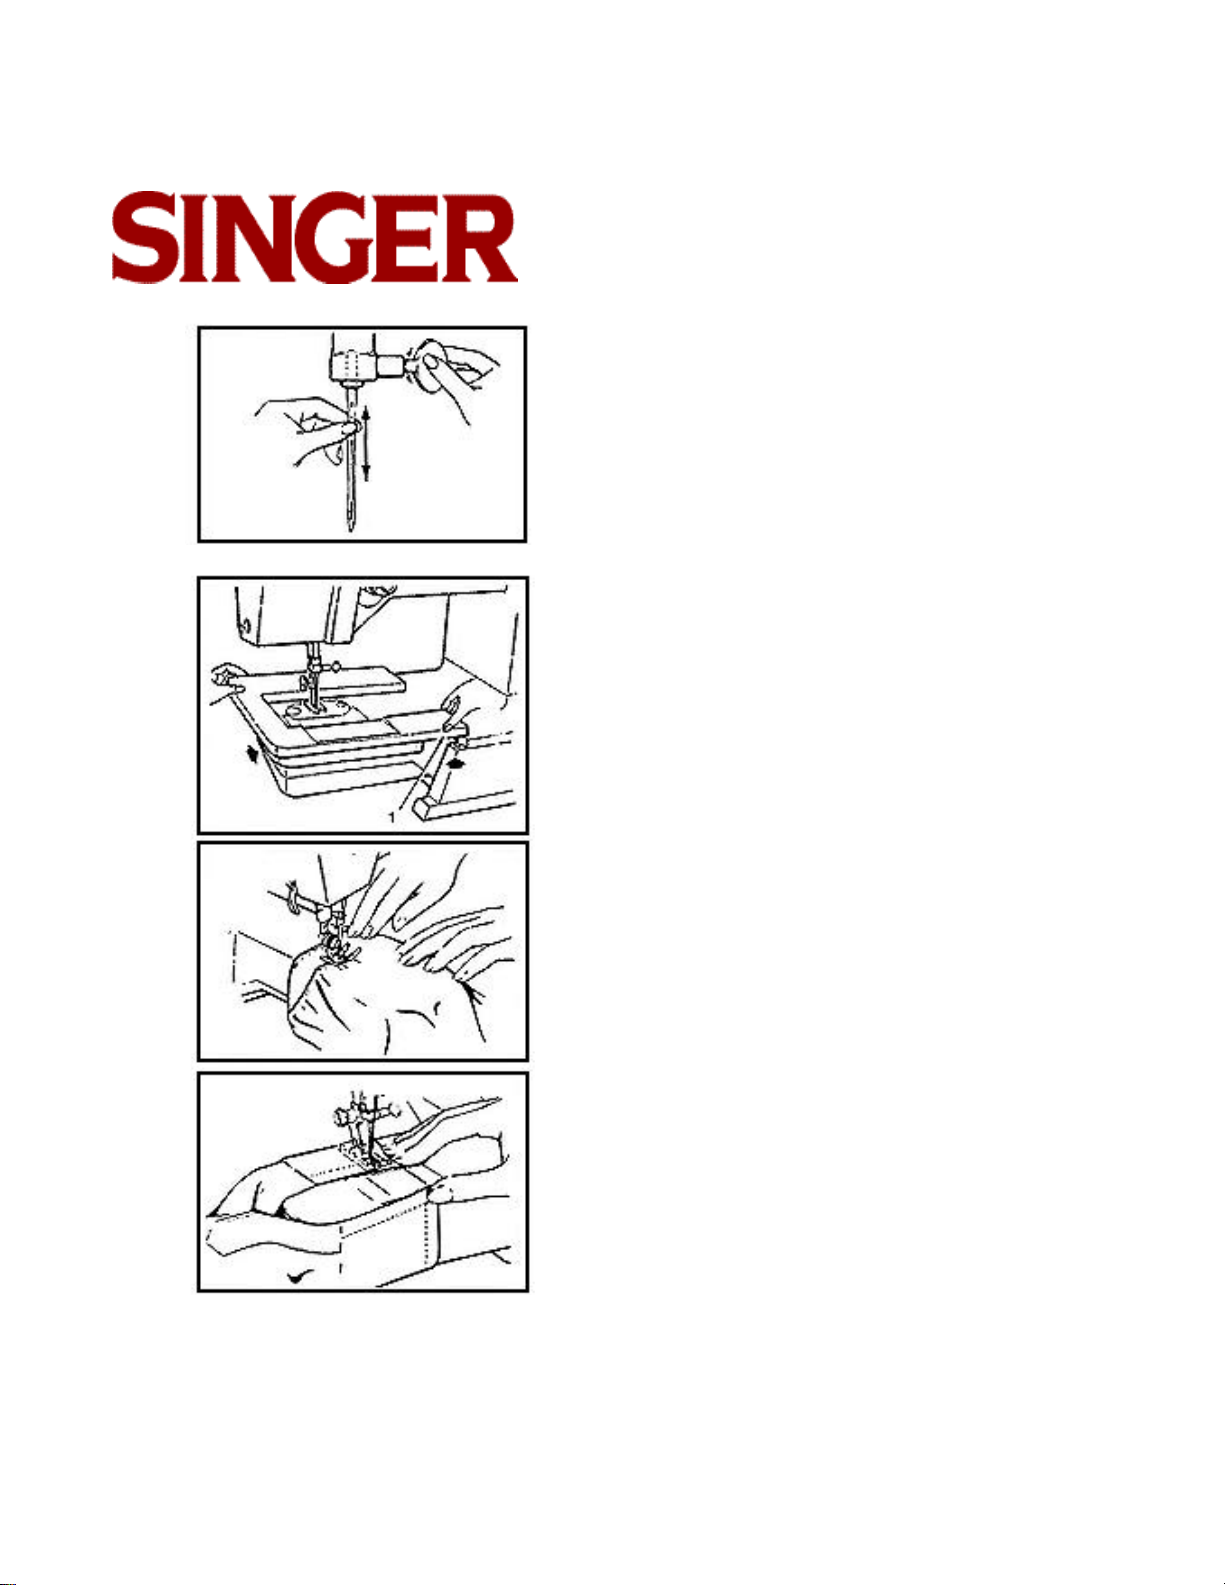
CHANGING THE PRESSER FOOT
(B) (E) (J) (L)
Your machine comes with the General Purpose
Presser Foot already attached. You can easily change
to any one of the other presser feet which snap onto a
common shank by following the directions below.
• Raise needle to its highest position by turning hand
wheel toward you.
• Raise presser foot using presser foot lifter in back of
machine.
• Push toe of presser foot (1) up, until it snaps off the
shank (2).
• Take foot off machine.
• Place new foot under center of shank.
• Lower presser foot lifter, fitting shank over presser
foot pin (3).
• Don't turn screw. Instead, push presser foot screw (4)
down firmly until foot snaps into place.
11
REPLACING PRESSER FOOT WITH SHANK
Presser feet with built-in shanks can be replaced as
follows:
• Turn machine off.
• Raise needle and presser foot.
• Loosen presser foot screw (1) and remove presser
foot with shank (2), guiding it toward you and to the
right.
• To replace presser foot with shank, hook shank
around the presser bar and tighten presser foot
screw.
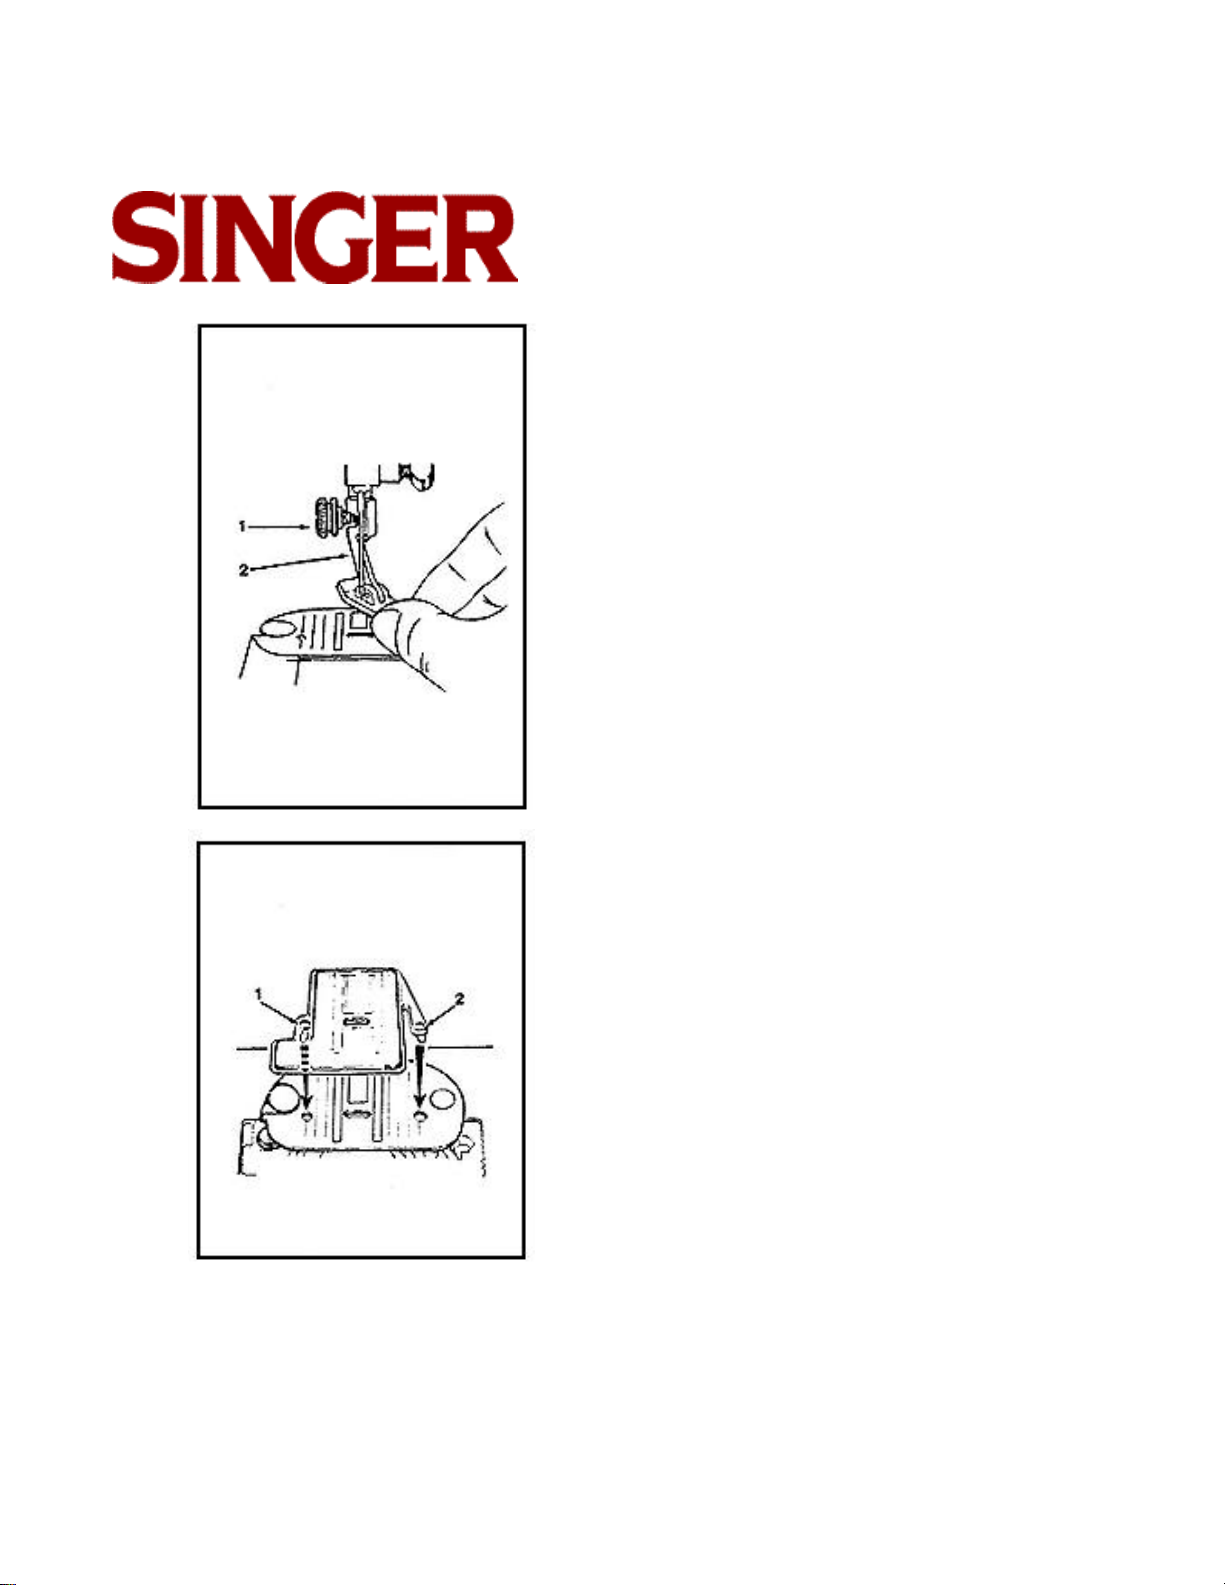
ATTACHING FEED COVER (F)
The feed cover keeps the feed from moving the fabric.
• Raise needle and presser foot.
• Open slide plate.
• Slide feed cover on top of needle plate, pressing tabs
(1) and (2) into holes.
• Close slide plate.
• To remove, open slide plate and lift front edge of
cover; pull it away.
12

WINDING A BOBBIN
Winding a bobbin is quick and easy when you follow
the directions below. Always wind the bobbin before
threading the machine.
• Wind thread clockwise around front of bobbin
winder tension disc (4).
• Pass thread end, from inside, through small hole in
rim of bobbin.
• Push in indent (1) on hand wheel disc. This will stop
the needle from moving.
• Place spool of thread on spool pin.
• Slide spool cap (2) firmly over rim of spool to prevent
thread tangling.
• Lead thread from spool and snap into thread guide
post (3).
• Place bobbin on spindle and push it to the right.
• Holding thread end, step on speed controller to run
machine until desired amount of thread is wound.
• Cut thread; push bobbin to the left and remove it
from spindle.
• Trim thread end from top of bobbin.
• Return hand wheel disc to sewing position by pressing on side opposite indent.
13
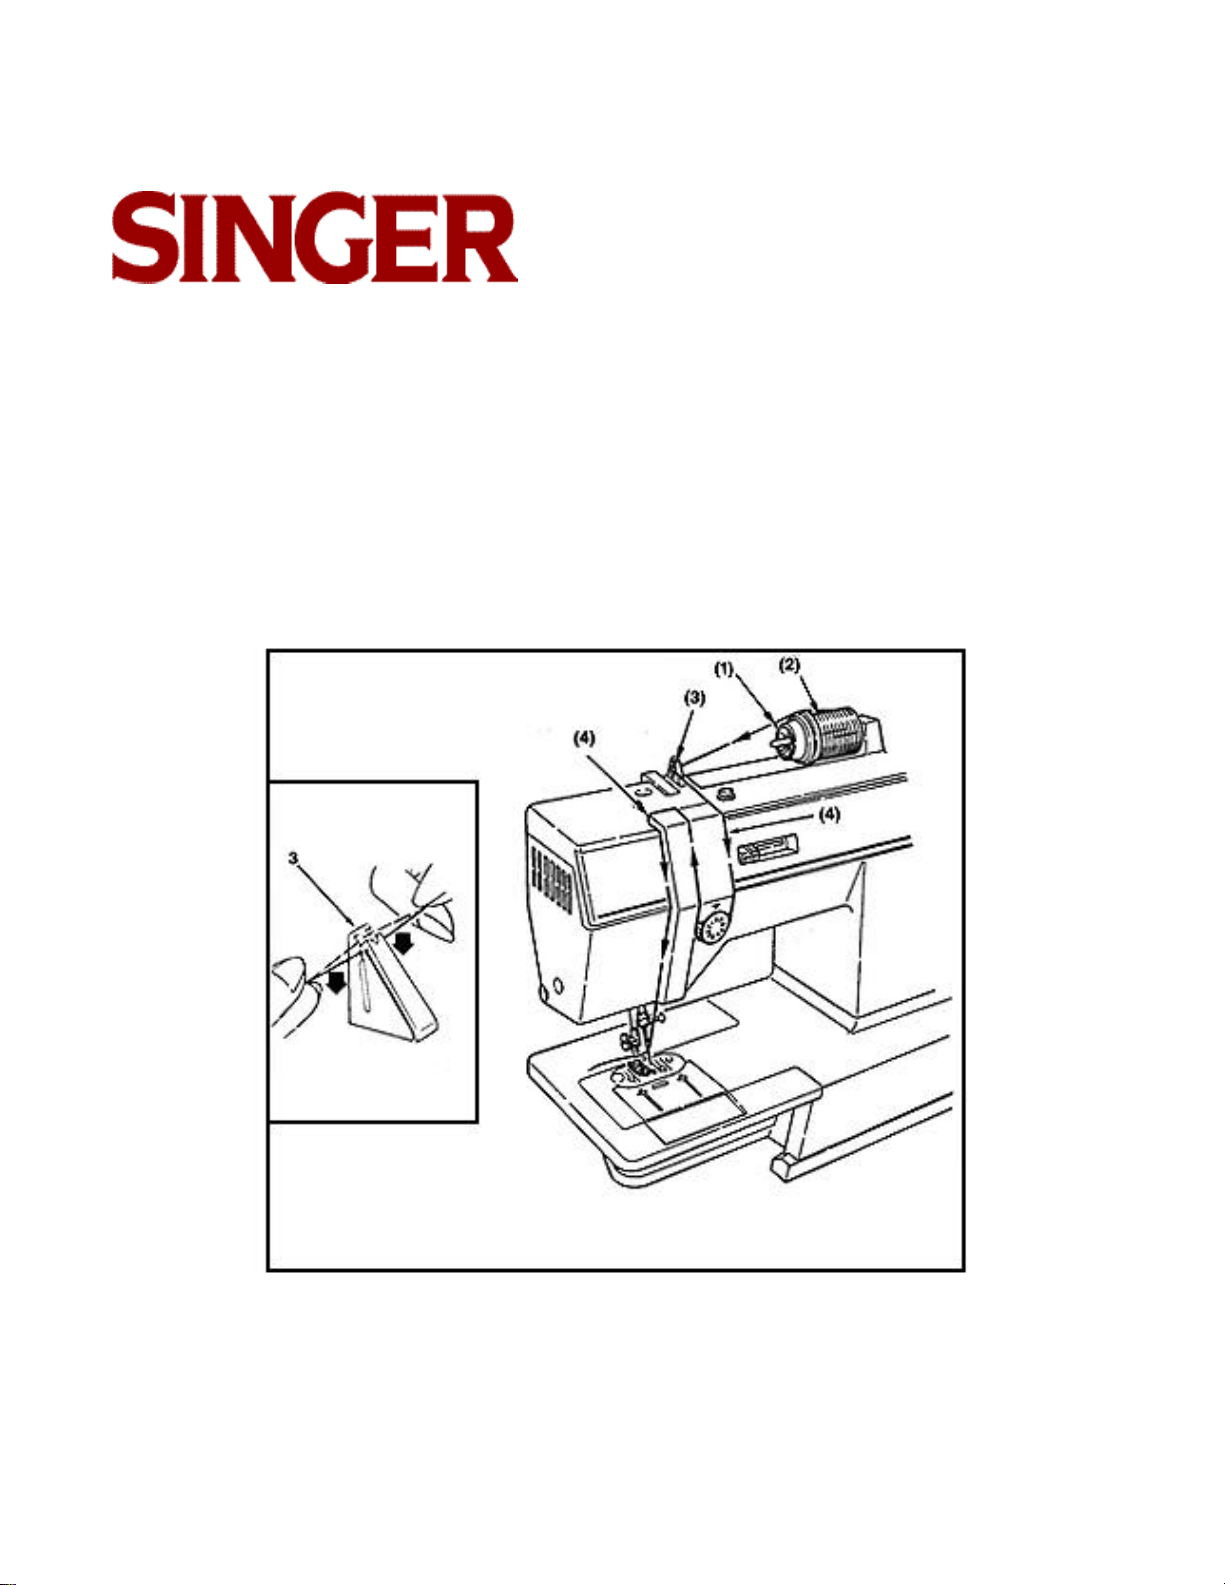
THREADING THE MACHINE
• Place spool of thread on spool pin (1).
Your sewing machine is easily threaded. The clear
threading path helps you avoid threading errors.
To thread your machine correctly, simply follow the
steps below:
• Raise presser foot lifter.
• Raise needle to its highest position by turning hand
wheel toward you.
• Slide spool cap (2) firmly over the rim of the spool to
prevent thread tangling.
• Snap thread into thread guide post (3).
• Following arrows, guide thread into threading channel
(4) down to needle and firmly pull thread.
• Thread needle from front to back.
14
 Loading...