


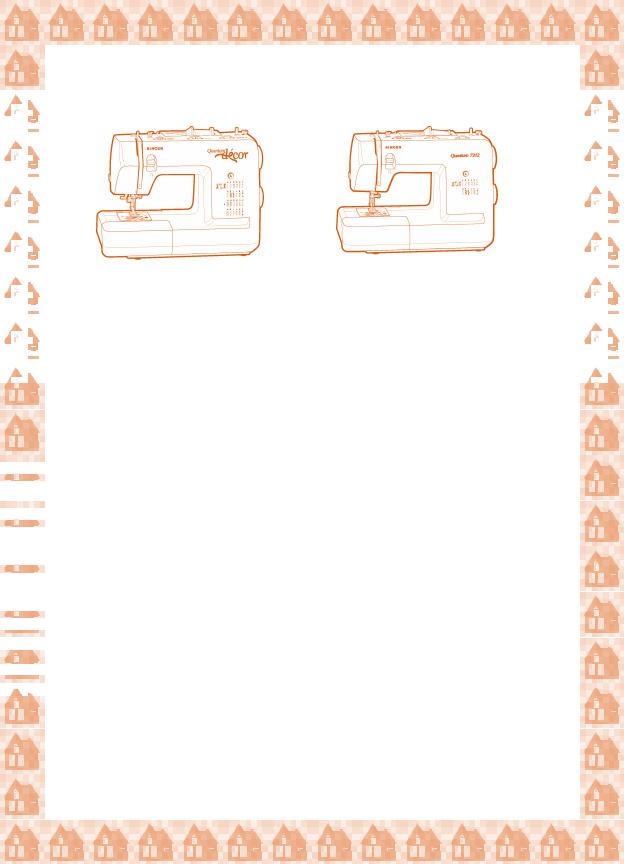
Quantum® Décor and Quantum® 7312 |
Straight Stitch, Reverse and Needle Positions
Straight Stitch
Create Quilted Fabric with the Seam/Quilt Guide
Create Piping with the Zipper Foot
Satin Stitch Appliqué with the Satin Foot
Button Sewing with the Button Sewing Foot
Bartack Buttonholes with the Buttonhole Foot
Blind Hem with the Blind Hem Foot
Narrow Hem with the Narrow Hem Foot*
Gathering with the Cording Foot
Applying Trims, Cords & Braids with the Cording Foot
Attaching Beaded Trims
Couching a Strand of Pearls
Faux Tatted or Crocheted Edging
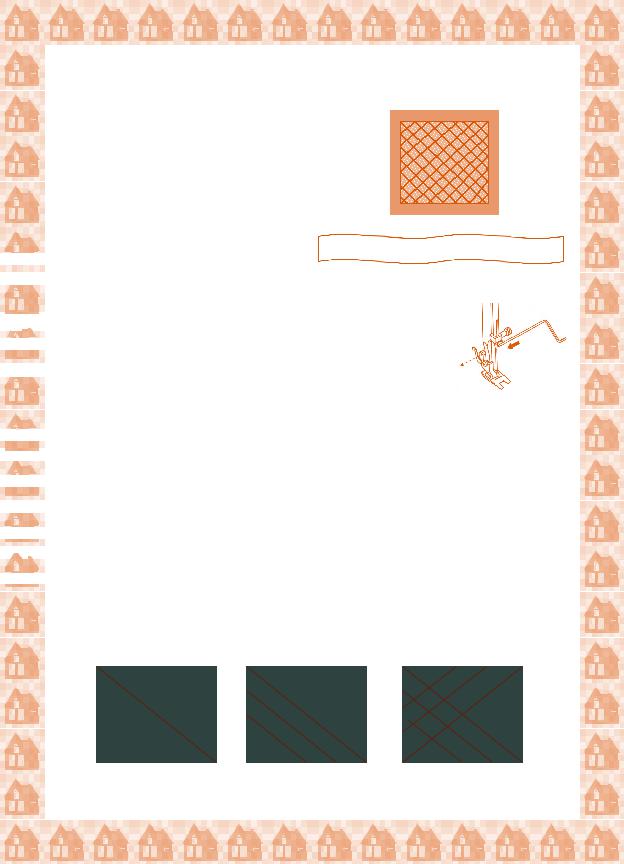
Crazy Quilting with Decorative Stitches
Sewing Multiple Layers with the Even Feed Foot*
Sewing Plaid Fabrics with the Even Feed Foot*
Sewing Pile Fabrics with the Even Feed Foot*
Straight Stretch Stitch for Woven Fabrics**
Straight Stretch Stitch for Stretch Fabrics**
Ribbing Application**
Overedge Stitching**
Attaching Elastic
Sewing with a Wing Needle
Sewing Leather
Decorative Bobbin Work
*Indicates optional foot for Quantum 7312 |
** Stitch found only on Quantum Décor |
Straight Stitching, Reverse and Needle Positions |
|
|
|
|
|
Machine Set-Up: |
|
|
|
|
|
|
|
|
|
|
|
|
|
|
|
|
|
|
|
|
|
|
|
|
|
|
|
|
|
|
|
|
|
|
|
|
|
|
|
|
|
|
|
|
|
|
|
|
|
|
|
|
|
|
|
|
|
|
|
|
|
|
|
|
|
|
|
|
|
|
|
|
|
|
|
|
|
|
|
|
|
|
|
|
|
|
|
|
|
|
|
|
|
|
|
|
|
|
|
|
|
|
|
|
|
|
|
|
|
|
|
|
|
|
|
|
|
|
|
|
|
|
|
|
|
|
|
|
|
|
|
|
|
|
|
|
|
|
|
|
|
|
|
|
|
|
|
|
|
|
|
|
|
|
|
|
|
|
|
|
|
|
|
|
|
|
|
|
|
|
|
|
|
|
|
|
|
|
|
|
|
|
|
|
|
|
|
|
|
|
|
|
|
|
|
|
|
|
|
|
|
|
|
|
|
|
|
|
|
|
|
|
|
|
|
|
|
|
|
|
|
|
|
|
|
|
|
|
|
|
|
|
|
|
|
|
|
|
|
|
|
|
|
|
|
|
|
|
|
|
|
|
|
|
|
|
|
|
|
|
|
|
|
|
|
|
|
|
|
|
|
|
|
|
|
|
|
|
|
|
|
|
|
|
|
|
|
|
|
|
|
|
|
|
|
|
|
|
|
|
|
|
|
|
|
|
|
|
|
|
|
|
|
|
|
|
|
|
|
|
|
|
|
|
|
|
|
|
|
|
|
|
|
|
|
|
|
|
|
|
|
|
|
|
|
|
|
|
|
|
|
|
|
|
|
|
|
|
|
|
|
|
|
|
|
|
|
|
|
|
|
|
|
|
|
|
|
|
|
|
|
|
|
|
|
|
|
|
|
|
|
|
|
|
|
|
|
|
|
|
|
|
|
|
|
|
|
|
|
|
|
|
|
|
|
|
|
|
|
Stitch: |
“A”, Straight Stitch |
|
|
|
|
|
|
|
|
|
|
|
|
|
|
|
||
|
|
|
|
|
|
|
|
|
|
||
|
|
|
|
|
Stitch Width: |
0, Center Needle Position |
|
|
|
|
|
|
|
|
|
|
|
|
|
|
|
||
|
|
|
|
|
|
|
|
|
|
||
|
|
|
|
|
|
|
|
|
|
||
|
|
|
|
|
Stitch Length: |
3 |
|
|
|
|
|
|
|
|
|
|
|
|
|
|
|
||
|
|
|
|
|
|
|
|
|
|
||
|
|
|
|
|
Presser Foot: |
Standard Foot |
|
|
|
|
|
|
|
|
|
|
|
|
|
|
|
||
|
|
|
|
|
|
|
|
|
|
||
|
|
|
|
|
|
|
|
|
|
||
|
|
|
|
|
|
|
|
|
|
||
|
|
|
|
|
|
|
|
|
|
|
|
Materials: |
(2)5” X 5” pieces of medium weight cotton |


 Procedures:


 Sew a straight stitch on the fabric.


 Change the stitch width to 3, notice the needle position changes.


 Sew another row of straight stitching.


 Change the stitch width to 7, notice the needle is in the far left position.


 Sew a straight stitch and compare the differences in needle position.


 Sew a straight seam and practice reinforcing the seam using the


 reverse knob.


 Change the stitch length dial to 1, begin to sew.


 Slowly move the stitch length dial to 7, notice how close or far apart the


 stitches look depending on the stitch length setting.
1
Straight Stitching |
Machine Set-up: |
|
Stitch: |
“A”, Straight Stitch |
Stitch Width: |
0, Center Needle Position |
Stitch Length: |
3 |
Presser Foot: |
Standard Foot |
Materials: |
(2)5” X 5” pieces of cotton with a piece of batting between the two pieces, |
creating a quilt-type sample |
Procedure: |
Sew diagonally from the top left corner to the bottom right corner. |
Use the reverse lever to reinforce the seam. |
|
2
Create Quilted Fabric |
Machine Set-Up: |
|
Stitch: |
“A”, Straight Stitch |
Stitch Width: |
0, Center Needle Position |
Stitch Length: |
2.5 |
Presser Foot: |
Standard Foot |
Quilt pillow tops for a designer look!


 Materials:


 Quilt-type sample that was previously used on the Straight Stitch exercise


 Procedure:


 Attach the Seam/Quilt guide.


 Use the guide to ensure even spacing and straight lines,
or when large (projects cover the machine’s seam guides on throat plate)


 Position fabric approximately 1-2 inches from the


 right of the previously sewn straight stitch.


 Position the guide so that it rides on the previous row of stitching.


 Sew successive rows using the guide.


 Change the direction, sew diagonally from the top right corner to the


 bottom left corner of the fabric.


 Sew 3 or more rows, using the guide.
3

Create Piping |
Machine Set-up: |
|
Stitch: |
“A”, Straight Stitch |
Stitch Width: |
3 |
Stitch Length: |
3 |
Presser Foot: |
Zipper Foot |


 Materials:


 5” X 6” home décor fabric, cut on bias


 7” of purchased cording


 Procedure:


 Fold fabric wrong sides together.


 Place cording inside of the fold.
Attach piping to pillows and furniture to add a bold finishing touch!


 On the right side of the fabric sew a straight stitch close to the piping.


 Adjust stitch width to move the needle closer to the piping


 Note: The Zipper Foot can be attached right or left, allowing for


 the cording to be inserted from either side.
4
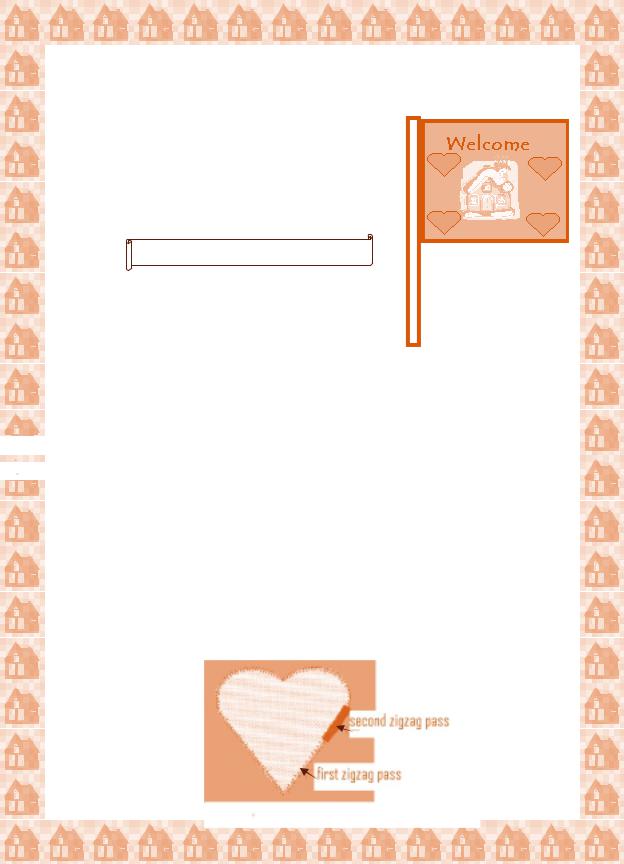
Satin Stitch Appliqué |
Machine Set-up: |
|
Stitch: |
“B”, Zigzag Stitch |
Stitch Width: |
3 |
Stitch Length: |
-1 |
Presser Foot: |
Satin Foot |
A close zigzag is called a Satin Stitch.
Materials: |
A simple-shaped appliqué fused onto a cotton-type |
fabric (base fabric), with a medium weight |
tear-away stabilizer underneath. Fusing the |
appliqué into place will prevent the appliqué from shifting while stitching. The |
stabilizer underneath the fabric is used to support the fabric when using wide |
dense stitches. |


 Procedure:


 Place the applique under the transparent foot, so that the left swing of the
needle falls on the applique and the right swing of the needle falls on the base fabric.
Stitch around the applique. |
Widen the stitch width to 4 and change the stitch length to below 1. |
Stitch around the applique again, covering the previously sewn stitching. |
Sewing over an applique twice is not always necessary, however, it does |
give a beautiful full-covered or raised effect. |
5
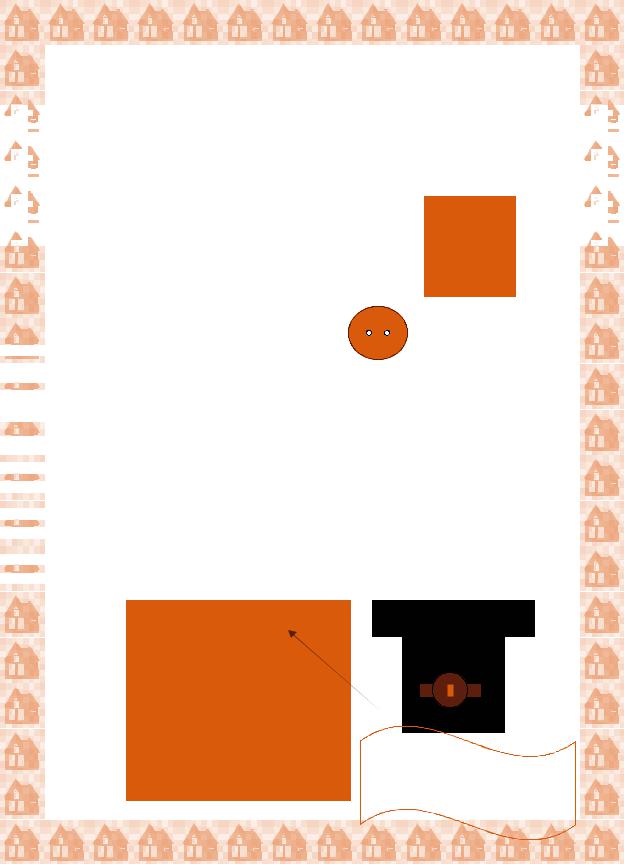
Button Sewing |
|
|
|
|
|
Machine Set-Up: |
|
|
|
|
|
|
|
|
|
|
|
|
|
|
|
|
|
|
|
|
|
|
|
|
|
|
|
|
|
|
|
|
|
|
|
|
|
|
|
|
|
|
|
|
|
|
|
Stitch: |
“B”, Zigzag |
|
|
|
|
|
|
|
|
|
|
|
|
|
|
|
||
|
|
|
|
|
|
|
|
|
|
||
|
|
|
|
|
|
|
|
|
|
||
|
|
|
|
|
Stitch Width: |
Determined by button (usually 3mm) |
|
|
|
|
|
|
|
|
|
|
|
|
|
|
|
||
|
|
|
|
|
|
|
|
|
|
||
|
|
|
|
|
|
|
|
|
|
||
|
|
|
|
|
Stitch Length: |
(does not apply because feed dogs are lowered) |
|
|
|
|
|
|
|
|
|
|
|
|
|
|
|
||
|
|
|
|
|
|
|
|
|
|
||
|
|
|
|
|
|
|
|
|
|
||
|
|
|
|
|
Feed Dogs: |
Down Position |
|
|
|
|
|
|
|
|
|
|
|
|
|
|
|
||
|
|
|
|
|
|
|
|
|
|
||
|
|
|
|
|
Presser Foot: |
Button Sewing Foot |
|
|
|
|
|
|
|
|
|
|
|
|
|
|
|
||
|
|
|
|
|
|
|
|
|
|
||
|
|
|
|
|
|
|
|
|
|
||
|
|
|
|
|
|
|
|
|
|
|
|
|
|
|
|
|
|
|
|
|
|
|
|
Materials: |
Home Décor fabric or shirting |
(1) two-hole button |


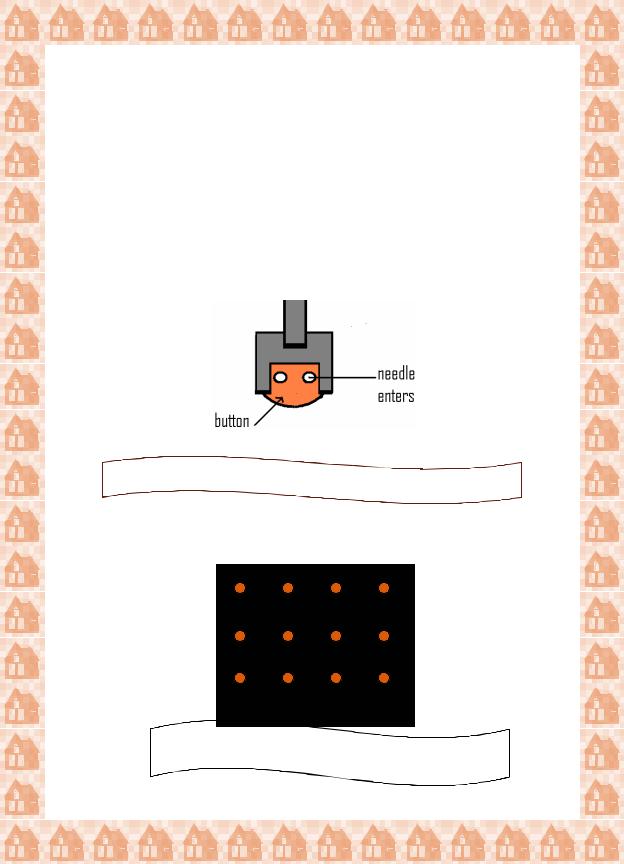
 Procedure:


 Fold fabric in half and place under foot.


 Position the button on the fabric so that the holes in the button are


 between the toes of the foot.


 Lower the presser foot to hold the button in place.


 Turn the hand wheel forward, adjust so that the needle goes into either


 the right or left hole.


 Adjust the stitch width dial to fine tune the swing of the needle into the


 other hole.


 Recheck the swing of the needle into the other hole. Now use the foot


 control to stitch 6-8 stitches.
Use buttonholes and decorative buttons for versatile and stylish tabs on curtains.
6
|
Before removing the button and fabric from the machine, set machine |
to straight stitch. Leave width at current setting and stitch in place for |
three stitches. This forms a tie-off on the back side to secure the button. |
Apply a liquid fray-preventer on the backside of fabric on the knots. |
Trim threads after they dry, being careful not to cut thread knots. |
|
Note: Remember to raise the feed dogs when finished. |
For a thread shank, place a needle or toothpick on the button and stitch.
Use decorative buttons to tie-off a quilt or wall hanging!
7
Bartack Buttonholes |
Machine Set-Up: |
Stitch: |
Stitch Width: |
Stitch Length: |
Presser Foot: |
Step One of the Four-Step Buttonhole 5-7
Buttonhole symbol
Buttonhole Foot (after attaching, push the moveable white part to most rear position)
Materials: |
Home décor fabric with interfacing or tear-away stabilizer |
Disappearing marking pen or tailor chalk (for marking size of buttonhole) |
Button (to establish length of buttonhole) |
Procedure: |
Fold fabric in half crosswise, with interfacing or stabilizer between layers. |
Lay button on fabric and mark the top and bottom of the button. |
This will establish the starting and ending points of the buttonhole. |


 Push the foot’s white movable piece to the most forward red line on


 the foot.


 Place the fabric under the foot, matching the foot’s red mark with the


 bottom mark on the fabric.


 Sew 5 to 6 stitches of Step One (which is the lower/bottom bartack)


 Cut open buttonhole and use a seam sealant to reinforce the buttonhole.


 Note: To adjust the density or if the sides are uneven, refer to the manual


 for adjustment instructions.
8
 Loading...