

Pioneer AVIC-Z950BH Owners Manual

Optional Firmware Update (Version 1.03) for 2013 Navigation Models:
AVIC-Z150BH and AVIC-X950BH
In this manual, iPhone® 5 and iPod® touch fifth generation will be referred to as “iPhone with Lightning
connector.”
The following preparatory steps must first be undertaken in order to connect an iPhone with Lightning
connector to your AVIC-Z150BH or AVIC-X950BH and use AppRadio Mode.
A. Download the firmware update files
B. Update the firmware on your AVIC-Z150BH or AVIC-X950BH
C. Verify System Application Version
D. Pair your iPhone with Lightning connector with your AVIC-Z150BH or AVIC-X950BH and
establish a connection between your iPhone with Lightning connector and the AVIC-Z150BH
or AVIC-X950BH via Bluetooth wireless technology
E. Connect your iPhone with Lightning connector to your AVIC-Z150BH or AVIC-X950BH using
Pioneer CD-IH202 AppRadio Mode HDMI Interface Cable Kit for iPod/iPhone (sold
separately)
Once Steps A through D have been completed, the [Apps] key on the Home screen will become active,
allowing you to utilize AppRadio Mode.
IMPORTANT
• “iPod source” will no longer be available when using AppRadio Mode with an iPhone with Lightning
connector. To play music and/or video files from your iPhone with Lightning connector, please first
install the free of charge CarMediaPlayer app on your iPhone with Lightning connector and then
launch CarMediaPlayer while in AppRadio Mode.
• If you have previously paired your iPhone with Lightning connector with the AVIC-Z150BH or
AVIC-X950BH, you will have to re-register and connect your device after the firmware update has
been completed.
A. Downloading the firmware update files
IMPORTANT
Please download and print these AVIC-Z150BH and AVIC-X950BH Firmware Update instructions
before downloading and installing the firmware update. It is very important that you complete all steps
correctly and in the order described below.
WARNING! This firmware update applies only to AVIC-Z150BH or AVIC-X950BH units sold in
the United States and Canada. Installing the update on other products could seriously damage
the unit.
NOTE: If you have any difficulty carrying out these instructions, or wish to have this
optional update performed by Pioneer, please contact the Pioneer Customer Support Center
toll free at (800) 421-1404 during regular business hours (M-F 10:30AM- 7:00PM Eastern Time,
excluding holidays) for assistance. If this optional firmware update is performed by Pioneer,
there is a charge of $60.00 (this charge includes return shipping of the updated unit within
the U.S.). Charges for removal/reinstallation of the unit and shipment to Pioneer are the
customer’s responsibility.
Procedure
1. Download the AVIC-Z150BH firmware update files here.
Download the AVIC-X950BH firmware update files here.
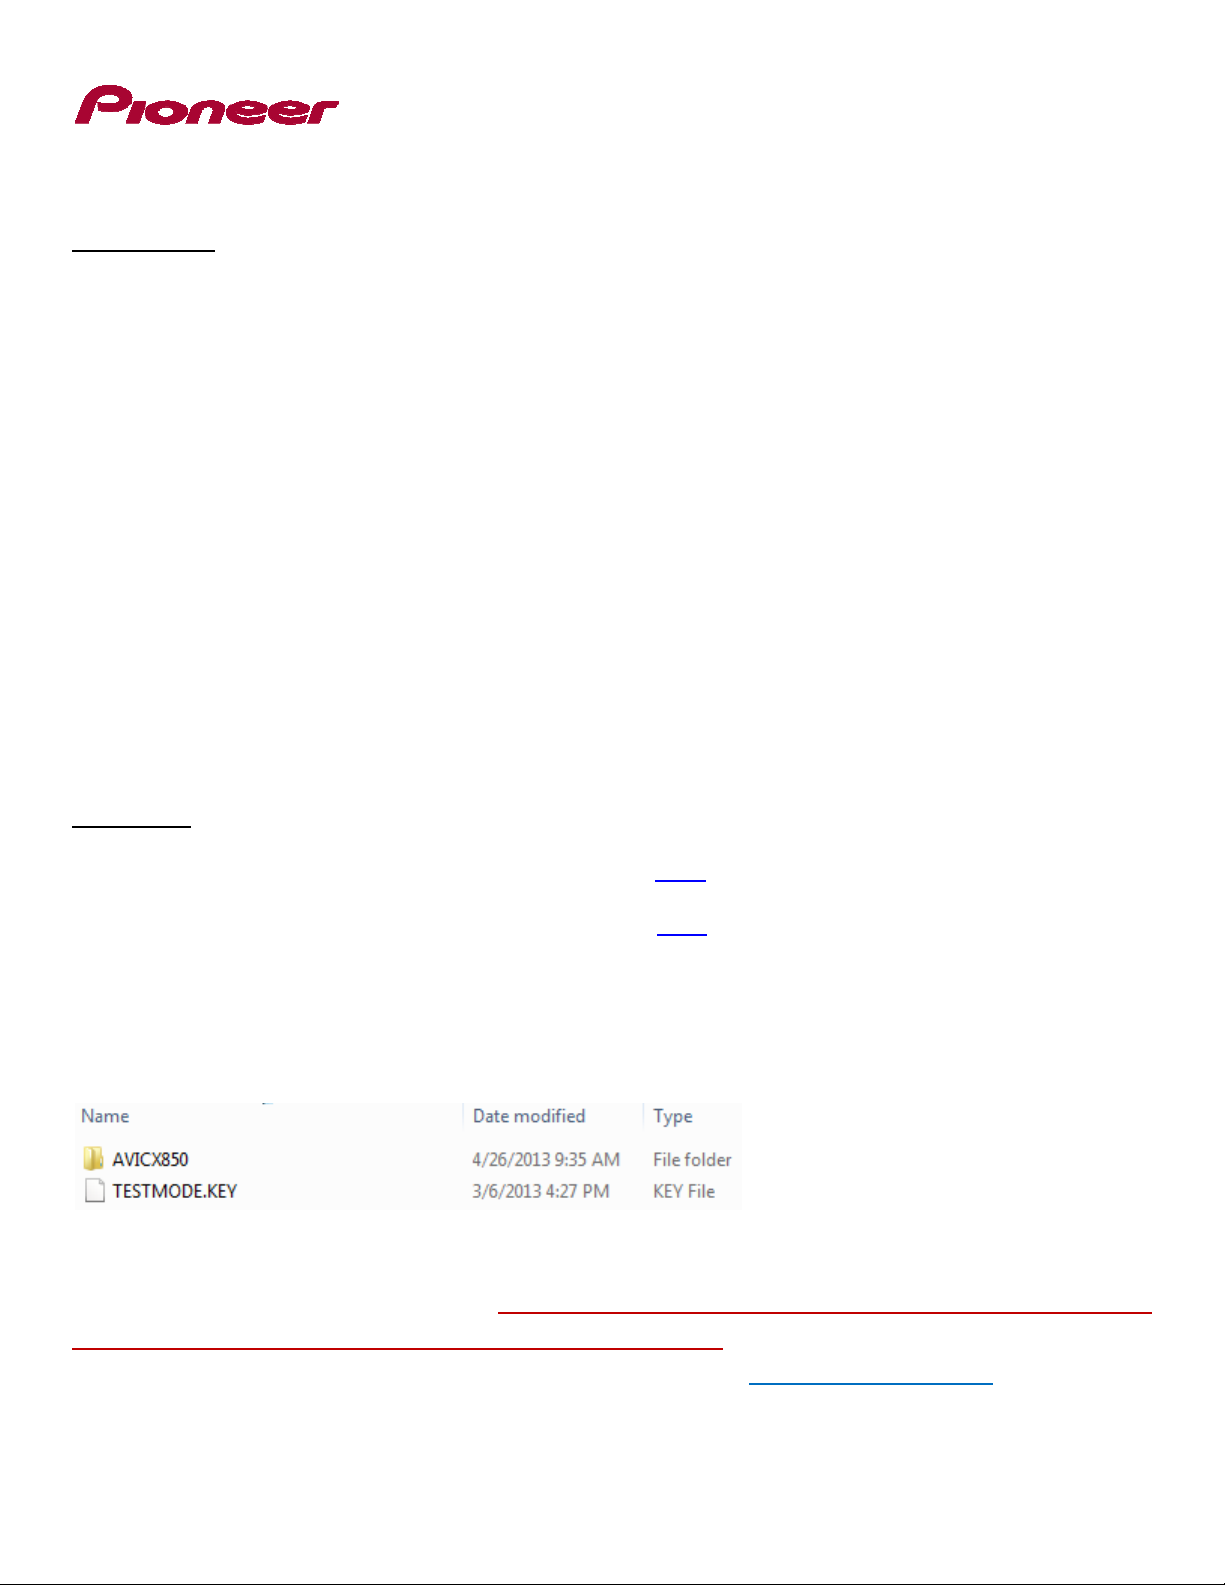
2. Locate and decompress the downloaded file.
The downloaded file will produce the following two items when decompressed: an “AVICX850” folder
and “TESTMODE.KEY”:
NOTE: Although the folder is named “AVICX850”, it does indeed contain the correct firmware files for
your AVIC-Z150BH or AVIC-X950BH. Do not rename the folder or attempt to install these files
on anything other than the AVIC-Z150BH or AVIC-X950BH. If you do not have a file decompression
utility installed on your computer, you may download WinZip at http://www.winzip.com
(purchase may
be required).

B. Updating the firmware on your AVIC-Z150BH or AVIC-X950BH
IMPORTANT
• Please DO NOT perform any further steps of this firmware update if the model number is anything
other than AVIC-Z150BH or AVIC-X950BH
• For the AVIC-Z150BH, the model number is located to the left of the volume buttons.
• For the AVIC-X950BH, the model number is located centrally, just below the touchscreen.
SD Card or microSD Card Device Requirements:
• AVIC-Z150BH, SD or SDHC card, formatted to FAT16 or FAT32, 250MB or larger
• AVIC-X950BH, microSD or microSDHC card, formatted to FAT16 or FAT32, 250MB or larger
• Ensure that the update folder and file are located within the root (top) folder of your SD or
microSD card. There should be no other files on the SD or microSD card.
• While your AVIC-Z150BH or AVIC-X950BH is being updated, DO NOT turn off the system’s
power. Failure to heed this warning may result in serious damage to your Pioneer GPS
Navigation system.
• DO NOT remove the SD card or microSD card during the firmware update process.
• Performing the firmware update will restore all settings to their default values.
• Disconnect any mobile devices including USB flash drives that are currently connected to
your A VIC-Z150BH or A VIC-X950BH.
Procedure
1. Connect a blank and formatted SD card or microSD card to your computer, and then
locate and copy the “AVICX850” folder and “TESTMODE.KEY” file onto the SD card or
microSD card.
2. Turn your vehicle’s key to the ON position and power up your AVIC-Z150BH or
AVIC-X950BH.
3. Turn the AV source to [OFF].
• If the display is currently showing the map screen, press the ‘MODE’ button on the Pioneer
GPS navigation system to view the AV source screen, then select [OFF].
4. Insert the SD Card or microSD Card into your AVIC-Z150BH or A VIC-X950BH.
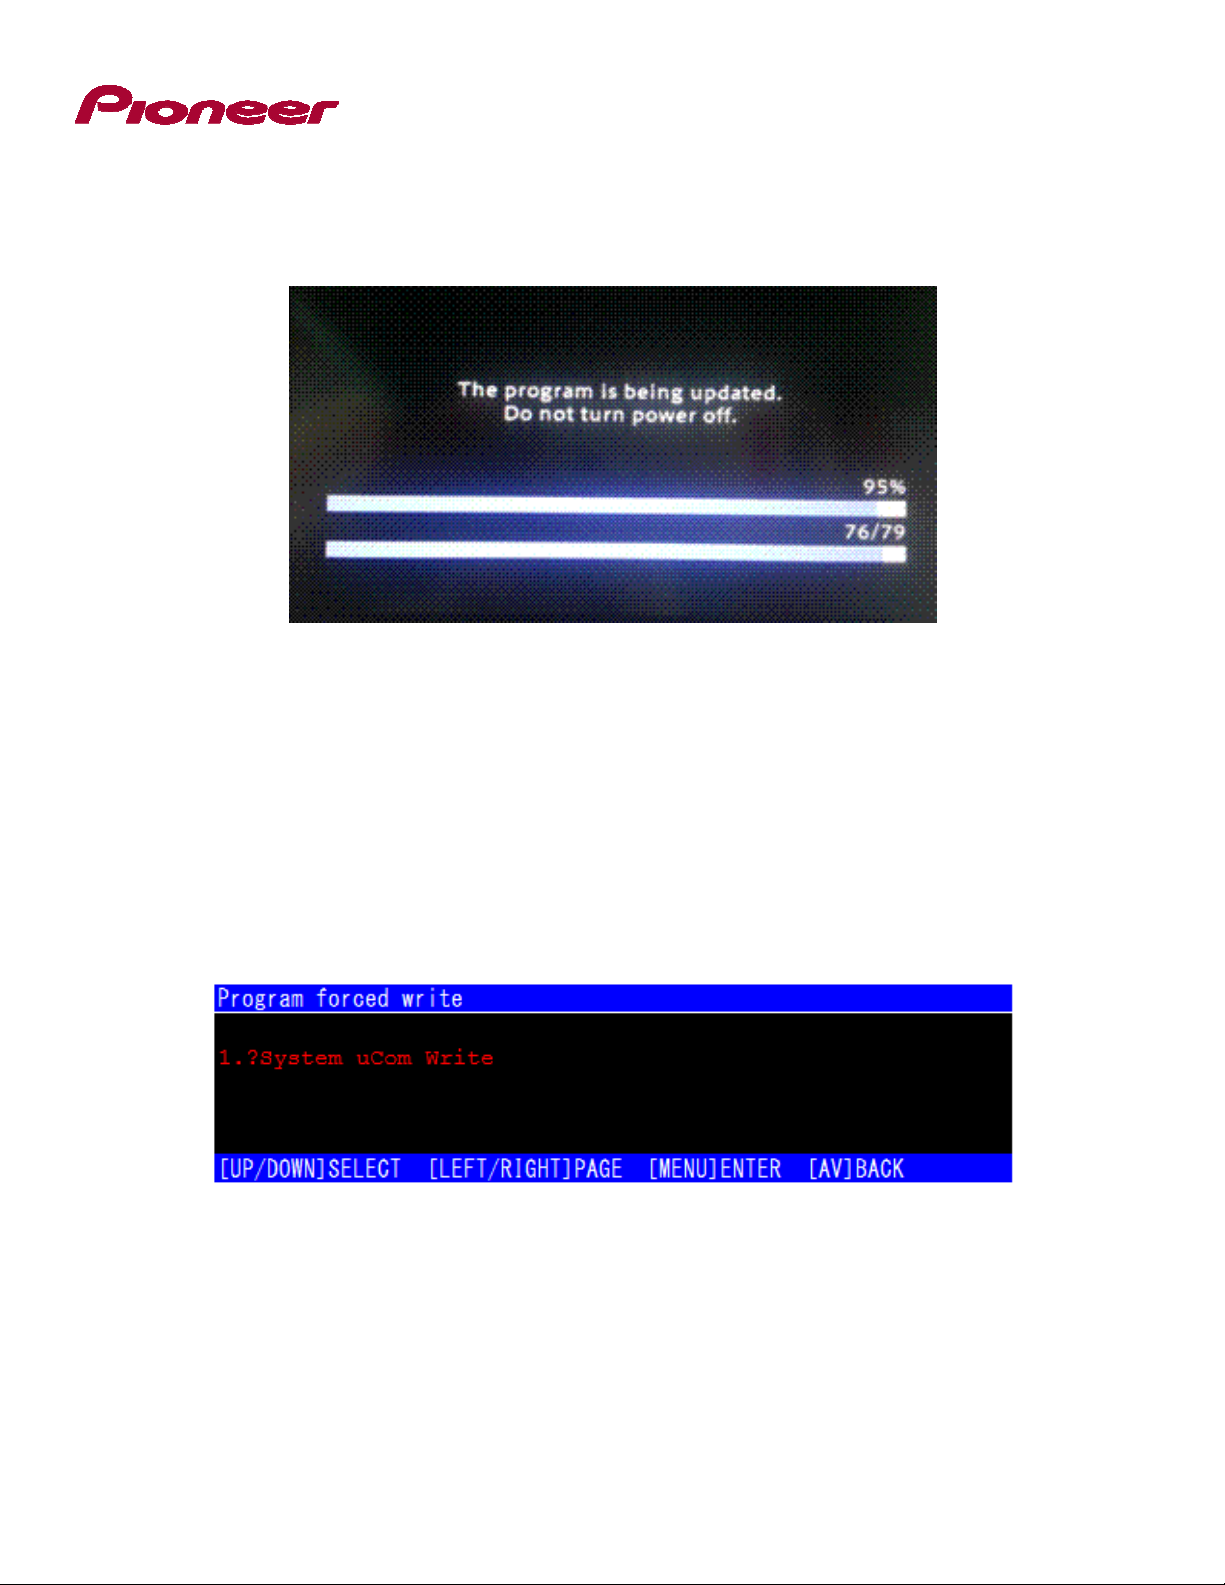
• The system will automatically recognize the firmware update file, reboot, and start the update
process within a minute.
• If the AV Source screen was not set to [OFF] prior to inserting the SD card or microSD
card, you will only see a black screen and the above update screen will not be visible.
If this is the case, do not turn off power or eject the SD Card or microSD Card for at
least 5 minutes as the update process may be in process. Failure to heed this warning
may result in serious damage to your Pioneer GPS Navigation system.
• The initial update process will take approximately 2 to 3 minutes to complete. The
AVIC-Z150BH or AVIC-X950BH will automatically reboot and the “Program forced write” screen
will appear:
 Loading...