


 Loading...
Quick Start Guide
HT-RC560
Supplied Accessories
Make sure you have the following accessories:
a Indoor FM antenna b AM loop antenna
c Speaker cable labels
d Remote controller and two batteries
(AA/R6)
eSpeaker setup microphone
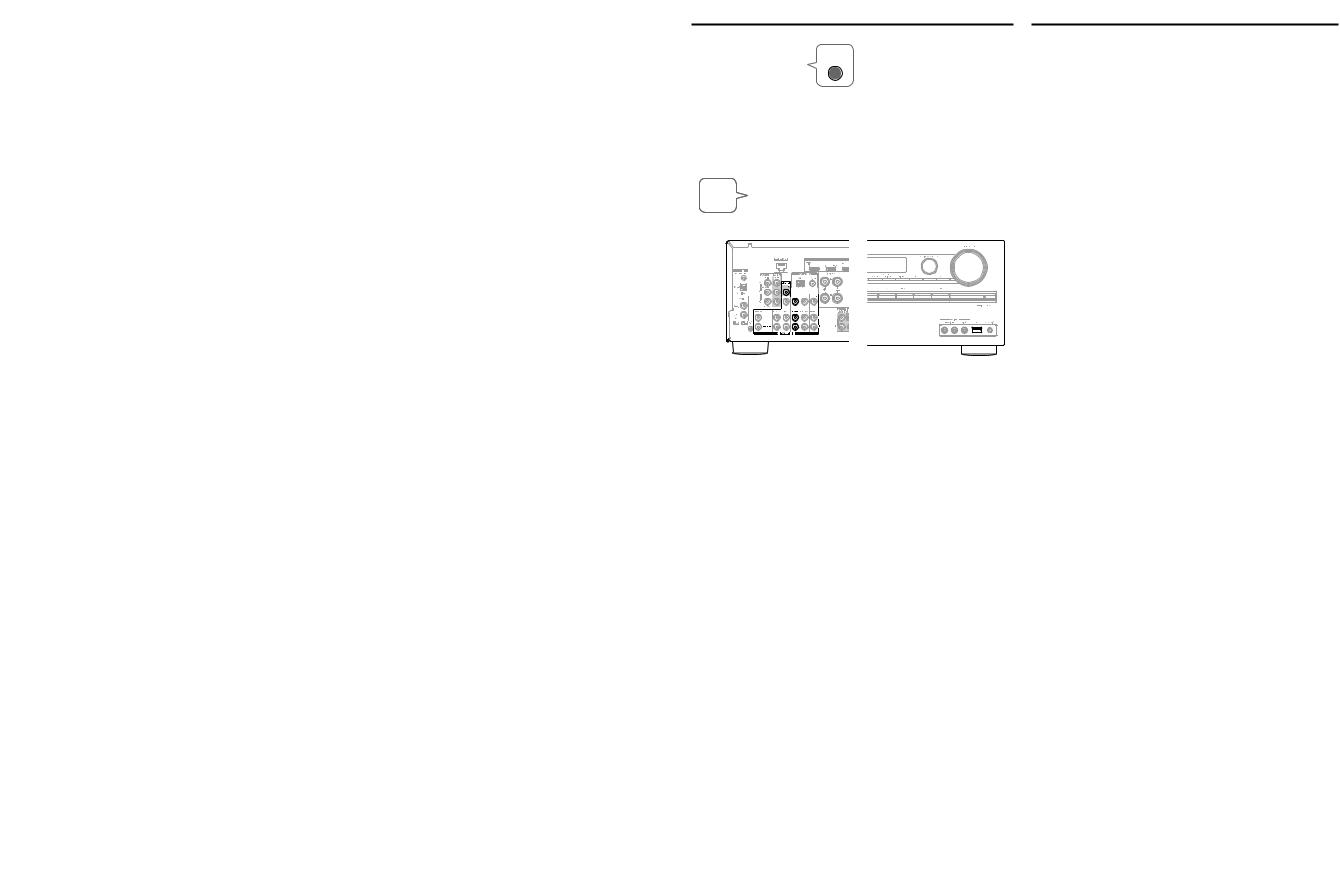
The AV receiver can automatically perform speaker and surround settings, so that you can easily enjoy a surround sound tailored to your listening environment. Connect the supplied microphone to the AV receiver and follow the on-screen instructions.
When performing automatic speaker setup, connect your TV to the AV receiver and make the room as quiet as possible.
Note
a |
Using the Remote Controller |
b |
|
c |
|
d |
Batteries (AA/R6) |
|
|
|
Remote control sensor |
e |
AV receiver |
Approx. 16 ft. (5 m)
Before connecting the power cord, connect all of your speakers and AV components.
1. Connecting Your Speakers
1 |
2 |
3 |
9 |
10 |
6 |
1 |
2 |
Front speakers |
|
|
|
|
|
|
|
||
3 |
|
Center speaker |
|
|
|
|
|
|
|
||||||||
|
|
|
|
|
|
|
|
|
|
|
|
|
|
||||
|
|
|
|
|
|
4 |
5 |
Surround speakers |
|
|
|
|
|
|
|||
|
|
|
|
|
|
6 |
|
Subwoofer(s) |
|
|
|
|
|
|
|
|
|
|
|
|
|
|
|
7 |
8 |
Surround back speakers |
|
|
|
|
|||||
|
|
|
|
|
|
9 |
10 |
Front high speakers |
|
|
|
|
|
||||
|
|
|
|
|
|
Speaker Configuration |
|
|
|
|
|
|
|
||||
|
|
|
|
|
|
|
5.1-channel: |
1 |
2 |
3 |
4 |
5 |
6 |
|
|
|
|
|
|
|
|
|
|
|
7.1-channel: |
1 |
2 |
3 |
4 |
5 |
6 |
+ |
7 |
8 |
|
|
|
|
|
|
|
|
7.1-channel: |
1 |
2 |
3 |
4 |
5 |
6 |
+ |
9 |
10 |
|
4 |
5 |
7 |
8 |
Y1303-1 En
SN 29401475 |
* 2 9 4 0 1 4 7 5 * |
(C) Copyright 2013 Onkyo Corporation Japan. All rights reserved. |
Please connect 1 , 2 , 3 , 4 , 5 and 6 for 5.1-channel surround.
2 |
|
1 |
Front |
|
Front |
speaker R |
|
speaker L |
|
3 |
|
|
Center speaker |
|
Red |
Green |
White |
Powered |
subwoofer |
6 |
Powered |
subwoofer |
6 |
Gray |
|
Tan |
|
Brown |
|
Blue |
|
|
|
Surround |
Surround back or |
Surround back or |
Surround |
||
speaker R |
Front high speaker R |
Front high speaker L |
speaker L |
||
5 |
8 |
10 |
7 |
9 |
4 |
1/2''-5/8'' (12-15mm)
- 2 -
2. Connecting Your Components
Connecting Components with HDMI
HDMI
OUT
Personal computer
HDMI
OUT
Game console
HDMI
OUT
Blu-ray Disc/ DVD player
OUT
Satellite/cable set-top box, etc.
|
HDMI |
TV |
IN |
|
Please turn on “HDMI CEC (RIHD)” from the setup menu.
HDMI
OUT
MHL-enabled mobile device, etc.
The components connected to each terminal (BD/DVD, GAME, etc.) can be selected with the input selector buttons of the same name on the front panel. Note that these default assignments can be changed. For details, please refer to the instruction manual.
■ Listening to TV audio (Optional)
(Without Audio
Return Channel)
AUDIO TV
OUT
DIGITAL |
L |
HDMI |
OPTICAL |
|
IN |
OUT |
|
|
R

(Supports Audio
Return Channel)
When using a TV that supports Audio Return
Channel, both audio/video signals from the AV receiver and the audio output from the TV are carried bidirectionally on a single
HDMI cable.
Choose an audio connection that matches your TV (without
Audio Return Channel).
■ Video upconversion to HDMI
(*) 
AV receiver
If you’ve connected your TV to the AV receiver with an HDMI cable, composite video and component video sources can be upconverted and output by the HDMI OUT MAIN.
(*)In order for the AV receiver to upconvert component input to HDMI output, the source output must be set to 480i/576i.
When signal is input at resolution of 480p/576p and more, error message will be displayed.
Connecting Components without HDMI
TV |
VIDEO |
|
IN |
||
|
Game console
AV OUT
Portable player
The content information is displayed (lists are displayed) on-screen, and you can control the contents while looking at the TV screen.
Connecting to the Network (Optional)
The following diagram shows how you can connect the AV receiver to your home network. In this example, it’s connected to a LAN port on a router, which has a 4-port 100Base-TX switch built-in.
Internet radio 
WAN Router Modem 


LAN
Computer or media server
The AV receiver supports Wi-Fi, and you can connect the AV receiver to your home network by wireless LAN. For wireless LAN connection, see “4. Performing Wireless LAN Setup” (→Page 5).
3. Turning On & Initial Setup
Initial Setup is automatically started upon first-time use, and you can make an initial setup by watching guidance displayed on the TV screen. If you make this setup later, select No and press ENTER on the remote controller on the next screen after selecting the language.
•Connect the AV receiver to your TV with HDMI to make an Initial Setup on the TV screen.
•If you set your home network to “Wireless”, see “4. Performing Wireless LAN Setup”.
Using the Setup User Interface
If you connect the AV receiver to your TV with HDMI, you can make settings on the TV screen. On the TV, select the input to which the AV receiver is connected.
Setup Menu (Home Menu)
The Setup menu provides extended setup that includes settings for advanced users.
■ Setup operation
Use e/r or q/w in the center to select items on the screen, and press ENTER to confirm. Press RETURN to return to the previous screen. Press HOME to close the setup screen.
1 2
2  3
3 

 4 “Setup” 5


Quick Setup
The Quick Setup provides quick access to frequently used settings. You can change settings and view the current information.
1 |
2 |
B D / D V D |
I n p u t |
A u d i o
V i d e o
I n f o r m a t i o n
L i s t e n i n g M o d e
Input
You can select the input source while viewing the related information.
Audio
You can change various audio settings such as tone controls, the subwoofer and center channel levels.
Information
You can view various information about the currently selected input source.
Listening Mode
You can select the listening modes that are grouped in categories.
Press SETUP to close the menu.
- 3 - |
- 4 - |
Loading...