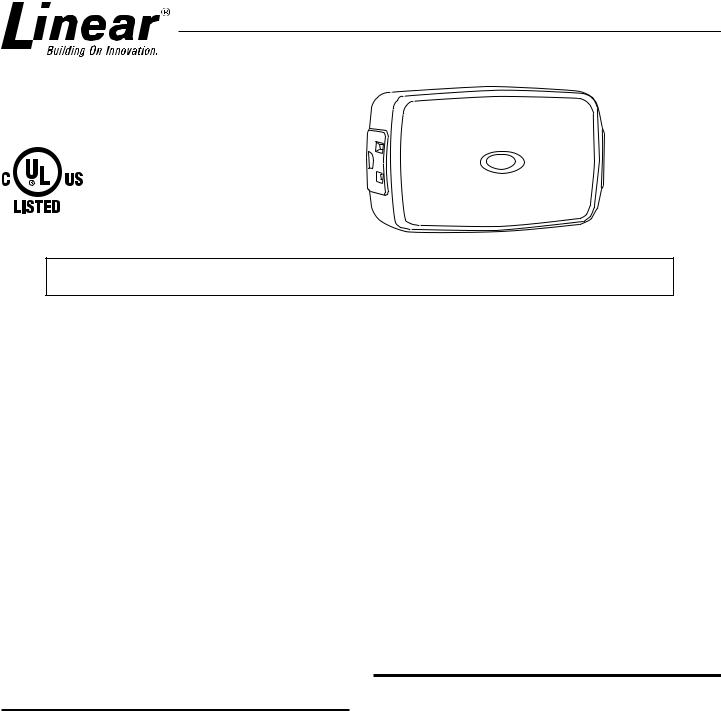
Linear PD300Z-2 User Manual

PD300Z-2
Z-Wave Radio Frequency (RF) Controlled, 300W, 120 VAC,
NWI and Scene Capable, Plug-In Lamp Module, Series 300
NWI and Scene Capable
Button functions
1. Use to include module under the command of a Controller.
2. Local ON and OFF (push and release).
3. Local dimming (hold down).
NOTE: This module must be “included in the Network” only where it will be permanently installed. You cannot “test bench: confi gure this module, then install. The proper operation of this node in the mesh network is dependent on it knowing its location with respect to other nodes.
PD300Z-2 PLUG-IN LAMP MODULE |
|
INCLUDING PD300Z-2 TO THE NETWORK |
Linear’s family of Z-Wave certifi ed wireless lighting controls (switches, dimmers, outlets and plug-in modules) brings a new level of intelligent wireless capability to commercial and residential environments.
The Z-Wave wireless protocol is an international wireless standard for remote home automation, security and other applications. Embedded in each device, the Z-Wave smart chip enables two-way RF communication among hundreds of Z-Wave enabled devices, allowing products and services from multiple manufacturers to work seamlessly.
Linear Z-Wave products are easy to install, and allow dealers to create an integrated wireless network with nearly limitless expansion and interoperability with security and health monitoring systems, energy management, home entertainment, appliances, and more.
This product supports 40Kbps data transmission. This product can also be used for networking support in systems that stream metadata. An example might include transmission of information from audio devices such as song title, artist, and album information to various displays around the home. As part of a Z-Wave network, the PD300Z-2 can act as a wireless repeater to insure that commands intended for another device in the network are received. This is useful when the device would otherwise be out of the radio range of the wireless controller.
INSTALLATION
Plug this Lamp Module into the wall outlet near the lamp to be controlled, and plug the lamp into the Lamp Module. Make sure the lamp(s) to be controlled total no more than 300 watts. To reduce the risk of electric shock, this product has a grounded type plug that has a third (grounding) pin. This plug will only fi t into a grounding type power outlet. If the plug does not fi t into the outlet, contact a qualifi ed electrician to install the proper outlet. Do not change the plug in any way.
WARNING: Plugging a non-resistive load such as fl orescent lighting or a device with a motor may result in damage to the Lamp Module and will void the warranty.
NOTE: Grounded outlet is always powered and can be used for any other appliance. See Wireless Controller operating instructions for details to include this module under the command of the Wireless Controller.
STEP 1. Prepare the Controller to include a unit to the network, by adding it to a group (method of adding a node to the network). Refer to controller instructions.
STEP 2. The PD300Z-2 must be in its permanently installed location. To add a node: NWI: Tap the button once. This can be done upon power-up of the node to be included, or once the controller is prepared to add all nodes to the network.
Classic Inclusion: Tap the button twice.
To remove node: Tap the button twice
STEP 3. You should see an indication on your Controller that the “DEVICE WAS INCLUDED” or “DEVICE WAS EXCLUDED” in the network.
NOTE: If you have trouble adding the PD300Z-2 to a group it may be that the Home ID and Node ID were not cleared from it after testing. You must first “RESET UNIT” with your controller to remove it from the network. Although adding it to a group includes it in the network, removing it from a group does not remove it from the network. If removed from a group, it functions as a repeater.
BASIC OPERATION
Local Control
The button on the PD300Z-2 allows the user to:
•Turn ON, OFF, or DIM and BRIGHTEN the load attached to the controlled outlet.
•Tapping button toggles the load attached.
•Pressing and holding the button will dim or brighten the load attached.
Operation Note
When a light bulb reaches the end of it’s life and burns out, it sometimes creates a momentary short circuit. The high current that results may cause the dimmer to respond by turning off. Should this happen, replace the bulb with a new one. The dimmer can now be operated to restore power to the light.
1
 Loading...