


PDS18SBMCRBS
GE PDS18SBMCRBS, PDS18SBMCLBS, PDS18SBMBRBS, PDS18SBMBLBS, PDS18SBMARBS Owner’s Manual
...
N
GEAppliances.com
Safety Instructions ........ 2-4
Operating Instrt_ons
Additional Features .......... 8
Automatic Icemaker ...... 9, 10
Care and Cleaning ....... 11, 12
Crispers and Pans ........... 7
Getting Started ............. 5
Replacing the Light Bulbs .... 12
Shelves, Bins and
Water Dispenser ............ 6
Model 18
©
©
Installation Instructions
Preparing to Install
the Reli'igerator ............ 13
Reve_sing the Door Swing.. 14-17
Troubleshooting Tips ... 18-20
Normal Operating Sounds . . .18
Consumer Support
Consumer Support ......... 24
Warranty (Canadian) ....... 22
Warranty (U.S.) ............ 23
Writethemodelandserialnumbershere:
Model #
Serial#
Find these numbers on a label on tile
left side, near the top of the freezer
compartment.
162D9629PO05 49-60135-1
WR6S1 08-02JR
IMPORTANTSAFETYINFORMATION.
READALLINSTRUCTIONSBEFOREUSING.
WARNING!
Use this appliance only for its intended purpose as described in this Owner's Manual.
SAFETYPRECAUTIONS
When using electrical appliances, basic safety precaufions should be followed, including the following."
NThis refrigerator must be properly installed
and located in accordance with tile Installation
Instructions before it is used.
@Do not allow children to climb, stand or hang
on the shelves in tile refrigerator. They could
damage the refrigerator and seriously injure
themselves.
NDo not touch tile cold surfaces in tile freezer
compartment when hands are damp or wet.
Skin may stick to these extremely cold surfaces.
@Do not store or use gasoline or otber flammable
vapors and liquids in the vicinity of tbis or any
otber appliance.
NDo not refreeze frozen foods which have
thawed completely.
NIn refrigerators witb automatic icemakers, avoid
contact with tbe moving parts of the ejector
mechanism, or witb the heating element located
on the bottom of the icemaker. Do not place
tingers or hands on tbe automatic icemaking
mechanism while the reti-igerator is plugged in.
NKeep fingers out of tbe "pinch point" areas;
clearances between tbe doors and between
the doors and cabinet are necessarily small.
Be careful closing doors when children are
in tbe area.
@Unplug the reti'igerator betore cleaning and
making repairs.
NOTE:Westronglyrecommendthatanyservicingbe
performedbyaqualifiedindividual
NBefore replacing a burned-out light bulb,
unplug tbe refrigerator or turn off power at tbe
circuit breaker or fuse box in order m avoid
contact witb a live wire tilament. (A burned-out
light bulb may break when being replaced.)
NTurning the control to tim 0FFposition does
not remove power to tbe ligbt circuit.
2
A DANGER!RISKOFCHILDENTRAPMENT
PROPERDISPOSALOFTHEREFRIGERATOR
GEAppliances.com
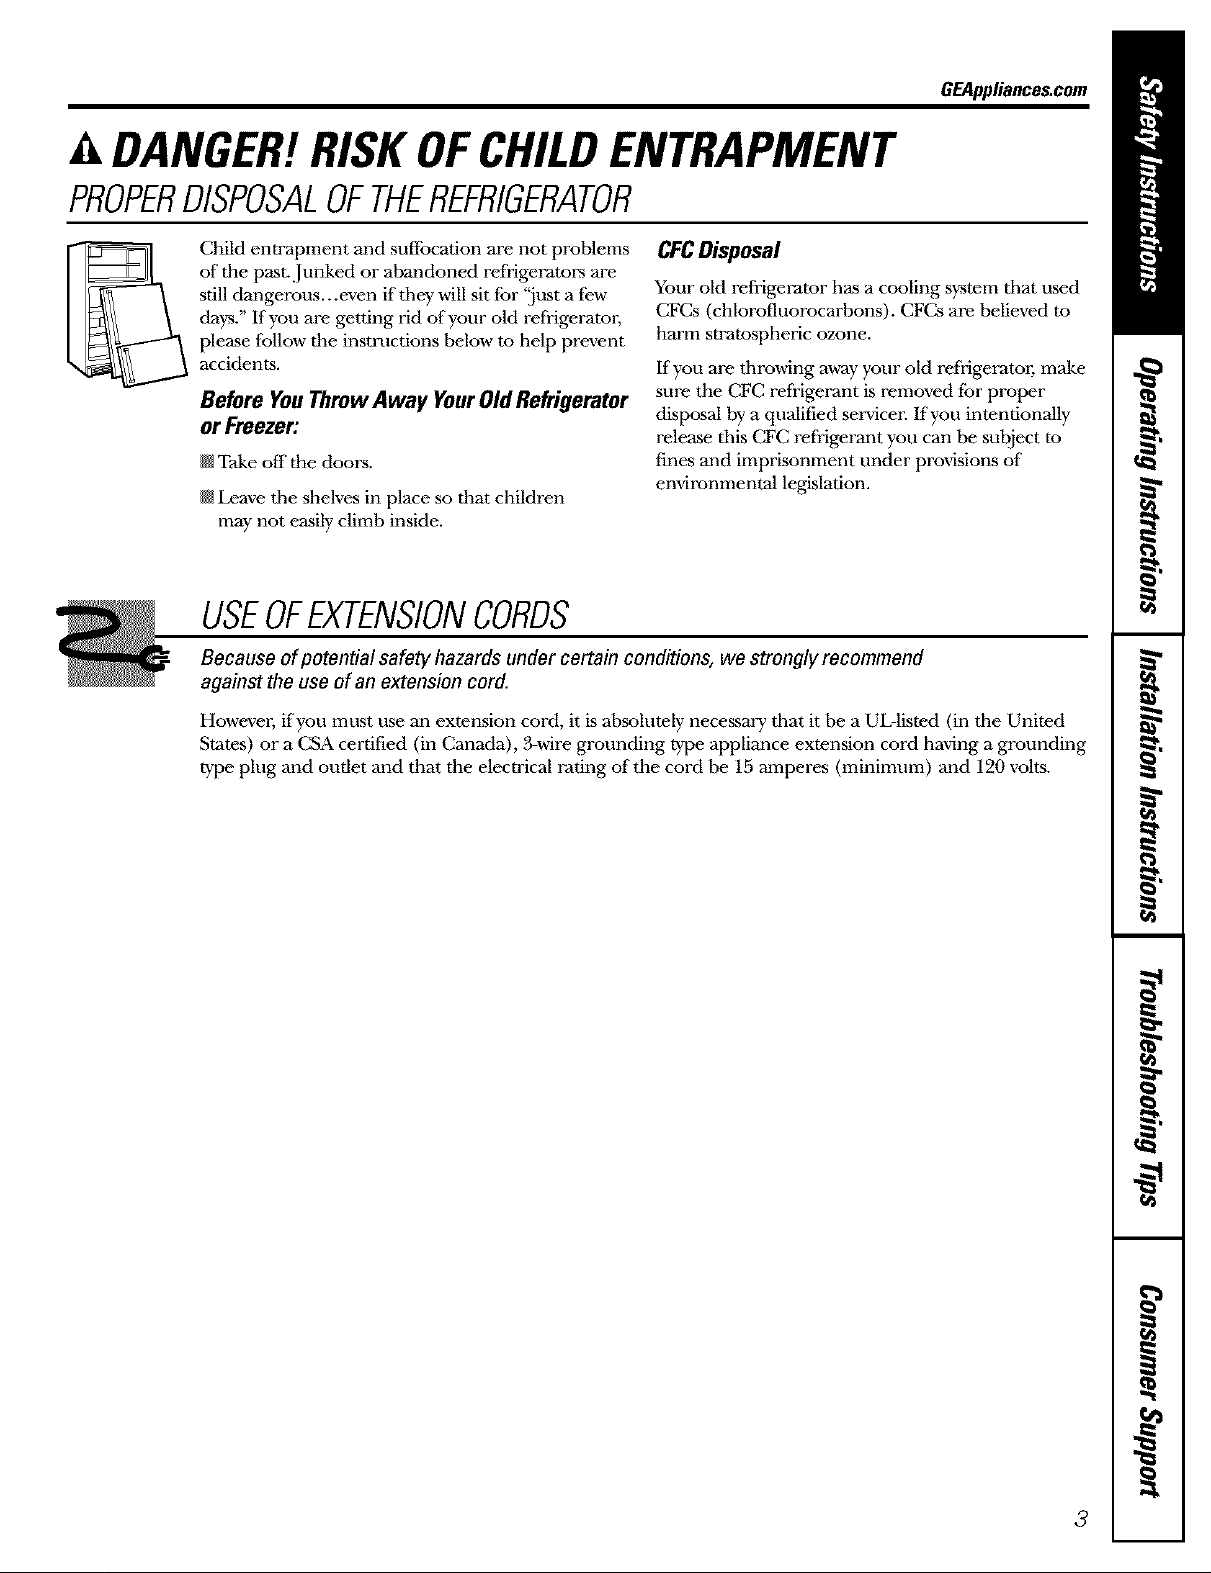
Child entrapment and suffocation are not problems
of the past. .Junked or abandoned refrigerators are
still dangerous...even if they will sit far 'just a few
days." Ifyou are getting rid of your old refrigeratol;
please follow the instructions below to help prevent
accidents.
Before YouThrew A way YourOldRefrigerator
or Freezer:
N Take off the doors.
N Leave the shelves in place so that children
may not easily climb inside.
CFCDisposal
Your old refi'igerator has a cooling system that used
CFCs (chlorofluorocarbons). CFCs are believed to
harm sn'atospheric ozone.
If you are throwdng away your old refrigerator, make
sure the CFC refrigerant is removed far proper
disposal by a qualified servicen lfyou intentionally
release this CFC refrigerant you can be subject to
fines and imprisonment under provisions of
environmental legislation.
USEOFEXTENSIONCORDS
Because of potential safety hazards under certain conditions, we strongly recommend
against the use of an extension cord.
Howevm; ifyou must use an extension cord, it is absolutely necessary that it be a UL-listed (in the United
States) or a CNA certified (in Canada), 3-wire grounding type appliance extension cord having a grounding
type plug and outlet and that the elecnical rating of the cord be 15 amperes (minimum) and 120 volts.
3

IMPORTANTSAFETYINFORMATION.
READALLINSTRUCTIONSBEFOREUSING.
A WARNING!
HOWTOCONNECTELECTRICITY
Do not, under any circumstances, cut or remove the third (ground) prong from the power cord.
Forpersonal safe_ this appliance must be properly grounded.
The power cord of this appliance is equipped
with a 3-prong (grounding) plug which mates
with a standard 3-prong (grounding) wall oudet
to minimize tile possibility of electric shock hazard
from this appliance.
Have the wall outlet and circuit checked by
a qualified electrician to make sure the outlet
is properly grounded.
Where a standard 2-prong wall oudet is
encountered, it is your personal responsibility
and obligation to have it replaced with a properly
grounded 3-prong wall outlet.
The refrigerator should always be plugged into
its own individual electrical outlet which has
a voltage rating that matches tile rating plate.
This provides tile best performance and also
prevents overloading house wiring circuits which
could cause a fire hazard from overheated wires.
Never unplug your refrigerator by pulling on
the power cord. Always grip plug firmly and pull
sn'aight out from the outlet.
Repair or replace immediately all power cords
that have become frayed or otherwise damaged.
Do not use a cord tllat shows cracks or abrasion
damage along its length or at either end.
When moving the refrigerator away from the
wall, be careful not to roll over or damage the
power cord.
USEOFADAPTERPLUGS(Adapterpl.gsnotpermittedinCanada)
Because of potential safety hazards under certain conditions, we strongly recommend against
the use of an adapter plug.
Howevm; if you must use an adapter, where local
codes permit, a temporaryconnectionmay be made
to a properly grounded 2-prong wall outlet by use
ofa UL-listed adapter a'_ailable at most local
hardware stores.
The larger slot in tlle adapter must be aligned with
the laNer slot in the wall oudet to provide proper
polarity in the connection of the power cord.
When disconnecting tlle power cord from the
adapter, al,a-ayshold tlle adapter in place with one
hand while pulling tlle power cord plug with the
other hand. If this is not done, tlle adapter ground
terminal is very likely to break with repeated use.
If the adapter ground terminal breaks, DO NOT USE
the refrigerator until a proper ground has been
established.
Attachingtheadaptergroundterminaltoa waft outlet
coverscrewdoesnotgroundthe applianceunlessthe
coverscrewis metalandnotinsulated,andthe waft
outletisgroundedthroughthehousewiring. Youshould
havethecircuitcheckedbyaquaddedelectricianto make
surethe outlet isproperlygrounded.
READANDFOLLOWTHISSAFETYINFORMATIONCAREFULLY.
SAVETHESEINSTRUCTIONS
4
Gettingstarted. GEAppliances.com
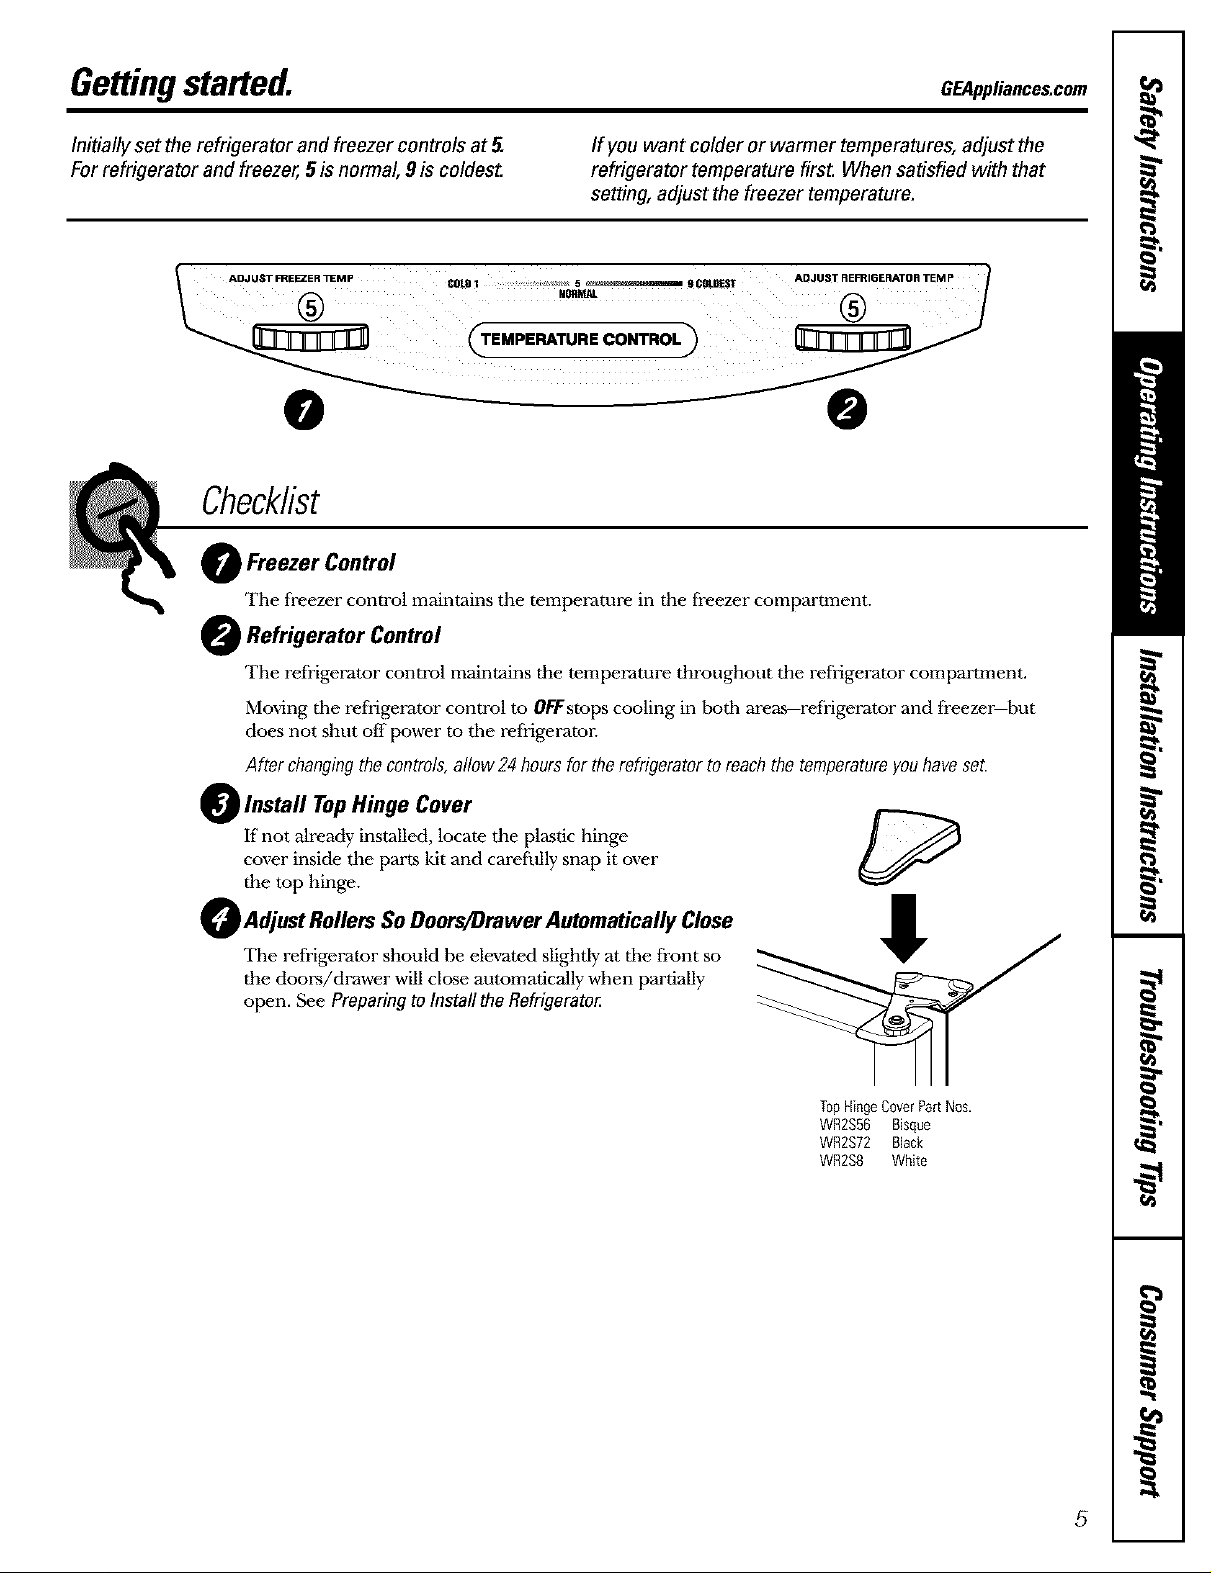
Initially set the refrigerator and freezer controls at 5. If you want colder or warmer temperatures, adjust the
For refrigerator and freezer, 5 is normal, 9 is coldest, refrigerator temperature first. When satisfied with that
setting, adjust the freezer temperature.
TEMPERATURE CONTROL
0
Checklist
Freezer Control
Tile freezer control maintains the temperature in the freezer compartment.
)Refrigerator Control
Tile refiigerator control maintains the temperature throughout the refrigerator compartment.
Moving the refiigerator control to OFFstops cooling in both areas-refiigerator and freezer--but
does not shut off power to the refrigerator.
After changingthecontrols,allow24 hoursfortherefrigeratortoreachthetemperatureyouhaveset.
O Install TopHinge Cover
I£not already installed, locate the pl&stichinge
cover inside the parts kit and carefully snap it over
the top hinge.
O) Adjust Rollers SoOoors/_rawer Automatically Close
The re_i_mmr should be elevated slightly at the front so
the doom/drawer will close autom_c_]y when parnally
open. See PreparingtoInstallthe Refrigerato_
TopHingeCoverPartNos.
WB2S56 Bisque
WB2S72 Black
WR2S8 White
5

Aboutthe refrigeratorshelves,binsand water dispenser.
Not all features are on all models.
Rearranging the Shelves
Glass and wire shelves in tile refrigerator compartment are adjustable.
TORemove TOReplace
Slide-Out Spillproof Shelf
The slide-out spillproof shelf allows you
to reach items stored behind others. The
special edges are designed to help prevent
spills from dripping to lower shelves.
Adjustable Door Bins
Adjustable bins can easily be carried from
refi-igerator to work area.
Toremove:Tih tile bin up and pull out
on tile molded supports until it comes
completely out of tile doo_:
TOreplace or relocate: Select desired height,
engage the bin in tile molded supports of
tile door and slide the bin in. The bin will
hook in place.
Brita_ Water Dispenser
Makesureyoupushtheshelvesall thewayback
in beforeyouclosethe door
The snuggershelp prevent tipping, spilling
or sliding of small items stored on the door
shelf. Place a finger on either side of the
divider near tile front and move it hack
and forth to fit your needs.
TOinstall:Grasp the dispenser as shown.
Using a slight backv_rd tilt, align tile
mounting brackets on the dispenser with
the support brackets in tile refrigerator doon
Gently slide the dispenser back until it
touches tile door and lower it into the
support brackets.
TOremove:Tilt tile dispenser up at tile front
and pull it fbrv_-ard on the molded support
brackets until it comes completely out of
tile dool:
6
Aboutthe crispersandpans. GEAppliances.com
Fruit and Vegetable Crispers
Adjustable Humidity Crispers
_1' , ,,_ Slide tile control all tile way to the
, , recommended for most vegetables.
HIGHsetting m provide high humidity
Detachable Snack Pan
Slide the control all the way to tile
LOWsetOng to proxdde lower humidity
levels recommended for most fruits.
The slide-out snack pan can be
removed and taken to the sink or
food preparation area.
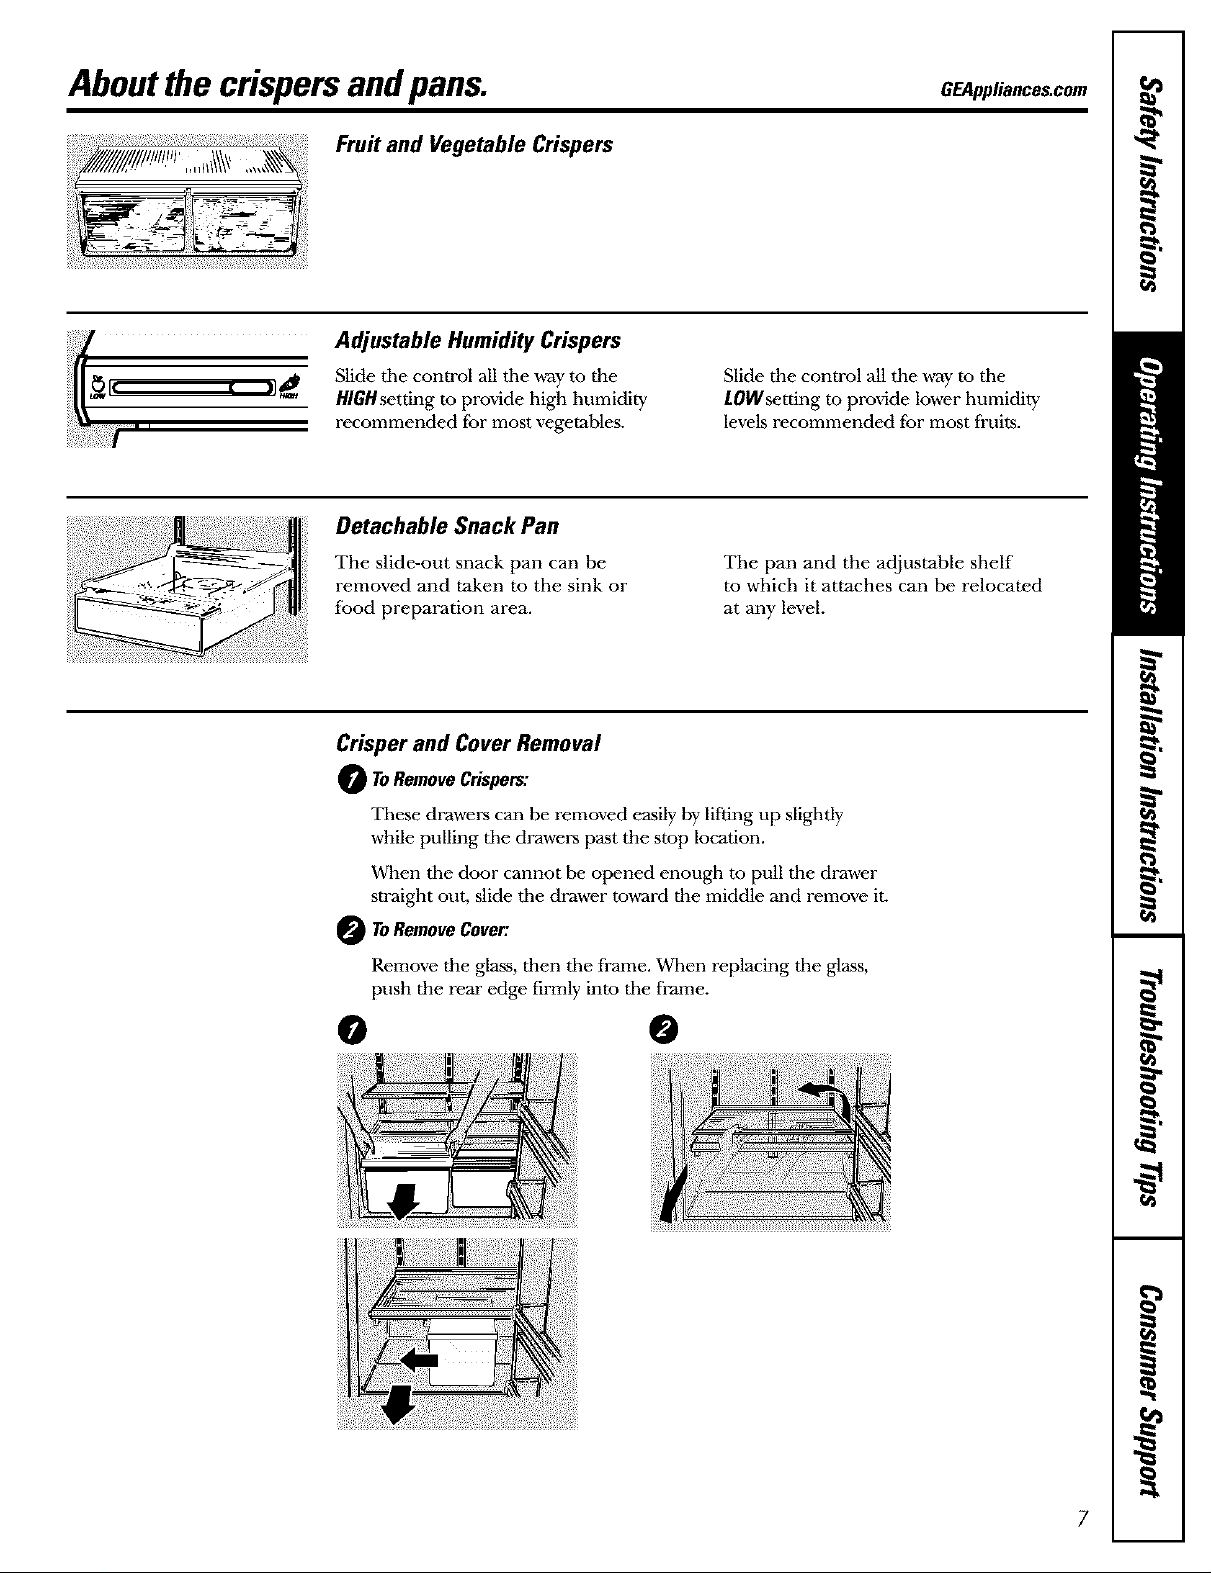
Crisper and Cover Removal
O ToRemoveCrispers:
These drawers can be removed easily by lifting up slightly
while pulling the drawers past the stop location.
When the door cannot be opened enough to pull the drawer
straight out, slide the drawer toward the middle and remove it.
ToRemoveCover:
Remove the glass, then the fi'ame. When replacing the glass,
push the rear edge firmly into the frame.
The pan and the adjustable shelf
to which it attaches can be relocated
at any level.
@ @
iiilii i!iiii:iill i ii !! !iii!!iiiiiiili
i .......
}{ {
Someadditionalfeatures.
Not all features are on all models.
Beverage Rack (on some models)
This slide-out lack provides storage for
a variety of beverages.
Removable Wine Rack (onsomemodels)
This rock is designed to hold a bottle on
iiiiii !!i!i! !ii!il
its side.
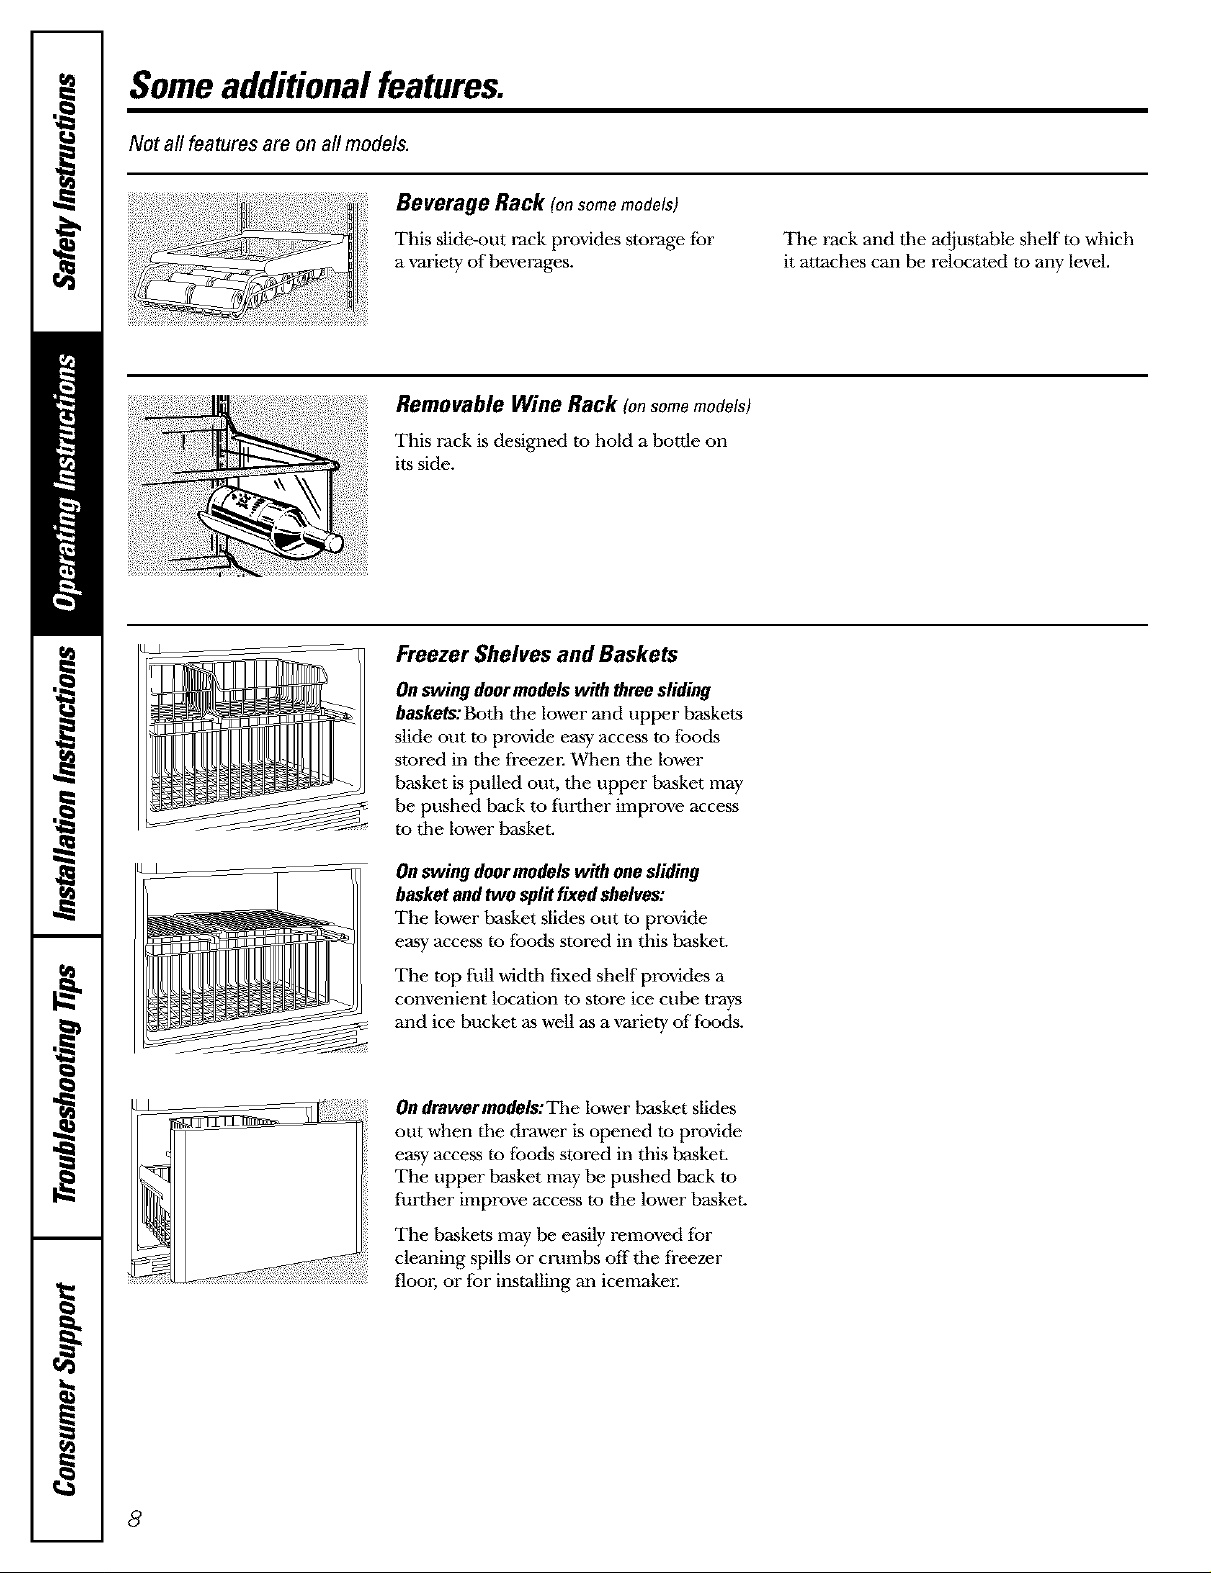
Freezer Shelves and Baskets
Onswingdoormodelswith threesliding
baskets:Boththe lower and upper baskets
slide out to pro_ilde easy access to foods
stored in the freezer. When the lower
basket is pulled out, the upper basket may
be pushed back to fiwther improve access
to the lower basket.
The rack and tile adjustable shelf m which
it attaches can be relocated to any level.
Onswingdoormodelswith onesliding
basketandtwo splitfixedshelves:
The lower basket slides out to provide
easy access to foods stored in this basket.
The top flfll width fixed shelf provides a
convenient location to store ice cube trays
and ice bucket as well as a variety of foods.
Ondrawermodels:The lower basket slides
r
............................................................floor, or for installing an icemakeE
out when the drawer is opened to provide
easy access to foods stored in this basket.
The upper basket may be pushed back to
fhrther improve access to the lower basket.
The baskets may he easily removed for
cleaning spills or crumbs off the fi-eezer
8
 Loading...