


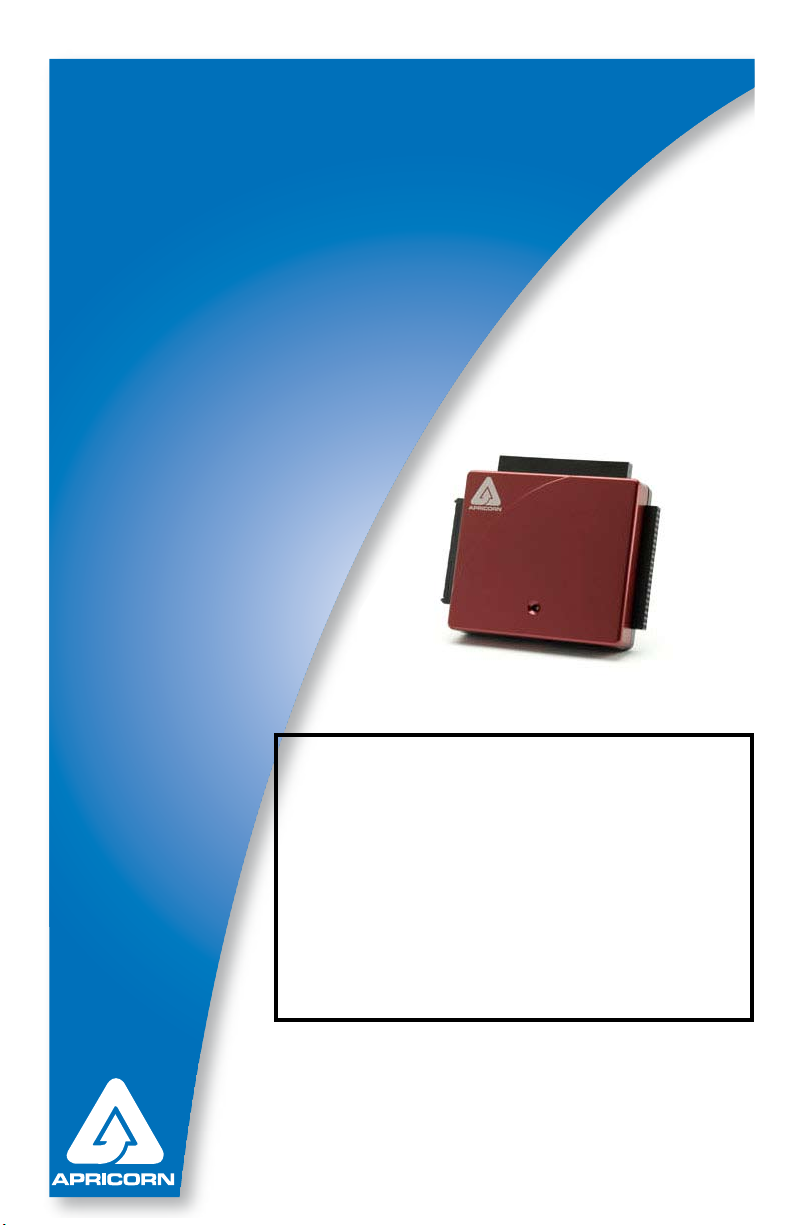
DriveWire
The Leader in PersonaL sTorage
User Guide
DriveWire
USB 2.0 to SATA/IDE CABLE
Attention:
New security features and
partition types require
specic instructions that are
not included in this manual.
Please review the most
current DriveWire FAQ’s at:
apricorn.com/support.php

The Leader in Personal Storage2
Copyright © Apricorn, Inc. 2007. All rights reserved.
Windows is a registered trademark of Microsoft Corporation.
All other trademarks and copyrights referred to are the property of their
respective owners.
Distribution of substantively modied versions of this document is prohibited
without the explicit permission of the copyright holder.
Distribution of the work or derivative work in any standard (paper) book form
for commercial purposes is prohibited unless prior permission is obtained
from the copyright holder.
DOCUMENTATION IS PROVIDED AS IS AND ALL EXPRESS OR IMPLIED
CONDITIONS, REPRESENTATIONS AND WARRANTIES, INCLUDING ANY
IMPLIED WARRANTY OF MERCHANTABILITY, FITNESS FOR A PARTICULAR
PURPOSE OR NON-INFRINGEMENT, ARE DISCLAIMED, EXCEPT TO THE
EXTENT THAT SUCH DISCLAIMERS ARE HELD TO BE LEGALLY INVALID.

www.apricorn.com 3
TABLE OF CONTENTS
1. GettinG to know your Drivewire ................................. 4
introDuction ............................................................. 4
Features .............................................. 4
PackaGe contents ................................................... 4
2. system requirements ................................................... 4
3. connectinG your Drivewire ....................................... 5
Drivewire connectors .............................................. 5
4. soFtware .................................................................. 6
BeFore your BackuP! .................................................... 6
uPGraDe suite (cD-rom Boot) ..................................... 7
installation oF eZ GiG ii For winDows ......................... 8
cloninG your HarD Drive witH Disk clone ....................... 9
suPerDuPer BackuP soFtware For mac ........................ 14
5. contactinG tecHnical suPPort ....................................... 15
6. rma Policy .............................................................. 15
7. warranty conDitions .................................................. 16
8. Faqs ....................................................................... 17
1. GETTING TO KNOW YOUR DriveWire
Introduction:
The DriveWire can be used to connect any 2.5” or 3.5” hard drive to your
computer with a USB 2.0 interface. The adapter supports 2.5” and 3.5” IDE
hard drives, as well as SATA hard drives. Perfect for technicians or anyone
needing to copy or off-load les from one hard drive to another.
Features:
USB 2.0 supports up to 480Mbps data transfer rates and 52x CD-ROM
data read.
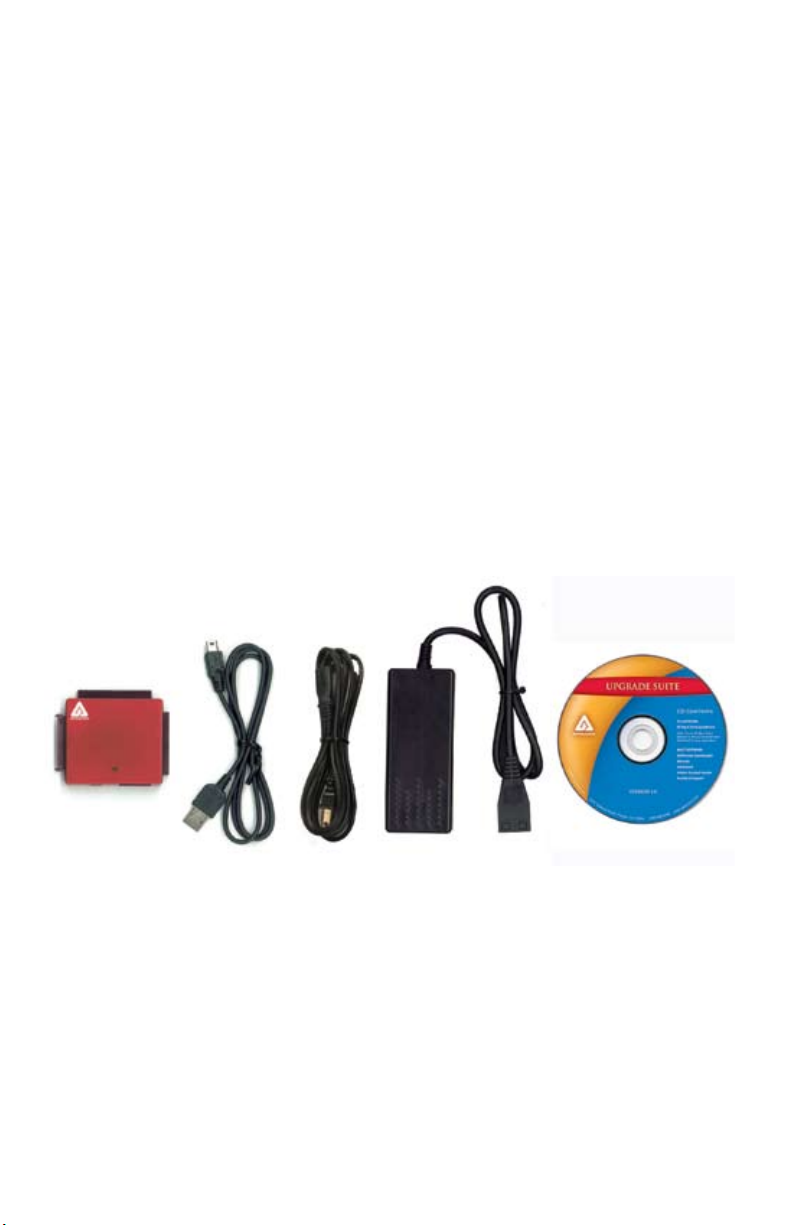
The Package Contains:
• USB to SATA/IDE Cable
• SATA to SATA Cable
• AC Power adapter and cables
• Upgrade Suite CD
• Quick Start Guide
PC
Pentium CPU II or later
64 MB RAM or more
Available USB 2.0 or USB 1.1 port
(USB 2.0 for highest speeds)
CD ROM or CD-RW drive
Windows 2000 Professional
Windows XP Home and Professional
Mac
Apple G3 or later
64 MB RAM or more
Available USB 2.0 or USB 1.1 port
(USB 2.0 for highest speeds)
CD ROM or CD-RW drive
OS 9.2 or later
OS X 10.2 or later
The Leader in Personal Storage4
2. SYSTEM REQUIREMENTS

www.apricorn.com 5
Device Installation:
1. Conrm device jumpers are set to master mode.
(3.5” IDE/PATA HDD or CD/DVD Optical Drive Only)
Note: See FAQs for more information about master mode
2. Connect SATA/IDE connector to SATA/IDE device.
Note: When connecting PATA 2.5” or 3.5” drives to DriveWire, it is neces-
sary to align the polarizing pins in the DriveWire’s connector up with the open
space on the hard drive to avoid breaking pins on the hard drive.
3. Connect the AC power adapter to DriveWire. For 3.5” PATA hard drives,
plug the AC adapter directly into the hard drive.
CAUTION: Power adapter must be properly alligned
to prevent damage.
4. Connect DriveWire to your computer using the
Mini USB Cable
3. CONNECTING YOUR DriveWire
44-pin
Connects to
2.5” IDE HDD
Connects with any USB
enabled notebook or
desktop PC
40-pin
Connects to 3.5” IDE HDD
Connects to
SATA HDD
Mini USB
Connector
AC Adapter
Connector
DriveWire Connectors

The Leader in Personal Storage6
After many years of use, hard drives can become cluttered with unusable le frag-
ments and other le-system errors. Most le system errors are not immediately
obvious to the user, but can be identied and repaired with a few simple steps.
Although the steps below are not absolutely necessary to run EZ Gig, it’s best to
try and clean-up disk errors BEFORE they are copied over to the new drive.
Before running EZ Gig II we recommend you:
1) Clean up any le-system errors by running Windows ScanDisk (or
a similar disk cleanup utility) on your internal hard drive.
2) Defragment your hard drive using the Windows Disk-Defragment
Utility (or a similar disk defragment utility) on your internal hard
drive.
3) Backup any critical les or data.
4) Attach the AC adapter to your laptop, and make sure it is not run-
ning on battery power.
5) Attach the USB cable from your computer to the DriveWire.
6) If you plan on running EZ Gig II from the Bootable CD-ROM: You
may need to change your laptop’s BIOS boot order. You will nd
these options inside the laptop’s BIOS Boot Option Menu. The BIOS
Boot Options menu allows the user to select the preferred boot
device when the laptop starts up. EZ Gig II can boot directly from
the CD-ROM but you must check the BIOS Boot settings to make
sure that “CD-ROM” is higher in the boot order than the C: drive.
4. SOFTWARE
 Loading...