

IAN 295776
CORDLESS WINDOW VACUUM CLEANER SFR 3.7 C3
CORDLESS WINDOW
VACUUM CLEANER
Operating instructions
ΕΠΑΦΟΡΤΙΖΟΜΕΝΟΣ
ΚΑΘΑΡΙΣΤΉΣ ΤΖΑΜΙΏΝ
Οδηүίες χρήσης
AKKU-FENSTERSAUGER
Bedienungsanleitung

GB / IE / NI / CY Operating instructions Page 1
GR / CY Οδηүίες χρήσης Σελίδα 11
DE / AT / CH Bedienungsanleitung Seite 21
Before reading, unfold the page containing the illustrations and familiarise yourself with all functions of
the device.
Πριν ξεκινήσετε την ανάγνωση, ανοίξτε τις δυο σελίδες με τις εικόνες και εξοικειωθείτε με όλες τις
λειτουργίες της συσκευής.
Klappen Sie vor dem Lesen die Seite mit den Abbildungen aus und machen Sie sich anschließend mit allen
Funktionen des Gerätes vertraut.
BA
C

GB│IE│NI│CY
│
1 ■
SFR 3.7 C3
Contents
Introduction ............................................................2
Proper use .............................................................2
Package contents .......................................................2
Appliance description ....................................................2
Technical data ..........................................................2
Safety instructions ......................................................3
Prior to first use .........................................................6
Assembling the appliance ............................................................6
Operation .............................................................6
Cleaning ..........................................................................6
Vacuuming ........................................................................6
Charging the appliance ..................................................7
Cleaning and care .......................................................7
Cleaning the spray bottle .............................................................7
Washing the microfibre cover ..........................................................7
Cleaning the appliance ..............................................................7
Storage ...............................................................7
Troubleshooting ........................................................8
Disposal ...............................................................9
Kompernass Handels GmbH warranty .....................................9
Service ..........................................................................10
Importer .........................................................................10
■ 2 │ GB
│IE│NI│
CY
SFR 3.7 C3
Introduction
Congratulations on the purchase of your new
appliance.
You have selected a high-quality product.
The operating instructions are a constituent of this
product. They contain important information about
safety, use and disposal. Before using the product,
familiarise yourself with all operating and safety
instructions. Use this product only as described and
only for the specified areas of application. Please
also pass these operating instructions on to any
future owner(s).
Proper use
The product is to be used exclusively for simultaneously squeegeeing and vacuuming water from
smooth surfaces such as windows. This appliance
is intended exclusively for use in domestic households. Not to be used for commercial purposes.
Package contents
Cordless Window Vacuum Cleaner
Charger
Spray bottle
2 Microfibre cover
Operating instructions
NOTE
Check the contents for completeness and damage directly after unpacking. Contact Customer
Services if necessary.
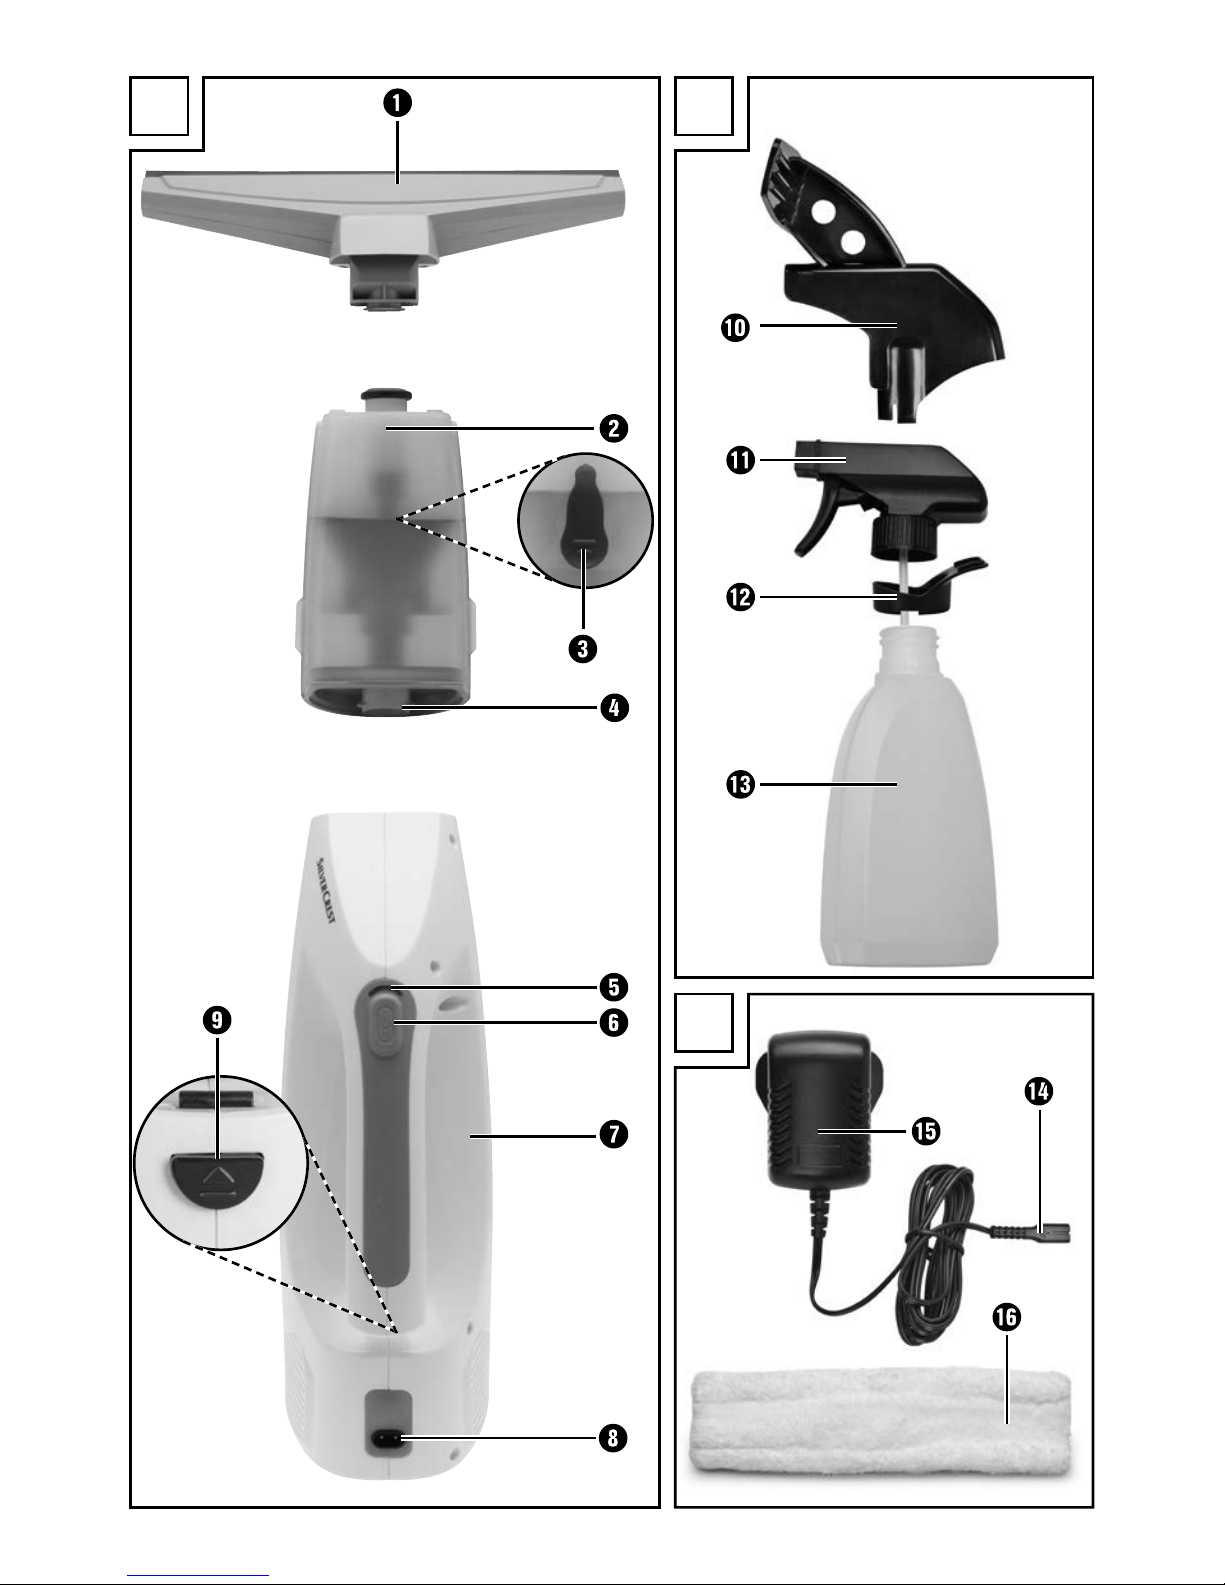
Appliance description
1 Vacuum attachment
2 Dirt container
3 Stopper
4 Nozzle
5 Control lamp
6 On/Off switch
7 Motor unit
8 Charging socket
9 Release button
0 Wiping attachment
q Spray nozzle
w Positioning ring
e Water container
r Connecting jack
t Charger
z Microfibre cover
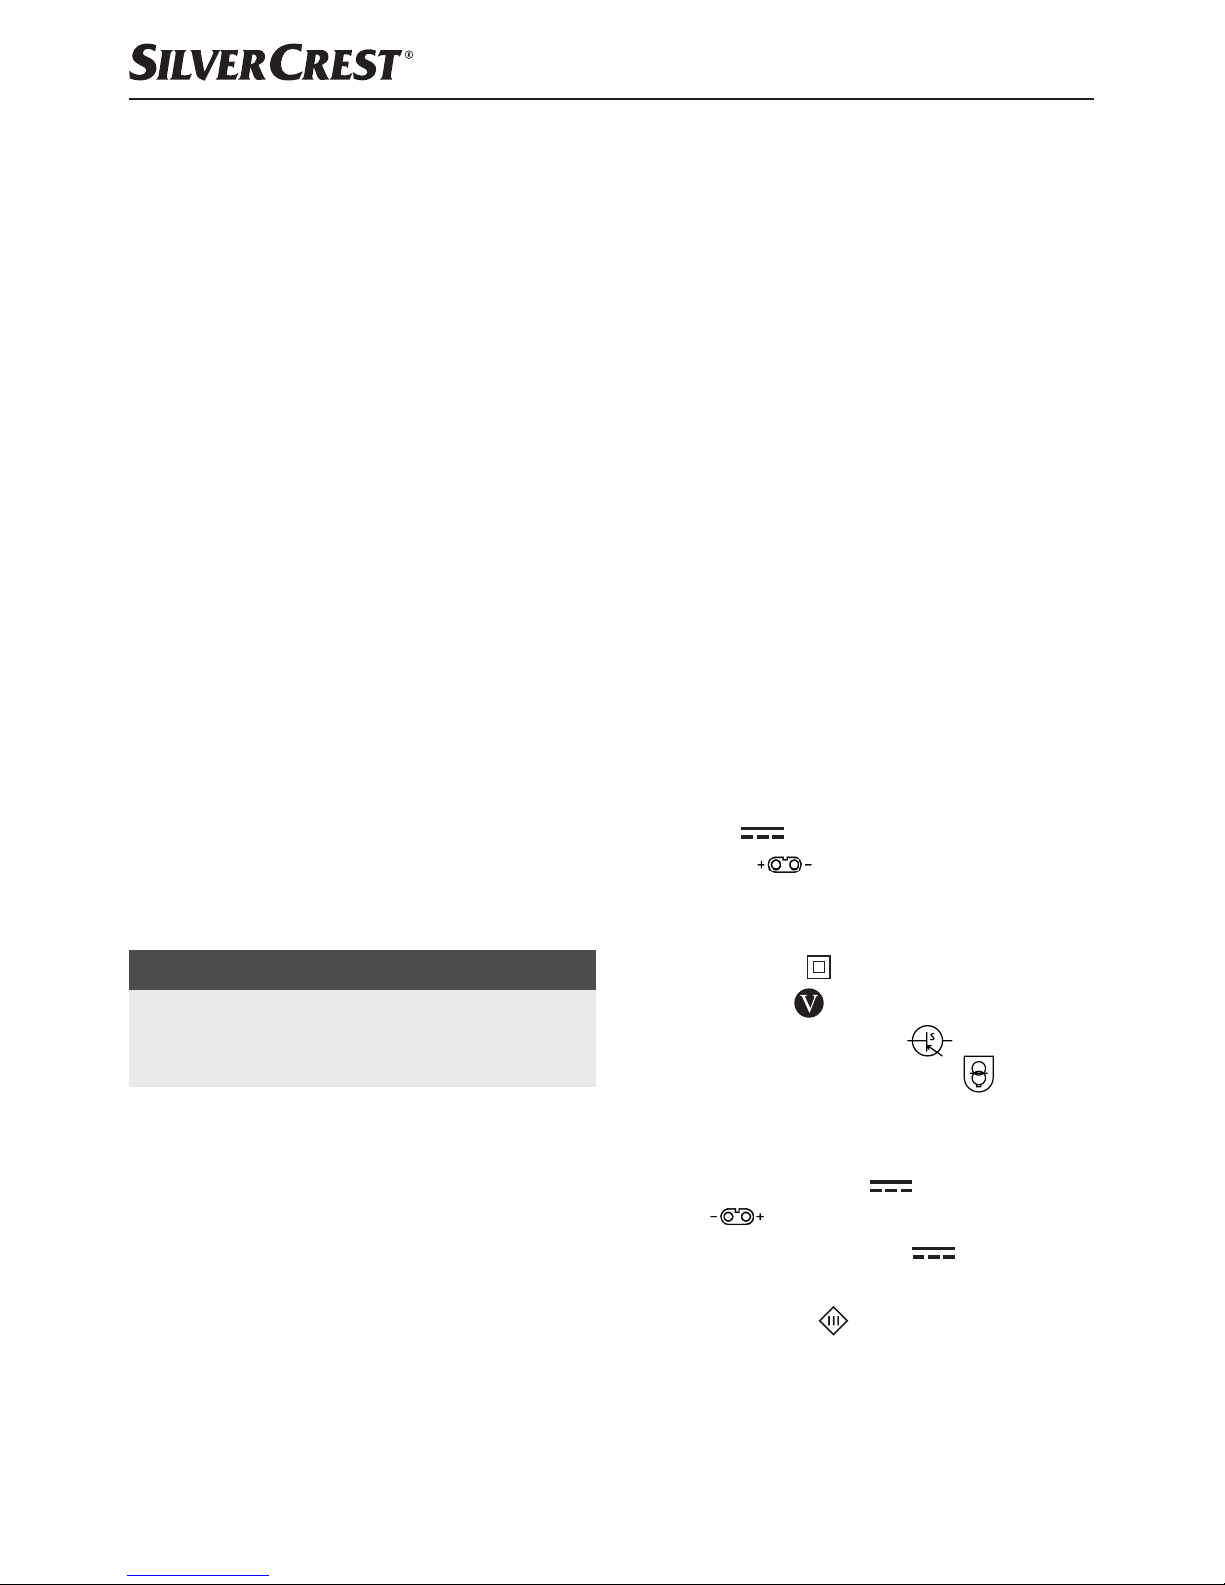
Technical data
Charger
Input: 100–240 V ~ (alternating current),
50/60 Hz, 0.3 A
Output: 5 V
(direct current), 1000 mA
Plug polarity:
Manufacturer: E-TEK Electronics Manufactory Ltd.
Type designation: ZD006C050100BSE
Protection class: II /
double insulation
Efficiency class: 5
Switched-mode power supply:
short-circuit proof safety transformer:
Appliance
Power consumption: 12 W
Input voltage/current: 5 V
1000 mA
Polarity:
Battery working voltage: 3.7 V
Battery: Lithium ion battery 2200 mAh
Protection class: III /
Protection through extra
low voltage
Operating time with full battery charge: approx. 40 min.
Charging time for empty battery: approx. 2.5 hours
Protection rating: IPX4 (protection against splashes
from all directions)
GB│IE│NI│CY
│
3 ■
SFR 3.7 C3
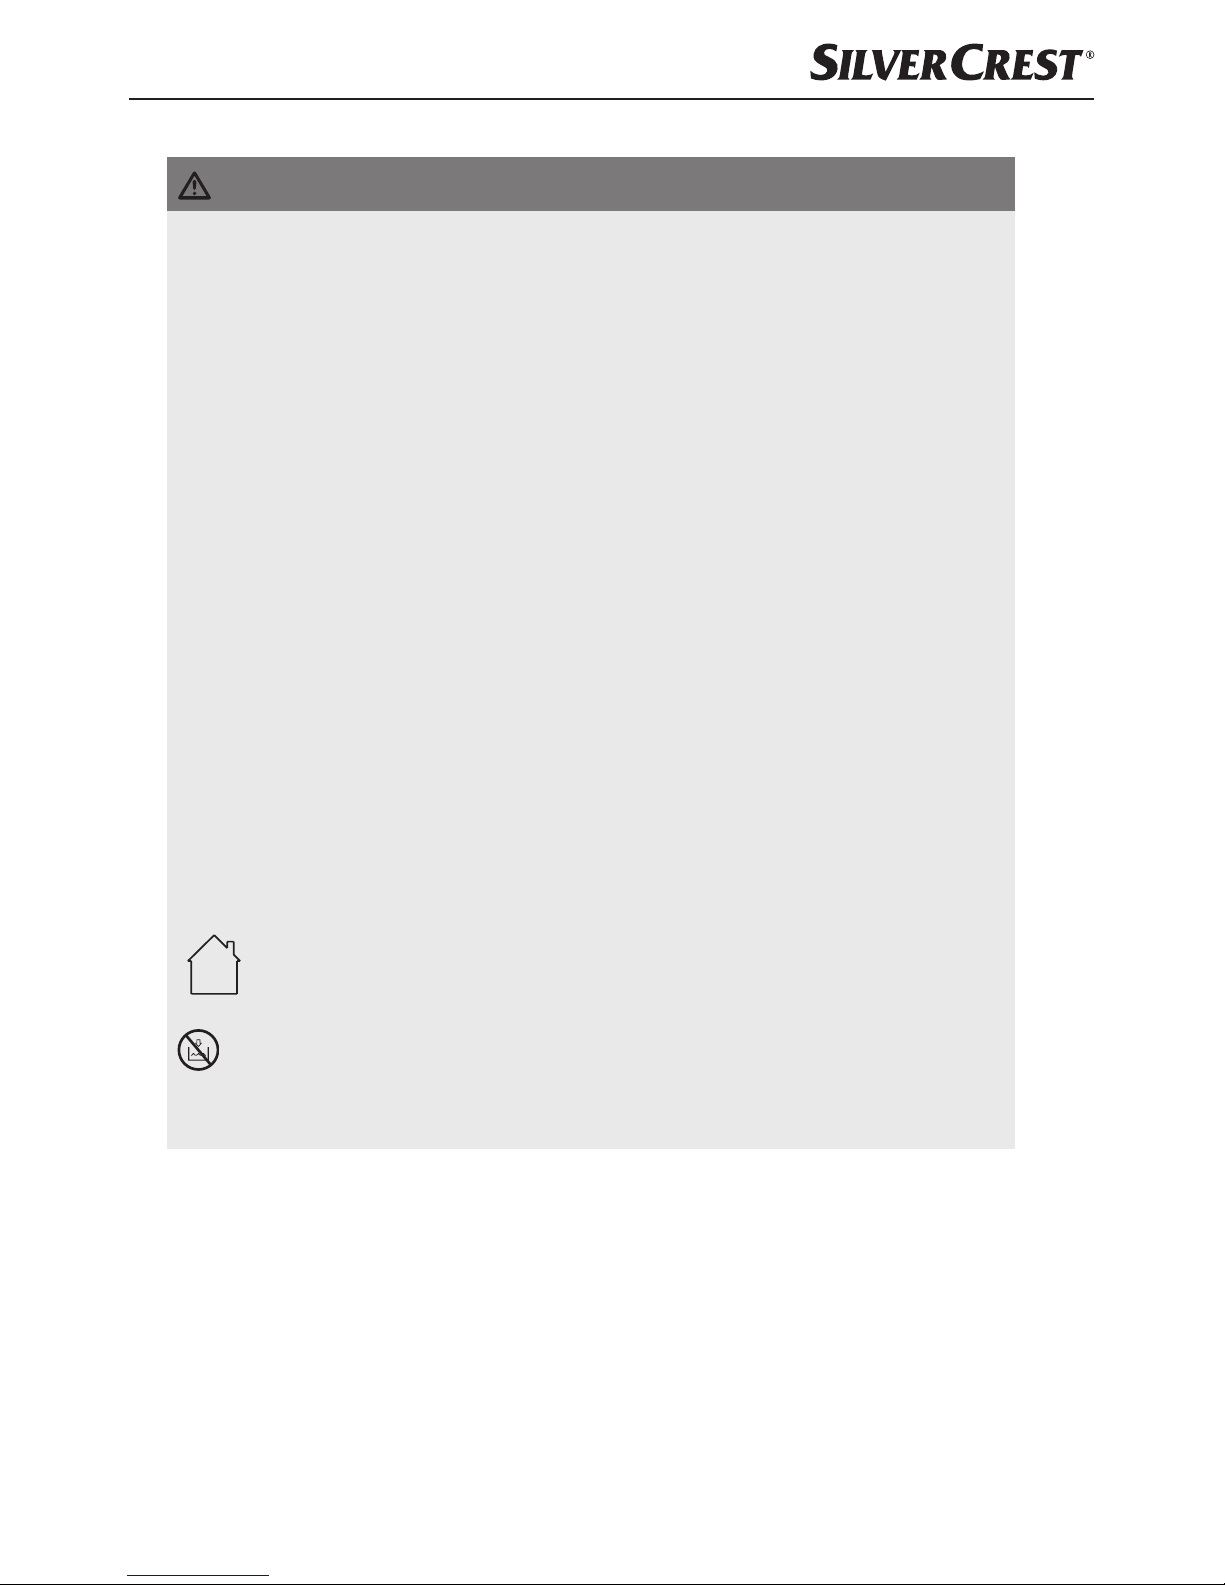
Safety instructions
DANGER – RISK OF ELECTRICAL SHOCK!
► Do not charge or use the appliance outdoors.
► Never use the appliance if the cable, plug or casing are
damaged.
► To avoid risks, arrange to have damaged power cables
and/or plugs replaced as soon as possible by a qualified
specialist.
► Have all repairs carried out by a specialist workshop. Under
no circumstances should you open the appliance yourself.
Repairs that are not carried out by a specialist workshop
could lead to physical injuries.
► Before switching on the appliance, make sure that the mains
voltage corresponds to the voltage indicated in the technical
data for the appliance.
► Never touch the power supply or the appliance with wet or
damp hands.
► Do not use the power supply with an extension cable;
connect the power adapter directly to a power socket.
Do not use the charger outside!
NEVER immerse the appliance in water or other liquids!
You could receive a fatal electric shock if residual liquids
come into contact with live components during operation.

■ 4 │ GB
│IE│NI│
CY
SFR 3.7 C3
WARNING – RISK OF INJURY!
► Do not change any accessories while the appliance is
switched on.
► Do not use the appliance for vacuuming up sharp objects or
broken glass.
► Never vacuum up burning matches, glowing ashes or ciga-
rette butts.
► Do not use the appliance for vacuuming up chemical products,
stone dust, gypsum, cement or similar particles.
► This appliance is not suitable for use with inflammable and
explosive substances or chemical and aggressive liquids.
► Always store the appliance indoors. To prevent accidents,
keep the appliance in a dry location when not in use.
► Under extreme conditions, leaks in the battery cells may occur.
In the event that battery fluid comes into contact with skin or
eyes, the affected area must be rinsed off with water immediately. Contact a physician.
► This appliance may be used by children aged 8 over and by
persons with reduced physical, sensory or mental capabilities
or lack of experience and knowledge, provided that they
are under supervision or have been told how to use the
appliance safely and are aware of the potential risks.
► Children must not play with the appliance.
► Cleaning and user maintenance tasks may not be carried
out by children unless they are supervised.

GB│IE│NI│CY
│
5 ■
SFR 3.7 C3
CAUTION – PROPERTY DAMAGE!
► Use only accessories recommended by the manufacturer.
► The mains adapter may not be used for other purposes.
► Always grip the power plug to disconnect the appliance
from the power supply.
► Do not place the appliance next to radiators, ovens or other
heated devices or surfaces.
► Always make certain that the ventilation slits are not obstructed.
A blocked ventilation circuit can result in overheating and
damage to the appliance.
► This product contains a rechargeable battery. Do not throw
the rechargeable battery into a fire and do not subject it to
high temperatures. There is a risk of explosion!
► Do not use the charger for a different product and do not
attempt to charge this appliance with a different charger.
Use only the charger supplied with this appliance.
► Never attempt to recharge non-rechargeable batteries.
► Move the blade of the vacuum attachment slowly from top
to bottom across the wet surfaces. Non-compliance can lead
to damage to the appliance.

■ 6 │ GB
│IE│NI│
CY
SFR 3.7 C3
Prior to first use
Assembling the appliance
1) Remove all packaging materials from the
appliance.
2) Push the vacuum attachment 1 onto the motor
unit 7.
NOTE
► The appliance batteries are not charged on
delivery. Before using the appliance for the
first time, the batteries must be charged for
2.5 hours.
3) Charge the appliance (see Chapter “Charging
the appliance”).
The appliance is now ready for use.
Operation
ATTENTION! DAMAGE TO PROPERTY!
► Do not use foaming, corrosive, aggressive,
abrasive or chemical cleaning agents.
These can damage the appliance.
Cleaning
1) Set the tip of the spray nozzle q to STREAM
(jet) or SPRAY (fine water mist).
2) Attach the spray nozzle q to the wiping attachment 0.
3) Place the positioning ring w over the tube and
push it onto the wiping attachment 0 so that
it clicks into place. The spray nozzle q is now
enclosed by the wiping attachment 0 and the
positioning ring w.
4) Fill the spray bottle with water and, if desired,
with a cleaning agent suitable for window
cleaning e.
5) Screw the spray nozzle q with the fitted
wiping attachment 0 onto the spray bottle e.
6) Pull the microfibre attachment z over the
retainer on the wiping attachment 0 and
secure it with the velcro fastener.
7) Spray the surface that you wish to clean.
8) Using the microfibre attachment, z wipe over
the sprayed areas and loosen any stubborn dirt.
Vacuuming
1) Press the On/Off switch 6. The control lamp
5 lights up blue.
NOTE
► If the indicator light 5 flashes red during
use, this indicates that the appliance needs
to be charged (see chapter on "Charging the
appliance").
ATTENTION! DAMAGE TO PROPERTY!
► Move the blade of the vacuum attachment 1
slowly from top to bottom across the wet surfaces. Non-compliance can lead to damage
to the appliance.
2) Move the blade of the vacuum attachment 1
slowly from top to bottom across the wet
surfaces. The moisture is removed and sucked
into the dirt container 2.
NOTE
► Never drag the blade sideways across wet
surfaces. Doing so prevents the water from
being vacuumed up; instead, it runs off the
side of the blade.
3) After you have finished a section, always start
again at the top.
ATTENTION! DAMAGE TO PROPERTY!
► Only continue working until the MAX mark
on the dirt container 2 is reached. Then
switch off the appliance and empty the dirt
container 2:
Remove the plug 3 on the dirt container 2.
Pour away the dirty water and reclose the dirt
container 2. You can then resume working.
NOTE
► If any dirty water remains in the dirt container
2, you must remove this from the appliance. To
do this, press the release button 9 and remove
the dirt container 2 from the motor unit 7.
Turn the dirt container 2 so that the nozzle4
is pointing diagonally upwards. Now pull the
liner carefully out through the nozzle4 and
shake out the remaining dirty water.
GB│IE│NI│CY
│
7 ■
SFR 3.7 C3
4) Once the entire surface is dry, press the on/
off switch 6 again to switch the appliance off.
The indicator light 5 goes out.
5) If necessary, dry off any streaks or remaining
moisture on the surface with a dry cloth.
Charging the appliance
NOTE
► Ensure that the appliance is switched off
before starting to charge the batteries.
■ To charge the appliance, connect the charger t
to a mains socket and insert the connecting jack
r into the charging socket 8 on the motor unit
7. The control lamp 5 lights up red.
When the appliance is fully charged, the control
lamp 5 lights up blue.
NOTE
► Only recharge the batteries when the suction
power of the appliance is noticeably weaker
and the red indicator light 5 is flashing red.
Cleaning and care
DANGER – ELECTRIC SHOCK!
► Prior to cleaning, disconnect the appliance
from the charger t! Risk of electric shock!
ATTENTION! DAMAGE TO PROPERTY!
► Do not use abrasive or aggressive cleaning
materials. These could damage the surface
of the appliance!
Cleaning the spray bottle
■ Open the spray bottle and empty contents.
Remove the microfibre cover z.
Wipe the components of the spray bottle with
a damp cloth; if necessary, use a little mild detergent on the cloth.
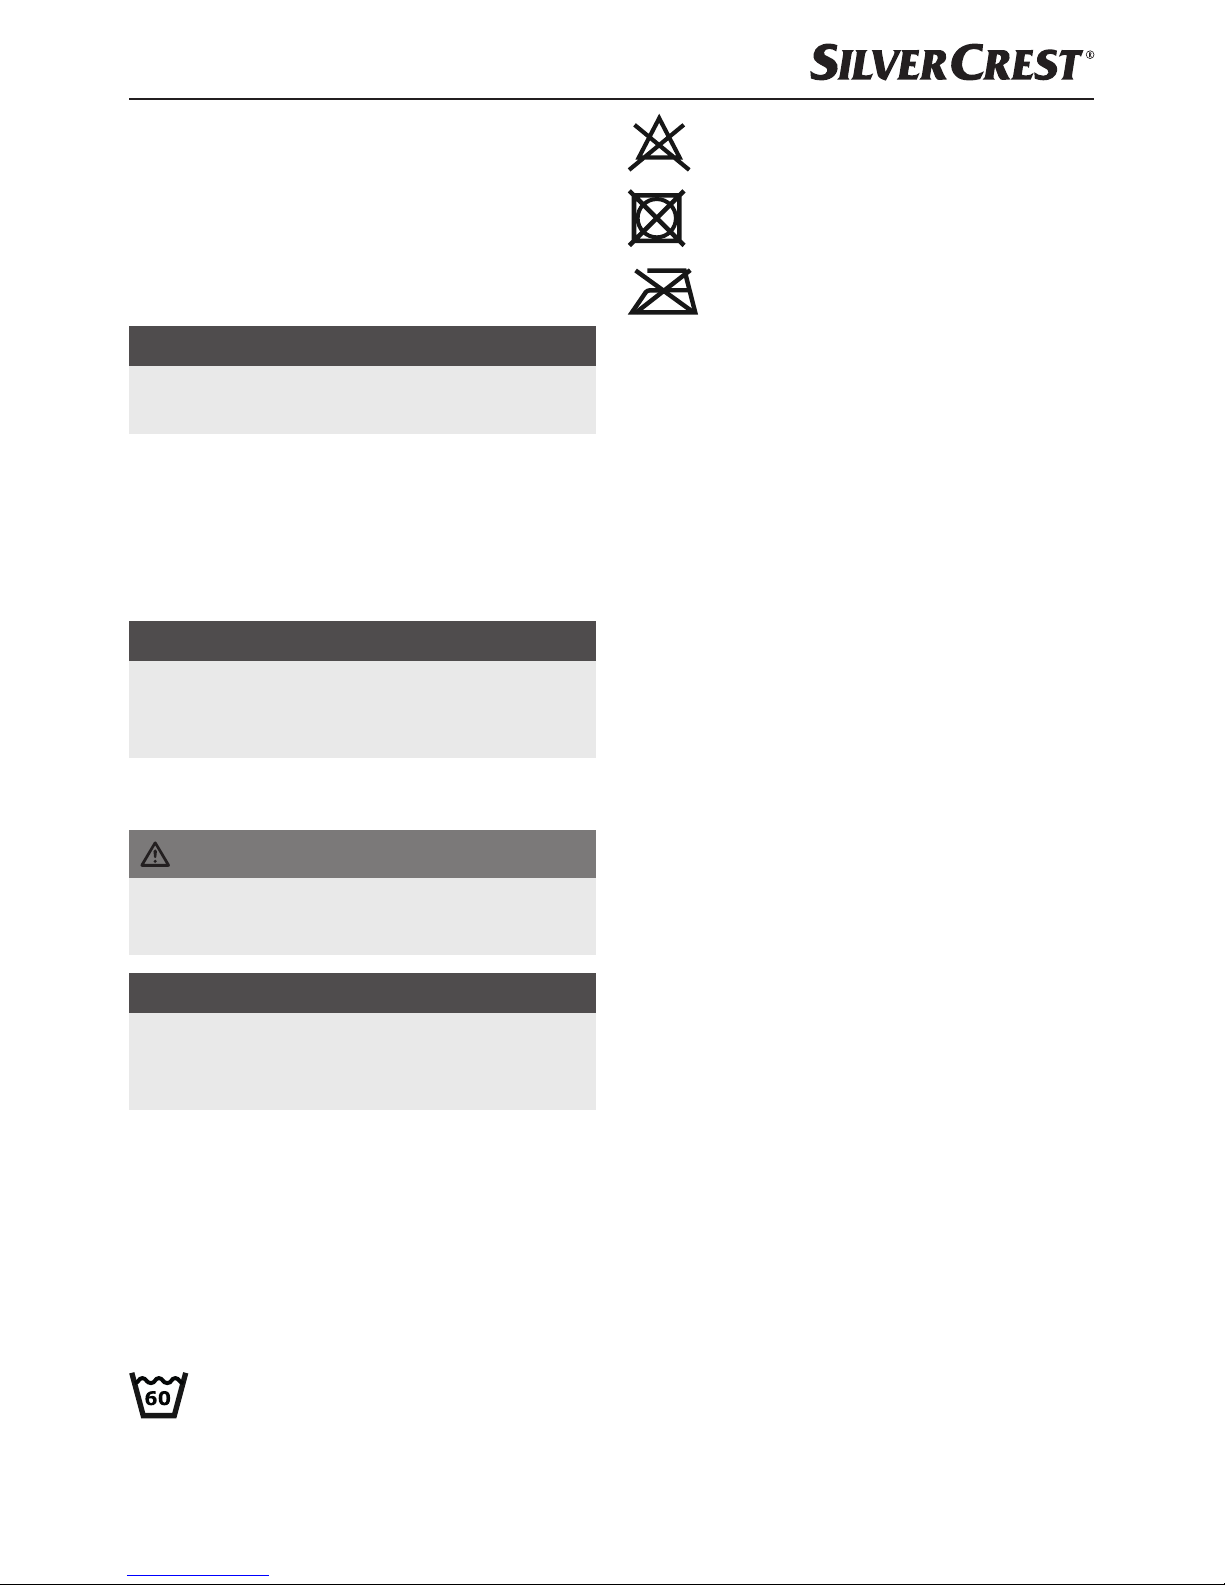
Washing the microfibre cover
The microfibre cover z can be machine-
washed at 60°C. Do not use any fabric
conditioner as this significantly reduces the
cleaning power of the microfibres.
Do not bleach the microfibre cover z!
Do not tumble dry the microfibre cover z!
Do not iron the microfibre cover z!
Material: 88% polyester / 12% cotton
Cleaning the appliance
For thorough cleaning, dismantle the appliance:
1) Press the ridged area on the underside of the
vacuum attachment 1 and pull the vacuum
attachment 1 off the appliance. Clean the
vacuum attachment 1 with a damp cloth. If
required, use some mild detergent on the cloth.
2) Press the release button 9 and remove the dirt
container 2 from the motor unit 7. Now pull
the liner of the dirt container 2 carefully out
through the nozzle4. Rinse the dirt container
2 and the liner with fresh water and, if necessary, with a mild detergent.
3) Wipe the motor unit 7 off with a damp cloth.
If required, use some mild detergent on the
cloth. Dry the motor unit 7.
4) Then reassemble the appliance:
– Push the liner into the dirt container 2.
Ensure that the edges of the liner lie flush on
the edge of the dirt container 2.
– Replace the dirt container 2 on the motor
unit 7 by pushing the front part into the
motor unit 7 and then pushing the rear part
downwards so that the dirt container 2
clicks firmly into place.
– Push the vacuum attachment 1 onto the
motor unit 7.
■ Wipe the charger t with a damp cloth. Ensure
that the charger t is completely dry before
reconnecting it to the mains.
Storage
■ Store the cleaned appliance in a clean, dust-free
and dry location.
■ 8 │ GB
│IE│NI│
CY
SFR 3.7 C3
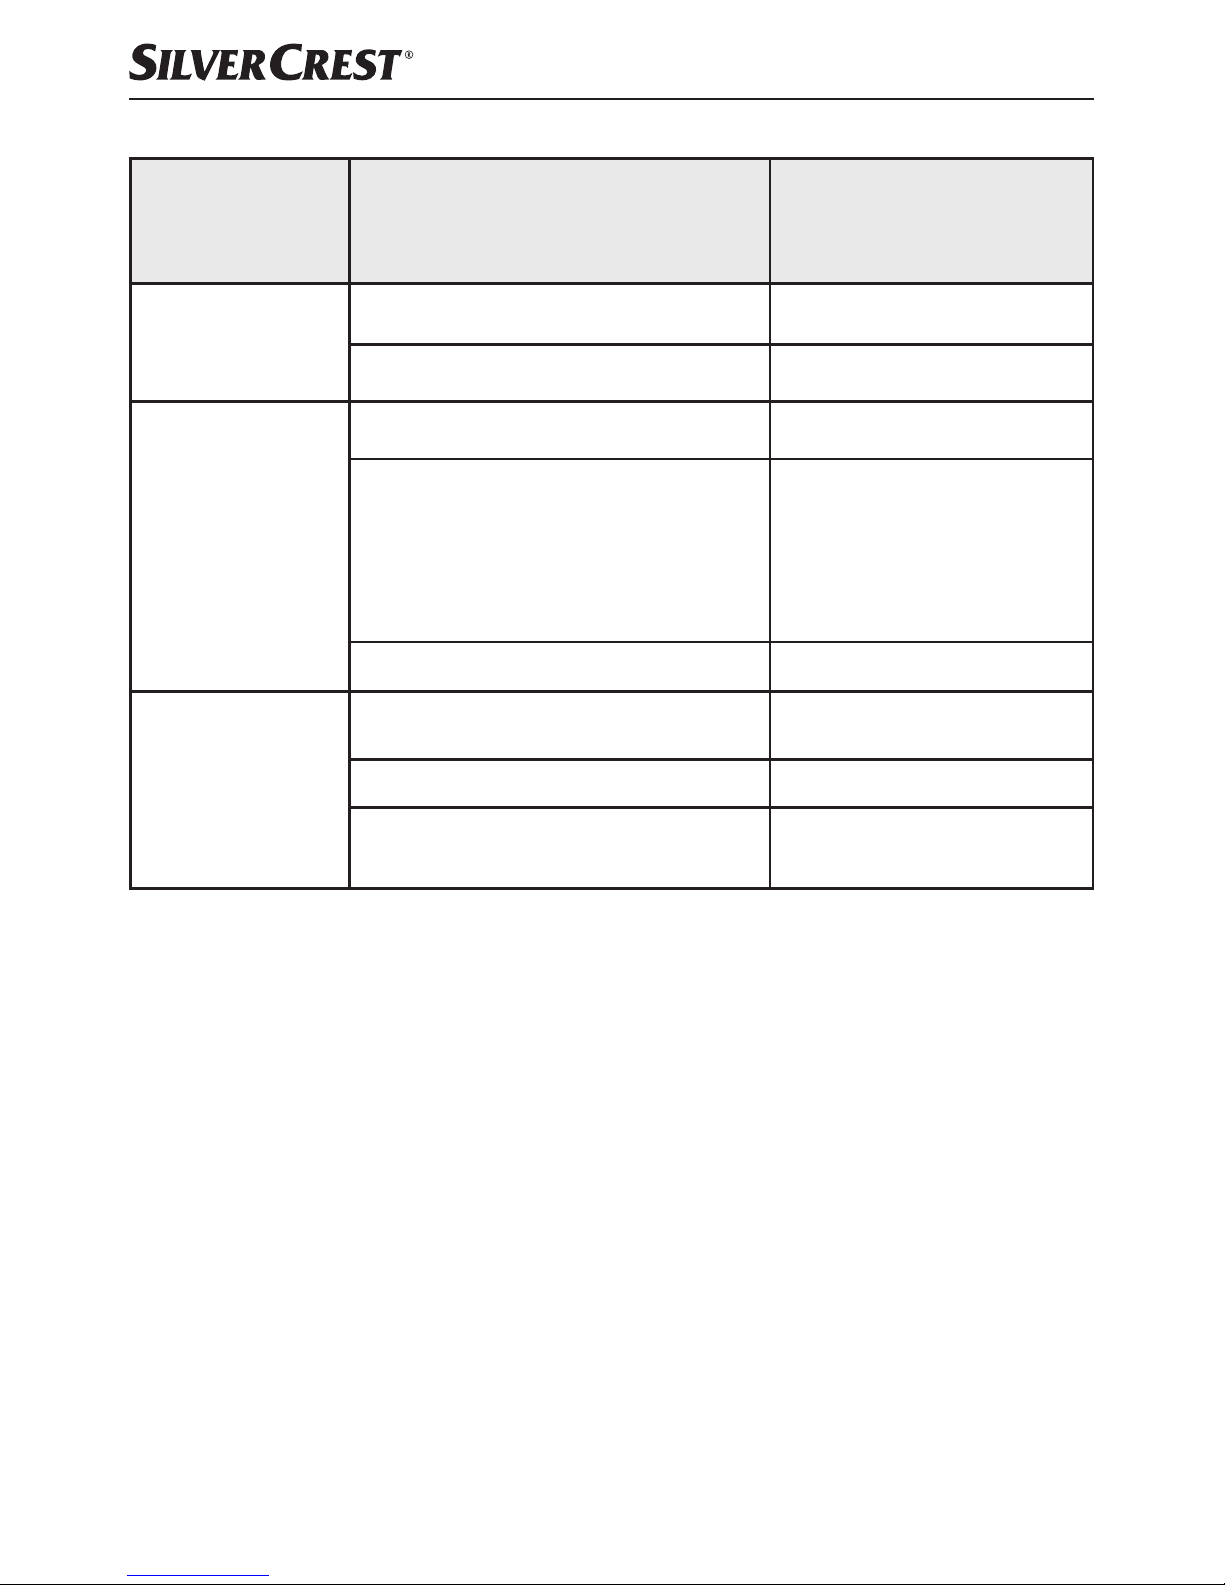
Troubleshooting
Defect Cause Solution
The appliance is
not working.
The appliance is not charged. Charge the appliance.
The appliance is defective. Contact Customer Services.
Streaks keep
appearing during
cleaning.
The blade is dirty. Clean the blade.
The blade is worn.
Remove the blade sideways from
the vacuum attachment 1.
Moisten the blade at the round
end with water or detergent, turn
it over and push it back into the
vacuum attachment 1.
Too much cleaning agent has been added. Use less cleaning agent.
The spray bottle
does not work.
There is no water/cleaning agent in the
spray bottle.
Refill the spray bottle with water/
cleaning agent.
The spray bottle is defective. Contact Customer Services.
The tip of the spray bottle is set to OFF.
Turn the tip to SPRAY or
STREAM.
If the malfunction cannot be corrected with the above suggestions, or if you have found
some other kind of malfunction, please contact our Customer Service.
 Loading...