


Digi Vox Ultimate HD
User Manual

Copyright and Trademark Notice
©2007 by MSI. All rights reserved.
Information in this document is subject to change without notice. No part of this document may be reproduced or transmitted in any form or by any means, electronic or mechanical without prior written permission of MSI.
MSI makes no representation or warranties with respect to the contents hereof and specifically disclaims any implied warranties of merchantability or fitness for any particular purpose. MSI reserves the right to revise this manual and to make changes in its content without obligation to notify any person or organization of such revision or change. In no event shall MSI be liable to you or any third party for any consequential, incidental, direct, indirect, special, punitive, or other damages (including without limitation, damages for loss of profits, interruptions, loss of information, pecuniary loss, etc.), even if MSI has been advised of the possibility of such damages arising from any defect or error in this manual or product.
Windows® is a trademark of Microsoft Corporation. All other brand names used in this document are registered trademarks of their respective companies.
COPYRIGHT NOTICES
The material in this document is the intellectual property of MICRO-STAR INTERNATIONAL. We take every care in the preparation of this document, but no guarantee is given as to the correctness of its contents. Our products are under continual improvement and we reserve the right to make changes without notice.
TRADEMARKS
All trademarks are the properties of their respective owners.
MICRO-STAR INTERNATIONAL Statement
All contents are subject to change without notice.
One year guarantee is for the device only. Warranty for accessories expired within seven days of purchase date.


 Digi Vox Ultimate HD
|
TotalMedia Interface Overview |
|
|
|
|
||||||||
|
|
|
|
|
|||||||||
3.2 |
Main Menu |
|
|
|
|
|
|
|
|
||||
|
|
|
|
|
|
|
|
||||||
3.3 |
Total Media Setting |
|
|
|
|
|
|
|
12 |
||||
|
|
|
|
|
|
|
|||||||
3.4 |
Total Media Interface Instruction |
|
|
|
13 |
||||||||
|
|
|
|||||||||||
3.5 DVD Management |
|
|
|
|
|
|
16 |
||||||
|
|
|
|
||||||||||
3.6 Picture Management |
|
|
|
17 |
|||||||||
|
|||||||||||||
3.7 Music Management |
|
|
|
18 |
|||||||||
|
|||||||||||||
3.8 Video Management |
|
|
19 |
||||||||||
|
|||||||||||||
3.9 |
Setting |
|
|
|
20 |
||||||||
|
|
||||||||||||
4. Remote Control |
|
|
24 |
|
|
|
|||
Remote Control Overview |
|
|
24 |
|
|
|
|||

Getting Started
1. Getting Started
1.1 Introduction
Thank you for choosing the Digi Vox UItimate HD TV tuner and video capture unit. This product turns your PC into a powerful desktop multimedia system quickly and
easily. Capture video and still images and experience real-time MPEG-2 recording.
The Digi Vox UItimate HD provides you with a high quality TV viewing experience with true stereo sound!
1.2 Features
Antenna ready DVB-T Silicon Tuner
Watch TV in a resizable window or full-screen
Listen to DVB radio
Teletext and EPG support
TimeShifting functions
Record digital TV perfectly to MPEG-2
Scheduled recording and one-touch recording from EPG
Capture still images
Ultra-portable design you can take anywhere
Windows Vista Premium Certified
1.3 Package Contents
When removing the contents of the package, please inspect all items to ensure no damage was sustained during shipping. The following items should be included in the package:
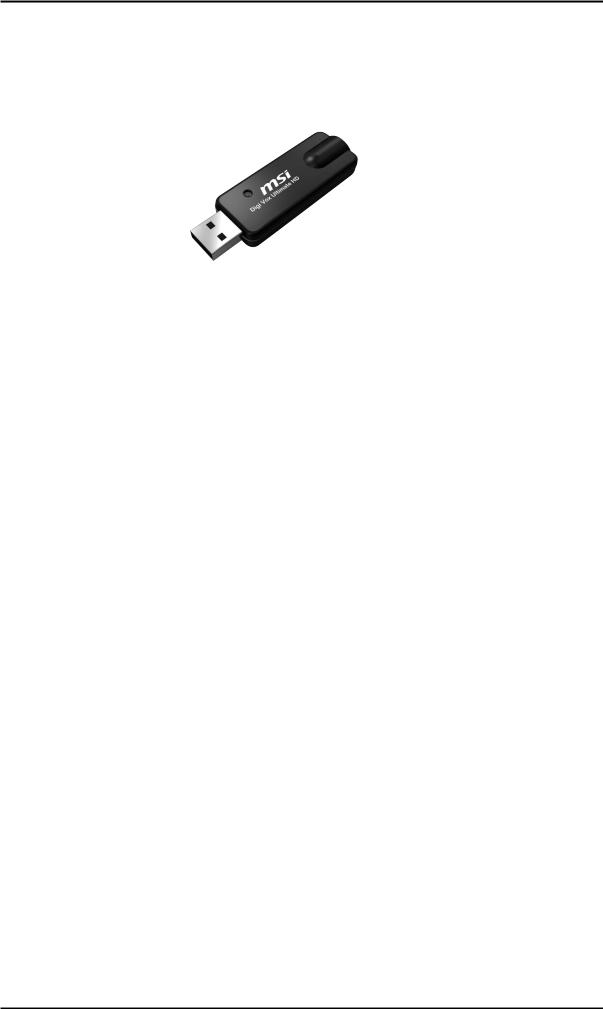
Digi Vox UItimate HD
Software Package CD
Quick Installation Guide
Portable antenna for DVB-T*
Remote control
*The included antenna is only suitable for areas with a strong DVB-T signal. If you have reception problems, first try to move or reorient the antenna. Otherwise, you may need to use a stronger antenna for better reception.
1

Getting Started
1.4 System Requirements
To successfully use the Digi Vox UItimate HD solution, please ensure that your system meets the following requirements:
¢Pentium® 4 or AMD Athlon 2.0 GHz or faster, 2.4GHz or faster recommended
¢256 MB RAM (minimum), 512 MB RAM recommended
¢One available USB 2.0 port
¢AC97 compatible sound card
¢1GB free HD space
¢CD-ROM drive (for driver/software installation)
¢DirectX 9.0c or higher installed
¢Graphics card/chipset with full support for DirectX 9.0 or above; Windows XP MCE
2005 certified card/chipset required if using Windows XP MCE 2005
¢Microsoft XP SP2, XP MCE 2005*, Vista or Windows 7 installed
* When using the Digi Vox UItimate HD with Windows Media Center in Windows XP MCE 2005, you
must install a 3rd party MPEG-2 decoder (such as Power DVD 6 or WinDVD6 or NVIDIA MPEG-2 decoder) in order to use the Digi Vox UItimate HD with Windows Media Center.
2

Installation
2. Installation
TheThefollollowingsectionssectionsprovideprovidestepstep-by-by-step-stepinstructionsinstructionsononi installingandandconfiguringconfiguring t theard,card,accessoriesaccessoriesandandsoftwaresoftware. .
Before installing your |
mini II V3.0, insert the installation CD and an |
|
Before installing yourDigiVOXVox UItimate HD, please insert the installation CD and |
||
install n menu should load aut |
ti lly. |
|
installation menu should load automatically.
If you use Windows XP or MCE 2005, click on Windows XP/MCE 2005. If you use WindowsIf the AutostartVista,programclick on Windowdoes notsappeVistar. automatically when you insert your installation CD, start it manually by running the
IfAutorunthe Autostart.exefileprlocatedgram doesonthenotinstallationappear automaticallyCD, or by whenclickingyoutheinsertStartyobutton,r InstallationchoosingCD,Runstart….,itandmanuallytyping byin runningD:\autorunthe.exeInstallCD(if D: is.exeyourfileCDlocated-ROM ondrive)the Installation CD, or by clicking the Start button, choosing Run…, and typing in D:\InstallCD.exe.
(if D: is your CD-ROM drive)
Autorun.exe
2.1 DirectX 9.0
Digi Vox UItimate HD requires to be supported by Click on DirectX 9.0 and follow the prompts to
DirectX 9.0 or above. If the DriectX on your PC is install DirectX. After the installation is completed,
lower then 9.0 version, please install DirectX 9.0 shut down the computer.
from autorun page.
Clicks on DirectX 9.0 and follow the prompts to install DirectX. After the installation is completed, shut down the computer.
3
Installation
2.2 Connecting the Digi Vox UItimate HD
Connect the RF dongle to the connection port on the Digi Vox UItimate HD. Connect your digital antenna to the RF dongle.
Now plug the Digi Vox UItimate HD unit into an open USB 2.0 port on your PC.
4
 Loading...