


1
Preface
Notebook
User’s Manual

Preface
Contents
Chapter 1: Preface
Content............................................................................ |
1-2 |
Regulations and Statements ......................................... |
1-4 |
FCC-B Radio Frequency Interference Statement ....... |
1-4 |
FCC Conditions........................................................... |
1-4 |
CE Conformity............................................................. |
1-4 |
Battery Regulations..................................................... |
1-5 |
WEEE Statement ........................................................ |
1-5 |
Safety Instructions......................................................... |
1-6 |
Optical Device Drive Notice .......................................... |
1-8 |
Trademarks ..................................................................... |
1-8 |
Reversion History........................................................... |
1-8 |
Chapter 2: Introductions
Manual Map..................................................................... |
2-2 |
Unpacking ....................................................................... |
2-2 |
Product Overview........................................................... |
2-3 |
Top-Open View............................................................ |
2-3 |
Front Side View ........................................................... |
2-7 |
Right Side View ........................................................... |
2-9 |
Left Side View ........................................................... |
2-11 |
Rear Side View.......................................................... |
2-12 |
Bottom Side View ...................................................... |
2-13 |
Specification ................................................................. |
2-14 |
Chapter 3: Getting Started
Begin to Use the Notebook ........................................... |
3-2 |
Power Management ....................................................... |
3-3 |
AC Power .................................................................... |
3-3 |
Battery Power.............................................................. |
3-3 |
Power Management in Windows OS .......................... |
3-7 |
1-2

|
|
.....................................................Energy Saving Tips |
3-8 |
Basic Operations............................................................ |
3-9 |
Safety and Comfort Tips.............................................. |
3-9 |
Knowing the Keyboard .............................................. |
3-11 |
Knowing the Touchpad .............................................. |
3-15 |
About Hard Disk Drive............................................... |
3-17 |
Using the Optical Storage Device ............................. |
3-17 |
Connecting the External Devices ............................... |
3-19 |
Peripheral Devices .................................................... |
3-19 |
Communication Devices ........................................... |
3-20 |
Components Replacement and Upgrade................... |
3-21 |
1-3

Preface
Regulations and Statements
FCC-B Radio Frequency Interference Statement
This equipment has been tested and found to comply with the limits for a Class B digital device, pursuant to part 15 of the FCC rules. These limits are designed to provide reasonable protection against harmful interference in a residential installation. This equipment generates, uses and radiates radio frequency energy, and, if not installed and used in accordance with the instructions, may cause harmful interference to radio communications. However, there is no guarantee that interference will not occur in a particular installation. If this equipment does cause harmful interference to radio or television reception, which can be determined by turning the equipment off and on, the user is encouraged to try to correct the interference by one or more of the following measures:
Reorient or relocate the receiving antenna.
Increase the separation between the equipment and receiver.
Connect the equipment into an outlet on a circuit different from that to which the receiver is connected.
Consult the dealer or an experienced radio TV technician for help.
NOTE
The changes or modifications not expressly approved by the party responsible for compliance could void the user’s authority to operate the equipment.
Shield interface cables and AC power cord, if any, must be used in order to comply with the emission limits.
FCC Conditions
This device complies with part 15 of the FCC Rules. Operation is subject to the following two conditions:
This device may not cause harmful interference.
This device must accept any interference received, including interference that may cause undesired operation.
CE Conformity
This device is in compliance with the essential safety requirements and other relevant provisions set out in the European Directive.
1-4
Battery Regulations
European Union:
Batteries, battery packs, and accumulators should not be disposed of as unsorted household waste. Please use the public collection system to return, recycle, or treat them in compliance with the local regulations.
Taiwan:
For better environmental protection, waste batteries should be collected separately for recycling or special disposal.
California, USA: The button cell battery may contain perchlorate material and requires special handling when recycled or disposed of in California.
For further information please visit: http://www.dtsc.ca.gov/hazardouswaste/perchlorate/
Safety Guideline for Using Lithium Battery
Danger of explosion if battery is incorrectly replaced. Replace only with the same or equivalent type recommended by the equipment manufacturer. Discard used batteries according to manufacturer’s instructions.
WEEE Statement
Under the European Union ("EU") Directive on Waste Electrical and Electronic Equipment, Directive 2002/96/EC, which takes effect on August 13, 2005, products of "electrical and electronic equipment" cannot be discarded as municipal waste anymore and manufacturers of covered electronic equipment will be obligated to take back such products at the end of their useful life.
1-5
Preface
Safety Instructions
Read the safety instructions carefully and thoroughly. All cautions and warnings on the equipment or user’s manual should be noted.
Keep this equipment away from humidity and high temperature.
Lay this equipment on a stable surface before setting it up.
The openings on the enclosure are used for air convection and to prevent the equipment from overheating. Do not cover the openings.
Do not leave the equipment in an unconditioned environment with a storage temperature above 60OC (140OF) or below 0OC (32OF), which may damage the equipment.
This unit should be operated under maximum ambient temperature of 40OC (120OF).
Make sure the power voltage is within safety range and has been adjusted properly to the value of 100~240V before connecting the equipment to the power outlet.
Always unplug the AC power cord before installing any add-on card or module to the equipment.
Always disconnect the AC power cord or uninstall the battery pack or switch off the wall socket if the equipment would be left unused for a certain time to achieve zero energy consumption.
Never pour liquid into the opening that could damage the equipment or cause an electrical shock.
Place the power cord in a way that people are unlikely to step on it. Do not place anything on top of the power cord.
1-6
Always keep the strong magnetic or electrical objects away from the equipment.
When installing the coaxial cable to the TV Tuner, it is necessary to ensure that the metal shield is reliable connected to protective earthing system of the building.
Cable distribution system should be grounded (earthed) in accordance with ANSI/NFPA 70, the National Electrical Code (NEC), in particular Section 820.93, Grounding of Outer Conductive Shield of a Coaxial Cable.
To prevent explosion caused by improper battery replacement, use the same or equivalent type of battery recommended by the manufacturer only.
Always keep the battery in a safe place.
If any of the following situations arises, get the equipment checked by a service personnel:
The power cord or plug is damaged.
Liquid has penetrated into the equipment.
The equipment has been exposed to moisture.
The equipment has not worked well or you can not get it work according to User’s Manual.
The equipment was dropped and damaged.
The equipment has obvious signs of breakage.
Green Product Features
Reduced energy consumption during use and stand-by
Limited use of substances harmful to the environment and health
Easily dismantled and recycled
Reduced use of natural resources by encouraging recycling
Extended product lifetime through easy upgrades
Reduced solid waste production through take-back policy
Environmental Policy
The product has been designed to enable proper reuse of parts and recycling and should not be thrown away
Users should contact the local authorized point of collection for recycling and disposing of their end-of-life products.
1-7

Preface
Optical Device Drive Notice
CAUTION: This appliance contains a laser system and is classified as a “CLASS 1 LASER PRODUCT.” To use this model properly, read the instruction manual carefully and keep this manual for your future reference. In case of any trouble with this model, please contact your nearest “AUTHORIZED service station.” To prevent direct exposure to the laser beam, do not try to disassemble the enclosure.
Trademarks
All trademarks are the properties of their respective owners.
SRS Premium Sound, SRS and the symbol are trademarks of SRS Labs, Inc.
THX and THX TruStudio Pro are trademarks of THX Ltd. which may be registered in some jurisdictions. All rights reserved.
Revision History
Version |
Revision History |
Date |
|
|
|
1.0 |
First Released |
05, 2012 |
|
|
|
1-8

2
Introductions

Introductions
Congratulations on becoming an user of this notebook, the finely designed notebook. This brand-new exquisite notebook will give you a delightful and professional experience in using notebook. We are proud to tell our users that this notebook is thoroughly tested and certified by our reputation for unsurpassed dependability and customer satisfaction.
Manual Map
This User’s Manual provides instructions and illustrations on how to operate this notebook. It is recommended to read this manual carefully before using this notebook.
Chapter 1, Preface, gives users the basic safety information and caution that is interrelated to using this notebook. It is recommended to read these information or caution when using this notebook for the first time.
Chapter 2, Introductions, includes the descriptions of all the accessories of this notebook.
It is recommended to check out that if you have all the accessories included when you open the packing box. If any of these accessories is damaged or missing, please contact the vendor where you purchased this notebook. Also, this chapter provides the specification of this notebook, and introduces the function buttons, quick launch buttons, connectors, LEDs and externals of this notebook.
Chapter 3, Getting Started, gives the basic operation instructions on using keyboard, touchpad, hard disk drive, and optical storage drive. Beside, the steps of installing and uninstalling the battery; and the procedures of connecting the various external devices, communication devices, and so on, are also provided to help users getting familiar with this notebook.
Unpacking
First, unpack the shipping carton and check all items carefully. If any item contained is damaged or missing, please contact your local dealer immediately. Also, keep the box and packing materials in case you need to ship the unit in the future. The package should contain the following items:
yNotebook
yQuick Start Manual
yHigh-capacity Li-ion battery
yAC/DC adapter and AC power cord
yCarry bag (optional)
yAll-in-one application disk, containing the full version of user’s manual, drivers, utilities, and optional recovery function, etc..
2-2
Product Overview
This section provides the description of basic aspects of the notebook. It will help you to know more about the appearance of this notebook before using it. Please be aware that the notebook shown in this section may vary from the actual one that users purchased.
Top-open View
The figure of top-open view and description shown below will lead you to browse the main operating area of your notebook.
These accessories listed above may change without notice.
2-3
Introductions
1.Webcam
This built-in Webcam can be used for picture taking, video recoding or conferencing, and any other interactive applications.
Webcam LED indicator, next to the webcam, glows when webcam function is activated; LED goes out when this function is turned off.
2.Internal Microphone
This is the built-in microphone and its function is the same with microphone.
3.Stereo Speakers
Give high quality sound blaster with stereo system and Hi-Fi function supported.
4.Power Button / Power LED
Power Button
Press the power button to turn the notebook power ON and OFF.
Press the power button to awake the notebook from the slee
state..
Power/ Power Saving function LED
Glowing blue when the notebook power is turned on.
Glowing amber when discrete GPU mode is selected.
Glowing blue when UMA GPU mode is selected.
LED goes off when this function is turned off.
5.Quick Launch Buttons
Press the quick launch buttons to activate the specific applications or tools. The following quick launch buttons will only be functional in the Operating System with the S-Bar application installed. Find the S-Bar application in the all-in-one disk that comes with the package for easy and convenient operation. It is strongly recommended to install the S-Bar application.
Press this button repeatedly to turn the WLAN function on
or off recurrently.
WLAN (WiFi)
Press this button to activate the S-Bar application.
S-Bar
2-4
Press this button to enable the TurboBattery+ function to maximize the battery running time.
TurboBattery+ |
Press this button again to disable the TurboBattery+ |
|
function. |
||
|
||
|
|
|
|
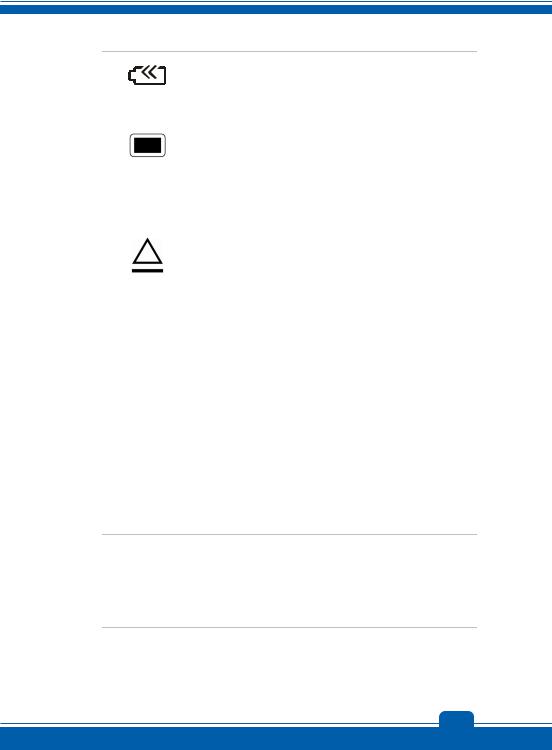
Press this button to switch the display off instantly to |
|
|
economize the power consumption. |
|
Display Off |
Press this button again to switch on the display. |
|
|
|
|
|
Press this button to eject the disc tray of the optical device |
|
|
drive. |
|
|
Press this button again to retrieve the disc tray. |
|
|
Please Note: The ODD Eject sensor is functional under |
|
|
pure DOS system. However, in an Operating System |
|
ODD Eject |
without the S-Bar application installed, the Eject sensor will |
|
not be functional. |
||
|
||
|
In such a case, users can right-click the ODD in "My |
|
|
Computer" and select "Eject" to eject the ODD tray. |
|
|
|
6.Touchpad Switch
Press this button to enable or disable the touchpad function. The touchpad indicator, if equipped, glows when the touchpad function is disabled.
7.Touchpad
This is the pointing device of the notebook. Touchpad LED indicator glows amber when touchpad function is disable. LED goes out when this function is activated.
8.Keyboard
The built-in keyboard provides all the functions of a full-sized keyboard.
Quick Launch [Fn] Buttons
Use the [Fn] buttons on the keyboard to activate the specific applications or tools.
With the help of these quick launch buttons, users will be able to do work more efficiently.
 +
+
User Defined or
Windows Search (optional)
Press and hold the Fn button, and then press the F4 button to launch the User Defined application.
Or, press and hold the Fn button, and then press the F4 button to launch the Windows Search function.
2-5
Introductions
 +
+
ECO Engine
(Power Saving)
Press and hold the Fn button, and then press the F5 button repeatedly to switch among various power saving modes provided by ECO Engine, or to turn this function off recurrently.
|
|
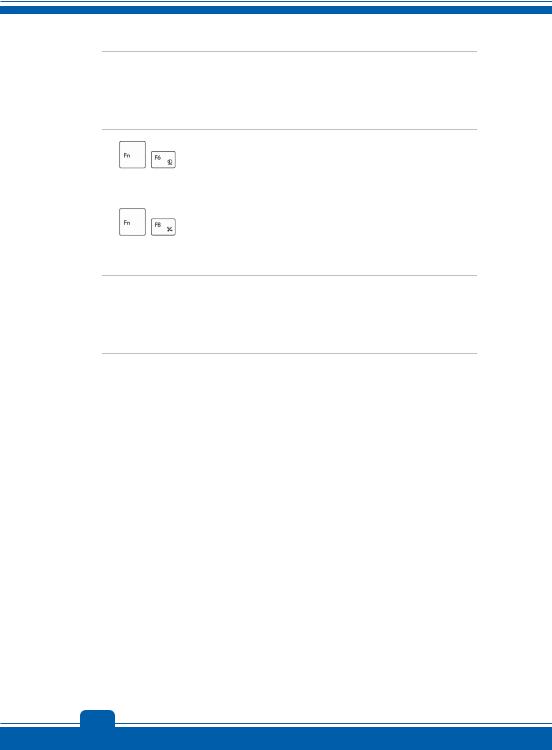
Press and hold the Fn button, and then press the F6 button |
+ |
|
to turn the Webcam function on. Press again to turn it off. |
Webcam |
|
|
|
|
|
|
|
Press and hold the Fn button, and then press the F8 button |
+repeatedly to turn the Wireless LAN (WiFi) function on or
WLAN |
off recurrently. |
(WiFi) |
|
 +
+
Bluetooth (Optional)
Press and hold the Fn button, and then press the F9 button to turn the Bluetooth function on. Press again to turn it off.
This function button will not be available when the Bluetooth function is not supported.
2-6
 Loading...