


KDC-X8016BT KDC-X8016BTL KDC-X7016 KDC-X7016L
CD-RECEIVER
Quick Start Guide
CD
© B59-2012-00/00 (MW)

Contents |
|
Before use .................................................. |
3 |
First step ..................................................... |
4 |
Basic Operations...................................... |
5 |
Playing Music (CD/USB/iPod).............. |
6 |
Listening to the Radio ........................... |
8 |
Hands-free phoning ............................... |
9 |
Accessories .............................................. |
10 |
Installation Procedure ......................... |
10 |
Before Installation................................. |
10 |
Connecting Wires to Terminals......... |
12 |
Installation/Removing the Unit........ |
14 |
Installation the Microphone Unit ... |
15 |
2 | Quick Start Guide
Before use
2WARNING
To prevent injury or fire, take the following precautions:
To prevent a short circuit, never put or leave any metallic objects (such as coins or metal tools) inside the unit.
How to reset your unit
If this unit or the connected unit (auto disc changer, etc.) fails to operate
properly, press the Reset button. The unit returns to
factory settings when the Reset button is pressed.
Cleaning the Unit
If the faceplate of this unit is stained, wipe it with a clean soft dry cloth such as a silicon cloth.
If the faceplate is stained badly, wipe the stain off with a cloth moistened with a neutral cleaner, then wipe it again with a clean soft dry cloth.
Applying spray cleaner directly to the unit may affect its mechanical parts. Wiping the faceplate with a hard cloth or using a volatile liquid such as thinner or alcohol may scratch the surface or erase characters.
Unit and Faceplate Terminals
•To prevent deterioration, do not touch the terminals of the unit and faceplate with your fingers.
•If the terminals on the unit or faceplate get dirty, wipe them with a clean soft dry cloth.
Lens Fogging
When you turn on the car heater in cold weather, dew or condensation may form on the lens in the CD player of the unit.
Called lens fogging, this condensation on the lens may not allow CDs to play. In such a situation, remove the disc and wait for the condensation to evaporate. If the unit still does not operate normally after a while, consult your Kenwood dealer.
Notes
•If you experience problems during installation, consult your Kenwood dealer.
•When you purchase optional accessories, check with your Kenwood dealer to make sure that they work with your model and in your area.
•Characters that conform to GB2312 or ISO 8859-1 can be displayed. Refer to “MENU” > “Chinese:” of <Initial Settings> (page 30).
•Characters that conform to ISO 8859-1 (“English”), Windows CP 1256 (“Arabic”/ “Persian”) and Windows CP 874 (“Thai”) can be displayed. Refer to “MENU” > “TEXT LANG:” of <Initial Settings> (page 30).
•In this document, the description indicator will light means a status is displayed. Refer to <Basic Operation> (page 26) for the details of the status display.
•The illustrations of the display and the panel appearing in this manual are examples used to explain more clearly how the controls are used. Therefore, what appears on the display in the illustrations may differ from what appears on the display on the actual equipment, and some of the illustrations on the display may be inapplicable.
English | 3

First step
[MENU] |
[4] [¢] |
Exit Demonstration Mode |
Turn off the demonstration mode when you use it for the first time after installation.
1Press the [VOL] knob to quit the demonstration mode when the messages “To Cancel Demo Press the volume knob” are displayed (approx. 15 seconds).
2Turn the [VOL] knob to select “YES”, and then press the [VOL] knob.
The demonstration mode can also be canceled in the Menu List mode.
Refer to <Demonstration mode Setting> (page 31) of Instruction manual.
Adjusting the Clock & Date
1Press the [MENU] button to enter the Menu List mode.
2The item can be selected and determined as follows.
”Settings” “Clock & Date” “Clock Adjust”
To select the item, turn the [VOL] knob. To determine the item, press the [VOL] knob.
3Press [4] or [¢] button to select hour or minute to set.
4Turn the [VOL] knob to adjust the hour and minute.
4| Quick Start Guide
[VOL]
5Press the [MENU] button to finish the clock adjusting.
6Turn the [VOL] knob to select “Date Adjust”, and then press the [VOL] knob.
7Press [4] or [¢] button to select year, month, or date to set.
8Turn the [VOL] knob to adjust the year, month, and date.
9Press the [MENU] button to finish the date adjusting.
10 Turn the [VOL] knob to select “Date Mode select”, and then press the [VOL] knob.
11 Turn the [VOL] knob to select Date format, and then press the [VOL] knob.
12 Press the [MENU] knob for at least 1 second, and then press it again briefly to exit the Menu List mode.
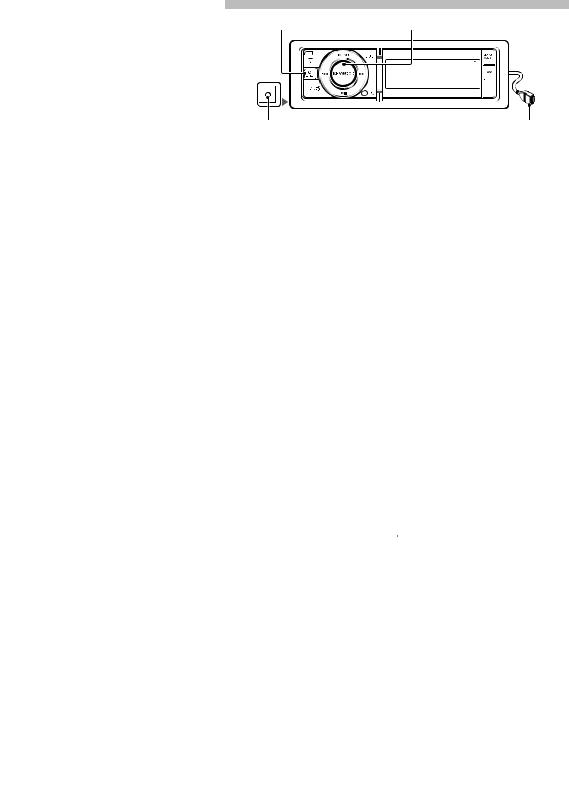
Basic Operations |
|
[SRC] |
[VOL] |
AUX |
|
Auxiliary input |
USB Terminal |
Power
Turns the power ON by pressing the [SRC] button.
Press the [SRC] button for at least 1 second to turn the power OFF.
Source selection
Press the [SRC] button and then turn the [VOL] knob. To determine the selected source, press the [VOL] knob.
Tuner (“TUNER”) Bluetooth Audio (“BT AUDIO”) (KDC-X8016BT/ KDC-X8016BTL only) USB (“USB”) or iPod (“iPod”) CD (“CD”) Auxiliary Input (“AUX”) Standby (“STANDBY”) Tuner...
Volume
Turn the [VOL] knob to adjust the sound volume.
USB terminal
USB device or iPod can be connected. CA-U1EX or KCA-iP101 (optional accessory) is recommended to connect a USB device or iPod.
Auxiliary input
Portable audio device can be connected with the stereo mini-plug (3.5 mm ø). Auxiliary input source is initially set to “OFF”. Set “Built in AUX” described in <Initial Settings> (page 30) (Instruction manual) to “ON”
English | 5
Playing Music (CD/USB/iPod)
[Release] |
[MENU] [DISP] [VOL] |
[SEARCH MODE] |
||||||||
|
|
|
|
|
|
|
|
|
|
|
|
|
|
|
|
|
|
|
|
|
|
|
|
|
|
|
|
|
|
|
|
|
|
|
|
|
|
|
|
|
|
|
|
KDC-X8016BT KDC-X8016BTL |
|
USB Terminal |
[SRC] [4] [38] [ ] |
[¢] |
KDC-X7016 KDC-X7016L
[PLAY MODE]
Playing Disc Fast Forward or Fast Backward of the Song
Press and hold the [4] or [¢] button to fast-forward or fast-backward the audio file containing songs (tracks or files).
Pause and play
Press the [38] button to pause or resume playing a song (track or file).
Playing USB device
Connect a USB device or iPod to the USB terminal.
When connected, the source is switched automatically and a song starts playing.
Selecting an Audio file folder
Press the [SEARCH MODE] button to select a next folder.
Selecting a Song
Press the [4] or [¢] button to select a song.
6 | Quick Start Guide

Music Search
Searching for the song you want to play.
1 Press the [MENU] button.
2Turn the [VOL] knob to select “Music”, and then press the [VOL] knob.
3 Search for music.
Operation type |
Operation |
|
Move between items |
Turn the [VOL] knob. |
|
Select an item |
Press the [VOL] knob. |
|
High Speed Search |
Press the [DISP] or [ |
] / |
|
[PLAY MODE] button to scroll |
|
|
up or down by a page. |
|
|
Press the [DISP] or [ |
] / |
|
[PLAY MODE] button for at |
|
|
least 1 second to continuously |
|
|
scroll up or down at high speed. |
|
|
Press the button again to stop |
|
|
scrolling. |
|
Return to previous item |
Press the [MENU] button. |
|
Return to Top menu |
Press the [MENU] button for at |
|
|
least 1 second. |
|
To cancel the music search operation of Audio file or iPod, press the [MENU] button for at least 1 second, and then press it again briefly.
Removing Disc
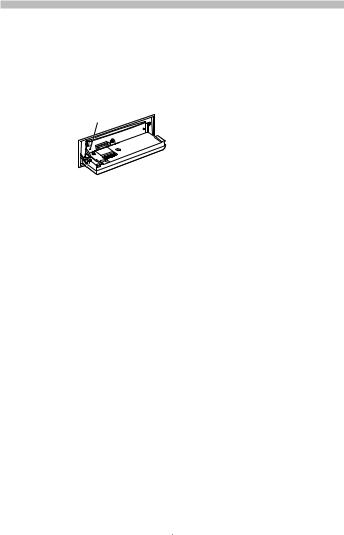
Press the [Release] button and drop open the faceplate.
Press the [0] button to eject a disc.
Removing USB device
Press the [38] button for at least 2 seconds to enter the USB Remove mode (“USB REMOVE” is displayed) and the USB device can be removed safely.
English | 7

Listening to the Radio
[SRC] |
|
[VOL] |
[SEARCH MODE] |
|||||
|
|
|
|
|
|
|
|
|
|
|
|
|
|
|
|
|
|
|
|
|
|
|
|
|
|
|
|
|
|
|
|
|
|
|
|
[4]  [¢]
[¢]
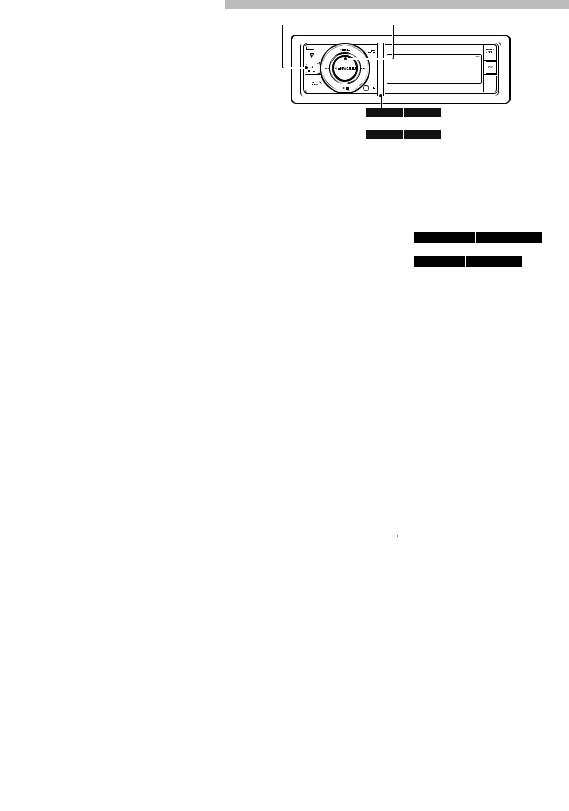
Selecting a Tuner source
1 Press the [SRC] button.
2Turn the [VOL] knob to select “TUNER”, and then press the [VOL] knob.
Selecting the Band
Press the [SEARCH MODE] button to change the band in the order of FM1 FM2 FM3 AM.
Selecting a Station
Press the [4] or [¢] button to select the station you want to listen to.
8 | Quick Start Guide
Function of KDC-X8016BT/ KDC-X8016BTL/ KCA-BT200 (Optional Accessory)
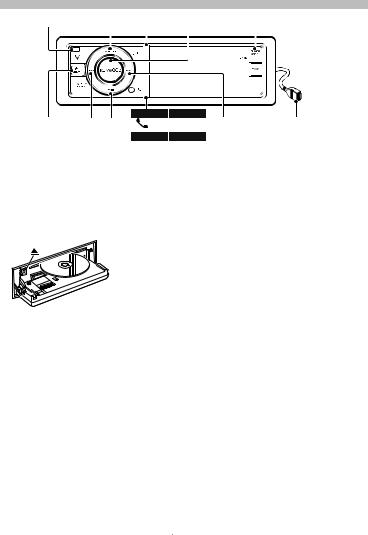
Hands-free phoning
[SRC] |
|
[VOL] |
||
|
|
|
|
|
|
|
|
|
|
|
|
|
|
|
|
|
|
|
|
|
|
|
|
|
KDC-X8016BT KDC-X8016BTL
[ ]
]
KDC-X7016 KDC-X7016L
[PLAY MODE]
Registering cell-phone
Register your Bluetooth cellphone in this unit.
1By operating the cell-phone, register the hands-free unit (pairing). Select “KENWOOD BT CD/R-4P1” or “KCA-BT200” from the list of connected units.
2Enter the PIN code of this unit from the cellphone.
The PIN code of this unit is “0000” by default.
When registration of your cellphone is complete, the phone book of the
cellphone is automatically downloaded to this unit.(If the phone book has not been downloaded to this unit, operate the cellphone to download it.)
Calling a number in the Phone Book
Dial the phone number in the phone book of your cell phone.
If the phone book has not been downloaded to this unit, operate the cellphone to download it.
1 KDC-X8016BT KDC-X8016BTL
Press the [ ] button.
KDC-X7016 KDC-X7016L
Press the [PLAY MODE] button for at least 1 second.
2Turn the [VOL] knob to select “Phonebook”, and then press the [VOL] knob.
3Turn the [VOL] knob to select initial of name, and then press the [VOL] knob.
4Turn the [VOL] knob to select phone number.
5 Press the [VOL] knob button to dial.
Answering a Phone Call
Press the [VOL] knob.
Disconnecting a Call
Press the [SRC] button.
English | 9
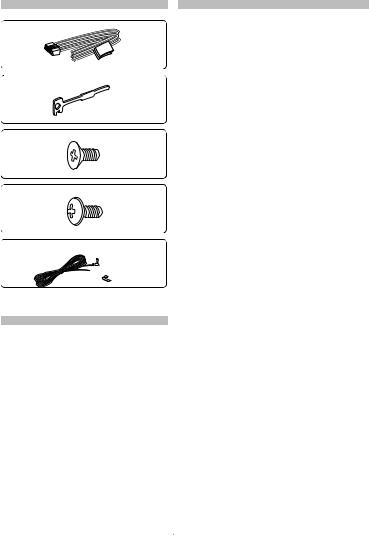
Accessories |
Before Installation |
12WARNING
If you connect the ignition wire (red) and
.....1
2
.....2
3
.....4
4
.....4
5 (KDC-X8016BT/ KDC-X8016BTL only)


 .....1 (3m)
Installation Procedure
1.To prevent a short circuit, remove the key from the ignition and disconnect the - battery.
2.Make the proper input and output wire connections for each unit.
3.Connect the speaker wires of the wiring harness.
4.Connect the wiring harness wires in the following order: ground, battery, ignition.
5.Connect the wiring harness connector to the unit.
6.Install the unit in your car.
7.Reconnect the - battery.
8.Press the reset button.
10 | Quick Start Guide
the battery wire (yellow) to the car chassis (ground), you may cause a short circuit, that in turn may start a fire. Always connect those wires to the power source running through the fuse box.
¤
•Mounting and wiring this product requires skills and experience. For safety’s sake, leave the mounting and wiring work to professionals.
•Make sure to ground the unit to a negative 12V DC power supply.
•Do not install the unit in a spot exposed to direct sunlight or excessive heat or humidity. Also avoid places with too much dust or the possibility of water splashing.
•Do not use your own screws. Use only the screws provided. If you use the wrong screws, you could damage the unit.
•If the power is not turned ON (“PROTECT” is displayed), the speaker wire may have a short-circuit or touched the chassis of the vehicle and the protection function may have been activated. Therefore, the speaker wire should be checked.
•If your car’s ignition does not have an ACC position, connect the ignition wires to a power source that can be turned on and off with the ignition key. If you connect the ignition wire to a power source with a constant voltage supply, as with battery wires, the battery may die.
•If the console has a lid, make sure to install the unit so that the faceplate will not hit the lid when closing and opening.
•If the fuse blows, first make sure the wires aren’t touching to cause a short circuit, then replace the old fuse with one with the same rating.
•Insulate unconnected wires with vinyl
 Loading...