

Ivoclar Vivadent IPS Empress Esthetic Clinical User Manual
CLINICAL GUIDE
Empress
®
Esthetic
IPS

2

3
Introduction 4
Indications 5
Shade selection 6
Adhesive preparation 8
(inlays, partial crowns, full crowns and veneers)
Impression taking 10
Temporary restoration 10
Cementation 11
Step by Step 12
IPS Empress Esthetic veneer adhesively luted with
Variolink II/Excite DSC
Step by Step 17
IPS Empress Esthetic partial crown adhesively luted
with Variolink II/Syntac
Finishing and polishing 22
Step by Step 22
Adhesively luted IPS Empress Esthetic inlay, polished
Clinical long-term studies 25
Table of contents
4
With the new IPS Empress Esthetic Line for
inlays, partial crowns, full crowns and
veneers, the product family has been further
enhanced. The result is an extremely homogeneous leucite glass-ceramic, which
features natural light scattering and offers a
balanced chameleon effect. Due to an
increased density and homogeneity of the
crystals, the restorations blend beautifully
into the natural surroundings. Moreover, the
flexural strength of the ingots has been
improved from 138±12 MPa to 160 ± 8 MPa.
Objects fabricated using the lost-wax
technique feature a particularly high accuracy
of fit, as there is no sinter shrinkage.
IPS Empress Esthetic consists of
IPS Empress Esthetic Ingots,
the coordinated
IPS Empress Esthetic Speed
investment material
and the IPS Empress Esthetic
Veneer layering materials.
The ingots are available in the popular
Staining Technique shades as well as two
new bright shades: E TC0 and E OC1. With
the layering materials, veneers and anterior
crowns exhibiting outstanding aesthetic
properties and accuracy of fit can be costeffectively fabricated by applying a combined
press/layering technique.
A tried-and-tested system
Aesthetics and longevity are important considerations for all-ceramics.
The IPS Empress press-ceramic system has proven itself for more than
15 years as regards both criteria. Twenty-five million placed restorations are testimony to the durable true-to-nature effect, long-lasting
success and the high quality standard of IPS Empress. Clinical studies,
for example, show survival rates of 95% after 11 years.
Introduction
5
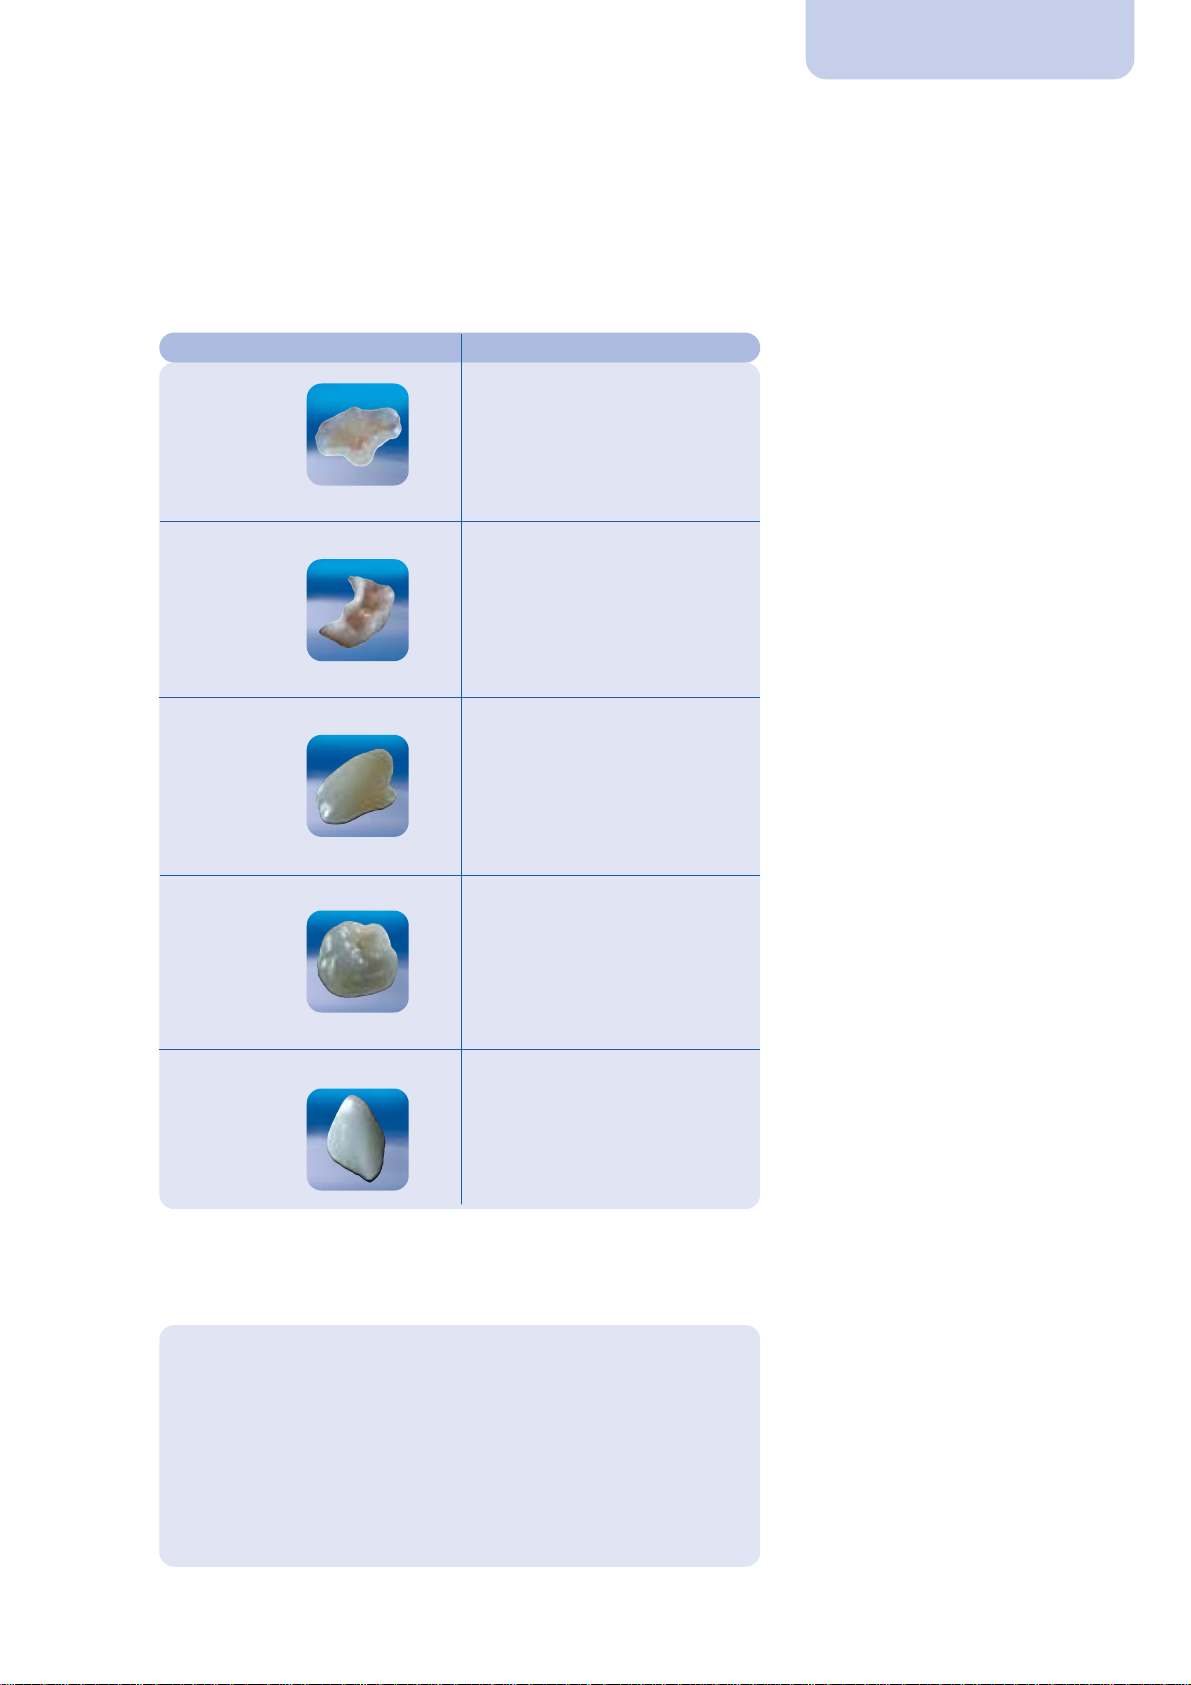
Indications
For all single tooth indications
Indications Luting material
Inlays Variolink II or Multilink
Partial coverage
crowns Variolink II or Multilink
Anterior crowns Variolink II or Multilink
Posterior crowns Variolink II or Multilink
Veneers Variolink II
✓ 15 years of clinical experience with IPS Empress
✓ 25 million placed restorations
✓ Survival rate after 11 years: 95 %
✓ Clinically confirmed at numerous universities throughout the
world
✓ Continuous further development of the IPS Empress Original
System
6
Aesthetic and true-to-nature
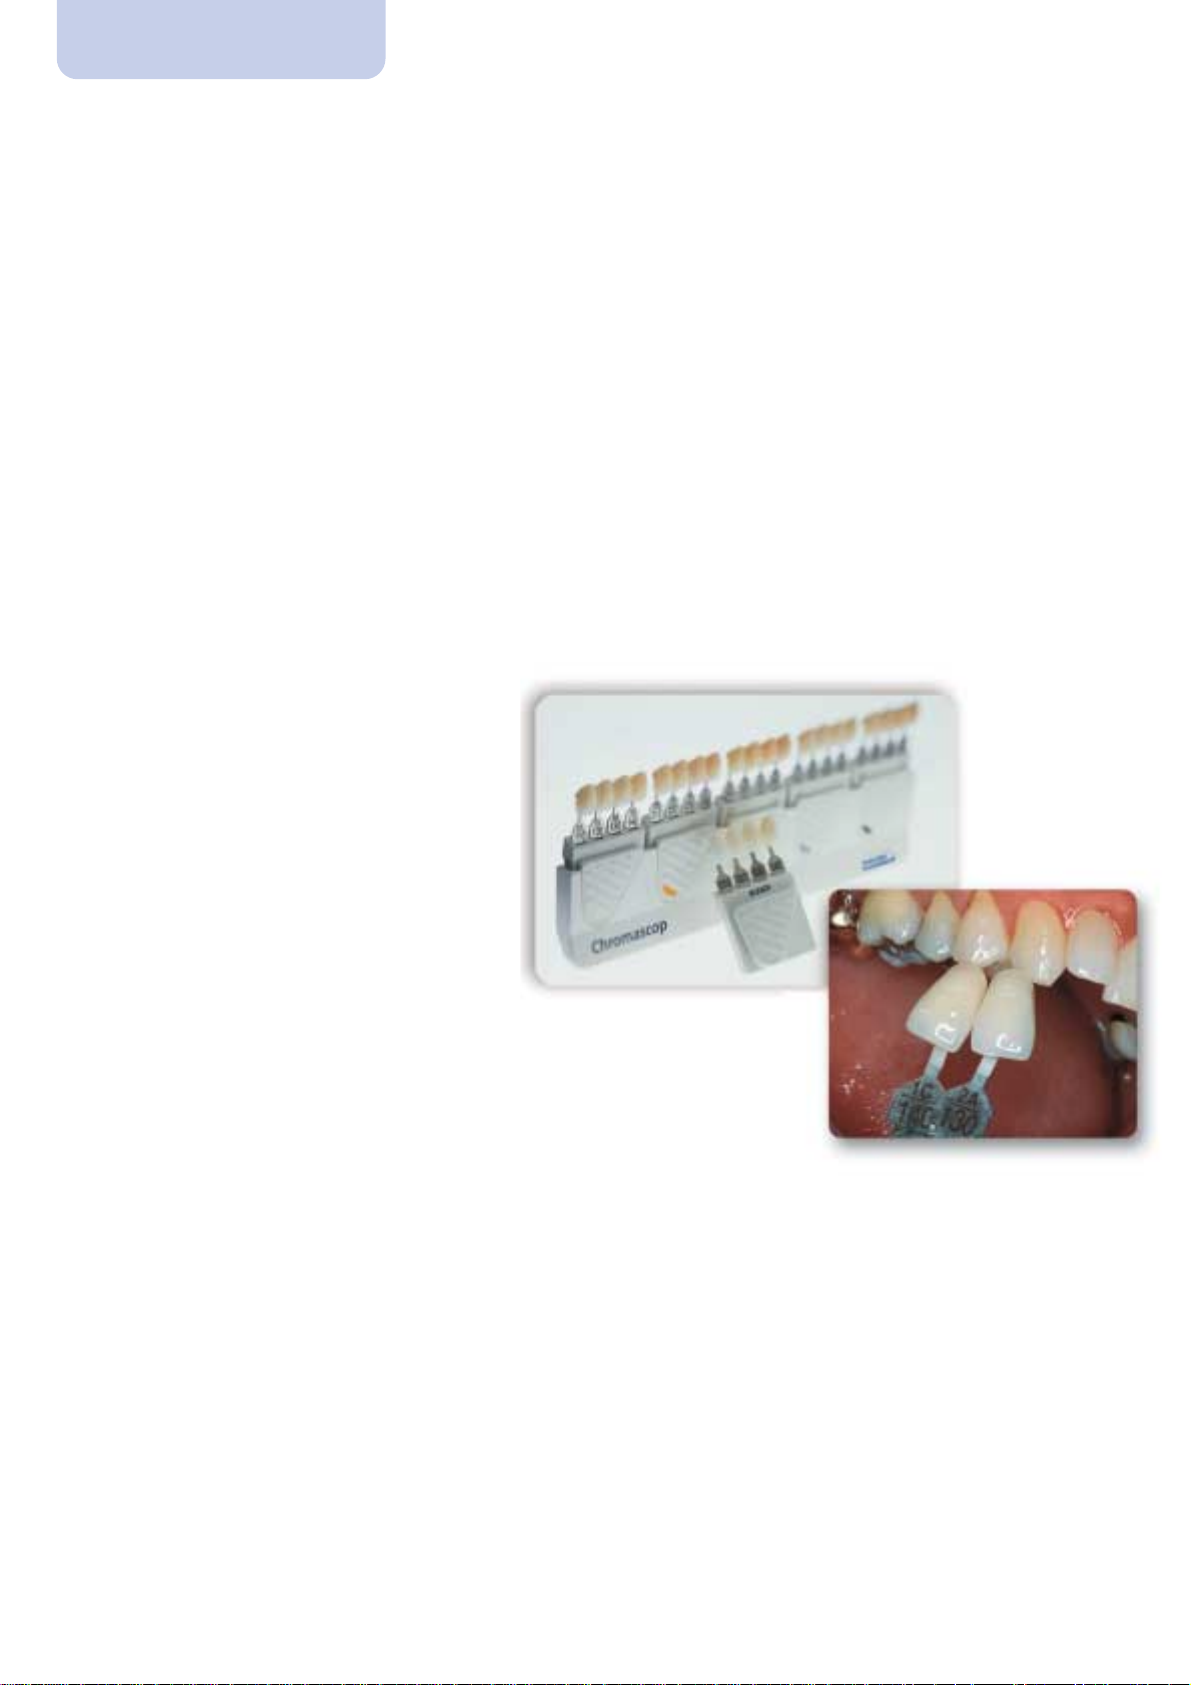
Shade selection
Tooth shade selection
The accurate shade is the basis for a true-tonature restoration.
The tooth shade is determined on the
cleaned, unprepared tooth or adjacent tooth
with the help of the Ivoclar Vivadent
Chromascop shade guide. Do not overdry
the tooth before selecting the shade.
Observe individual characteristics when
selecting the shade. If a crown preparation is
planned, the incisal and cervical shades
should also be determined. In order to
achieve an optimum shade match, the shade
should be taken under natural lighting conditions. In addition, patients should not wear
brightly coloured clothes or lipstick during
shade selection.
Shade guide for the tooth shade of the
unprepared tooth
Shade determination on the patient
7
Shade selection
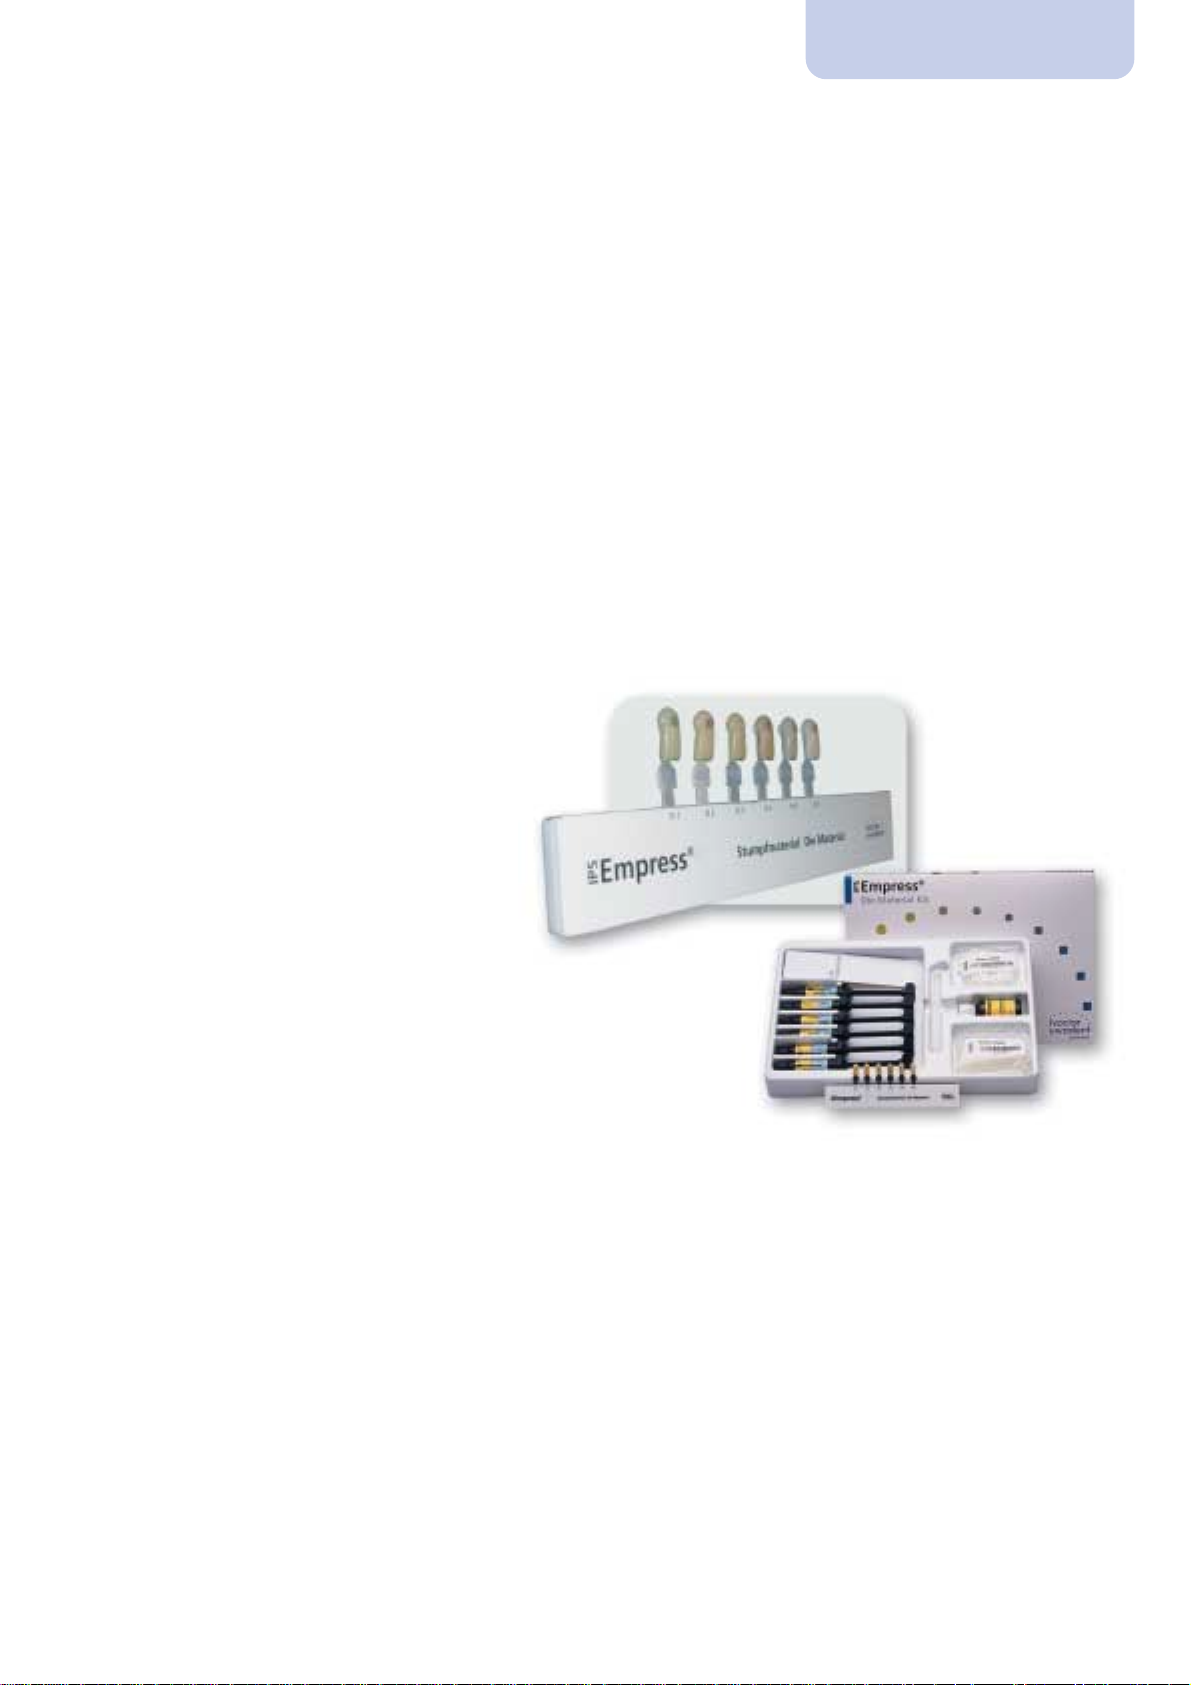
Shade guide for the die shade of
the prepared tooth
IPS Empress Die Material Kit
Die shade selection
The shade of the prepared tooth may be
determined using the IPS Empress die
material shade guide. The shade of the
prepared tooth and the desired tooth shade
are critical for the selection of the ingot
shade. The correct brightness value of the
final shade is determined by the ingot
material. Masking of a dark preparation is
usually achieved by using an ingot that
exhibits both a high degree of opacity and a
lower colour intensity. The proper final
shade is a combination of the following:
✓ die shade
✓ ingot
✓ staining or layering procedure
✓ cementation material
8
Preparation
Defect-oriented and minimally invasive
Preparation
Careful preparation is recommended for the durability and
accuracy of fit of the restoration. IPS Empress Esthetic is
adhesively cemented only. These instructions provide an
overview of the preparation requirements for indirect
restorations seated according to the adhesive technique.
For further information, we recommend consulting the
corresponding literature.
Basic rules:
– Complete a circular shoulder preparation with rounded
internal line angles or a chamfer; the width of the shoulder/
chamfer should be at least 1 mm
– Do not prepare feather edges
– Avoid sharp edges and angles to prevent stress and to
facilitate insertion
– The adhesive cementation procedure allows a defect-oriented
preparation
– Strictly observe the necessary minimum wall thickness to
ensure suitable stability of the restoration
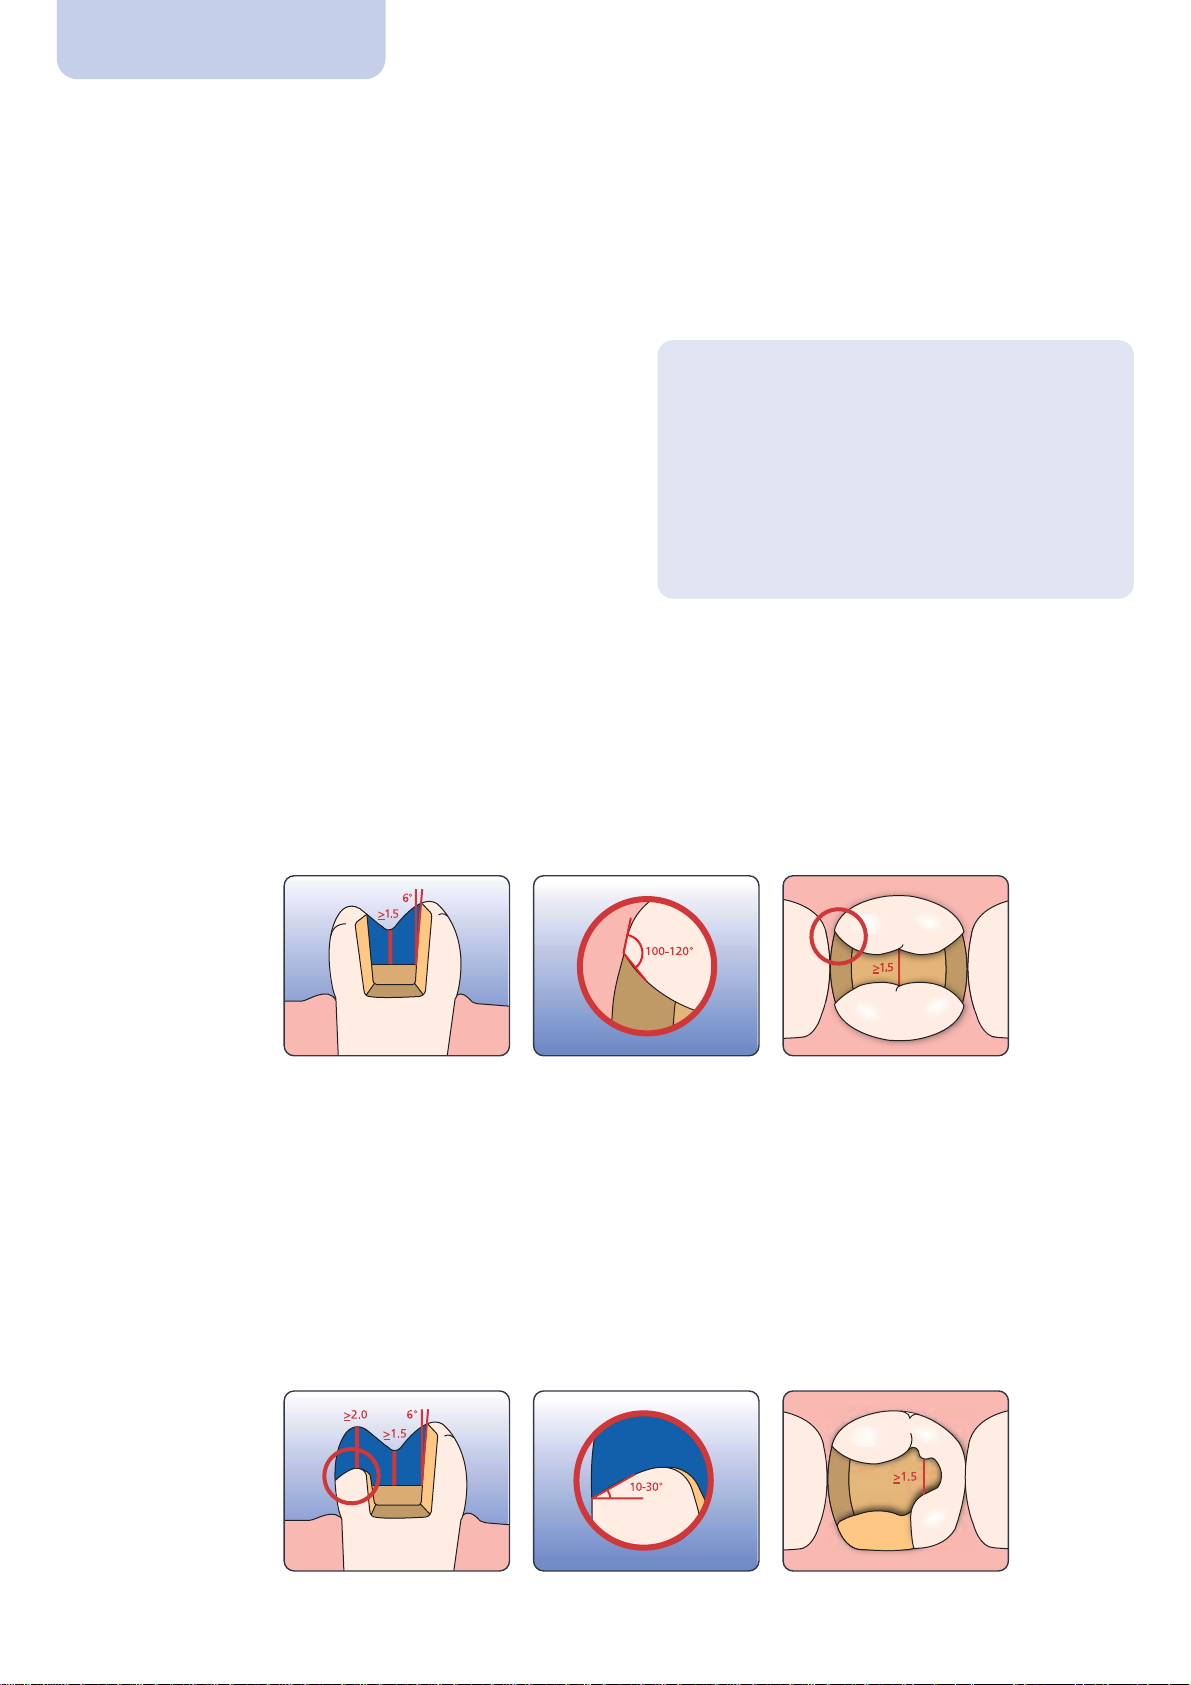
Inlays
Take antagonist contacts into consideration.
Observe a preparation depth of at least 1.5 mm in the central fissure area. The isthmus
should be at least 1.5 mm wide. Complete the proximal box with a slightly diverging angle.
Round out internal angles to avoid stress concentration in the ceramic. Eliminate proximal
contacts. Do not prepare slice-cuts or feather edges.
Partial crowns
Follow the same procedure described for inlays.
Observe a preparation depth of at least 1.5 mm in the central fissure area and an isthmus
width of at least 1.5 mm. Provide 2 mm space in the area of the cusps and occlusal contacts.
Prepare the shoulder with an incline (10°-30°) to improve the aesthetic appearance of the
transitional area between ceramic material and tooth. Partial crowns are indicated if the
preparation margin is located less than approx. 0.5 mm away from the cusp tip, or if the
enamel is severely undermined.
Dimensions in mmDimensions in mm
9
Preparation
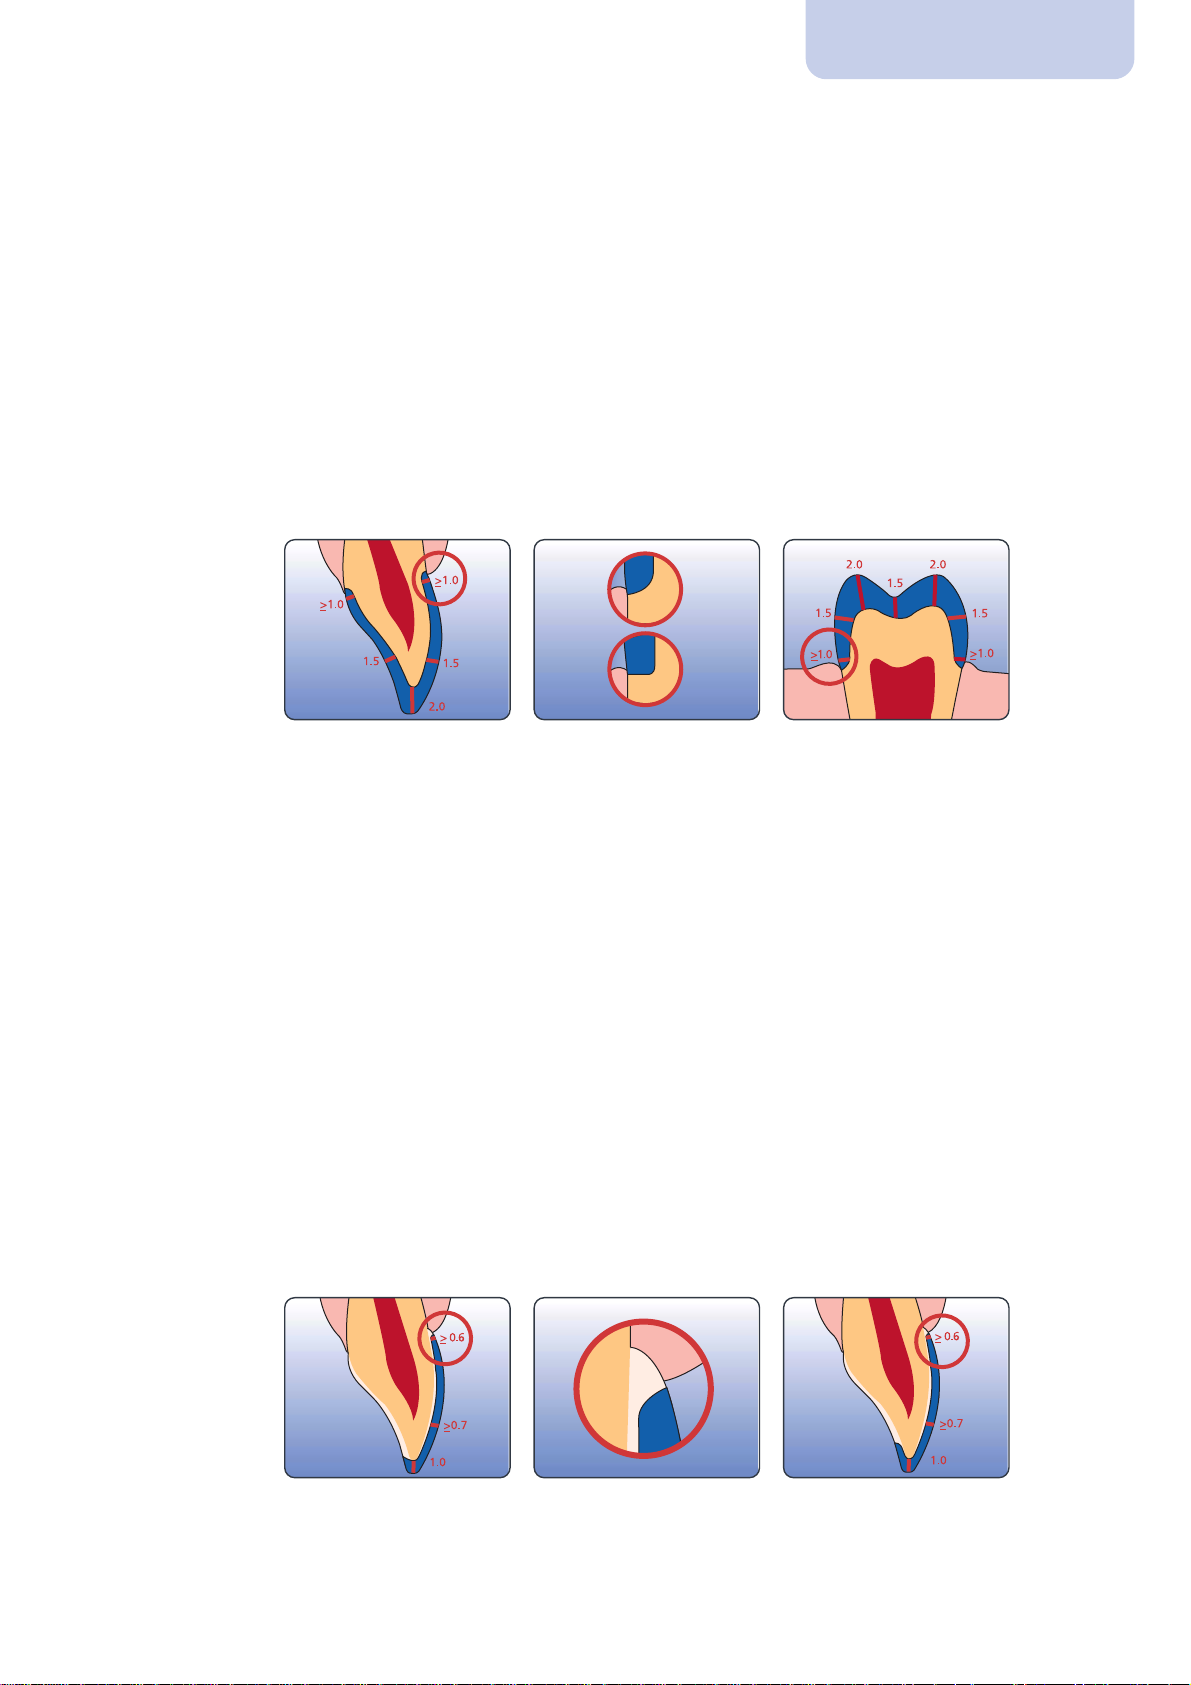
Full crowns
Anterior and posterior crowns
Evenly reduce the anatomical form, observing the stipulated minimum wall thickness. Prepare
a circular shoulder with rounded internal angles or a chamfer. The width of the circular
shoulder/chamfer should be approx. 1 mm. Reduce the axial walls of the tooth on the incisal
third of the crown by approx. 1.5 mm. The incisal and/or occlusal reduction should be
approx. 2 mm.
Veneers
If possible, the preparation should be entirely located within the enamel. Two techniques are
available: the first involving a simple incisal reduction without reduction of the incisal edge
and the other a classic preparation with lingual-incisal, chamfer-like preparation of the incisal
edge. Margins should not be located in the occlusal contact areas.
The dimension of the incisal reduction depends on the desired degree of translucency of the
incisal area to be restored. The more transparent the incisal edge of the veneer should
appear, the more reduction is required. An incisal reduction of at least 1 mm is recommended.
By providing depth grooves using the appropriate burs, controlled enamel reduction can be
achieved. The minimum preparation thickness is approx. 0.6 – 1 mm depending on the
preparation technique chosen. Eliminating proximal contacts is not necessarily required.
Discoloured teeth may require more extensive reduction to allow for adequate masking.
A cervical chamfer should be prepared.
OR
Dimensions in mmDimensions in mm
 Loading...