


10. Set Mode Configurations
10-3 Power and Battery Setting
Use this menu to set power-related options.
1Select <POWER & BATT.> from the Set mode menu.
2 Press the |
SET |
key to display the |
CLR |
<POWER & BATT.> sub menu.
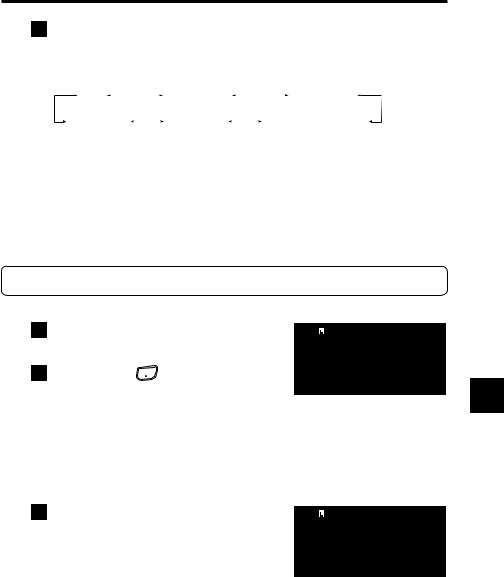
10-3-1 Auto power off setting
|
|
|
|
B S |
|
|
|
|
|
|
|
VFO |
|
145.000 |
|
||
< |
|
> |
F M |
||
|
|
|
|||
|
POWER & BATT. |
|
|
||
“Auto Power Off” is abbreviated to APO. Use this function to make a beeping sound and turn off the power automatically when the receiver is not operated for the specified period of time.
1 Rotate the upper dial to select “Auto Power Off”.
The LCD displays the information as shown on the right.
|
|
|
B S |
|
|
|
|
|
|
|
|
VFO |
|
145.000 |
|
||
Auto Power Off |
F M |
|
|||
|
|
|
|||
OFF |
|
|
|
||
2 Rotate the lower dial to select the period of no operation before the power is turned off automatically.
Rotating the dial switches the options as follows: |
|
|
|
|
|
|||||||||||
|
OFF |
|
30min |
|
1hour |
|
2hrs |
|
3hrs |
|
5hrs |
|
8hrs |
|
|
10 |
|
|
|
|
|
|
|
|
|
|
|||||||
|
|
|
|
|
|
|
|
|
|
|
|
|
|
|
|
|
To turn on the receiver which was turned off by the APO function, hold down the POWER key.
• The APO time is not extended while the receiver is only receiving signals. When any key is operated, the counter is reset and the timer
MEMO restarts.
•When the APO is set and the receiver is not operated for the specified period of time, it is turned off even if the scan operation or Priority Monitoring function is active.
81

10. Set Mode Configurations
10-3-2 Battery setting
Use this setting to display the battery level icons correctly.
1 Rotate the upper dial to select “Battery type”.
The LCD displays the information as shown on the right.
|
|
|
B S |
|
|
|
|
|
|
|
|
VFO |
|
145.000 |
|
||
Battery type |
F M |
|
|||
|
|
|
|||
Battery pack |
|
|
|
||
2Rotate the lower dial to select “Battery pack” or “Dry Battery”.
• Icon display
MEMO
 When "Battery pack" is selected
When "Dry Battery" is selected
• When this setting is incorrect, the battery level (remaining power) is not
displayed properly; however, operation continues normally. CAUTION • Be sure to use alkaline dry batteries.
• Commercially-available rechargeable AA batteries cannot be used. The use of such batteries is not covered by our warranty because it is highly possible that such use may lead to malfunction, breakdown, solution leakage, and heat generation.
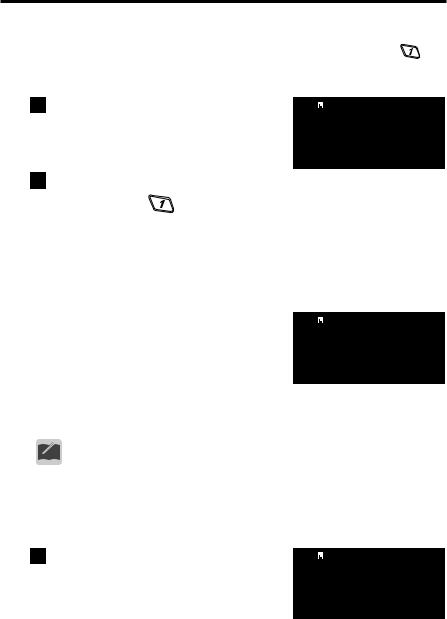
10 10-3-3 Battery save function setting
Use this function to internally turn ON/OFF the power at short intervals to save the battery by reducing the current consumption during standby mode.
1 Rotate the upper dial to select “BS ratio”.
The LCD displays the information as shown on the right.
|
|
|
B S |
|
|
|
|
|
|
VFO |
|
145.000 |
|
|
BS |
ratio |
F M |
||
|
|
|||
0. 2 |
: 0. 8 |
|
|
|
82
10. Set Mode Configurations
2 Rotate the lower dial to select the time while the power is ON and the time to save the battery.
When this function is set to ON, “BS” appears on the LCD. Rotating the dial switches the options as follows:
OFF |
|
|
0.2: 0.2 |
|
|
|
0.2: 0.4 |
|
|
|
|
|
|||||
0.2: 1.8 |
|
|
0.2: 1.2 |
|
|
0.2: 0.8 (Initial value) |
||
|
|
|
|
|||||
•This setting is factory-set to “0.2: 0.8”. Under normal conditions, it is unnecessary to set this function to OFF. When you receive packet communication from amateur radio or data communication such as ACARS in aviation radio, set this function to OFF, even the squelch is opened.
•The battery save function is disabled while signals are received or scanned. If longer battery save time is selected, the beginning of a sound at signal reception may be lost.
10-4 Key Assignment Setting
Use this menu to set the key operation of the DJ-X11.
1Select <KEY ASSIGNMENT> from the Set mode menu.
2 Press the |
SET |
key to display |
CLR |
the <KEY ASSIGNMENT> sub menu.
10-4-1 Key-lock mode setting
B S
VFO 145.000
<KEY ASSIGNMENT> F M
10
Use this setting to specify the keys and dials that will be locked by the Key-lock function.
1Rotate the upper dial to select “Key lock mode”.
|
|
|
B S |
|
|
|
|
|
|
|
|
VFO |
|
145.000 |
|
||
Key lock mode |
F M |
|
|||
|
|
|
|||
All |
|
|
|
||
83

10. Set Mode Configurations
2 Rotate the lower dial to select the key lock mode.
Rotating the dial switches the options as follows:
 All
All 
 16-key pad
 Dials only
 17-key pad
 16-key + dials

All |
All operation will be locked. |
||
16-key pad |
The operation of the key pad will be locked |
||
|
except for the |
key. |
|
|
|
||
Dials only |
The operation of the dials will be locked.* |
||
17-key pad |
The operation of the key pad will be locked. |
||
16-key + dials |
The operation of the key pad and dials will be |
||
|
locked except for the |
key. |
|
|
|
|
|
*It is possible to operate the dials for volume and squelch adjustment and to press the [MONI] key.
10-4-2 Set mode exit time setting
Use this setting to specify the time to exit the Set mode automatically when no operation is performed. Available options are Manual and Auto (5 seconds to 5 minutes).
1 Rotate the upper dial to select “Set mode exit”.
10 The LCD displays the information as shown on the right.
|
|
|
B S |
|
|
|
|
|
|
VFO |
|
145.000 |
|
|
Set |
mode exit |
F M |
||
|
|
|||
Manual |
|
|
||
2Rotate the lower dial to select “Manual” or “Auto 5sec.” to “Auto 5min.”
Manual (Initial value) |
The Set mode continues until the [FUNC] key |
|
is pressed. |
Auto 5sec.to Auto 5min. The Set mode is terminated automatically when no key is operated for the specified time. Any change(s) in the setting(s) will be stored.
10-4-3 Band transition setting
Use this setting to determine the operation when the scanning or dial operation reaches the upper/lower end of the current band in VFO mode. Select whether to return to the other end of the same band or to move to the next band.
1 Rotate the upper dial to select “Band transition”.
The LCD displays the information as shown on the right.
|
|
|
B S |
|
|
|
|
|
|
|
|
VFO |
|
145.000 |
|
||
Band transition |
F M |
|
|||
|
|
|
|||
Stay in the band |
|
|
|
||
84

10. Set Mode Configurations
2Rotate the lower dial to select “Stay in the band” or “Go to next band”.
Stay in the band |
Return to the other end of the same band. |
Go to next band |
Move to the next band. |
10-4-4 Right/left dial function setting
Use this setting to swap the functions assigned to the right and left dials.
1 Rotate the upper dial to select “Dial assignment”.
The LCD displays the information as shown on the right.
|
|
|
B S |
|
|
|
|
|
|
|
|
VFO |
|
145.000 |
|
||
Dial assignment |
F M |
|
|||
|
|
|
|||
L:Main / R:Sub |
|
|
|
||
2Rotate the lower dial to select “L:Main / R:Sub” or “L:Sub / R:Main”.
10-4-5 Upper/lower dial function setting
Use this setting to swap the functions of the upper and lower dials.
1 Rotate the upper dial to select “Dial Freq.”
The LCD displays the information as shown on the right.
|
|
|
B S |
|
|
|
|
|
|
|
|
|
|
|
|
||||
VFO |
145.000 |
|
|
|
|
|
|||
10 |
|||||||||
Dial |
Freq. :Upper |
F M |
|||||||
Ring |
AF :Lower |
|
|
|
|
|
|
||
2 Rotate the lower dial to select the functions assigned to the upper and lower dials.
Rotating the dial switches the options as follows:
 Dial Freq. Upper Ring AF Lower
 Dial AF Upper Ring Freq. Lower
 Dial Freq. Upper Ring SQL Lower
 Dial SQL Upper Ring Freq. Lower
• Either of volume or squelch which was not assigned here can be ad-
justed by pressing the dial.
MEMO
85
10. Set Mode Configurations
10-4-6 Assigning a function to the WILD key
Use this setting to assign a desired menu item in the Set mode to the |
WILD |
|
Assign a frequently used menu so you can change the setting quickly.
key.
1 Rotate the upper dial to select “WILD key assign”.
The LCD displays the information as shown on the right.
|
|
|
B S |
|
|
|
|
|
|
VFO |
145.000 |
|
||
Wild |
key assign |
F M |
||
|
|
|||
language |
|
|
||
2Rotate the lower dial to select the function to be assigned to the WILD key.
10-4-7 Assigning a function to the MONI key
Use this setting to assign a desired menu item in the Set mode to the [MONI] key. Assign a frequently used menu so you can change the setting quickly.
|
|
1 |
Rotate the upper dial to select |
|
|
|
B S |
|
|
|
|
|
|
|
|
|
|
|
|
||||
|
|
|
“Moni key assign”. |
VFO |
145.000 |
|
|
|
|
||
|
|
|
The LCD displays the information as |
Moni |
key assign |
F M |
|||||
|
|
|
|
|
|
|
|
||||
|
|
|
shown on the right. |
|
|
|
|
|
|||
|
|
|
Illumination |
|
|
|
|
|
|||
|
|
|
|
|
|
|
|
|
|||
10 |
|
|
|
|
|
|
|
|
|||
|
|
Rotate the lower dial to select the function assigned to |
|||||||||
2 |
|||||||||||
|
|
the [MONI] key. |
|
|
|
|
|
|
|
|
|
|
|
|
|
|
|
|
|
|
|
|
|
• In an operating mode, press [FUNC] then [MONI] to recall the menu
quickly.
MEMO
10-4-8 Setting the band operated with the MONI key
Use this setting to specify the band to operate with Monitor function.
1Rotate the upper dial to select “Moni active on”.
|
|
|
B S |
|
|
|
|
|
|
|
|
VFO |
|
145.000 |
|
||
Moni active on |
F M |
|
|||
|
|
|
|||
Operating band |
|
|
|
||
86
 Loading...