

E
A
A
E
A
A
E
A
A
S5
S3
S3
C
BC
D
INSTRUCTIONS
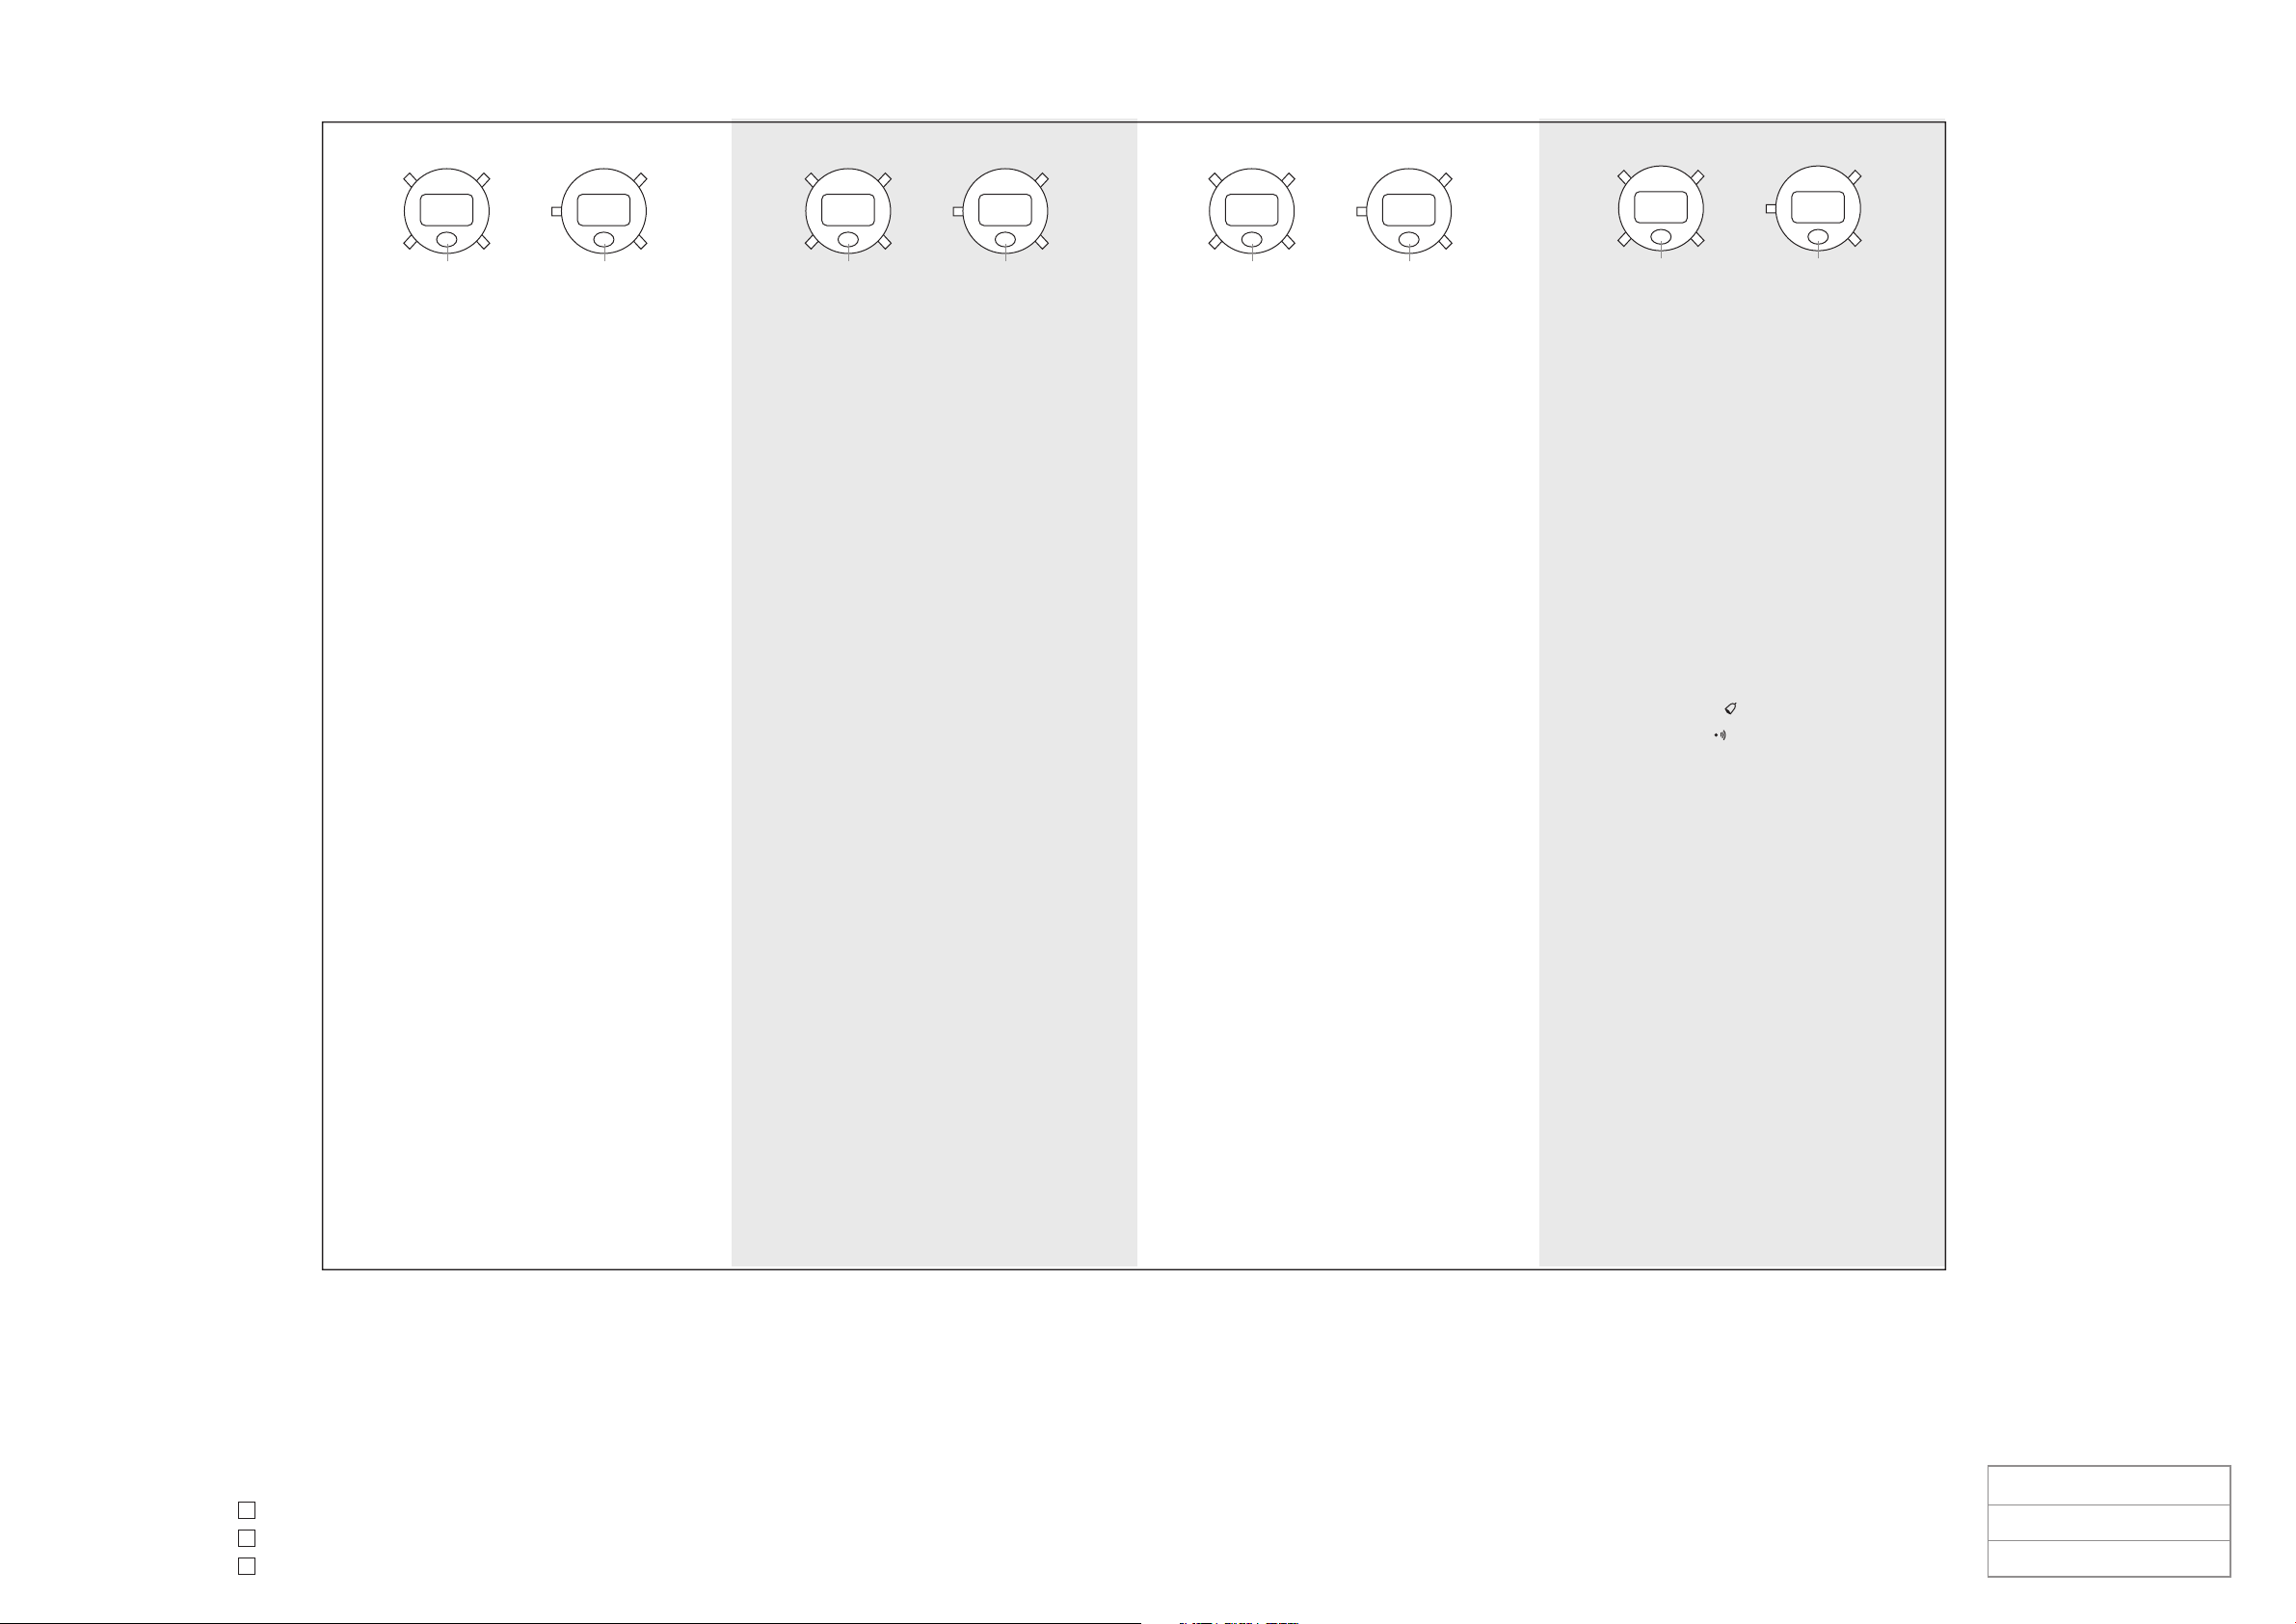
6 Digits Electronic LCD chrono-alarm watches.
Control of watches:
Normal Display : Hour, Minute, Second
and Day of week
Push of A-Button : Month, Date, and
Date of week.
Push of B-Button : Display shows alarm,
Time in Hour and Minute.
Push of C-Button : For change of Function.
Push of D-Button : For Light (Option)
Push of E-Button : For Light (Option)
Alarm and Chime On/O
In normal time : Hold B-Button and Display shows alarm time
in Hour and Minute.
1 x Push A-Button : Chime Bell will be on.
2 x Push A-Button : Alarm mark will be on.
3 x Push A-Button : Chime Bell will be o.
4 x Push A-Button : Alarm Bell will be o.
Release B-Button and Display changes to normal time immediately.
Chronograph Mode
In normal time,Push C-Button, chronograph Function will be set.
Start/Stop : Push A-Button, it operates in cumulative counting up
to 1/100 second.
Lap time : Change to Lap Time from chronograph time display is
performed by pressing B-Button while chronograph is
counting. Chronograph keeps counting after change.
Push B-Button again to return to Chronograph Time Display.
Reset : Push A-Button to stop counting and then push B-Button.
Alarm Time Setting
In normal time, hold C-Button about three seconds. Monday ag +
Hour digits will
Flash which is advance through depression of B-Button.
1 x Push of A-Button : Monday ag + Minute digits of the Alarm time
will ash which is advance as above.
2 x Push of C-Button display change to normal time again.
Normal Time Setting
In normal time, hold C-Button about three seconds and then Push
C-Button once.
Tuesday ag + Minute digits will ash. Push B-Button and Second will
be reset to Zero.
1 x Push of A-Button : Minute digits ash and advance by depression of
B-Button.
2 x Push of A-Button : Hour digits ash and advance as above.
3 x Push of A-Button : Month digits ash depending on position and
advance as above.
4 x Push of A-Button : Date digits ash depending on position and
advance as above.
5 x Push of A-Button : Flag of weekday ash and advance as above.
Push of A-Button and second will start for setting again.
If push of C-Button during any changing time, Normal Time will be
appeared.
12/24 Hours Reversal Option
In normal time, hold B-Button and then Push C-Button, the A.M. or
P.M. mark will be
appeared or disappeared, 12 Hours mode (A.M. or P.M.) will be present
on the display.
Alarm Test
In normal time, hold B-Button and then hold A-Button together Alarm
will "Beep"and Alarm sounded.
Alarm Sound O
For "Beep, Beep" Alarm, Push of B-Button
For Melody Alarm, Push of C-Button (Option)
Month/Date Position Interchange
In Normal Time Mode, hold A-Button, and then push B-Button once.
B
D
C
D
INSTRUCTIONS
-Montre electronique L.C.D. chrono alarmes.
-Affichage normal: heure, minutes, seconds et jourde la semaine.
Bouton A : mois, date, jour de la semaine.
Bouton B : heure d’alarme en heure et minutes.
Bouton C : pour changer de function.
Bouton D : pour la lumiere. (OPTION)
Bouton E : pour la lumiere (OPTION)
Alarme et carillon. Arret et depart.
Avec affichage normal, appuyer sur B et la montre affiche
l’heure d’alarme
en heure et minutes.
1 x presser le bouton A : le carillon est arme.
2 x presser le bouton A : le signe d’alarme s’affiche
3 x presser le bouton A : le carillon est desarme.
4 x presser le bouton A : le signe d’alarme disparait.
Lacher le bouton B et l’affichage revient a la normale.
Chronometre
Avec : affichage normal, appuyer sur C, la fonction chrono est armee
Deport/Arret : appuyer sur A comtage en 100 leme/seconde
Deroulement : appuyer sur B pendant que le chrone marche
Le chrono continue après le changement. Appuyer
sur B pour retoumer vers le chrono.
Retour a zero : appuyer sur A et appuyer ensuite sur B.
Reglage de l’alarme:
Avec affichage normal, appuyer sur C pendant 3 secondes Signal lundi +
l’heure d’alarme clignotent et avancent en appuyant sur B.
1 x presser bouton A : signal lundi + minute d’alarme clignotent et avancent
en appuyer sur B.
2 x presser bouton C et l’affichage retourne l la normale.
Heure Normale:
Avec affichage normal, presser la bouton C Durant 3 secondes et ensuite
presser le bouton C une fois Le signal mardi et le chiffre des secondes
clignotent.
Appuyer sur B et les secondes reviennent a zero.
1 x presser sur A : les minutes clignotent et avancent en appuyant sur B.
2 x presser sur A : les heure clignotent et avancent comme ci-dessus
3 x presser sur A : le mois ou la date clignotent, cela depend de leur
position etavancent comme ci-dessus
4 x presser sur A : le mois ou la date clignotent et avance comme ci-dessus
5 x presser sur A : l’indication du jour clignote et avance comme ci-dessus
Appuyer sur A et vous aurez un second depart pour reglage.
Si vous presser C, l’heure normale aparait.
Option d’affichage en 12 ou 12 heures
Avec affichage normal, tenir le B et presser le C. La marque AM
(avant-midi) ou PM (apres-midi) apparait ou disparait.
Test d’alarme:
Dans l’affichage normal maintenir presse la bouton B puis en meme
temps le bouton A, l’alarme "bip-bip" et la melodie se feront entendre.
Arreter son de l’alarme:
Pour l’alarme bip-bip presser la touche.
Pour la melodie presser C (Option)
Echange de position mois/date:
Avec affichage normal maintenir la touché A pressee, puis appuyer
une fois sur B.
D
BC
B
C
BC
D
6-stellige elektronische LCD-Uhr mit
Chronometer und Wecker
Bedlenung
Normalanzeige Stunde, Minute, Sekunde, Wochentag.
Druck auf Knopf A Monat und Datum
Druck auf knopf B Weckzeit wird angezeit
Druck auf knopf C Einstellen der Funklion
Druck auf knopf D Zifferblallbeteuchtung (WAHLMOGLICHKEIT)
Druck auf knopf E Zifferblallbeteuchtung (WAHLMOGLICHKEIT)
Alarm und Melodie ein-/ausschalten
In der Normalanzeige B gedrueckt halten, Weckzeit wird
angezeit mit Stunde und Minute
1 mal Knopf A druecken Melodie einschalten
2 mal Knopf A druecken Wecker einschalten
3 mal Knopf A druecken Melodie ausschalten
4 mal Knopf A druecken Wecker ausschalten
Chronometer-Betrieb
In der Normalzeit Druck auf Knopf C, um die Chronometer-Funkion
einzustellen.
Start/Stopp A-Knopf druecken Die Zaehlung ertolgt in
Hunderstel Sekunden.
Zeitablaufmessung Während der Chronometer-Zeitanzeige und
während der Chronometer-Zaehlung durch
Druck auf Knopf B auf Zeitablautmessung
(Messung Verbrauchler Zeit) umstellen
Der Chronometer zaehlt nach der Umstellung
Ungehindert weiter.
Nochmals Knopf B druecken, um wieder auf Chronometer-Zeitanzeige
ge umzustellen.
Neueinstellung Mittels Knopf A Zaehlung anhalten, dann
Knopf B bedienen
Einstellen der Weckzeit
Knopf C 3-sekundenlang festhalten. Weczeit wird angezeigt, die nun mittels
Knopf B
verstellt warden kann.
1 mal Knopf A druecken die erste Stelle der Minuten blinkt und
kann mittels Knopf B verstellt warden
2 mal Knopf C druecken zurueck zur normalen Zeit
Einstellen der Normalzeit
Festhalten Knopf B 3 Sekunden und Knopf C einmal druecken.
Die Sekundenstellen blinken auf. Bel Druck auf Knopf B stellen sich die
Sekunden
auf Null zuruck.
1 mal Knopf A druecken die zweite Stelle der Minuten blinkt und kann mittels
Knopf B verstellt werden.
2 mal Knopf A druecken die Stundenstelle blinkt und kann wie oben verstellt
werden
3 mal Knopf A druecken die Monatstelle blinkt und kann wie oben verstelle
werden
4 mal Knopf A druecken die Datumstelle blinkt und kann wie oben verstellt
werden
5 mal Knopf A druecken der Wochentagsanzeiger blinkt und kann wie oben
verstellt werden
Bel Druck auf Knopf A beginnt die Einstellrelhenfolge wieder von neuem bel den
Sekunden. Wird irgendwann wahrend des Einstellvorgangs Knopf C gedruckt,
erscheint die Anzeige der Normalzeit.
12/24-Stunden-Anzeigeformat zur Wahl
Festhalten Knopf B und druecken Knopf C, dann aendert sich das
12-Stunden-Anzeigeformat auf 24-Stunden-Anzeigeformat order umgekehrt.
Weckertest
In der Normalzeit, festhalten Knopf B und Knopf A druecken zum Testen der
Weckgeräusche (Piepston und Alarm)
Alarmton ausschalten
Für den Piepston-Alarm Taste B druecken
Für den Melodie-Alarm Taste C druecken (Option)
Positionswechsel Monat/Datum
Im normalen Zeitmodus Taste A gedrueckt halten und dann Taste B einmal
druecken.
B
D
S2
S2
MANUAL DE INSTRUCCIONES
Indicacion mormal Hora, minutes, segundos y die de la
semana
Apriete S1 Para hora de alarma
Apriete S2 Modo
Apriete S3 Pare el mes, la fecha, dia de la semana
Luz : Para encender la luz apretar el boton S4
Luz : Para encender la luz apretar el boton S5
FUNCTION DE CRONOMETRO
En sete modo cuenta en 1/100 de Segundo por los primeros
30 minutos (29 minutos
59.99 segundos) después en 1 segundo tasta al máximo de
24 horas (23 horas 59
minutos y 59 segundos)
Para que trabaje como cronómetro deprima S2 en tiempo
normal
1.Comlenzo/Parada – deprima S3 una vez
2.Lapso de tiempo – Deprima S1 pará "congelar" la indicación
de lapso de
tiempo miantras eslé contando, y deprima S1 otra vez para
voler a flempo.
3.Reajuste – Deprima S1 cuando el cronómetro deja de contra
Para volver
A ver la indicación horaia, deprima S2 otra vez.
REPOQUED Y ALARMA ON/OFF
En indicación horarla normal : hora, minutos, segundos y dia
de semana
1. Replqueo on ( ) y off
Mantenga deprimido S1 y deprima S2
2. Alarma on ( ) y Off
Manlenga deprimido S1 y deprima S2 otra vez
PARA AJUSTE DE TIEMPO DE ALARMA- Mantenga
deprimido S2 por unos 3 seg.
Selecte los digitos que destellan para ajustarse deprimiendo
S3 y avance los número
oeprimiendo S 1 (se avanza rápidamenie manleniendo
deprimido S1 por más de
2 segundos)
-deprima S2 olra vez y la indicación normal horaria apacerá.
PARA AJUSTE DE TIEMPO NORMAL – Mantenga deprimido
S2 por unos 3 segundos
para ajuste de tiempo de alarma y empule S2 olra vez
Selecte los digilos que destellan para ajustar deprimlendo S3
y avance el nùmero
oeprimiendo S1 (se avanza rápidamenie manteniendo
deprimido S1 por más de
2 segundos).
Selecte indicación horaria de 12/24 horas. en tlempo normal
oprimiendo S3 y
después empule S2
Pruebà de alarma manteniendo S1 deprimido y después
empujando S3
Intercambio de mes y fecha se hace manieniendo S3
deprimido y oprimtendo S1
S1
S4
S1
S4
APN ref. no.: A72060_1
Date: 28-01-08
Vendor ref.:
no. of color: 1C+1C
B&W artwork attached:
Presentation
Testing
Production/Shipment
A4 SIZE (210MMx297MM)
DOUBLE SIDE PRINGTING
Prepared by:
Veried by:
Approved by:
 Loading...