


91195381790
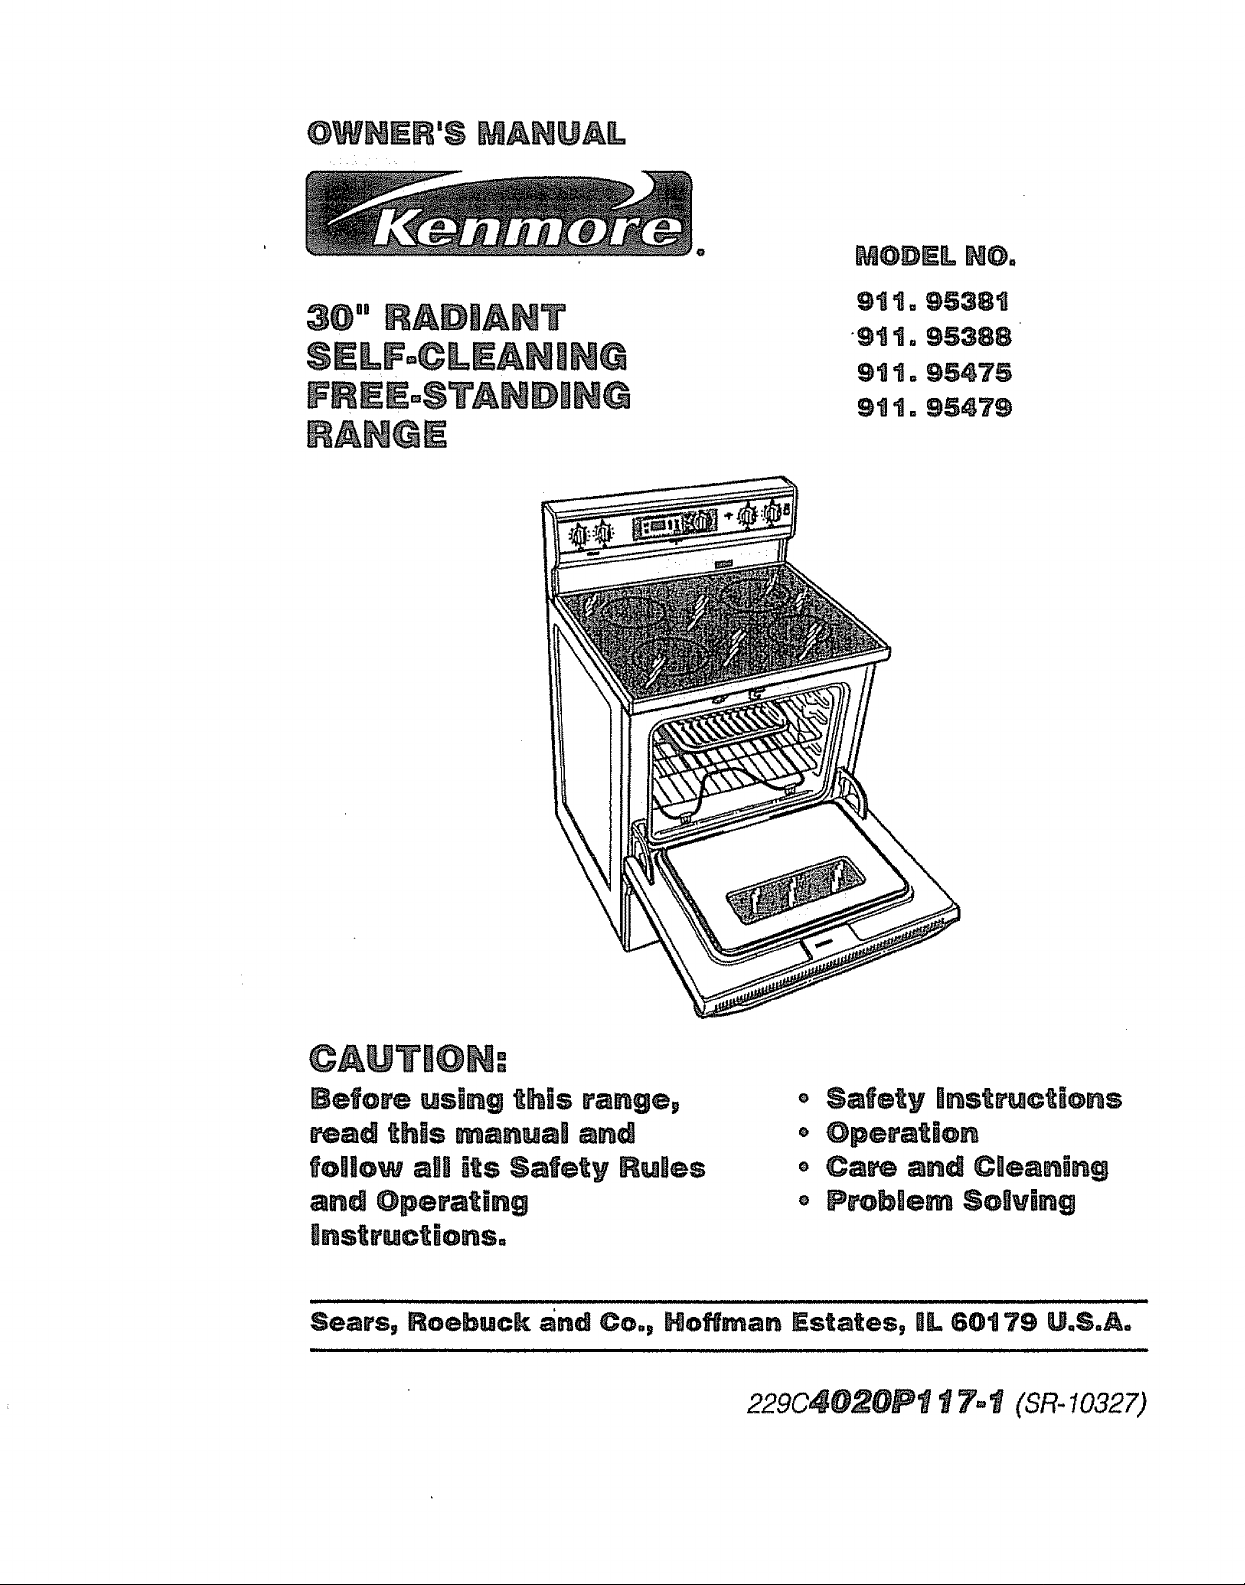
@W_ER'S MANUAL
MODEL HO°
9tt.9538t
9tt°95388
9tto95475
9tt.95479
Before using this range,
e_ad thls _a.ua_ and
foUo_ aH its Safety RuJ®s
and @p®rating
o Safety mnstructions
o @pera_tiJon
o Care a.d CI]eaning
,_ Pe'oble_ Solving
Rnstruct[onso
Sears, Roebuck and Co., Hoffman Estates, IlL 60t 79 U.S°A°
229C402#Pt 17,,t (SR-10327)

TableofContents
Range Safety ......................... 3-6
Stability Device ......................... 3
Protecting the Cooktop ............. 7
Removal of packaging tape ..... 7
Features of Your Range ........... 8
Cooking Zones ......................... 9
Cooking Utensils ...................... 9
Checking Your Cookware ......... 9
Cookware Performance ............ 9
Radiant Coils .......................... 10
Radiant Unit Cycle ....._............ 10
Control Settings ...................... 10
Home Canning Tips ................ 10
Clock, Timer & Oven Control.. 11
Hour/Minute Arrow Pad .......... 11
Display .................................... 11
Indicator Lights ....................... 11
To Black Out the Display ........ 11
F Codes .................................. 11
Power On ................................ 11
Automatic Oven Shut-Off ........ 11
Rt DIANTFRE STANDIHGRt H6E
To Set The Clock .................... 12
To Set The Timer .................... 12
To Reset The Timer ................ 12
To Cancel The Timer .............. 12
Oven Cooking Tips ............ 13-15
Oven Control .......................... 15
Baking .................................... 16
Broiling ................................... 17
Self-Cleaning Cycle ........... 18-19
Glass Cooktop Cleaning ... 20-21
Control Panel .......................... 21
Broiler Pan and Grid ............... 21
Control Knobs ......................... 22
Oven Light Bulb ...................... 22
Storage Drawer ...................... 23
Oven Racks ............................ 24
Oven Door .............................. 24
Before Calling for Service ...........
........................................... 25-27
Temperature Adjustment ........ 28
Warranty ................................. 29
Consumer Service Numbers.. 30
MODH& NUMBER: SERIAL HUMBER:
2

SAVE THESE mHSTRUCTION$
Read agg instructions before using _his appR_ance, When using
gas or e_ectr_caJ appliances, basic safety precautions should
be foilowed, _ncaud_ng the fo_aowHng:
Outside Edge Of
Bracket To Be
:
Toons you will need:
• Phillips head screwdriver
o 13/8" open end or adjustable wrench
Remove the bracket from the
prepack located inside the oven.
m
Decide whether the bracket will be
installed on the right or left side of
range location.
m
tf the bracket side of the range is
adjacent to a cabinet, place the
bracket against back wall and
cabinet as shown in Figure 1.
tf there is no adjacent cabinet,
determine where the location of
the range side (painted outside
panel) will be. Piace the bracket
with its outside edge at this
location and against back Wall.
See Figure 2.
11
Determine whether you will anchor
the bracket to the floor or wall.
Make sure this location is clear of
electrical wiring or plumbing.
Right Side Of Rango
m
Fasten the bracket securely with
the screws provided. Screws are
self-drilling in wood, plywood,
particle and chip board, and most
metal framing. If attaching to
masonry, you can buy suitable
screws and anchors at hardware
stores. Use a masonry drill bit to
drill the required holes.
Fig, 2
a
Using the wrench, back out the
Attachment To Wall
four leg levelers at least two turns.
See your installation guide for
more leveling information before
positioning range.
u
Slide the range into place. Be sure
rear leg leveler fully engages the
slot in the bracket. If range cannot
be moved back far enough for
rear leg leveler to enter bracket,
move bracket forward as required
and attach to floor in new location.
With Le_ O_
Fig, t
Wall
Plate
3
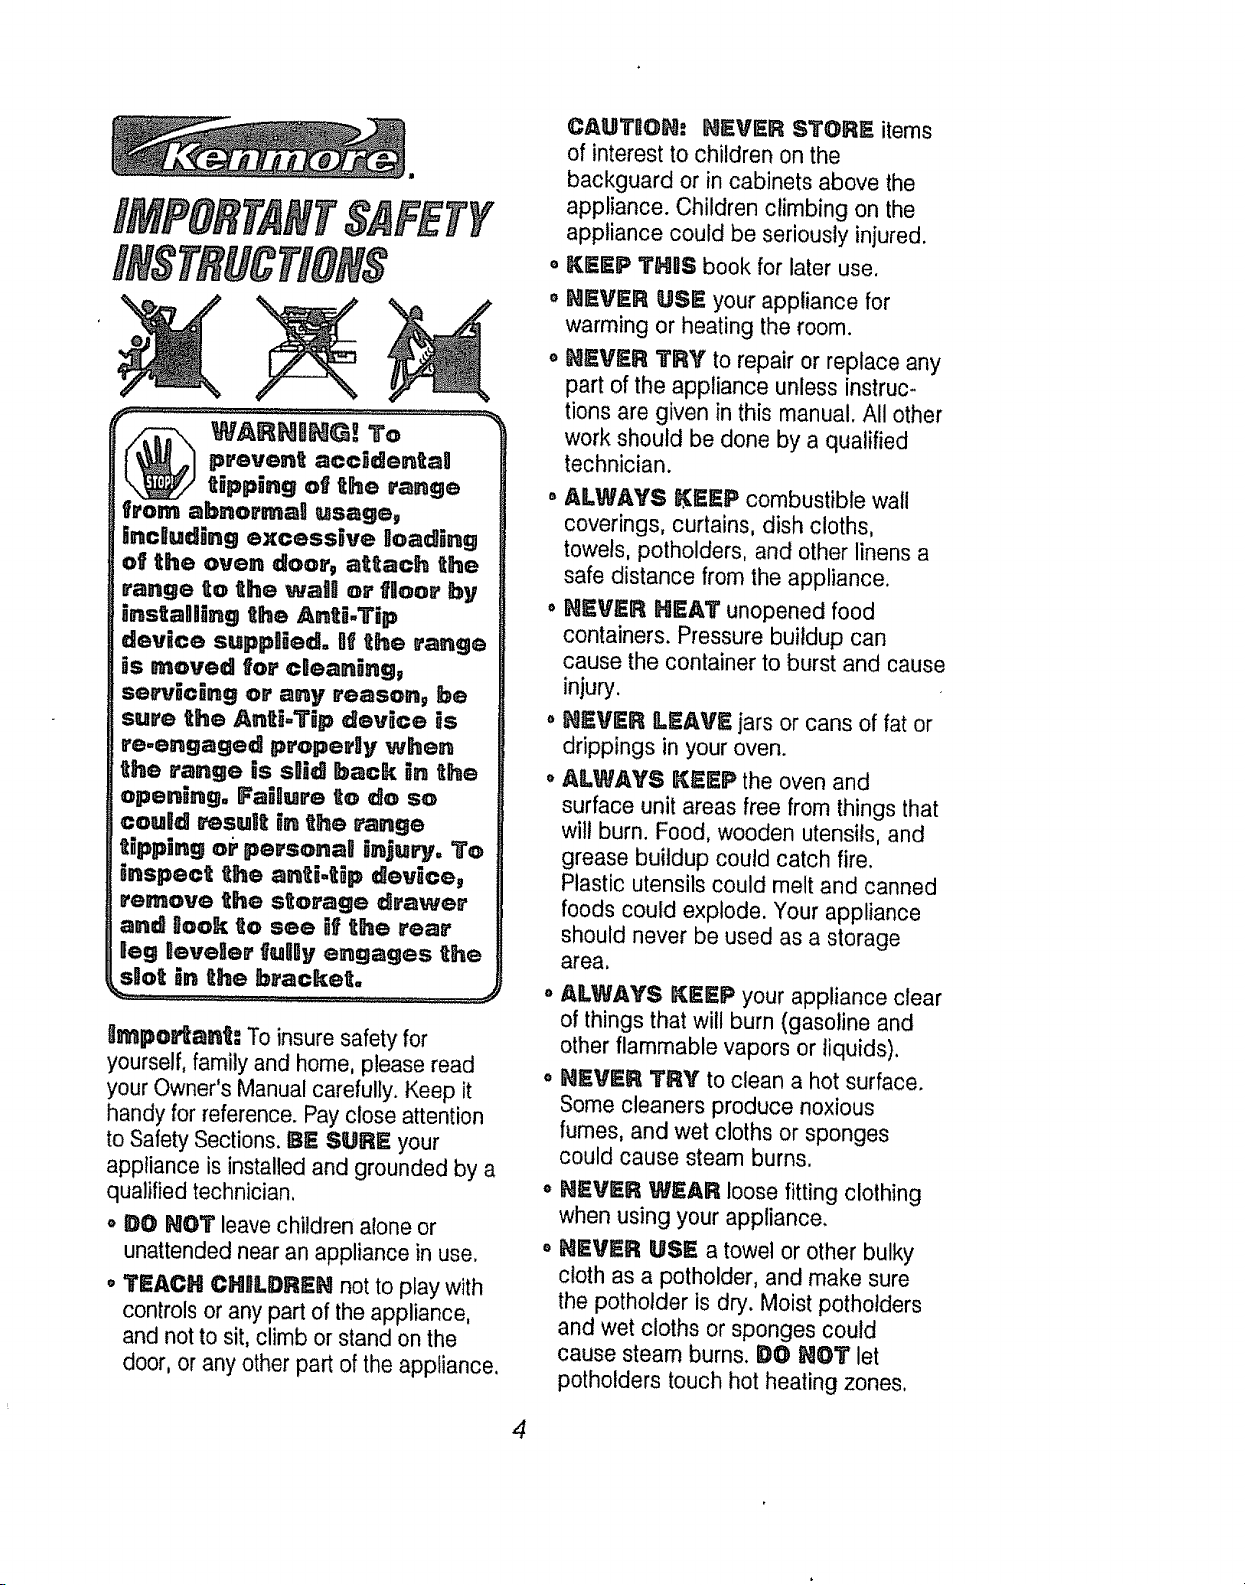
WARN,I GI To
pvev.ent accedentag
t[ppeng of Ehe range
rein abnormag usage_
[ncUuding excessive _oading
of the oven door_ attach the
range _o the _aal or floor bV
6nstagHng the Anti.Tip
device suppHedo t]_the range
is moved for cl®aning,
see-Jicing or any reason, be
sure the Anti-Tip device is
re.engaged propevUy when
the range Js sBJidback [n the
opening° Failure to do so
couk_ result in the range
tipping or personall Bnju_yo To
_nspect tlhe anSi°tip device_
remove the storage dra_er
and aook to see if the rear
geg _eve]]e_ fully engages _e
sUo_ _n _he b_ac_e_o
_mpe_a._: To insure safety for
yourself, family and home, please read
your Owner's Manual carefully. Keep it
handy for reference. Pay close attention
to Safety Sections. _E SURE your
appliance is installed and grounded by a
qualified technician.
o DO _O't leave children atone or
unattended near an appliance in use.
o _I_ACH CH_LDREH not to play with
controls or any part of the appliance,
and not to sit, climb or stand on the
door, or any other part of the appliance.
CAUTI]OH: HEVIER STORE items
of interest to children on the
backguard or in cabinets above the
appliance. Children climbing on the
appliance could be seriously injured.
o
_EEP "tH_S book for later use.
HEVER USE your appliance for
warming or heating the room.
NEVF..R TRY to repair or replace any
part of the appliance unless instruc-
tions are given in this manual. All other
work should be done by a qualified
technician.
• ALWAYS _EEP combustible wall
coverings, curtains, dish cloths,
towels, potholders, and other linens a
safe distance from the appliance.
,__SV_R HEAT unopened food
containers. Pressure buildup can
cause the container to burst and cause
injury.
_,_:VER L_:_V_ jars or cans of fat or
drippings in your oven.
. AL_AY$ _EEP the oven and
surface unit areas free from things that
will burn. Food, wooden utensils, and
grease buildup could catch fire.
Plastic utensils could melt and canned
foods could explode. Your appliance
should never be used as a storage
area.
. ALWAYS KE_F' your appliance clear
of thingsthat will burn (gasoline and
other flammable vapors or liquids).
• NEVER "tRY to clean a hot surface.
Some cleaners produce noxious
fumes, and wet cloths or sponges
could cause steam burns.
HEVER _EAR loose fitting clothing
when using your appliance.
NEVER USE a towel or other bulky
cloth as a potholder, and make sure
the potholder is dry. Moist potholders
and wet cloths or sponges could
cause steam burns. DO Ho'Ir let
potholders touch hot heating zones,
4
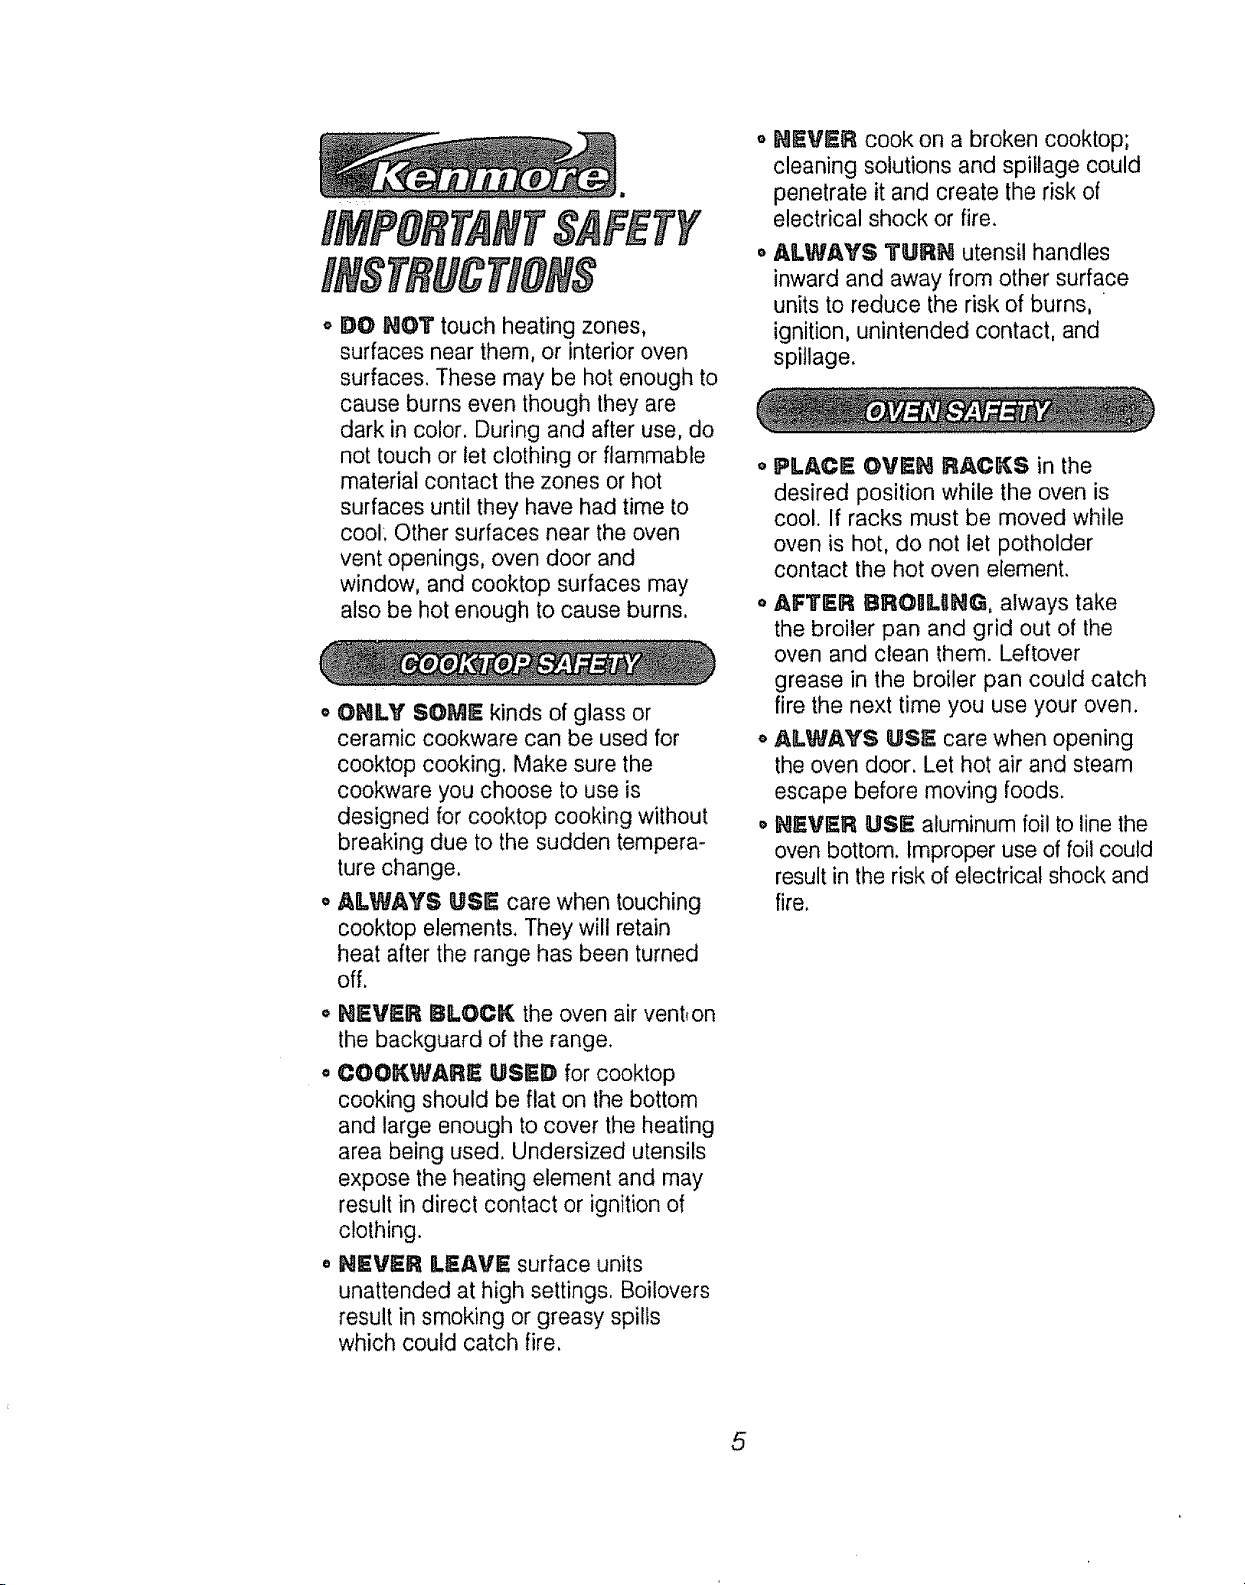
o DO NOT touch heating zones,
surfaces near them, or interior oven
surfaces. These may be hot enough to
cause burns even though they are
dark in color. During and after use, do
not touch or let clothing or flammable
material contact the zones or hot
surfaces until they have had time to
cool: Other surfaces near the oven
vent openings, oven door and
window, and cooktop surfaces may
also be hot enough to cause burns.
o ONLY SOME kinds of glass or
ceramic cookware can be used for
cooktop cooking. Make sure the
cookware you choose to use is
designed for cooktop cooking without
breaking due to the sudden tempera-
ture change,
o ALWAYS USE care when touching
cooktop elements. They will retain
heat after the range has been turned
off.
o NEVER BLOCK the oven air vent, on
the backguard of the range,
• COOKWARE USED for cooktop
cooking should be flat on the bottom
and large enough to cover the heating
area being used. Undersized utensils
expose the heating element and may
result in direct contact or ignition of
clothing.
• NEVER LEAVE surface units
unattended at high settings. Boilovers
result in smoking or greasy spills
which could catch fire,
NEVER cook on a broken cooktop;
cleaning solutions and spillage could
penetrate it and create the risk of
electrical shock or fire,
ALWAYS TURN utensil handles
inward and away from other surface
units to reduce the risk of burns,
ignition, unintended contact, and
spillage.
° PLACE GVEN RACKS in the
desired position while the oven is
cool. If racks must be moved while
oven is hot, do not let potholder
contact the hot oven element.
o AFTER BROgUNG, always take
the broiler pan and grid out of the
oven and clean them. Leftover
grease in the broiler pan could catch
fire the next time you use your oven.
o ALWAYS USE care when opening
the oven door. Let hot air and steam
escape before moving foods.
,, NEVI_R USE aluminum foil to line the
oven bottom. Improper use of foil could
result in the risk of electrical shock and
fire.
5

,_CLEAH ONLY the parts listed in this
manua!. Follow all cleaning
instructions. Be sure to remove broiler
pan and grid be[ore the self-clean
cycle.
o NEVER RUB, move or damage the
door gasket on self-cleaning ranges.
o NEVER TRY to clean utensils,
cookware, removable parts, or broiler
pan and grid in the self-clean cycle.
o DO HOT USE oven cleaners - No
commercial oven cleaner, or protective
coating of any kind, should be used in
or around any part of the oven.
• HEVER force the door handle open
while the oven is hot.
READ AHD UHDERST, AHD
THOS _HFORMATmOH HOW!
Be sure eve_'yone 8n your home
knows what to (]o gn case of fi_o
Hever use water on a grease
f_re; it w_H ongy sprea(] the
fgames,
COOKTOP GREASE F_RE:
Hever pick up a f_amin9 pan...
t,, Turn off the surface elements,
2_
Smother the flame with a tightly
fitting lid. Use baking soda or a dry
chemical, foam, or halon type
extinguisher.
OVe:H F_RI_:
Do not try to move the pan_
1. Close the oven door and turn
controls off.
2_
If fire continues, carefully open the
door, throw baking soda on the fire,
or use a dry chemical, foam, or
halon type extinguisher,
mMPORTANT SAFET_
N_)TSCE_
The Ca0ifom_a Safe Drinking
Water and Toxic Enforcemen_
Act requDres the governor of
California to publish a Hst of
substances known to the state
to cause b[_h (]efects or other
repro(]uct_ve harm an(] requi,'es
businesses to warn their cus,.
tomevs of potent_a0 exposure to
such substances,, The fiberggass
insulation in a seaf-c0ean_ng oven
wiJn give off a very smaDI amount
of carbon mono:,:i(]e (]uring the
cleaning cycUe. Exposure can be
minimize(] by ventUng with an
open (]got or win(]ew or usBng a
VentiDat_on fan on'hog(],,
6
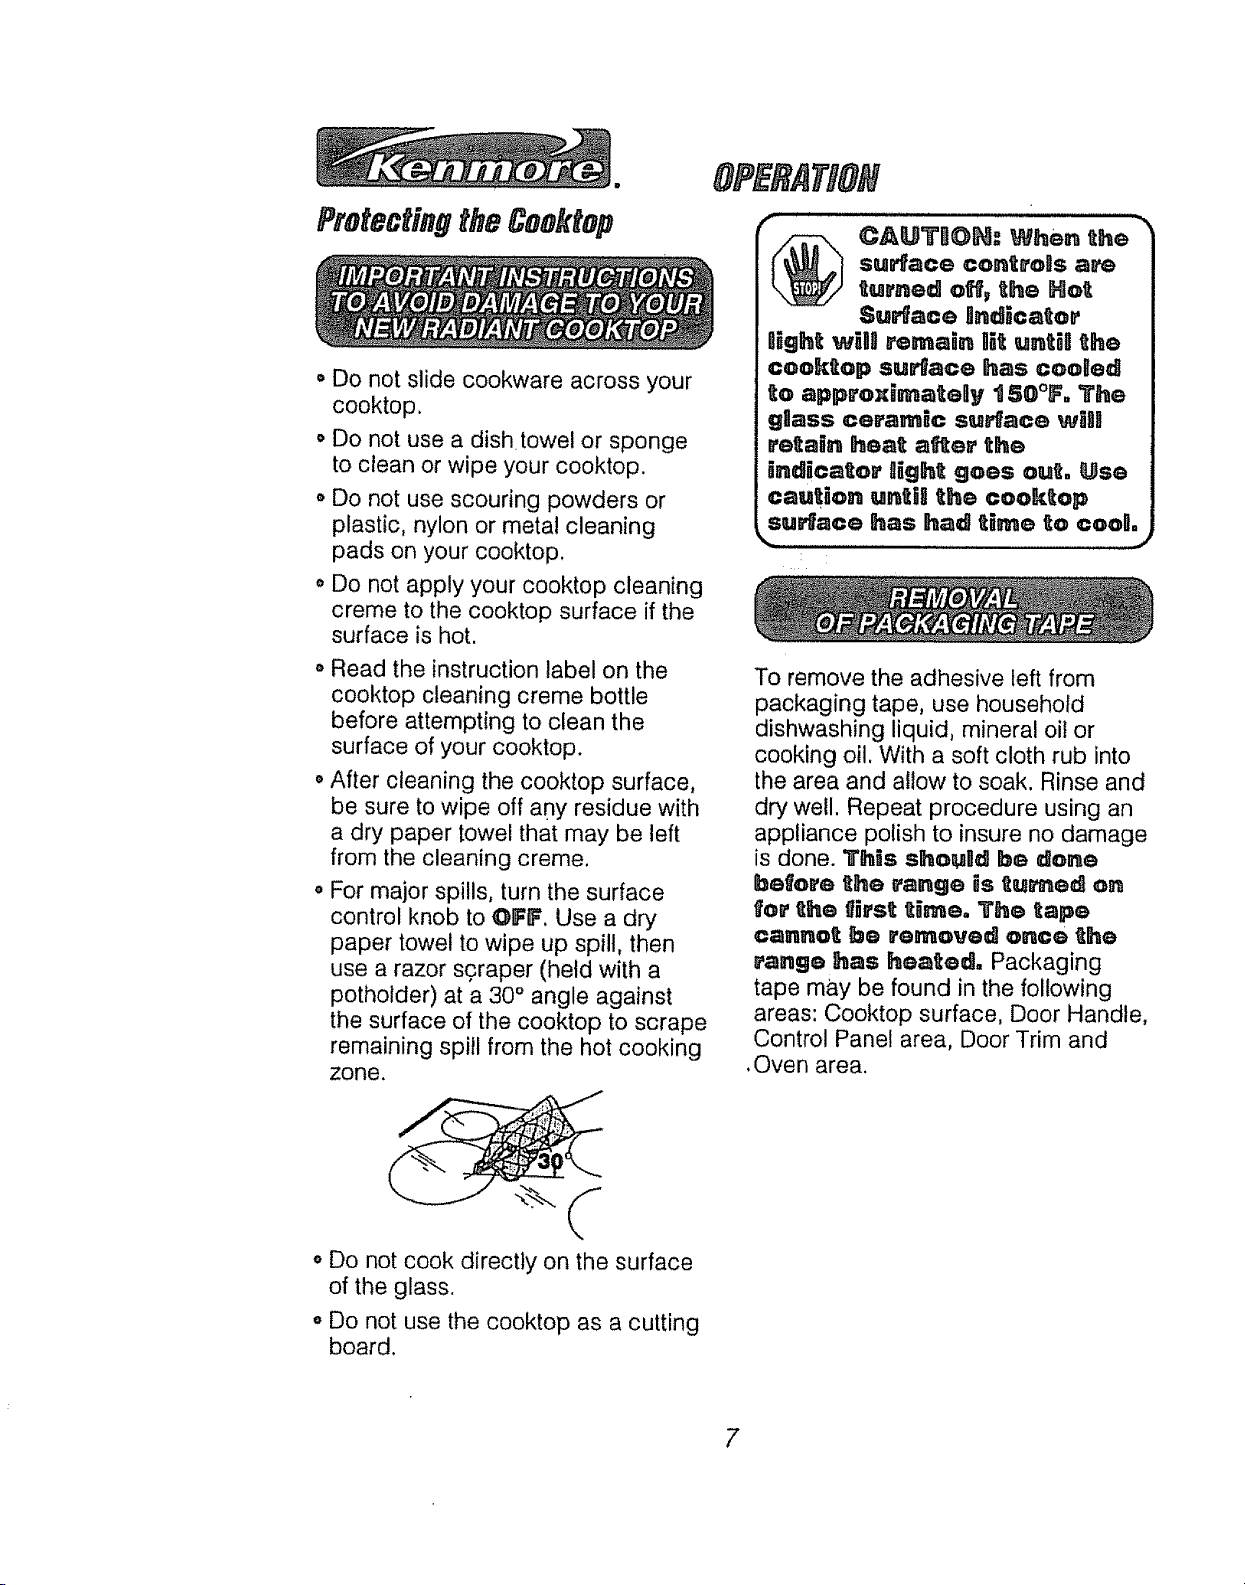
ProfectingtheCeohtep
• Do not slide cookware across your
cooktop.
• Do not use a dishtowel or sponge
to clean or wipe your cooktop.
o Do not use scouring powders or
plastic, nylon or metal cleaning
pads on your cooktop.
• Do not apply your cooktop cleaning
creme to the cooktop surface if the
surface is hot.
o Read the instruction label on the
cooktop cleaning creme bottle
before attempting to clean the
surface of your cooktop.
° After cleaning the cooktop surface,
be sure to wipe off any residue with
a dry paper towel that may be left
from the cleaning creme.
o For major spills, turn the surface
control knob to @FF. Use a dry
paper towel to wipe up spill, then
use a razor scraper (held with a
pothotder) at a 30° angle against
the surface of the cooktop to scrape
remaining spill from the hot cooking
zone.
#P AT/@N
surface controBs are
@ AuTn@N: When the
Hgh_ _H! remain ,it until the
cooktop surfac® has cooled
to approximatelly 150°F. The
glass ceramic surface _iH
etetain heat a_er th®
inelic.ator tl_eht eoes ou_. Use
cauteon u.t,li the cooktop |
suNace has had t,m® _o cool.)
To remove the adhesive left from
packaging tape, use household
dishwashing liquid, mineral oil or
cooking oil. With a soft cloth rub into
the area and allow to soak. Rinse and
dry well. Repeat procedure using an
appliance polish to insure no damage
is done. This shoulld be done
befor® the range is tu_ed on
for _he tf_rst timeo The tape)
cannot be remo'vod o.ce _ho
tango has heat®d, Packaging
tape may be found in the following
areas: Cooktop surface, Door Handle,
Control Panel area, Door Trim and
,Oven area.
turned off, the Ho_
Surface Bnd_cator
• Do not cook directly on the surface
of the glass.
o Do not use the cooktop as a cutting
board.
7
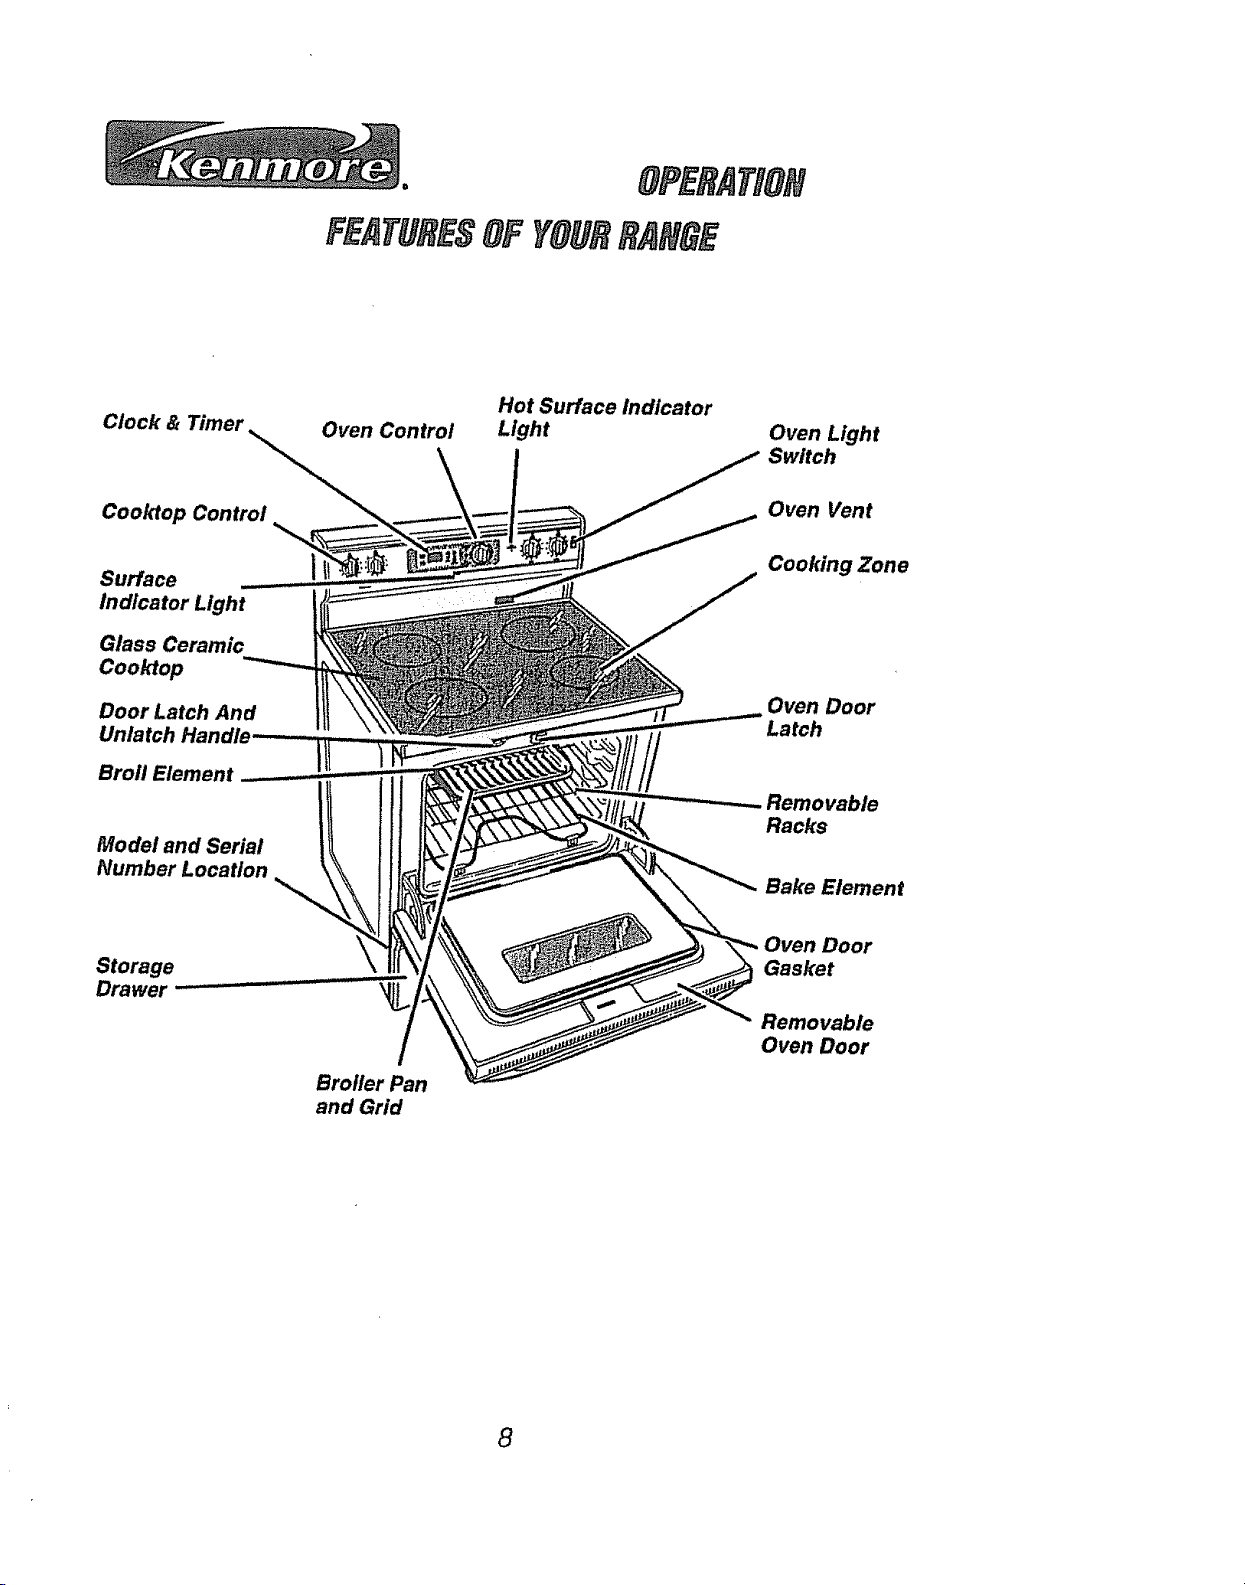
OPERATION
FEATURESOFYOURRANaE
Clock & Timer
Cooktop Control
Surface
Indicator Light
Glass Ceramic
Cooktop
Door Latch And
Unlatch
Broil Element
Model and Serial
Number Location
Storage
Drawer
Oven Control
Hot Surface Indicator
Light
Oven Light
Switch
Oven Vent
Cooking Zone
Oven Door
Latch
Removable
Racks
Bake Element
Gasket
Removable
Oven Door
Broiler Pan
and Grid
8

OPERATION
RadiantCoo op Cooking
Before using your new radiant
cooktop, clean it with the Cooktop
Cleaning Creme®. This will leave a
protective coating.
The cooking zones are shown by the
outline on the glass. The sign below
,each control knob shows you which
radiant zone is turned on by that
knob O@
Cooking Zones 0
Use pans and woks that are flat on
the bottom. The size of the pan
should be the same size as the zone
used when cooking.
If you don't ' '
know if your _ _,cookware is
flat on the
bottom, try this test.Turn your pan
upside down on the countertop and
place the edge of a ruler flat against
the surface of the pan. Rotate the
ruler a full circle, checking as you turn
for any space between the two
surfaces. The bottom of the pan and
the edge of the ruler should fit flush
against each other all the way across.
Stainless SteeU: Highly recom-
mended for use with your new
cooktop. Especially good with a
sandwich clad bottom.
AOuminum: Heavyweight aluminum
cookware recommended.
Cas_ [iron: Cast iron cookware that
is completely covered with porcelain
enamel is recommended. Cast iron
that is not covered with porcelain
enamel may scratch the glass
ceramic surface of the cooktop,
Copper Bottom." Has good
performance, but it can leave a
residue on the cooktop surface.
Qllass.Ceramic or Stone.are:
Usable, but not recommended. It may
scratch the surface of the cooktop.
Size of
cooking
zone
Pans should be fiat on bottom.
9
 Loading...