


HNL21X6

IInnssttrruuccttiioonn BBooookk
®

IInnttrroodduuccttiioonn
. . . . . . . . . . . . . . . . . . . . . . . . . . . . . . . . . . . . 3
Delivery information . . . . . . . . . . . . . . . . . . . . . . . . . . . . . . . . . 3
Do’s and Don’ts . . . . . . . . . . . . . . . . . . . . . . . . . . . . . . . . . . . . . 3
UUnnppaacckkiinngg tthhee PPrroodduucctt
. . . . . . . . . . . . . . . . . . . . . . . . 4
IInnssttaallllaattiioonn
. . . . . . . . . . . . . . . . . . . . . . . . . . . . . . . . . . . . . 7
Choose a location . . . . . . . . . . . . . . . . . . . . . . . . . . . . . . . . . . . 7
Electricity supply. . . . . . . . . . . . . . . . . . . . . . . . . . . . . . . . . . . . 7
Water supply . . . . . . . . . . . . . . . . . . . . . . . . . . . . . . . . . . . . . . 8
Connecting to the cold water supply . . . . . . . . . . . . . . . . . . . . 8
Connection of the machine to the drain . . . . . . . . . . . . . . . . 10
Moving the machine into position . . . . . . . . . . . . . . . . . . . . . 11
Adjusting the feet . . . . . . . . . . . . . . . . . . . . . . . . . . . . . . . . . 11
TTeessttiinngg tthhee iinnssttaallllaattiioonn
. . . . . . . . . . . . . . . . . . . . . . 12
WWaasshhiinngg aaddvviiccee
. . . . . . . . . . . . . . . . . . . . . . . . . . . . . . . 13
Loading your washing machine . . . . . . . . . . . . . . . . . . . . . . . 13
Sorting the laundry. . . . . . . . . . . . . . . . . . . . . . . . . . . . . . . . . 14
TThhee DDiissppeennsseerr
. . . . . . . . . . . . . . . . . . . . . . . . . . . . . . . . 15
Detergent dosage. . . . . . . . . . . . . . . . . . . . . . . . . . . . . . . . . . 15
Dispensing instructions. . . . . . . . . . . . . . . . . . . . . . . . . . . . . . 16
TThhee CCoonnttrrooll PPaanneell
. . . . . . . . . . . . . . . . . . . . . . . . . . . . 17
Start/Pause . . . . . . . . . . . . . . . . . . . . . . . . . . . . . . . . . . . . . . . 17
WWaasshh OOppttiioonnss
. . . . . . . . . . . . . . . . . . . . . . . . . . . . . . . . 19
Automatic Features . . . . . . . . . . . . . . . . . . . . . . . . . . . . . . . . 20
PPrrooggrraammmmee SSeelleeccttoorr
. . . . . . . . . . . . . . . . . . . . . . . . . 21
Special Programmes . . . . . . . . . . . . . . . . . . . . . . . . . . . . . . . . 21
Daily Programmes. . . . . . . . . . . . . . . . . . . . . . . . . . . . . . . . . . 22
PPrrooggrraammmmee GGuuiiddee
. . . . . . . . . . . . . . . . . . . . . . . . . . . . 23
AA TTyyppiiccaall WWaasshh
. . . . . . . . . . . . . . . . . . . . . . . . . . . . . . . 24
Selecting the wash programme . . . . . . . . . . . . . . . . . . . . . . . 25
Starting the wash cycle. . . . . . . . . . . . . . . . . . . . . . . . . . . . . . 25
CClleeaanniinngg aanndd RRoouuttiinnee MMaaiinntteennaannccee
. . . . . . . . 26
TTrroouubblleesshhoooottiinngg
. . . . . . . . . . . . . . . . . . . . . . . . . . . . . . 28
Power Failure . . . . . . . . . . . . . . . . . . . . . . . . . . . . . . . . . . . . . 31
CCuussttoommeerr SSeerrvviiccee
. . . . . . . . . . . . . . . . . . . . . . . . . . . . . 32
YYoouurr GGuuaarraanntteeee
. . . . . . . . . . . . . . . . . . . . . . . . . . . . . . 33
Hoovercare . . . . . . . . . . . . . . . . . . . . . . . . . . . . . . . . . . . . . . . 33
2
CCoonntteennttss

IInnttrroodduuccttiioonn
PPlleeaassee rreeaadd aanndd ffoollllooww tthheessee iinnssttrruuccttiioonnss ccaarreeffuullllyy aanndd ooppeerraattee
tthhee mmaacchhiinnee aaccccoorrddiinnggllyy.. TThhiiss bbooookklleett pprroovviiddeess iimmppoorrttaanntt
gguuiiddeelliinneess ffoorr ssaaffee uussee,, iinnssttaallllaattiioonn,, mmaaiinntteennaannccee aanndd ssoommee
uusseeffuull aaddvviiccee ffoorr bbeesstt rreessuullttss wwhheenn uussiinngg yyoouurr mmaacchhiinnee..
Keep all documentation in a safe place for future reference or
for any future owners.
DDeelliivveerryy iinnffoorrmmaattiioonn
Please check that the following items are delivered with the
appliance:
● Instruction manual
● Guarantee card
● Blanking plug
● Inlet hose & bracket
● Base panel & x2 push clips
● Energy Label
DDoo’’ss
● All packaging materials used are environmentally-friendly
and recyclable. Please help dispose of the packaging via
environmentally-friendly means. Your local council will be
able to give you details of current means of disposal.
● To ensure safety when disposing of an old washing
machine disconnect the mains plug from the socket, cut
the mains power cable and destroy this together with the
plug. To prevent children shutting themselves in the
machine break the door hinges or the door lock.
● This machine is solely for domestic use, i.e. to wash, rinse
and spin dry household textiles and garments.
DDoonn’’ttss
●
DDoo nnoott ttoouucchh tthhee aapppplliiaannccee wwhheenn hhaannddss oorr ffeeeett aarree ddaammpp
oorr wweett..
●
DDoo nnoott lleeaann oonn tthhee ddoooorr wwhheenn llooaaddiinngg tthhee mmaacchhiinnee oorr
uussee tthhee ddoooorr ttoo lliifftt oorr mmoovvee tthhee mmaacchhiinnee..
●
DDoo nnoott uussee aaddaapptteerrss,, mmuullttiippllee ccoonnnneeccttoorrss aanndd oorr
eexxtteennssiioonnss..
●
DDoo nnoott aallllooww cchhiillddrreenn ttoo ppllaayy wwiitthh tthhee mmaacchhiinnee oorr iittss
ccoonnttrroollss..
●
DDoo nnoott ttrryy ttoo ooppeenn tthhee ddoooorr wwhheenn wwaatteerr iiss vviissiibbllee iinn tthhee
ddrruumm oorr tthhee ddoooorr lloocckkeedd iinnddiiccaattoorr iiss OONN..
3
CChheecckk tthhaatt nnoo ddaammaaggee
hhaass ooccccuurrrreedd ttoo tthhee
mmaacchhiinnee dduurriinngg ttrraannssiitt..
IIff iitt hhaass,, ccaallll ffoorr sseerrvviiccee
bbyy GGIIAASS..
CCaallll
0088770055 440000 660000
PPLLEEAASSEE NNOOTTEE
TThhiiss mmaacchhiinnee oonnllyy
rreeqquuiirreess aa ccoolldd wwaatteerr
ssuuppppllyy
IIff tthhee aapppplliiaannccee iiss nnoott
rruunnnniinngg pprrooppeerrllyy oorr
bbrreeaakkss ddoowwnn,, sswwiittcchh iitt
ooffff,, ddiissccoonnnneecctt tthhee pplluugg
ffrroomm tthhee ssoocckkeett,, ttuurrnn
ooffff tthhee wwaatteerr ssuuppppllyy aanndd
ddoo nnoott ttaammppeerr wwiitthh
tthhee aapppplliiaannccee..
CCoonnssuulltt GGIIAASS SSeerrvviiccee ffoorr
ppoossssiibbllee rreeppaaiirr..
CCaallll
0088770055 440000 660000
FFaaiilluurree ttoo ccoommppllyy wwiitthh
tthhee aabboovvee ccaann
ccoommpprroommiissee tthhee ssaaffeettyy
ooff tthhee aapppplliiaannccee.. YYoouu
mmaayy bbee cchhaarrggeedd ffoorr aa
sseerrvviiccee ccaallll iiff aa pprroobblleemm
wwiitthh yyoouurr mmaacchhiinnee iiss
ccaauusseedd bbyy mmiissuussee..
Remove the machine from its packaging close to the final
location of the machine.
11..
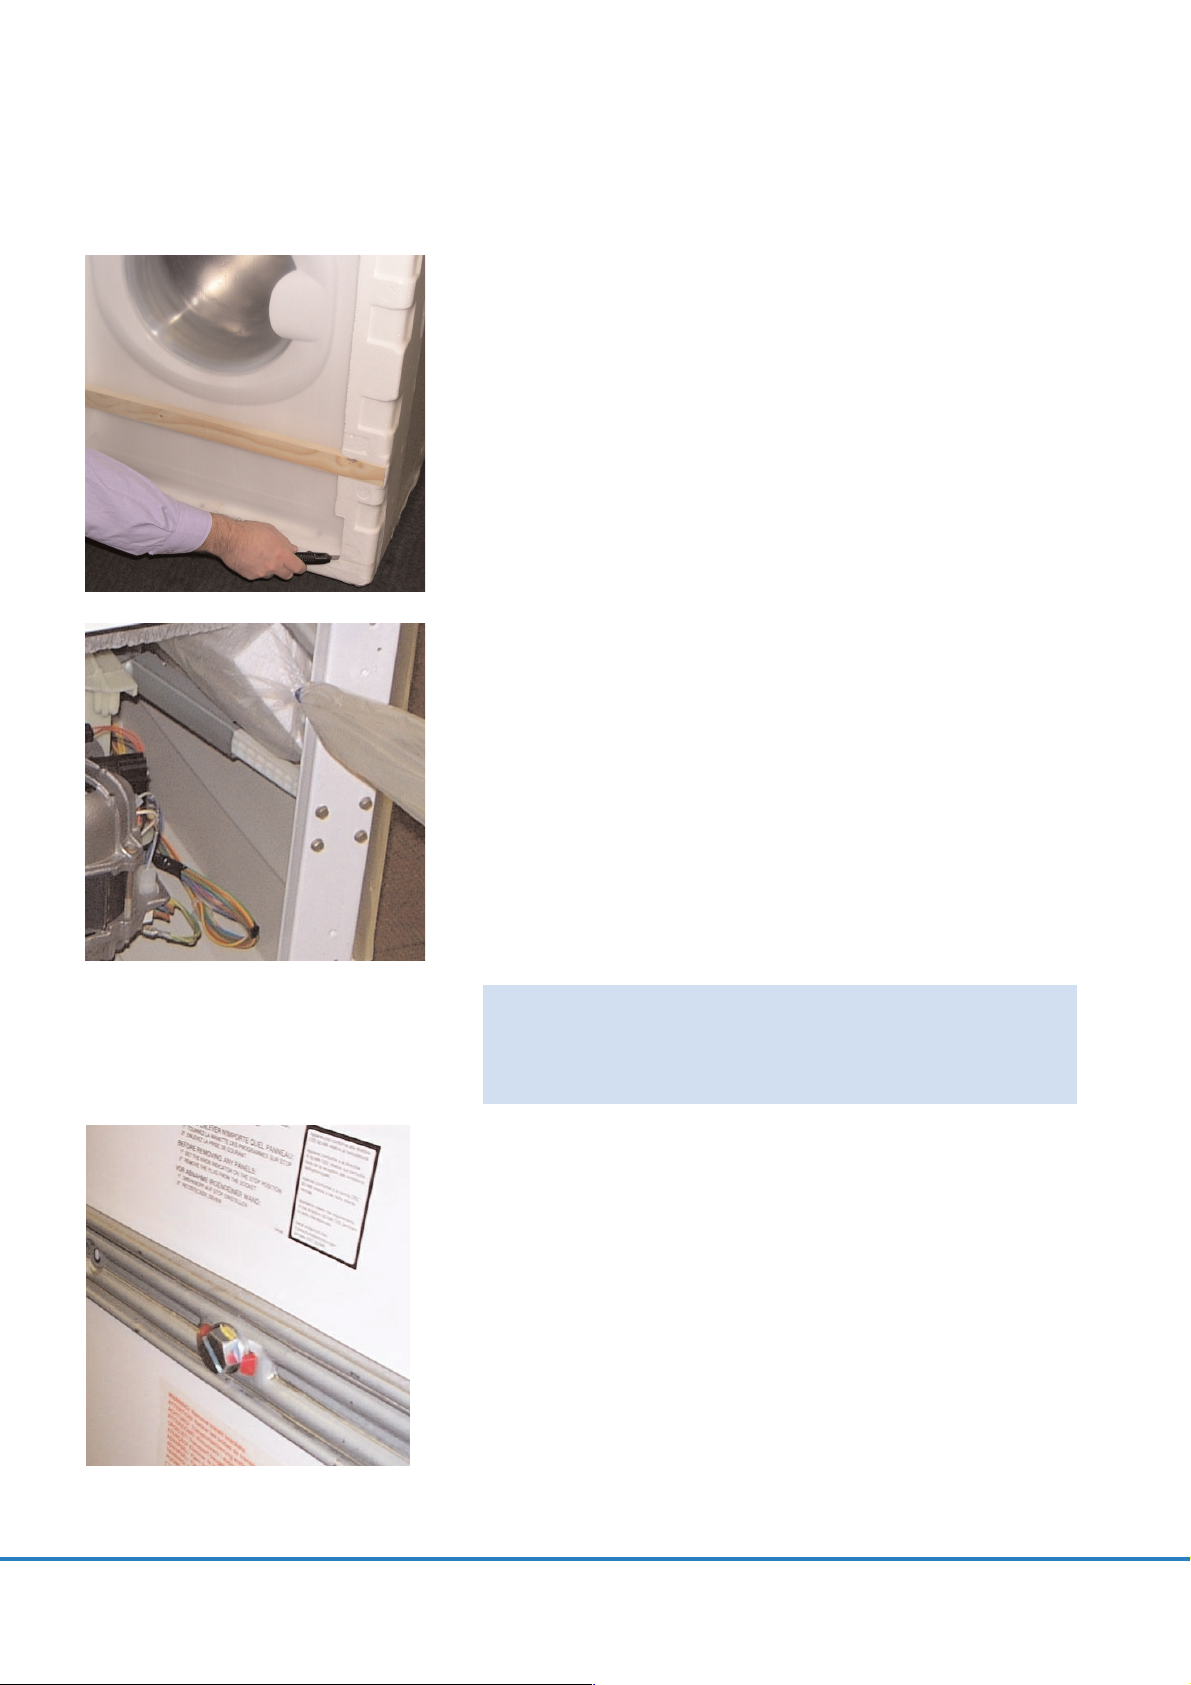
Cut carefully around the base of the packaging.
22
. Lay the machine on its back and remove the base and the
two polystyrene spacers on each side of the machine. We
recommend that a second person assist in the lifting and
manoeuvring of the machine.
33
. Return the machine to the upright position, remove the
remainder of the packaging and the central screw in the
transit bar.
4
UUnnppaacckkiinngg tthhee pprroodduucctt
DDiissppoossee ooff tthhee ppaacckkaaggiinngg ssaaffeellyy.. MMaakkee ssuurree iitt
iiss oouutt ooff tthhee rreeaacchh ooff cchhiillddrreenn,, iitt iiss aa
ppootteennttiiaall ssoouurrccee ooff ddaannggeerr..
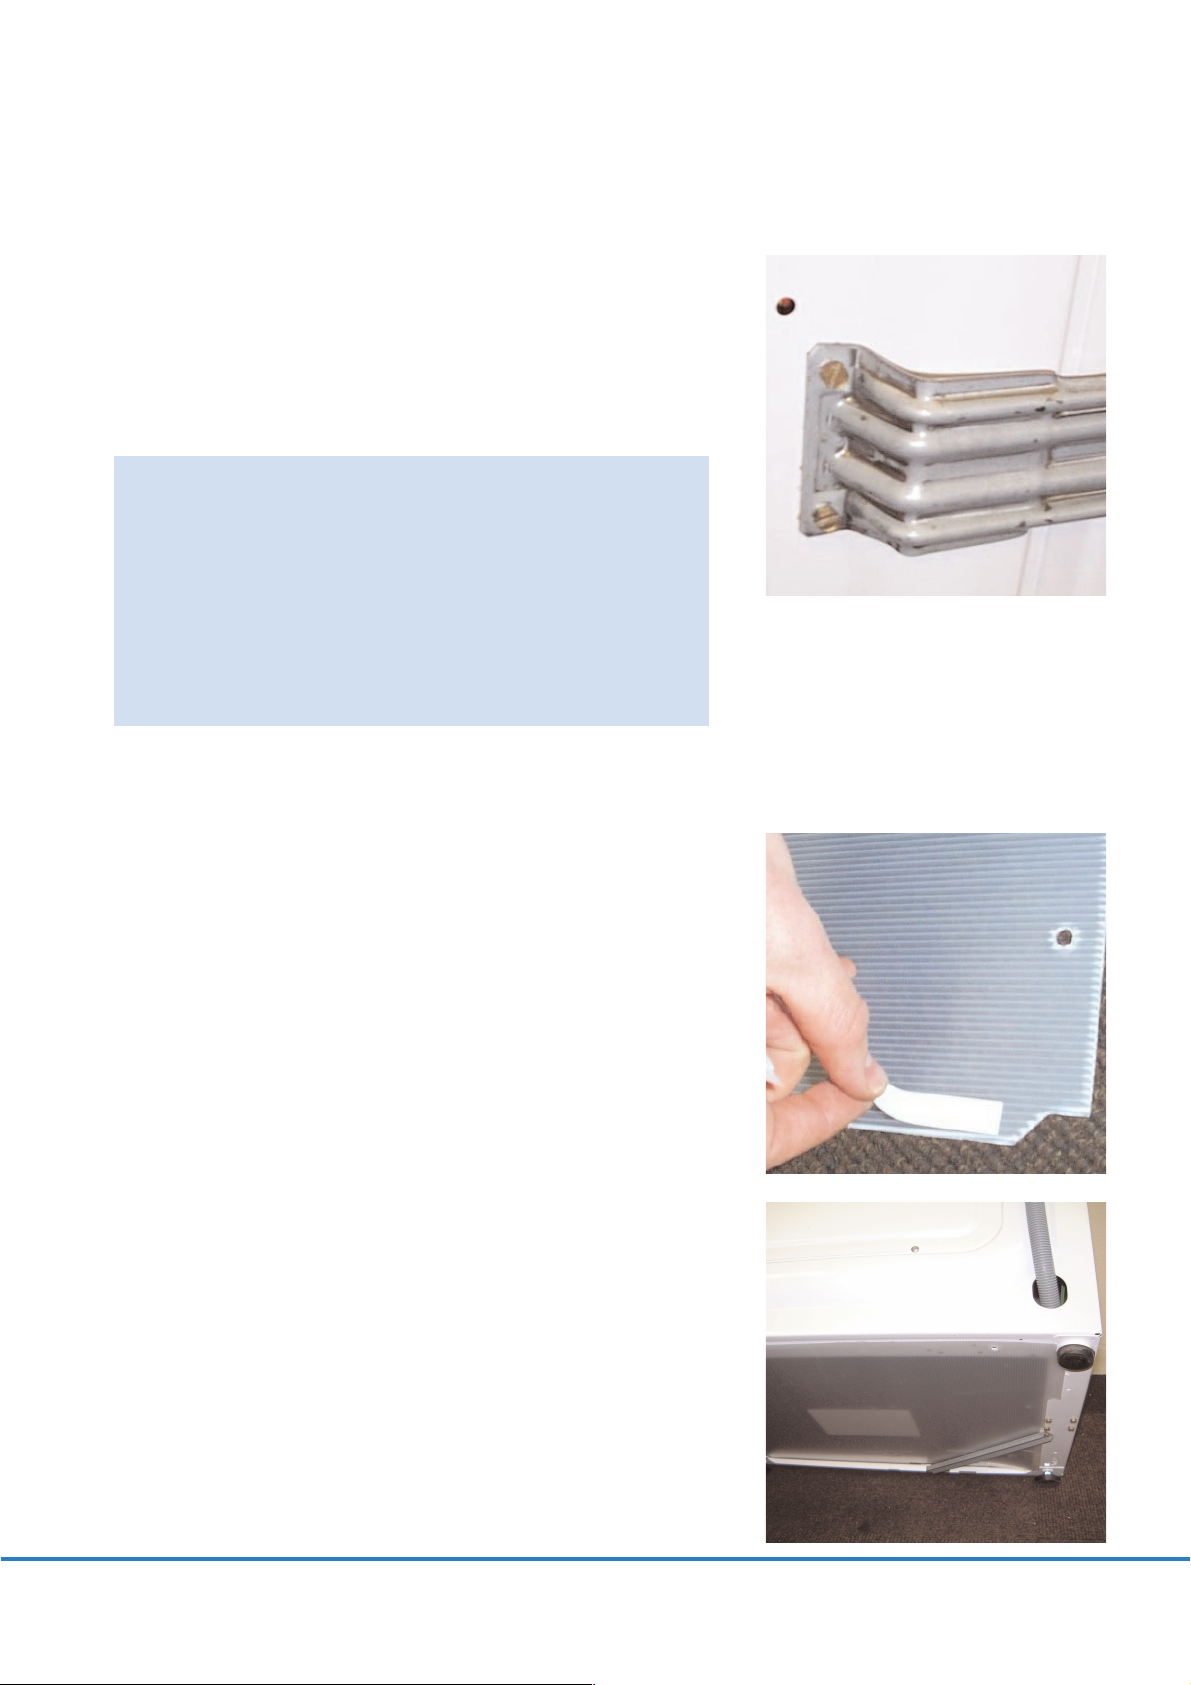
44..
Remove the four retaining screws in the transit bar and
pull out the transit bracket.
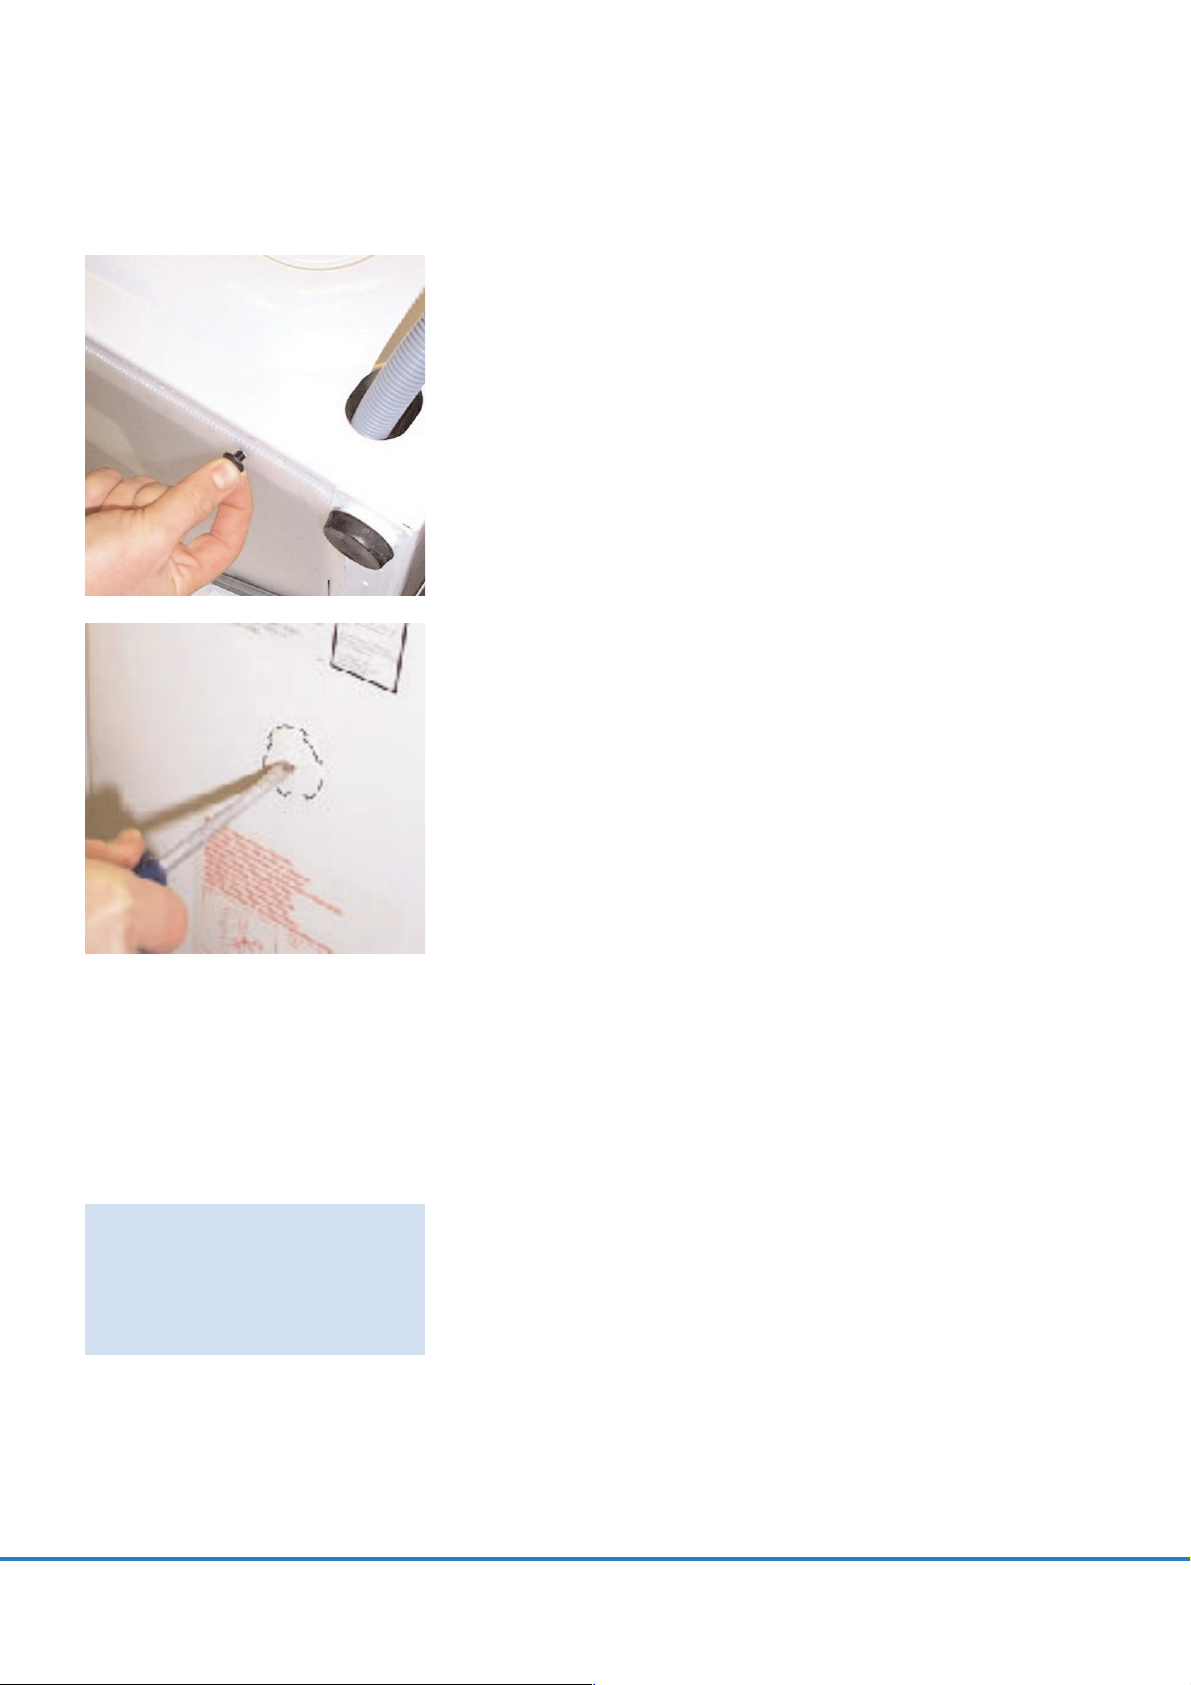
55..
Take the base panel provided and fit the two self
adhesive strips by removing the backing paper on one
side and locating the strips on each side of the base
panel.
66..
Tilt the machine forward and locate the base panel under
the front of the machine. Remove the remaining backing
paper from the self-adhesive strips and offer up the base
panel to the bottom of the cabinet.
5
WWee rreeccoommmmeenndd yyoouu kkeeeepp tthhee ttrraannssiitt bbrraacckkeett
aanndd ssccrreewwss ttoo pprrootteecctt tthhee mmaacchhiinnee ffoorr ffuuttuurree
ttrraannssiitt..
TThhee mmaannuuffaaccttuurreerrss wwiillll nnoott bbee rreessppoonnssiibbllee ffoorr
aannyy ddaammaaggee ttoo tthhee mmaacchhiinnee ccaauusseedd bbyy nnoott
ffoolllloowwiinngg tthhee iinnssttrruuccttiioonnss rreellaattiinngg ttoo
rreelleeaassiinngg tthhee ttrraannssiitt pprrootteeccttiioonn.. TThhee uusseerr iiss
rreessppoonnssiibbllee ffoorr aallll iinnssttaallllaattiioonn ccoossttss..
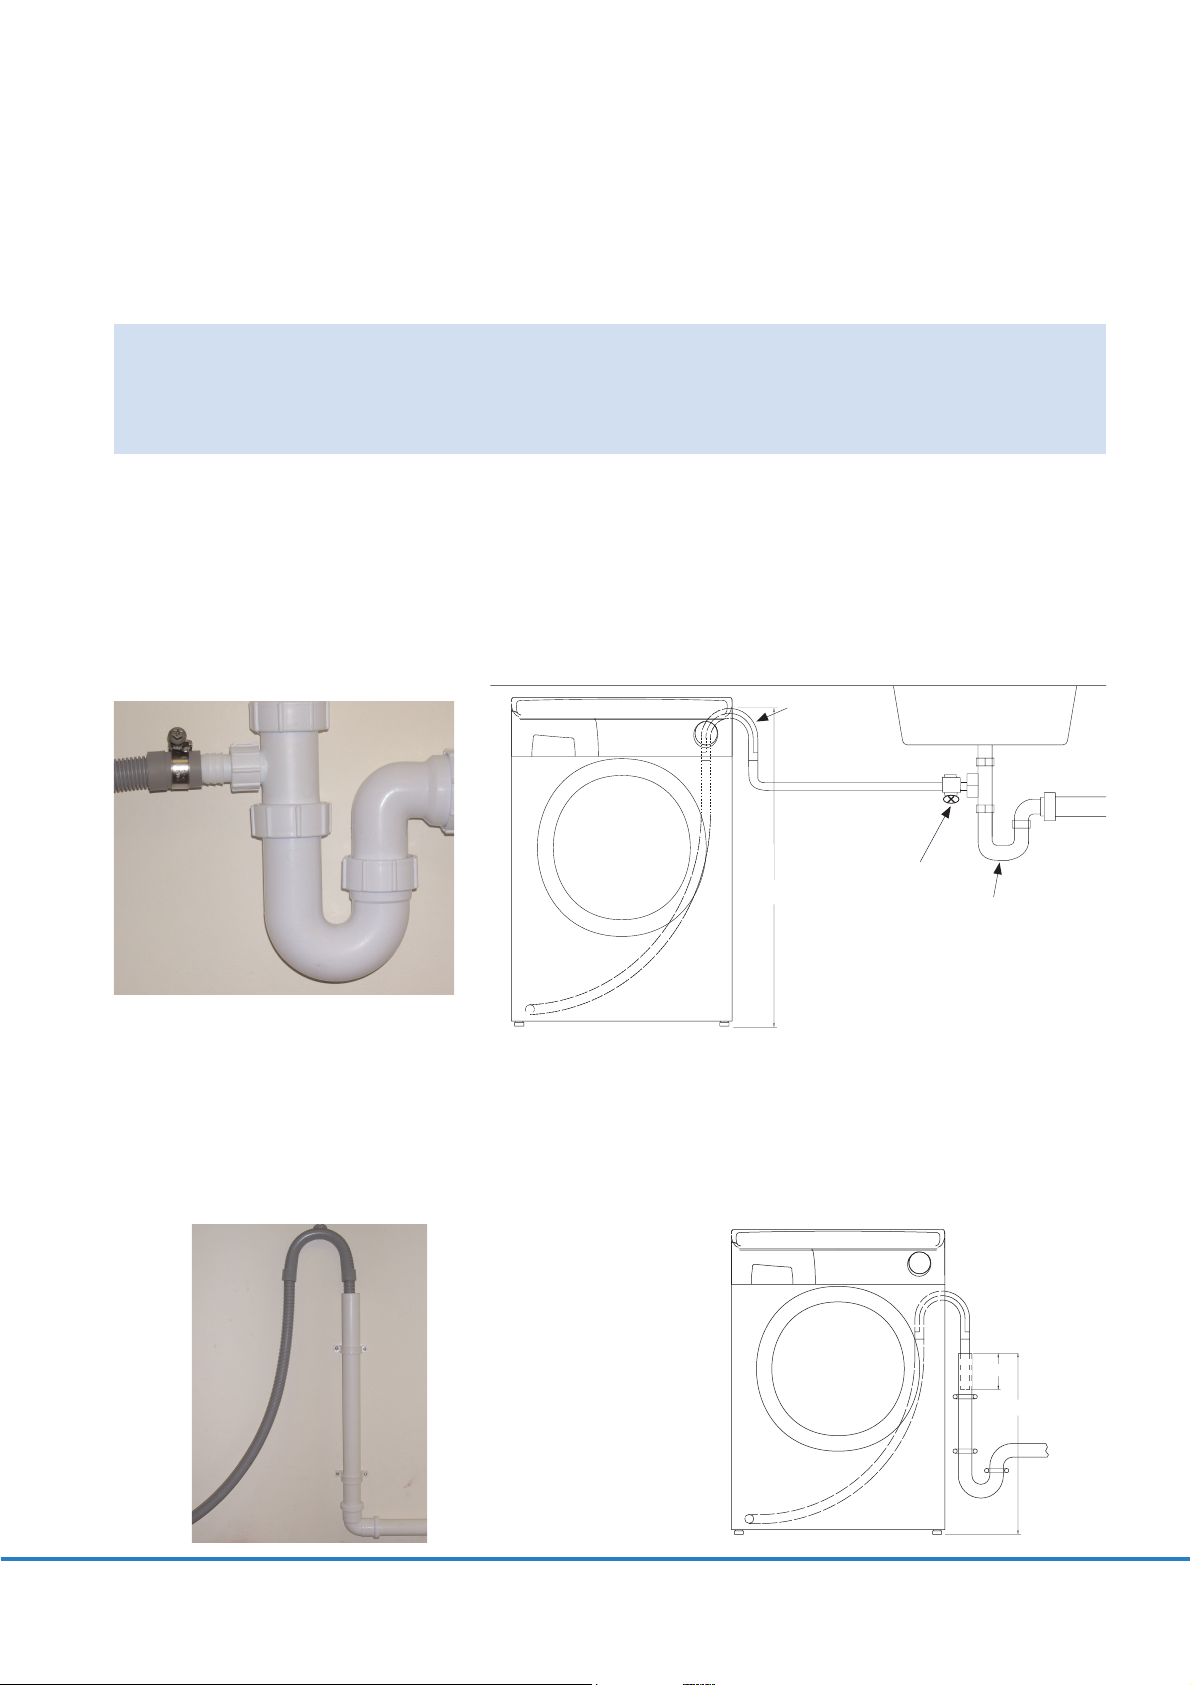
77..
Take the two plastic fixing clips and fix the base panel to
the base of the machine. Bring the machine back to the
upright position.
88..
Cover the central hole in the rear of the machine with the
cap enclosed in the instruction bag.
CChhoooossee aa llooccaattiioonn
● After the machine has been installed, ensure that the
mains plug and water supply valves are easily accessible.
● Make sure there is enough space for the machine. Select a
space at least 600mm wide and 850mm high. Also leave
enough space to open the door fully so you can load and
unload it easily.
● Keep the area underneath and around the machine free
of combustible materials such as lint, paper, rags,
chemicals etc.
6
IInnssttaallllaattiioonn
DDoo nnoott pplluugg tthhee
mmaacchhiinnee iinn aanndd sswwiittcchh iitt
oonn aatt tthhee mmaaiinnss uunnttiill tthhee
iinnssttaallllaattiioonn iiss ccoommpplleetteedd..

EElleeccttrriicciittyy ssuuppppllyy
Washing machines are supplied to operate at a voltage of
230-240V, 50 Hz single phase. Check that the supply circuit is
rated to at least 13A.
The plug is already equipped with a 13A fuse which is BS 1362
ASTA approved. Any replacement must be the same rating and
specification.
IIff tthhee ffuussee ccoovveerr iiss lloosstt,, ddoo nnoott uussee tthhee pplluugg uunnttiill
iitt iiss rreeppllaacceedd..
EElleeccttrriicciittyy ccaann bbee eexxttrreemmeellyy ddaannggeerroouuss..
TThhiiss wwaasshhiinngg mmaacchhiinnee mmuusstt bbee eeaarrtthheedd..
TThhee ssoocckkeett oouuttlleett aanndd tthhee pplluugg oonn tthhee aapppplliiaannccee mmuusstt bbee ooff
tthhee ssaammee ttyyppee..
DDoo nnoott uussee mmuullttiippllee aaddaapptteerrss aanndd//oorr eexxtteennssiioonn lleeaaddss..
The wires in the mains lead are coloured in accordance with
the following codes:
BBlluuee NNEEUUTTRRAALL
BBrroowwnn LLIIVVEE
GGrreeeenn aanndd YYeellllooww EEAARRTTHH
CE Appliance complies with European Directive 89/336/EEC,
73/23/EEC and subsequent amendments.
WWaatteerr ssuuppppllyy
● The cold water pressure should be between 0.5 and 8 bar
(0.05-0.8 Mpa).
●
DDoo nnoott ccoonnnneecctt tthhee mmaacchhiinnee ttoo aa ssiinnggllee oouuttlleett
iinnssttaannttaanneeoouuss wwaatteerr hheeaatteerr..
● The water supply tap should be accessible when the
machine is installed.
● Before connecting the fill hose, check that the water is
running from the water supply tap to be used.
7
YYoouu mmaayy bbee cchhaarrggeedd ffoorr
aa sseerrvviiccee ccaallll iiff aa
pprroobblleemm wwiitthh yyoouurr
mmaacchhiinnee iiss ccaauusseedd bbyy
iinnccoorrrreecctt iinnssttaallllaattiioonn..
IIff tthhee mmaaiinnss ccoorrdd oonn tthhiiss
aapppplliiaannccee iiss ddaammaaggeedd,, iitt
mmuusstt bbee rreeppllaacceedd bbyy aa
ssppeecciiaall ccoorrdd wwhhiicchh iiss
OONNLLYY oobbttaaiinnaabbllee ffrroomm
tthhee HHoooovveerr ssppaarreess
sseerrvviiccee.. IItt mmuusstt bbee
iinnssttaalllleedd bbyy aa ccoommppeetteenntt
ppeerrssoonn..
CCaallll GGIIAASS
0011220044 555566111111

CCoonnnneeccttiinngg ttoo tthhee ccoolldd wwaatteerr
ssuuppppllyy
Only one hose is required to install this machine to a cold
water supply.
Cold fill is an energy efficient system. Only the water required
to wash the laundry is heated. There is no loss of heat in the
pipeline from the hot water tank or the boiler.
If your previous machine installation was hot and cold fill
ensure that the hot tap is firmly closed to prevent leakage.
This machine has an inlet hose with a 19mm (3/4") threaded
ferrule fitted to the end, to attach between the threaded
connector on the appliance and the water supply.
Only use the new hose supplied to connect the machine and
ensure that the sealing washers are in place inside the hose
connectors.
DDoo nnoott rree--uussee oolldd hhoosseess wwhhiicchh aarree aattttaacchheedd ttoo eexxiissttiinngg
iinnssttaallllaattiioonnss..
DDoo nnoott oovveerr--ttiigghhtteenn tthhee ccoonnnneeccttiioonnss.. HHaanndd ttiigghhtt iiss ssuuffffiicciieenntt..
DDoo nnoott ttrraapp oorr kkiinnkk tthhee hhoossee..
11..
Connect the elbow end of the hose provided to the
threaded inlet on the back of the machine.
GGrreeyy ppiippee ttoo tthhee wwhhiittee tthhrreeaaddeedd iinnlleett oonn tthhee mmaacchhiinnee..
22..
Hand tighten the connector.
33..
Connect the straight ends of the pipes to the water
supply;
eennssuurree tthhaatt tthheerree aarree nnoo kkiinnkkss
.
44.. TTuurrnn oonn tthhee wwaatteerr ssuuppppllyy aanndd cchheecckk ffoorr lleeaakkss..
If there is a
leak, turn off the water supply, disconnect the hose and
check the sealing washers are in place. Refit the hose and
turn on the water supply.
8
TThhiiss AApppplliiaannccee
mmuusstt bbee
ccoonnnneecctteedd ttoo aa
CCOOLLDD WWAATTEERR
ssuuppppllyy oonnllyy..
CCoonnnneeccttiioonn ooff tthhee mmaacchhiinnee ttoo tthhee ddrraaiinn
This machine must be connected in accordance with the water supply regulations. Water byelaws
prohibit connection to a surface water drain.
Decide which plumbing option suits you best then follow the instructions below.
OOppttiioonn 11
WWaassttee ppiippee ccoonnnneeccttiioonn ((wwaassttee ttrraapp))
Fit the hooked end support to the outlet pipe. Position at least 800mm off the floor.
After removing the blanking plug or cutting the membrane from the waste system securely fix the outlet
pipe to the drainage system, using a hose clip.
Secure the hooked end support up to at least 800mm to avoid water being drawn back into the
machine.
OOppttiioonn 22
IInnttoo aa ssttaannddppiippee
Ensure that the standpipe is not located near an electrical socket.
Fit the hooked end support to the outlet pipe. Install the hose into the standpipe ensuring that the pipe
is at least 500mm from the floor.
Insert the outlet pipe approximately 100mm into the standpipe.
9
AAllll mmaacchhiinneess aarree tteesstteedd wwiitthh wwaatteerr pprriioorr ttoo lleeaavviinngg tthhee ffaaccttoorryy ssoo aa ssmmaallll
aammoouunntt ooff wwaatteerr mmaayy rreemmaaiinn iinn tthhee ddrruumm aanndd ddrraaiinn hhoossee..
FFllooooddiinngg ccoouulldd ooccccuurr iiff aannyy ppaarrtt ooff tthhee iinnssttaallllaattiioonn iiss nnoott ccoommpplleetteedd ccoorrrreeccttllyy..
100 mm
500 mm min
800 mm
hooked end support
flexible
discharge hose
sink
hose clip
trap with hose
adaptor
MMoovviinngg tthhee mmaacchhiinnee iinnttoo
ppoossiittiioonn
Your machine is heavy so care must be taken when moving it.
We recommend that two people move the machine to avoid
strain and possible injury.
● Take care not to damage flooring when moving the
machine.
● When moving the machine to its final position take care
not to kink or damage the hose at the back of the
machine.
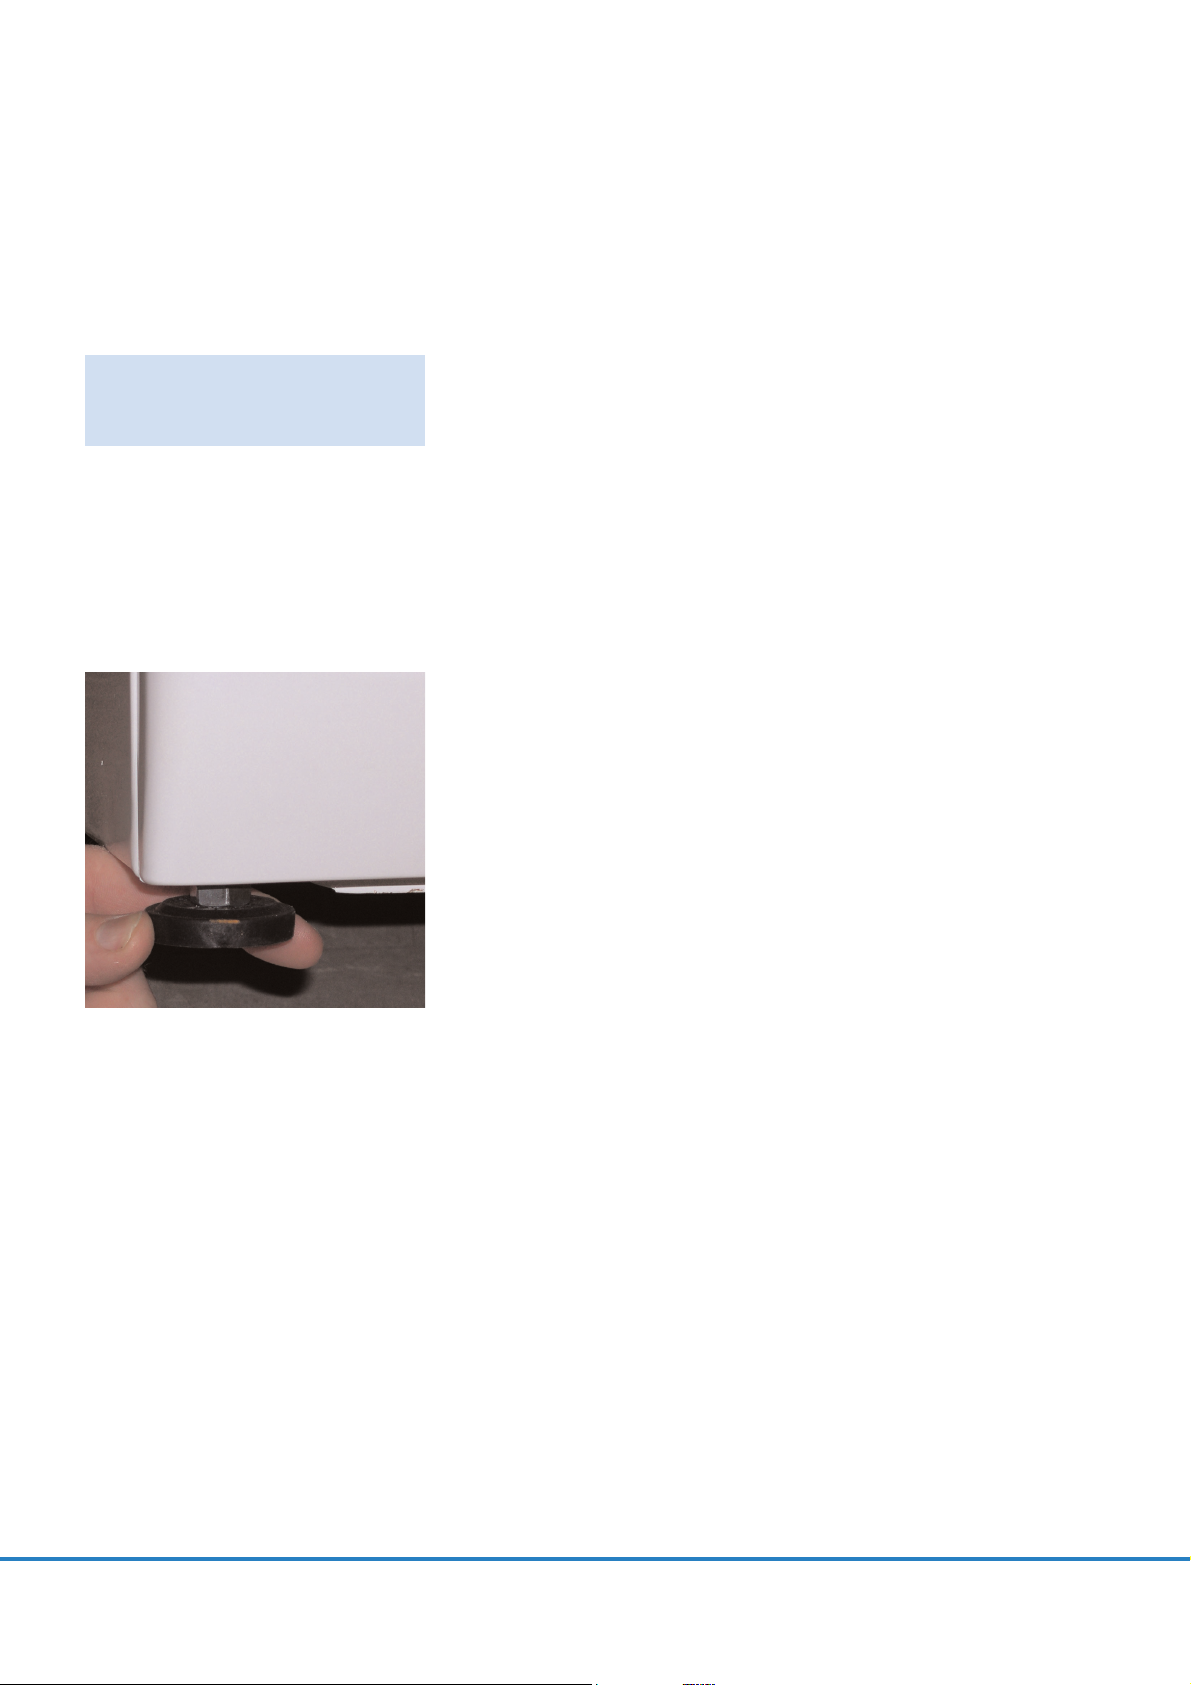
AAddjjuussttiinngg tthhee ffeeeett
Once the machine is in place the feet should be adjusted to
ensure that the machine is level. If it the machine is not level it
may become noisy or move.
Adjust the feet on the front corners of the machine until the
machine is firm and level.
When the machine is firm and level, tighten the locking nuts
on the two feet.
10
DDoo nnoott ddrraagg oorr lliifftt tthhee
mmaacchhiinnee bbyy iittss ddoooorr..
 Loading...