


PXCF22RBS
ge.com
GE Profile
™
Tri-Temperature
Water Dispenser
215C1002P042 49-50245 03-08 JR
Safety Instructions . . . . . . . . . . . . . . . . . . .2, 3
Using the Water Dispenser
Child Safeguard . . . . . . . . . . . . . . . . . . . . . .4
Cold Water and Compartment
Features and Parts List . . . . . . . . . . . . . . . . .4
Loading the Dispenser . . . . . . . . . . . . . . . . .4
Specifications . . . . . . . . . . . . . . . . . . . . . . . .8
Care and Cleaning . . . . . . . . . . . . . . . . . .5–8
Troubleshooting Tips . . . . . . . . . . . . . . . .8, 9
Consumer Support
Consumer Support . . . . . . . . . . .Back Cover
Warranty . . . . . . . . . . . . . . . . . . . .Back Cover
Français
Informations en matière
de sécurité
. . . . . . . . . . . . . . . . . . . . . . .10, 11
Utilisation du distributeur d’eau
Caractéristiques et liste de pièces . . . . . . .12
Caractéristiques techniques . . . . . . . . . . .16
Chargement du distributeur . . . . . . . . . . .12
Sauvegarde pour la protection
des enfants . . . . . . . . . . . . . . . . . . . . . . . . .12
Entretien et nettoyage . . . . . . . . . . . . .13–16
Conseils de dépannage . . . . . . . . . . . . .16, 17
Soutien au consommateur
Garantie . . . . . . . . . . . . . . . . . . . . . . . . . . .18
Soutien au consommateur . . . . . . . . . . . . .18
Español
Información de seguridad . . . . . . . . . .19, 20
Cómo utilizar el dispensador de agua
Cómo cargar el dispensador . . . . . . . . . . .21
Especificaciones . . . . . . . . . . . . . . . . . . . . .25
Lista de partes y características . . . . . . . . .21
Seguro contra niños . . . . . . . . . . . . . . . . . .22
Cuidado y limpieza . . . . . . . . . . . . . . . .22–25
Solucionar problemas . . . . . . . . . . . . . .25, 26
Apoyo al consumidor
Garantía . . . . . . . . . . . . . . . . . . . . . . . . . . . .27
Apoyo al consumidor . . . . . . . . . . . . . . . . .27
GXCF25FBS Chiller Model
GXCF25HBS* Chiller Model
PXCR33KSS* Chiller Model
PXCF22RBS* Storage Model
Owner’s Manual
La section française commence à la page 10
La sección en español empieza en la página 19
Distributeur d’eau de GE Profile
™
à trois températures
Dispensador de agua de
GE Profile
™
de tres temperaturas
Manuel d’utilisation
Manual del propietario
As an ENERGY STAR
®
partner, GE
has determined that this product
meets the E
NERGY STAR
®
guidelines
for energy efficiency.
*ENERGY STAR
®
qualified product.
2
IMPORTANT SAFETY INFORMATION.
READ ALL INSTRUCTIONS BEFORE USING.
PROPER INSTALLATION AND LOCATION
■
■ Allow at least 1″ (2.5 cm) of space between the
back of the water dispenser and the wall to allow
for proper air circulation.
■
■ Do not install the water dispenser where
the temperature will go below 50°F (10°C) or
above 100°F (38°C).
■
■ Install the water dispenser on a level floor strong
enough to support it when fully loaded. Do not
install where it will be subject to direct sunlight,
heat or moisture.
■
■ Stainless steel panels (on some models) are covered
with protective film. Remove the film before
operating the product.
WARNING!
Use this appliance only for its intended purpose as described in this Owner’s Manual.
SAFETY PRECAUTIONS
When using electrical appliances, basic safety precautions should be followed, including the following:
■
■ This water dispenser must be properly installed
and located in accordance with these instructions
before it is used.
■
■ Do not allow children to climb, stand or hang
on the outside of the dispenser, or on the shelves
inside the storage cabinet (on some models).
They could tip the dispenser over and damage
it and seriously injure themselves.
■
■ Do not store or use gasoline or other flammable
vapors and liquids in the vicinity of this or any
other appliance.
■
■ Unplug the water dispenser before cleaning
or making repairs.
NOTE: GE does not support any servicing of the
dispenser. We strongly recommend that you do not
attempt to service the dispenser yourself.
■
■ Do not use this dispenser to dispense anything
other than water.
■
■ Do not plug in the power cord or turn on the power
switches when the water dispenser is empty.
■
■ Wipe up any water spills immediately after loading
or unloading water bottles.
■
■ Children should be supervised by a parent when
using this product.
■
■
WARNING:
Do not use with water that
is microbiologically unsafe or of unknown quality.
■
■
CAUTION:
The dispenser heats water
to a temperature of approximately 194°F (90°C).
Water temperatures above 125°F (52°C) can cause
severe burns or death from scalding. Children,
the disabled and the elderly are at highest risk
of being scalded.
■
■
NOTICE:
This product is intended solely
for use in chilling canned and boxed beverages,
and packaged nonperishables.
3
GROUNDING INSTRUCTIONS
This appliance must be grounded. In the event of an
electrical short circuit, grounding reduces the risk of
electric shock.
This appliance is equipped with a power cord having a
grounding wire with a grounding plug. The plug must
be plugged into an outlet that is properly installed and
grounded.
Consult a qualified electrician if the grounding
instructions are not completely understood, or if doubt
exists as to whether the appliance is properly
grounded.
If the outlet is a standard 2-prong wall outlet, it is
your personal responsibility and obligation to have
it replaced with a properly grounded 3-prong
wall outlet.
Do not under any circumstances cut or remove
the third (ground) prong from the power cord.
Do not use an adapter plug with this appliance.
Do not use an extension cord with this appliance.
If the power cord is too short, have a qualified
electrician install an outlet near the appliance.
For best operation, plug the appliance into its own
electrical outlet on a dedicated circuit to prevent
flickering of lights, blowing of fuse or tripping
of circuit breaker.
WARNING: Improper use of the grounding plug can result in a risk of electric shock.
PROPER DISPOSAL OF THE WATER DISPENSER
Refrigerant Disposal
Your old water dispenser may have used a regulated
refrigerant in its cooling system. These refrigerants
are believed to harm stratospheric ozone. If you
are throwing away your old dispenser, make sure
the refrigerant is removed and recovered for proper
disposal by an EPA-certified technician. If you
intentionally release this refrigerant, you can be subject
to fines and imprisonment under provisions of
environmental legislation.
READ AND FOLLOW THIS SAFETY INFORMATION CAREFULLY.
SAVE THESE INSTRUCTIONS

Sanitize the dispenser water tanks prior to
installing a full bottle of water for the first time (see
“Cleaning and Sanitizing the Water Tanks”).
IMPORTANT: Make sure the dispenser is unplugged
with both the hot and cold power switches (on the
back of the dispenser on models so equipped) set to
the O (off) position. Before placing the water bottle
on the dispenser, wash hands and wipe the top of
the bottle with a clean cloth. Avoid touching the part
of the bottle that will be in contact with the water
dispenser.
Make sure the water level in the top of the
dispenser is low enough to allow for proper
bottle installation. Failure to do so may cause
the dispenser to overflow.
1.
Peel the label from the top cover of the
bottle (if present). Do
not
remove the
entire bottle cap.
2.
Place the bottle on top of the dispenser as
shown, aligning the dispensing valve probe
to the center of the water bottle cap. Press
down until the probe penetrates the bottle
cap, allowing the bottle to rest on the
support collar.
3.
IMPORTANT: Press both dispense buttons until
water runs from both taps.
4. Plug in the dispenser.
5. Set the COLD and HOT power switches
(located on the top left rear of the dispenser
on models so equipped) to the
I (on)
position.
6. Allow 30 minutes for water to reach hot
and cold temperatures.
Contact a local water bottle distributor to purchase
water bottles.
Loading the Dispenser and Start Up
4
Using the water dispenser.
Bottle Support Collar—Black (WS28X10048)
Separator (WS28X10013)
Cold Water Tank
Hot (Red) and Cold (Blue) Power Switch (back of dispenser on equipped
models).
The Cold (Blue) power switch also turns on the chiller
compartment, on equipped models.
Indicator Lights.
The power indicator light will be lit when the dispenser is
plugged in. The hot and cold indicator lights will cycle on and off while
the dispenser heats and cools the water. Compressor start may be delayed
up to 3 minutes on certain models.
Hot , Room Temperature , Cold Water Dispenser Buttons
Dispenser Drip Tray (WS28X10031) and Grille (WS28X10032)
Compartment Drip Tray (WS29X10029) on models GXCF25FBS, GXCF25HBS and
PXCR33KSS only
Chiller Compartment on models GXCF25FBS, GXCF25HBS and PXCR33KSS only.
The compartment is intended solely for use in chilling canned and boxed
beverages and packaged nonperishables.
Storage Compartment on model PXCF22RBS.
Do not use to store foods
requiring refrigeration. The compartment is not refrigerated.
Compartment Shelf (WS28X10028)
Drainage Cap (WS01X10008)
Silicon Stopper (WS01X10007)
Features and Parts List
The HOT dispenser button is equipped with
a child safeguard that reduces the risk of hot
water being dispensed accidentally or by small
children. To dispense water, rotate the knob
counterclockwise and push the button in.
The knob will reset automatically when
the button is released.
The dispenser heats water to a temperature of
approximately 190°F (88°C). Water temperatures
above 125°F (52°C) can cause severe burns or death
from scalding. Children, the disabled and the
elderly are at highest risk of being scalded.
CAUTION:
Children should be supervised
by a parent when using this product.
Child Safeguard
Child
safeguard

Care and cleaning of the dispenser.
IMPORTANT: Set both power switches (on the back
of the dispenser, if equipped) in the O (off) position
and unplug the water dispenser before cleaning.
The cabinet and compartment of the dispenser
can be washed with mild soap
and water. Rinse thoroughly with clear water.
Never use commercial cleaners or abrasive
scouring powders.
Sweep away or vacuum any dust from
the condenser coils on the back of the unit.
For best results, use a brush specially designed
for this purpose. It is available at most appliance
stores.
Cleaning the Outside Cabinet and Storage/Chiller Compartment
The dispenser drip tray is not self-draining.
To reduce water spotting or deposits, the tray
and its grille should be emptied, cleaned
and wiped dry regularly.
Clean with mild soap or on the top rack in
the dishwasher.
Cleaning the Drip Tray and Grille
Drip
tray
Drip
tray
grille
5
Cleaning the Inside of the Chiller Compartment
To help prevent odors,
leave an open box of
baking soda in the chiller compartment.
Unplug the dispenser before cleaning.
Use warm water and baking soda solution—
about a tablespoon (15 ml) of baking soda
to a quart (1 liter) of water. This both cleans and
neutralizes odors. Rinse and wipe dry.
Clean other parts of the chiller compartment—
including door gaskets and all plastic parts—the
same way.
Stainless Steel Surfaces
(on some models)
Do not use a steel wool pad; it will scratch the
surface.
To clean the stainless steel surface, use warm
sudsy water or a stainless steel cleaner or polish.
Always wipe the surface in the direction of the
grain. Follow the cleaner instructions for
cleaning the stainless steel surface.
To inquire about purchasing stainless steel
appliance cleaner or polish, or to find the
location of a dealer nearest you, please call
our toll-free number:
National Parts Center 800.626.2002
In Canada, call 800.663.6060
ge.com
(GXCF25FBS, GXCF25HBS and PXCR33KSS)

6
The dispenser should be drained before cleaning the tanks and before leaving for long vacations or absences.
Draining the Dispenser
Drain
outlet cap
(rear of dispenser)
1. Set both power switches (on the back of the dispenser,
if equipped) in the
O (off)
position and unplug the dispenser.
2. Remove the water bottle from the dispenser.
3. Put a container that will withstand hot water under the hot water
tap. Press the hot dispenser button until the water is
cool (about 1 quart). Add water to the cold water reservoir
(on top where the bottle supplies water) as needed.
4. Dispense water from both buttons into container(s) until
no more water can be dispensed (about 1 quart of water
still remains in the dispenser).
5. Place a large bucket beneath the drain outlet on the rear
of the dispenser.
6. Using a Phillips screwdriver, loosen the screws on the bracket
covering the drain outlet cap. Rotate the bracket out of
the way to allow access to the cap.
7. Remove the cap and silicon stopper from the drain outlet
and and allow water to drain. After draining,
replace the stopper
and cap.
8. Rotate the bracket back into place and tighten screws.
Make sure to install a full bottle and dispense water from the
hot water tap before plugging in and turning on the dispenser
(see
Loading the Dispenser
).
Care and cleaning of the dispenser.

7
1. Before cleaning, set both power switches
(on the back of the dispenser, if equipped)
in the
O (off)
position and
unplug the water
dispenser
.
NOTE:
For first time installation, skip
steps 2–4.
2. Empty the water bottle, then remove it from
the dispenser.
3. Drain the water tanks (see
Draining the Dispenser
).
4.
Reinstall the silicon stopper and drain cap
(see
Draining the Dispenser
).
5.
DO NOT ADD BLEACH FIRST OR DIRECTLY TO THE
DISPENSER. Concentrated bleach may damage plastic.
Add 1/2 teaspoon (2.5 ml) of ordinary 6.0% maximum
household bleach to a 2 quart (2 liter) pitcher filled
with tap water.
6. Pour the solution in the opening at the top of
the dispenser.
7. Repeat steps 5 and 6 until the dispenser is full.
8. Press the hot and cold dispenser buttons until
the water just begins to flow from the taps.
9. Allow to sit for 15–20 minutes.
10.
Rinse out the bleach solution:
— Drain the water tanks into a large bucket
(see
Draining the Dispenser
).
— Make sure that the silicon stopper is
NOT
installed.
—
IMPORTANT: Remove the separator and wipe out the
cold water reservoir
(see
Cleaning the Separator
).
— Clean, then reinstall the separator and collar
(see
Cleaning the Separator
).
— Pour approximately 1 gallon (4 quarts or 4 liters)
of fresh tap water into the top and allow to drain
into the bucket.
— Flush with an additional 1 gallon (4 quarts or
4 liters) of fresh tap water and allow to drain
into the bucket.
11.
Reinstall the silicon stopper and drain cap
(see
Draining the Dispenser
).
12. Install a fresh water bottle (see
Loading the Dispenser
).
13.
Dispense 1 quart (1 liter) of water from each tap
and taste
to make sure the bleach solution is completely
removed.
If you continue to taste the chlorine from the bleach solution,
repeat steps 10–13 until the taste is gone.
14. Plug in the dispenser. Then turn on the hot
and cold power switches (on the back of the
dispenser, if equipped).
Sanitizing and Cleaning the Water Tanks
IMPORTANT: Set both power switches
(on the back of the dispenser, if equipped)
in the O (off) position and unplug the water
dispenser before cleaning.
1. Remove the water bottle and drain the
dispenser (see
Draining the Dispenser
).
2.
Remove the support collar by turning
counterclockwise and pulling straight off.
3. Remove the plastic separator by pulling
straight out (you may need
to twist slightly to loosen).
4. Clean the separator with dish soap
and water or in the top rack of
the dishwasher.
5. Dry the separator thoroughly on
both sides.
6. Using a clean cloth or paper towel,
thoroughly dry the cold water reservoir.
7. Place the separator back in the
dispenser. Make sure the long, tapered
end of the separator is positioned firmly
on the metal plug on the bottom of the
reservoir.
8. Replace the support collar and turn
clockwise until it is firmly in place.
9. Install a full water bottle on the
dispenser (see
Loading the Dispenser
).
Cleaning the Separator
Separator
Support collar
To remove
To replace
IMPORTANT: Periodically the water dispenser tanks must be sanitized to prevent unpleasant tastes in the water and cleaned to
remove mineral deposits that can impair flow.
To Remove Mineral Deposits:
Mix 2 quarts (2 liters) of water with two quarts of vinegar OR mix 1 gallon of water (4 liters) with 16 ounces (454 g) of citric acid
crystals. Bleach does not remove mineral deposits. Do this in place of step 5 when removing mineral deposits.
To Sanitize:
OFF
position
ON
position
For long vacations or absences, set both power switches
(on the back of the dispenser, if equipped) to the
O (off)
position.
1. Unplug the water dispenser.
2. Remove the water bottle.
3. Drain the water tanks (see
Draining the Dispenser
).
4. Dry the separator thoroughly on both the top and bottom
(see
Cleaning the Separator
).
5. Leave the door of the chiller compartment open.
After returning from vacation, make sure to sanitize the water tanks
before using the dispenser (see Cleaning and Sanitizing the Water Tank).
Preparing for Vacation
Chilling Rate:
approx. 0.5 gallons (2 liters) per hour
Heating Rate:
approx. 0.8 gallons (3 liters) per hour
Capacity:
3 or 5 gallon bottle
Power Consumption:
Heating: 480 watts max.
Cooling: 125 watts max.
Specifications
Defrosting (for models GXCF25FBS, GXCF25HBS and PXCR33KSS)
Defrost whenever frost on the wall of the chiller compartment becomes
excessive. Never use a sharp or metallic instrument to remove frost
as it may damage the liner. We recommend using a plastic scraper.
Do not use any electrical device in defrosting your chiller compartment.
To defrost:
■ Remove items from the compartment.
■ Turn the Cold (Blue) Power switch (if equipped) to off
and unplug the dispenser.
■ Put several towels in the bottom of the compartment
to collect water.
Defrosting usually takes a few hours. To defrost faster,
keep the door open.
After defrosting:
■ Remove the wet towels and wipe up any remaining water.
■ Wipe the compartment with a dry cloth.
■ Plug in the unit and turn on the Cold (Blue) power switch
(if equipped). Return items to the unit.
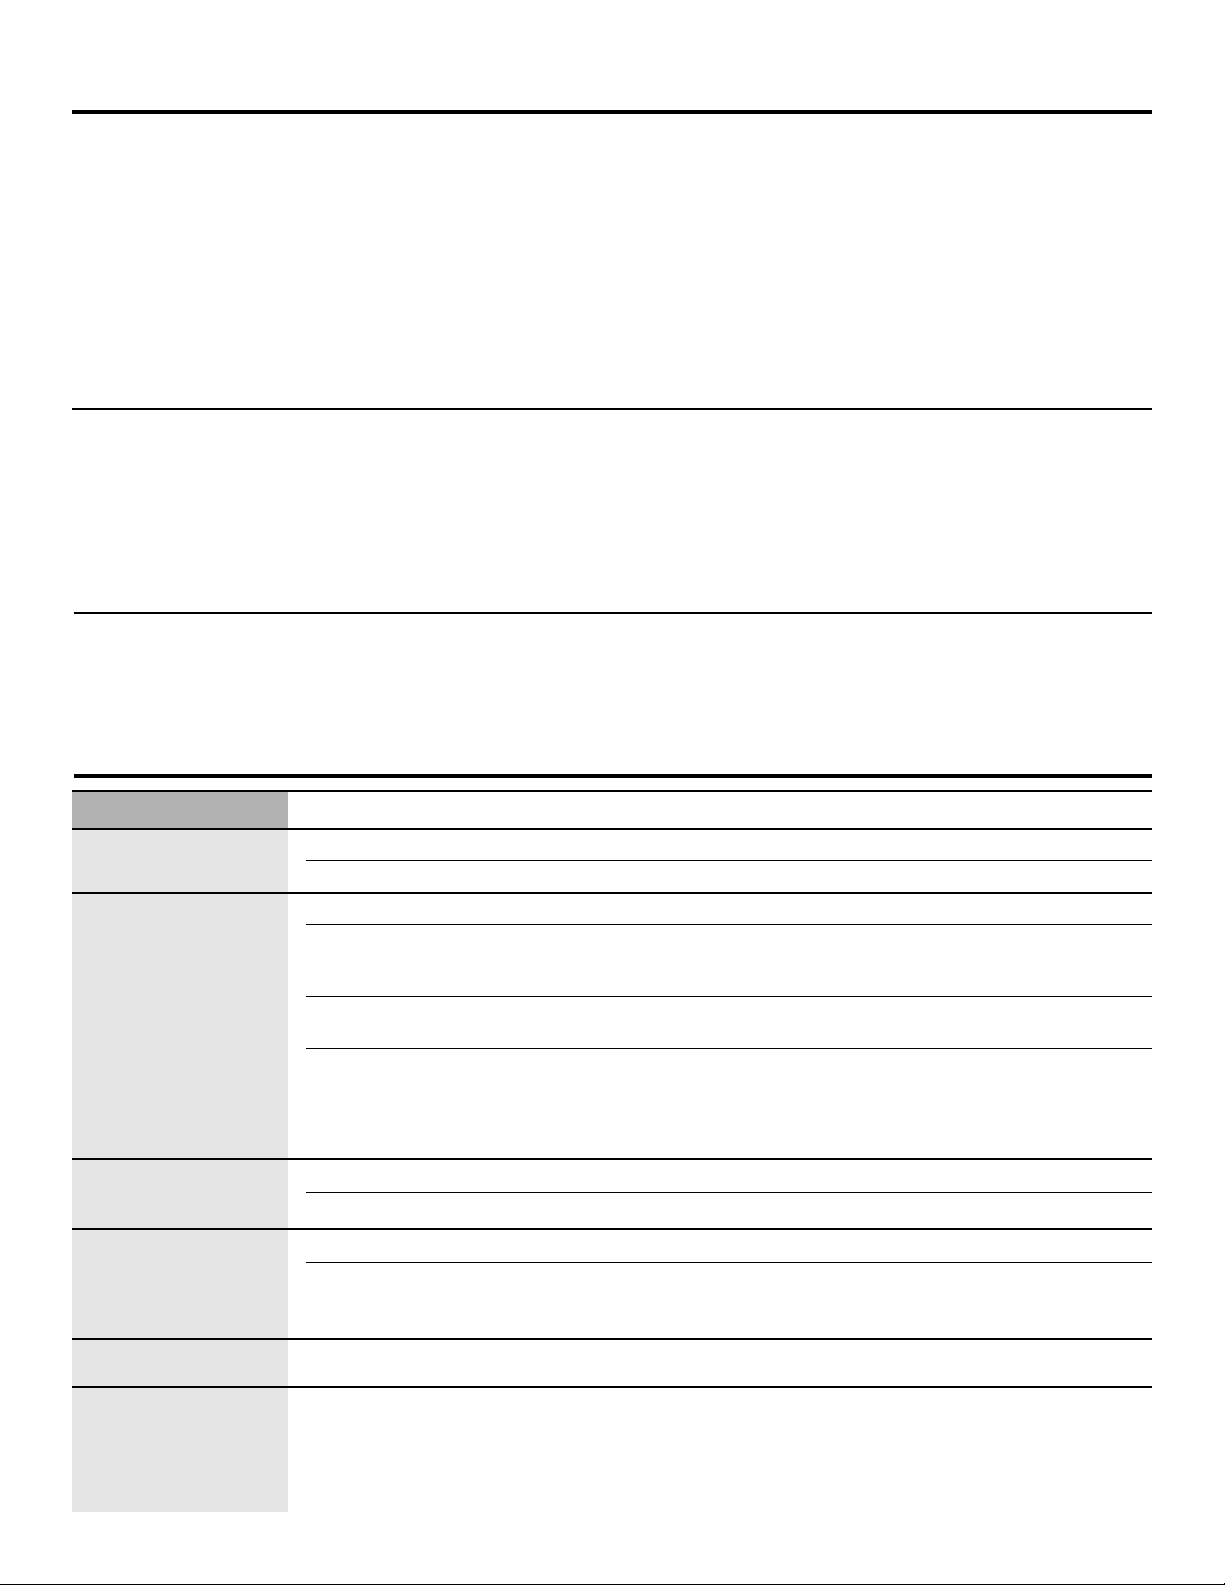
Troubleshooting Tips.
Problem Possible Causes What To Do
Water has poor taste
Separator needs cleaning. •See
Cleaning the Separator.
or odor
Unit needs to be sanitized. •See
Cleaning and Sanitizing the Water Tanks.
Water not hot enough
Dispenser is unplugged. •Push the plug completely into the outlet.
or cold enough
The fuse is blown/circuit •Replace house fuse or reset the house circuit breaker.
breaker is tripped. •If too many items are plugged into a single circuit,
move some items to a different circuit.
All the water in the water tank •Wait 30 minutes for water to heat or cool.
has been used.
Temperature limiter tripped. •Set the hot and cold power switches (on the back of the
dispenser, if equipped) to the
O (off)
position. Wait 5 minutes;
then set the switches to the
I (on)
position. Unplug unit for 5
minutes if model does not have separate power switches. Wait 30
minutes for water to heat or cool.
Water dispenser does
Empty water bottle. •Replace with a new bottle of water.
not work—No water flow
Mineral deposits clogging tanks. •See
Care and Cleaning
.
Cold water button
Chiller door has been left open. •Close chiller door.
does not dispense
Ice buildup blocking water flow. •Turn off cold power switch (if equipped) or unplug unit
overnight. Once water can be dispensed from faucet, plug unit
back in or turn cold power switch back to the ON position.
Water dispenser leaks
Crack or pin hole in bottle. •Replace with a new bottle of water.
from the outside
Compressor does not
Normal Operation—Compressor •Wait for up to 3 minutes for the compressor to start.
start when unit is plugged
start may be delayed by up to
in and cold power switch
3 minutes (on certain models) to
(if equipped) is on
prolong the compressor life.
Care and cleaning of the dispenser.
8
Problem Possible Causes What To Do
Bottle feels warm
Water system overfilled. Water •Dispense cold water until air is released into the bottle.
is boiling in the hot tank and
bubbling up into the bottle.
Water dispenser is noisy
Water dispenser is uneven. •Make sure the water is installed on a level floor strong enough
to support it when fully loaded.
Bottle making a gurgling noise •This is normal.
as water fills the tanks.
Hot water boiling sound. •This is normal.
Dispenser or water bottle shakes •This is normal.
when the cooling system cycles off.
Particles floating in water
Water has high mineral content. •Find a water source with lower hardness.
Foul odor in air around
Hot water tank is empty or •Press the hot dispenser button until water flows to remove
dispenser
not completely full. air from the hot tank.
Chiller does not operate
Chiller is not on. •Turn the Cold (Blue) power switch on, if equipped.
(Chiller models only)
Water dispenser is unplugged. •Push the plug completely into the outlet.
The fuse is blown/circuit •Replace fuse or reset the breaker.
breaker is tripped.
Vibration or rattling
Water dispenser is on •Use shims to level the unit.
(slight vibration
an uneven surface.
is normal)
Compressor/motor
Often occurs when large amounts •This is normal.
operates (light on)
of food are placed in cooler.
for long periods or cycles
Door left open. •Check to see if package is holding door open.
(Chiller models only)
Hot weather or frequent •This is normal.
door openings.
Compressor/motor
Normal when unit •Wait 24 hours for the unit to completely cool down.
operates (cooling light on)
is first plugged in.
for long periods or cycles
Not enough clearance •Make sure there is enough air circulation around the unit.
from the wall.
Water system overfilled. •Dispense water from the cold faucet until air is released
into the bottle.
Chiller compartment
Door left open. •Check to see if package is holding door open.
too warm
(Chiller models only)
Compartment/cold water
Low ambient temperature. •Place units in room temperature environment.
too cold/frozen
Chiller compartment
Foods transmitting odor •Foods with strong odors should be tightly wrapped.
has odor
to chiller. •Keep an open box of baking soda in the unit; replace every
(Chiller models only)
three months.
Interior needs cleaning. •See
Care and cleaning
.
Moisture forms on outside
Not unusual during •Wipe surface dry.
of chiller compartment
periods of high humidity •Operate unit in temperature- and humidity-controlled
(Chiller models only)
and/or temperature. location.
• Place unit in tray to contain moisture accumulation.
Moisture collects inside
Too frequent or too long •Minimize time door is open.
chiller compartment
door openings. •Wipe surface dry.
(in humid weather, air
•Empty internal drip tray.
carries moisture into
•Operate unit in temperature- and humidity-controlled
chiller compartment
location.
when door is opened)
• Place unit in tray to contain moisture accumulation.
(Chiller models only)
9
 Loading...