


GHDA690P01BB
GE GHDA690P01BB, GHDA690P01WW, GHDA690P02BB, GHDA690P02WW, GHDA690P03BB Installation Guide
...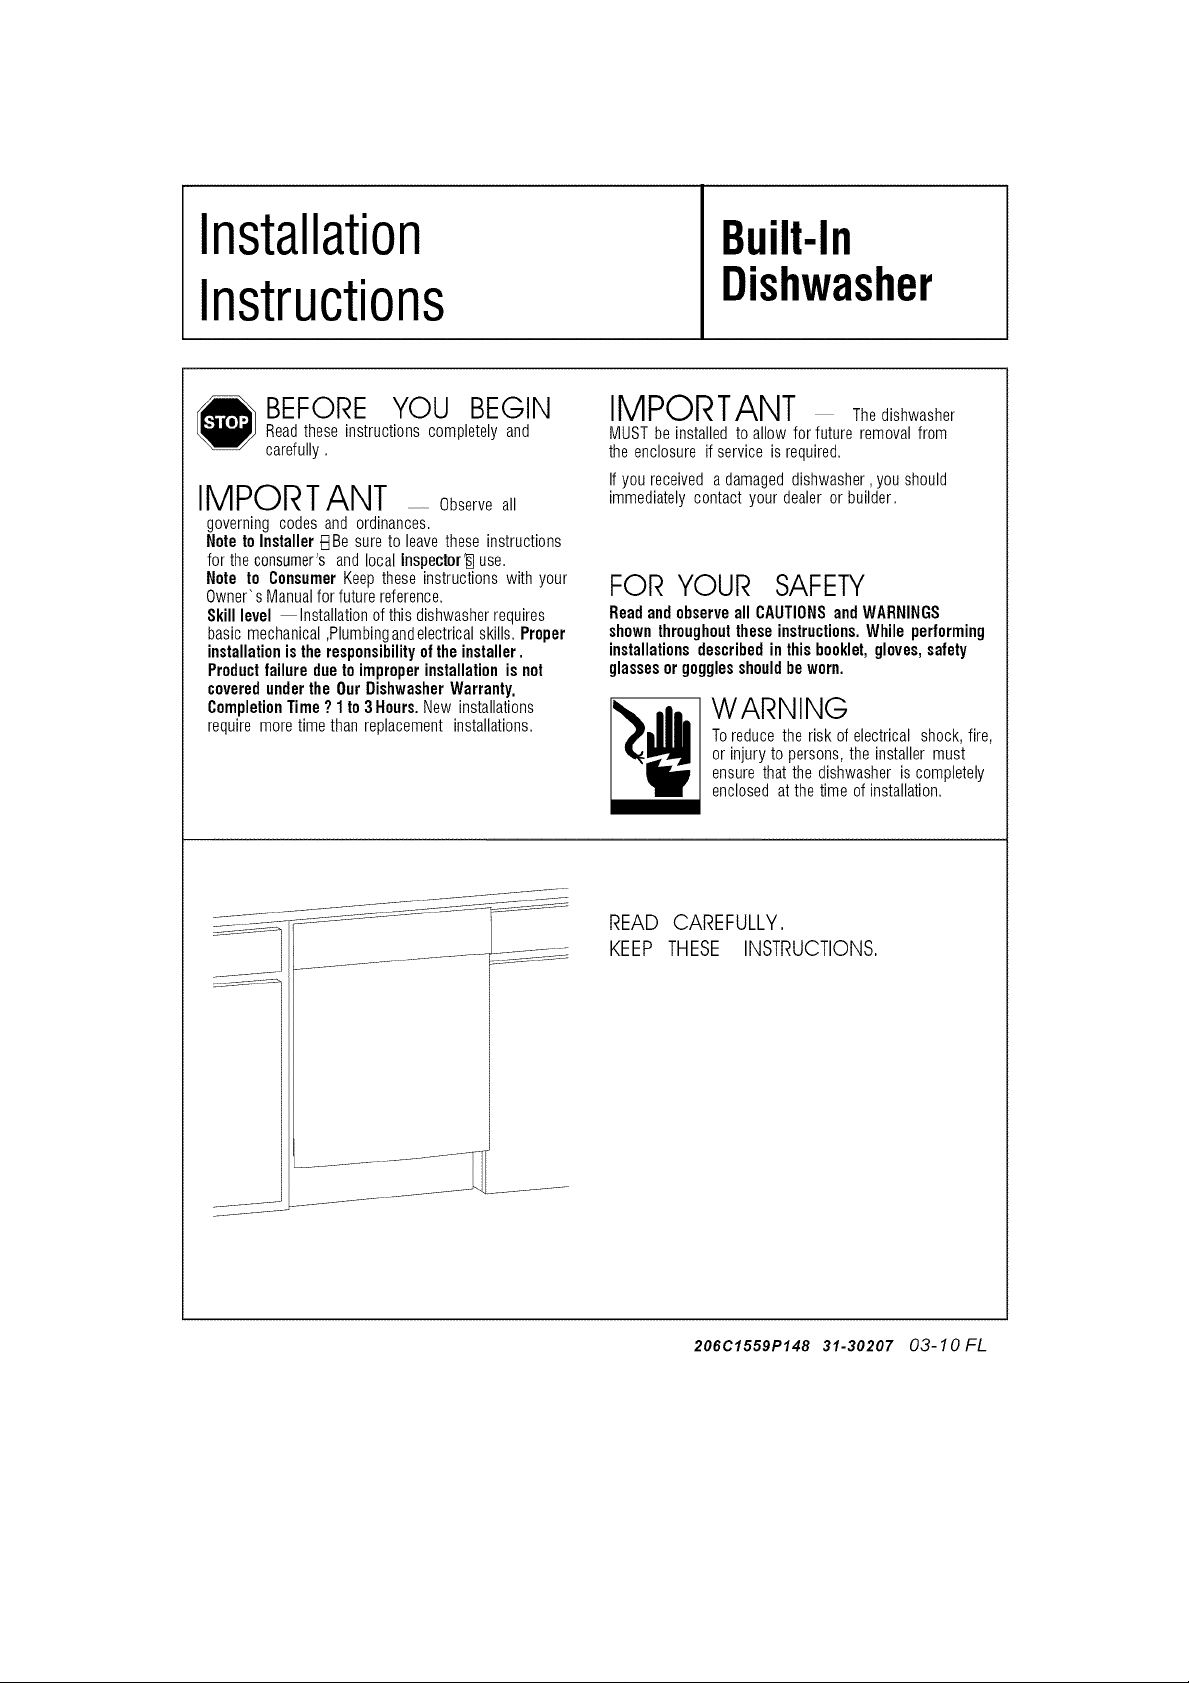
Installation
Instructions
Built-In
Dishwasher
BEFORE YOU BEGIN
Readthese instructionscompletelyand
carefully.
IMPORTANT Observeall
governingcodesand ordinances.
Noteto Installer_Be sureto leavetheseinstructions
forthe consumer'sand localInspector_]use.
Note to ConsumerKeeptheseinstructionswith your
Owner"sManualforfuturereference.
Skill level Installationofthisdishwasherrequires
basicmechanical,Plumbingandelectricalskills.Proper
installationistheresponsibilityoftheinstaller.
Productfailuredueto improperinstallationisnot
coveredunderthe OurDishwasherWarranty.
CompletionTime?1 to3Hours.NewinstaJlations
requiremoretimethanreplacementinstallations.
IMPORTANT Thedishwasher
MUSTbeinstalledto allowfor future removalfrom
the enclosure if serviceis required.
Ifyoureceived a damageddishwasher,youshould
immediatelycontactyour dealeror builder.
FOR YOUR SAFETY
Readandobserveall CAUTIONSandWARNINGS
shownthroughouttheseinstructions.While performing
installationsdescribedinthisbooklet,gloves,safety
glassesorgogglesshouldbeworn.
WARNING
Toreducethe risk of electrical shock,fire,
or injuryto persons,the installermust
ensurethat thedishwasheris completely
enclosedatthetime ofinstallation.
READ
KEEP
CAREFULLY,
THESE INSTRUCTIONS,
206C1559P148 31-30207 03-10 FL

Installation Preparation
PARTS SUPPLIED:
[] Two#8 Phillipsflatheadwood screws, 5/8"long
to securedishwasher to underside of countertop
(inliterature package).
2WoodScrews
MATERIALS YOU WILL NEED :
[] Ferrule,compressionnutand 90°Elbow (3/8"NPTexternal
thread ononeend, oppositeend sizedtofit water supply)
[] Threadsealtape
[] ULListedwire nuts (3)
Materials For New Installations Only:
[] Air gapfor drainhose, ifrequired
[] Wasteteefor houseplumbing,if applicable
[] Electrical cableor power cord, if applicable
[] Screw type hoseclamps
[] Strain relief for electrical connection.
[] Handshut-off valve
[] Water line3/8"min.copper
[] Couplerfor extending drain line,if applicable
9O°Elbow,
Ferruleand
CompressionNut
Hand
Shut-Off
Valve
Thread
SealTape
WasteTee
Electrical Cable
(orPower Cord,if applicable)
Air Gap
Screw Type Strain Relief
Hose Clamps
Wire Nuts (3)
HotWater line
Coupler
TOOLS YOU WILL NEED: _ and1/4__...5/16"[] Phillips head screwdriver Ph __-,__
[] 5/16"and 1/4"nutdriver Head _ Nutdriver
[] 6"Adjustable wrench Screwdriver
[] Level
[] Carpenterssquare 6"Adjustable
[] Measuring tape _ _nch
[] Safety glasses
[] Flashlight Flashlight
[] Bucket to catch water when flushing the line
[] Gloves
For New Installations Only:
[] Tubing cutter SafetyGlasses
[] Drill and appropriate bits Bucket
[]Holesawset _
Hole Saw Set
Gloves
Level
TubingCutter
Carpenters
Square
Measuring Tape

Installation Preparation
PREPARE DISHWASHER ENCLOSURE
toFloor
°Square
and
Plumb
Figure1
FloorMUST
beEvenwith PlumbingandElectricService
RoomFloor. MustEnterShadedArea
o Therough cabinetopeningmustbe at least24"deep
and23-5/8'% 24"Wide.Theopeningshouldbe
to35"max.height.
• Thedishwashermustbeinstalledso thatdrainhoseis
nomorethan 10feetinlengthforproperdrainage.
• Thedishwashermustbefullyenclosedonthe top,
sidesand back,andmustnotsupportanypart ofthe
enclosure.
CLEARANCES:When
installedinto a corner,
allow 2"min. clearance
between dishwasher and
adjacent cabinet, wal! or
other appliances. Allow
25-5/8"min. clearance
from thefront of the
dishwasher for door
opening. Figure 2
-- Figure 2
DRAIN REQUIREMENTS
Followlocalcodes andordinances.
eDo notexceed10feetdistanceto drain.
oDo notconnectdrainlines fromother devices
tothe dishwasherdrainhose.
oDishwashermustbe connectedto waste linewith an
airgap(notsupplied)or32"minimumhighdrainloop,
dependingon local codesandordinancesto prevent
backflow intothe dishwasher.
_Air gap mustbeusedifwastetee ordisposerconnec-
tion islessthan 18"abovethe floor to preventsiphoning.
DRAIN PREPARATION
The type of drain installation depends on answers to
the following questions:
Do local codes or ordinances require anair gap?
Will waste tee or disposer connection be less than
18"above the floor?
Will installation have a drain loop less than 32"
above floor?
If the answer to ANY of the 3 questions above is YES,
Method 1 MUST be used. Otherwise eitherMethod 1
or Method 2may be used. Figure 3 or Figure 4.
CAUTION:
Method1 Air GapwithWasteTeeor Disposer
Figure3
Method2 HighDrainwithWasteTeeorDisposer
Provideamethodto attachdrainhosetounderside
ofcountertop.
Figure4
Installwasteteeor disposerandair gapaccordingto
Manufacturer'_ instructions.
AnairgapMUSTBEUSEDifthe drainhoseisconnected
towasteteeor disposerlowerthan18"abovethefloor.
Failureto providetheproperdrainconnectionheight
withairgapor32"minimum,highdrainloopwill result
in improperdrainingofthe dishwasher.
CABINET PREPARATION
• Drill a1-1/2"dia.Hole in the cabinetwall within the
shadedareasshownin Figure1for the drainhose
connection.Theholeshouldbe smoothwithno sharp
edges.
Installation Preparation
PREPARE ELECTRICAL WIRING
WARNING
FORPERSONALSAFETY:Removehouse
fuse or opencircuit breakerbefore
beginninginstallation.Donotusean
extensioncordoradapterplugwiththis
appliance.
Electrical Requirements
oThis appliance must be supplied with 120V,60Hz., and
connected to an individual properly grounded branch
circuit, protected by a 15 or 20 ampere circuit breaker
or time delay fuse.
oWiring must be 2wire with ground.
elf the electrical supply does not meet the above
requirements, call a licensed electrician before
proceeding.
GroundingInstructionsBCable Direct
Thisappliancemust beconnectedto a groundedmetal,
permanentwiring system,or anequipmentgrounding
conductormustbe runwith the circuit conductorsand
beconnectedto theequipmentgroundingterminalor
leadontheappliance.
GroundingInstructionsBPower CordModels
Thisappliancemust begrounded.Intheeventofa
malfunctionor breakdown,groundingwill reducethe
riskofelectrical shockbyproviding apathofleast
resistancefor electric current.Theplugmust be
pluggedintoanappropriateoutlet thatis installed
andgroundedinaccordancewithlocalcodesand
ordinances.
WARNING
Theimproperconnectionofthe
equipmentgroundingconductorcan
resultin a riskof electricshock.Check
with a qualified electricianor service
representativeif youareindoubtthat
the applianceis properlygrounded.
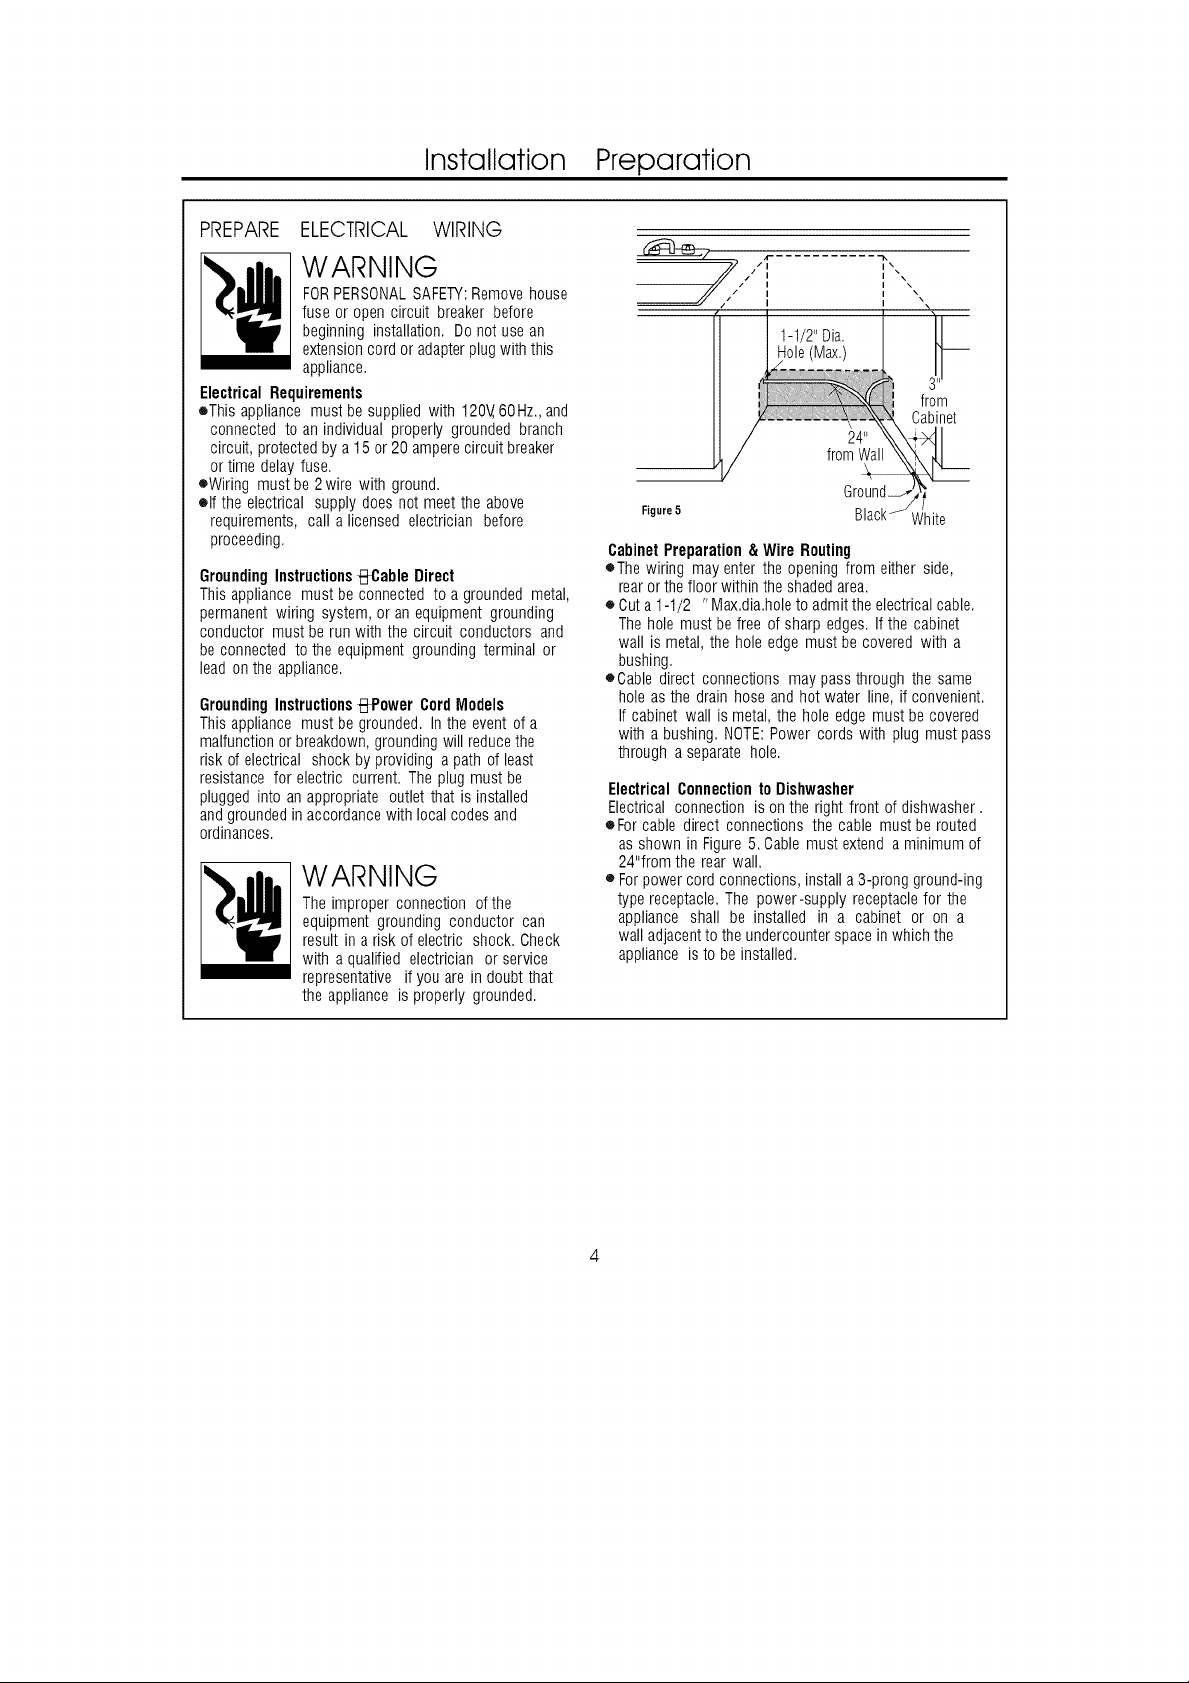
Figure5
Cabinet Preparation & Wire Routing
eThe wiring may enter the opening from either side,
rear or the floor within the shaded area.
o Cut a 1-1/2 "Max.dia.hole to admit the electrical cable.
The hole must be free of sharp edges. If the cabinet
wall is metal, the hole edge must be covered with a
bushing.
OCable direct connections maypass through the same
hole as the drain hose and hot water line, if convenient.
If cabinet wall is metal, the hole edge must be covered
with a bushing. NOTE:Power cords with plug must pass
through a separate hole.
ElectricalConnectionto Dishwasher
Electricalconnection is on the rightfront of dishwasher.
oFor cable directconnectionsthe cable mustberouted
asshowninFigure5. Cablemustextendaminimumof
24"fromthe rearwall.
e Forpowercord connections,installa3-prongground-ing
typereceptacle.The power-supplyreceptaclefor the
appliance shall be installed in a cabinet or on a
walladjacentto theundercounterspacein whichthe
applianceistobe installed.
 Loading...