Canon A460, A450 User Manual
ENGLISH
Before Using the Camera 
Shooting
Playback/Erasing
Print/Transfer Settings
Troubleshooting
of Messages
Appendix
Guide
procedures in detail.
CDI-E269-010 |
© 2007 CANON INC. |
PRINTED IN CHINA |

Main Features
Shooting
zAutomatically adjusts shooting settings to match particular conditions
button
Photo of PowerShot A460
0
Conventions Used in this Guide
Icons appearing next to or below titles indicate the shooting modes in which the procedure can be used.
Postcard Mode
(e.g., a leakage and/or explosion of a battery pack). Please note that this warranty does not apply to repairs arising out of the malfunction of non-genuine Canon accessories, although you may request such repairs on a chargeable basis.
1

Table of Contents
Items marked with a are lists or charts that summarize camera functions or procedures.
Handling Precautions . . . . . . . . . . . . . . . . . . . . . . . . . . . . . 5
Please Read. . . . . . . . . . . . . . . . . . . . . . . . . . . . . . . . . . . . . . . 5
Safety Precautions . . . . . . . . . . . . . . . . . . . . . . . . . . . . . . . . . . 6
Switching between Metering Modes. . . . . . . . . . . . . . . . . . . . 37 Adjusting the Exposure Compensation . . . . . . . . . . . . . . . . . 38 Shooting in Long Shutter Mode . . . . . . . . . . . . . . . . . . . . . . . 38 Adjusting the Tone (White Balance). . . . . . . . . . . . . . . . . . . . 40 Shooting in a My Colors Mode . . . . . . . . . . . . . . . . . . . . . . . . 43
2

Adjusting the ISO Speed. . . . . . . . . . . . . . . . . . . . . . . . . . . . .45
Creating an Image Destination (Folder) . . . . . . . . . . . . . . . . .46
Resetting the File Number . . . . . . . . . . . . . . . . . . . . . . . . . . .48
Playback/Erasing . . . . . . . . . . . . . . . . . . . . . . . . . . . . . . . .50
 Magnifying Images . . . . . . . . . . . . . . . . . . . . . . . . . . . . . .50 Viewing Images in Sets of Nine (Index Playback). . . . . . . . . .51 Viewing Movies . . . . . . . . . . . . . . . . . . . . . . . . . . . . . . . . . . . .52 Rotating Images in the Display . . . . . . . . . . . . . . . . . . . . . . . .53 54 56 61 62 63
64
67
69
69
70
71
75
76
77
77
78
Battery Handling . . . . . . . . . . . . . . . . . . . . . . . . . . . . . . . . . . .83
Handling the Memory Card . . . . . . . . . . . . . . . . . . . . . . . . . . .85
Using the Power Kits (Sold Separately) . . . . . . . . . . . . . . . . .87
Using an Externally Mounted Flash (Sold Separately) . . . . . .90
Replacing the Date Battery . . . . . . . . . . . . . . . . . . . . . . . . . . .92
3

Camera Care and Maintenance . . . . . . . . . . . . . . . . . . . . . . . 94
Specifications . . . . . . . . . . . . . . . . . . . . . . . . . . . . . . . . . . . . . 95
Index. . . . . . . . . . . . . . . . . . . . . . . . . . . . . . . . . . . . . . . . . 104
Functions Available in Each Shooting Mode . . . . . . 112
4

Handling Precautions
Please Read
Test Shots
Before you try to photograph important subjects, we highly recommend that you shoot several trial images to confirm that the camera is operating and being operated correctly.
or
it
5

Camera Body Temperature
If your camera is used for prolonged periods, the camera body may become warm. Please be aware of this and take care when operating the camera for an extended period.
About the LCD Monitor
The LCD monitor is produced with extremely high-precision manufacturing techniques. More than 99.99% of the pixels
z
z
z
separately) and compact power adapter (sold separately).
6

 Warnings
Equipment
z Do not point the camera directly at the sun or bright light sources.
Doing so could damage the camera's CCD or your eyesight.
z Store this equipment out of the reach of children and infants.
•
•
a
cord.
z Use only recommended power accessories.
z Remove the power cord on a regular periodic basis and wipe away the dust and dirt that collects on the plug, the exterior of the power outlet and the surrounding area.
z Do not handle the power cord if your hands are wet.
Continued use of the equipment may result in fire or electrical shock.
7

Battery
z Do not place the batteries near a heat source or expose them to direct flame or heat.
z The batteries should not be immersed in water or sea water. z Do not attempt to disassemble, alter or apply heat to the
batteries.
z Avoid dropping or subjecting the batteries to severe
z
to
z
z
z z
z
objects.
Contact with the metallic components of other materials in waste containers may lead to fire or explosions.
8

Others
z Do not trigger the flash in close proximity to human or animal eyes. Exposure to the intense light produced by the flash may damage eyesight.
In particular, remain at least one meter (39 inches) away from infants when using the flash.
z Keep objects that are sensitive to magnetic fields (such as
The above-mentioned can cause leakage, overheating or explosion, resulting in fire, burns or other injuries. High temperatures may also cause deformation of the casing.
z When not using the camera for extended periods of time, remove the batteries from the camera or battery charger and store the equipment in a safe place.
If the batteries are left inside the camera, damage caused by
leakage may occur.
9

Equipment
z Do not connect compact power adapters or battery chargers to devices such as electrical transformers for foreign travel because it may lead to malfunctions, excessive heat generation, fire, electric shock or injury.
Flash
z z
z
10

Preventing Malfunctions
Avoid Strong Magnetic Fields
zNever place the camera in close proximity to electric motors or other equipment generating strong electromagnetic fields.
Exposure to strong magnetic fields may cause malfunctions or corrupt image data.
it
.
11

Before Using the Camera—Basic Operations
Using the LCD Monitor
1 Press  .
.
zThe display mode changes as follows with each press.
12

Night Display
When shooting in dark conditions, the camera automatically brightens the LCD monitor to suit the brightness of the subject*, making it easier to frame the subject.
*Although noise may appear and the movement of the subject shown on the LCD monitor may appear somewhat jagged, there is no effect on the recorded image.
The brightness of the image displayed in the monitor, and the brightness of
Operations Basic—Camera the Using Before
13

Information Displayed on the LCD Monitor
Shooting Information (Shooting Mode)
Spot AE Point Frame (p. 37)
AF Frame (p. 35)
Zoom Magnification (p. 27)
(
White Balance (p. 40)
Camera Shake Warning (p. 15)
14

If the indicator blinks orange and the camera shake warning icon ( ) displays, this indicates that a slow shutter speed may have been selected due to insufficient illumination. Use the following methods to shoot:
-Raise the ISO speed (p. 45)
-Select a setting other than  (flash off) (Basic Guide p. 13)
-Attach the camera to a tripod or other device
Operations Basic—Camera the Using Before
15

Detailed
(
.
Information for images shot on other cameras may not display correctly.
16
Using the Viewfinder
The viewfinder (Basic Guide p. 2) can be used to conserve power by turning the LCD monitor off (p. 12) while shooting.
Power Saving Function
This camera is equipped with a power saving function. The power
*
.
Operations Basic—Camera the Using Before
17

Menus and Settings
Menus are used to set the shooting, playback and print settings as well as such camera settings as the date/time and electronic beep. The following menus are available.
zFUNC. Menu
zRec., Play, Print and Set up Menus
a b c
d
item.
•You can select further options with the MENU button for some options.
•After selecting an option, you can press the shutter button to shoot immediately. After shooting, this menu will appear again, allowing you to adjust the settings easily.
ePress the FUNC./SET button.
18

Rec., Play, Print and Set up Menus
Convenient settings for shooting, playback or printing can be set with these menus.
 (Rec.) Menu

 (Set up) Menu
a |
e |
Operations Basic—Camera the Using Before
ePress the MENU button.
19

Menu List
FUNC. Menu
The icons shown below are the default settings.
|
|
Menu Item |
Reference |
|
|
|
Menu Item |
Reference |
||
|
|
|
Page |
|
|
|
Page |
|||
|
|
|
|
|
|
|
|
|
||
|
|
Manual Mode |
|
Basic |
|
|
|
White Balance |
p. 40 |
|
|
|
|
|
|
||||||
|
|
|
|
|
|
|
||||
|
|
|
|
|
|
|
|
|
|
|
|
|
|
|
|
|
|
|
|
|
|
|
|
|
|
|
|
|
|
|
|
|
|
|
|
|
|
|
|
|
|
|
|
|
|
|
|
|
|
|
|
|
|
|
|
|
|
|
|
|
|
|
|
|
|
|
|
|
|
|
|
|
|
|
|
|
|
|
|
|
|
|
|
|
|
|
|
|
|
|
|
|
|
|
|
|
|
|
|
|
|
|
|
|
|
|
|
|
|
|
|
|
|
|
|
|
|
|
|
|
|
|
|
|
|
|
|
|
|
|
|
|
|
|
|
|
|
|
|
|
|
|
|
|
|
|
|
|
|
|
|
|
|
|
|
|
|
|
|
|
|
|
|
|
|
|
|
|
|
|
|
|
|
|
|
|
|
|
|
|
|
|
|
|
|
|
|
|
|
|
|
|
|
|
|
|
|
|
|
|
|
|
|
|
|
|
|
|
|
|
|
|
|
|
|
|
|
|
|
|
|
|
|
|
|
|
|
|
|
|
|
|
|
|
|
|
|
|
|
|
|
|
|
|
|
|
|
|
|
|
|
|
|
|
|
|
|
|
|
|
|
|
|
|
|
|
|
|
|
|
|
|
|
|
 Disp. Overlay
|
(Still Images) |
Off*/Grid Lines/3:2 Guide/ |
p. 31 |
|
|
Both |
|
|
|
|
|
|
(Movies) |
Off*/Grid Lines |
|
|
|
|
|
|
Date Stamp |
Off*/Date/Date & Time |
p. 30 |
|
|
|
|
20

Play Menu ( |
) |
||||||
|
|
|
|
|
Menu Item |
Reference Page |
|
|
|
|
|
|
|
|
|
|
|
|
|
|
Slide Show |
p. 56 |
|
|
|
|
|
||||
|
|
|
|
||||
|
|
|
|
||||
|
|
|
|
|
|
|
|
|
|
|
|
|
Sound Memo |
p. 54 |
|
|
|
|
|
|
|||
|
|
|
|
|
|
|
|
|
|
|
|
|
Protect |
p. 61 |
|
|
|
|
|
|
|
|
|
|
|
|
|
|
Rotate |
p. 53 |
|
|
|
|
|
|
|
|
|
|
|
|
|
|
|
|
|
|
|
|
|
|
|
|
|
|
|
|
|
|
|
|
|
|
|
|
|
|
|
|
|
|
|
|
|
|
|
|
|
|
|
|
|
|
|
|
|
Operations Basic—Camera the Using Before
21

|
|
|
Menu Item |
Options |
Reference Page |
|
|
|
|
|
|
|
|
|
Volume |
Off/1/2*/3/4/5 |
Adjusts the volume of the start-up |
|
|
|
|||
|
|
|
|
|
sound, operation sound, self-timer |
|
|
|
|
|
sound, shutter sound and playback |
|
|
|
|
|
sound. The volume cannot be |
|
|
|
|
|
adjusted if [Mute] is set to [On]. |
|
|
|
Start-up Vol. |
|
Adjusts the volume of the start-up |
|
|
|
|
sound when the camera is turned on. |
|
|
|
|
|
|
|
|
|
|
|
|
|
|
|
|
|
|
|
|
|
|
|
|
|
|
|
|
|
|
|
|
|
|
|
|
|
|
|
|
|
|
|
|
Down |
|
set period of time elapses without |
|
|
|
the camera being operated. |
|
Display Off |
10 sec./20 |
Sets the length of time before the |
|
sec./30 sec./1 |
LCD monitor turns off when no |
|
|
|
min.*/2 min./3 |
camera operation is performed. |
|
|
min. |
|
|
|
|
|
|
Date/Time |
|
Basic Guide p. 7 |
22
|
|
|
Menu Item |
Options |
Reference Page |
|
|
|
|
|
|
|
|
|
Format |
|
You can also select a low level |
|
|
|
|
||
|
|
|
|
|
format (p. 25). |
|
|
|
File Numbering |
Continuous*/ |
p. 48 |
|
|
|
|
Auto Reset |
|
|
|
|
|
|
|
|
|
|
Create Folder |
|
p. 46 |
|
|
|
Create New |
Check mark |
Creates a folder during the next |
|
|
|
|
|
|
Operations Basic—Camera the Using Before
23
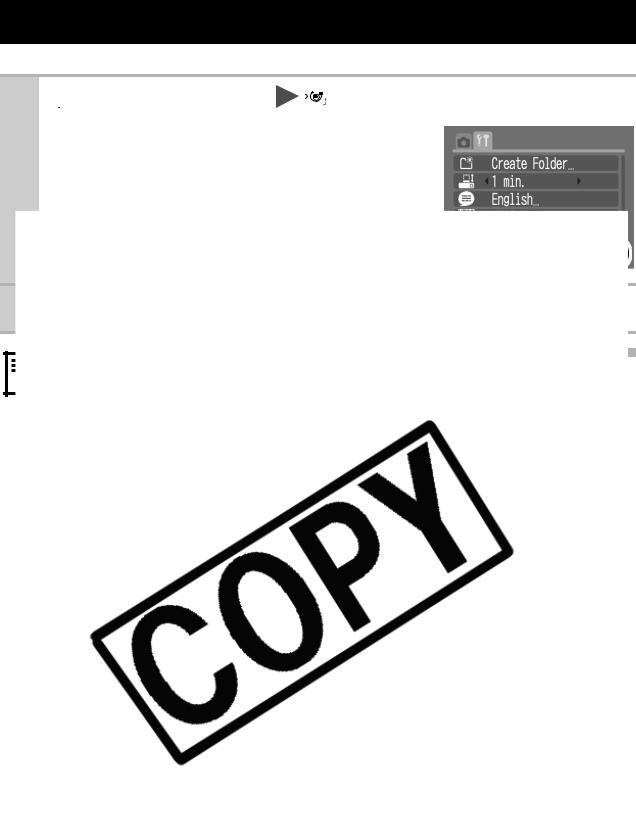
Resetting Settings to Their Default Values
1 |
|
(Set up) Menu |
|
(Reset All). |
|
|
|||
|
||||
|
|
See Menus and Settings (p. 19). |
||
2
24

Formatting Memory Cards
You should always format a new memory card or one from which you wish to erase all images and other data.
Please note that formatting (initializing) a memory card erases all data, including protected images and other file types.
1
Operations Basic—Camera the Using Before
some memory cards.
25
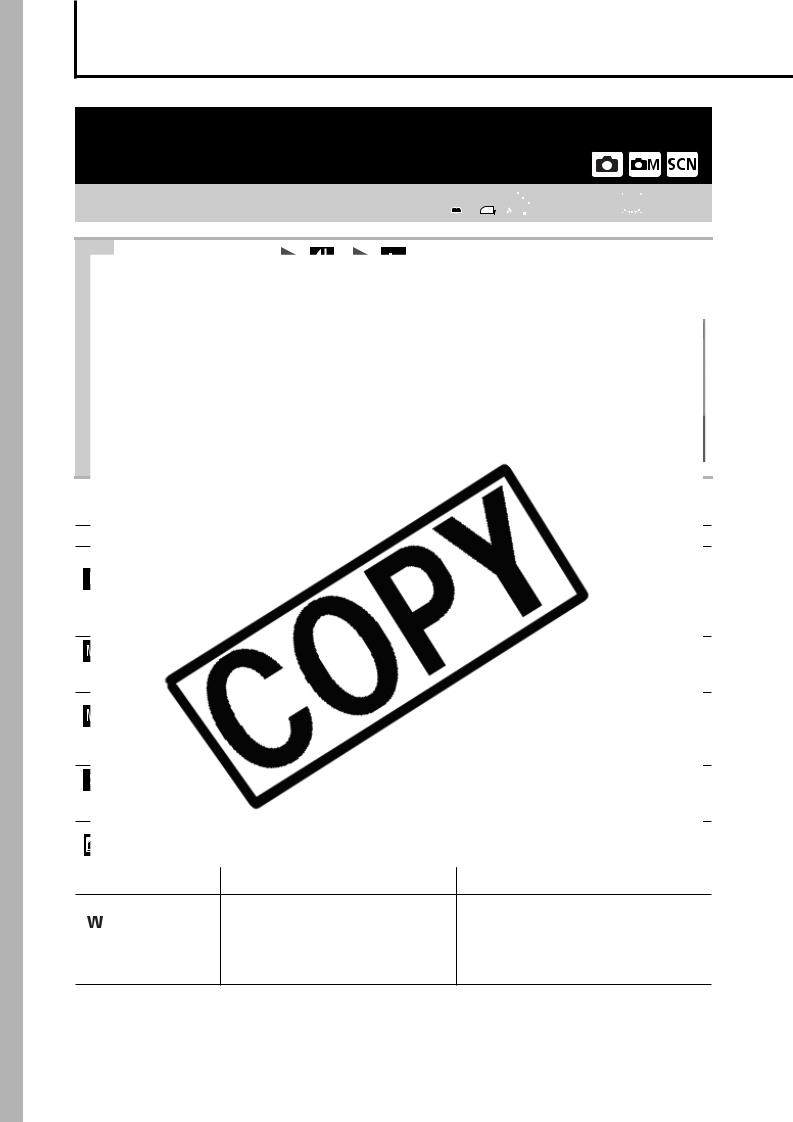
Shooting
Changing the Recording Pixels and
Compression (Still Images)
Shooting Mode 
1
(4.7 x 3.5 in.) |
|
|
|
|
Printing on wide paper (Records at |
|
|
|
|
|
a 16:9 width-to-height aspect ratio. |
|
|
|
|
2592 x 1456 pixels |
Areas that will not be recorded |
|
(Wide) |
|||||
|
appear on the LCD monitor as a |
||||
|
|
|
|
||
|
|
|
|
black border.). |
|
* Paper sizes vary according to region.
26

Approximate Values for Compression Settings
Compression |
Purpose |
|
Superfine |
High Quality |
Shoot higher quality images |
Fine |
|
Shoot normal quality images |
Normal |
Normal |
Shoot more images |
zSee Image Data Sizes (Estimated) (p. 101).
(
1
* Default setting.
Shooting
27

2 Press the 
 button and shoot.
zThe combined digital and optical zoom setting will display in the LCD monitor.
zBased on the number of recording pixels set, the Safety Zoom feature calculates the maximum zoom factor beyond which image quality will begin to
deteriorate. The digital zoom pauses at this zoom factor for
4
28
 Loading...