


WFMC64
Bosch WFMC64, WFMC43, WFMC84, WFMC32, WFMC53 Repair Manual
...
Rev 0 (1/17/08)
1
Nexxt
Nexxt
Washer Training/Repair Manual
Washer Training/Repair Manual
• Fascia panel disassembly………………...….. 2
• Top & rear panel disassembly………….…… .4
• Tub, drum & dampers......................................5
• Drum drive motor………………………….…… 6
• Drain pump…………………………….…………7
• Front panel disassembly………………….…...8
• Installing door seals………….………….…….10
• Heater & NTC……………………………...……11
• Door lock…………….……………………….….12
• Vibration checklist……………….…………….13
• Sensors…………………………….…………….14
• Test program……………….…………………...17
• Fault codes..……………….………….………...19
• Troubleshooting….……….………….………...22
• Oversudsing………………...…….…………….25
• Quiz……………………………………………….26
Click onto any link to
jump to that page
702_58300000133618_ara_en_a
Rev 0 (1/17/08)
2
Disassembly
Disassembly
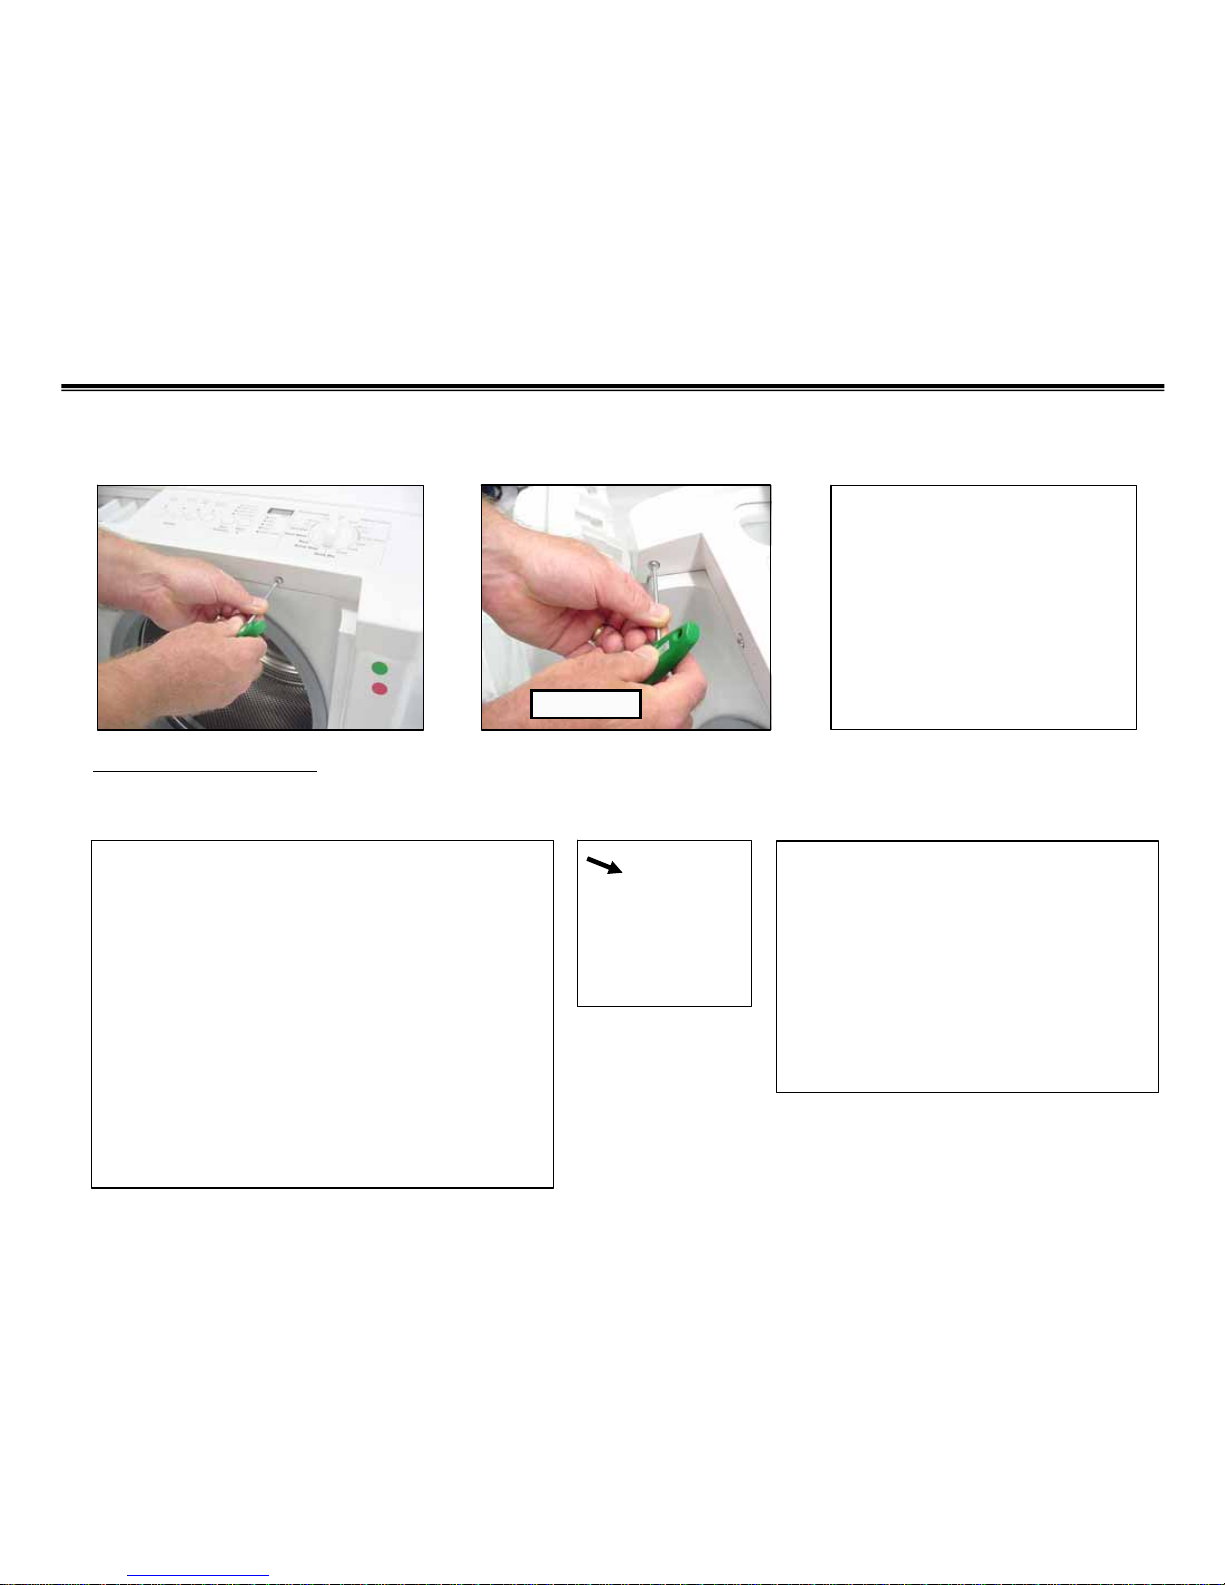
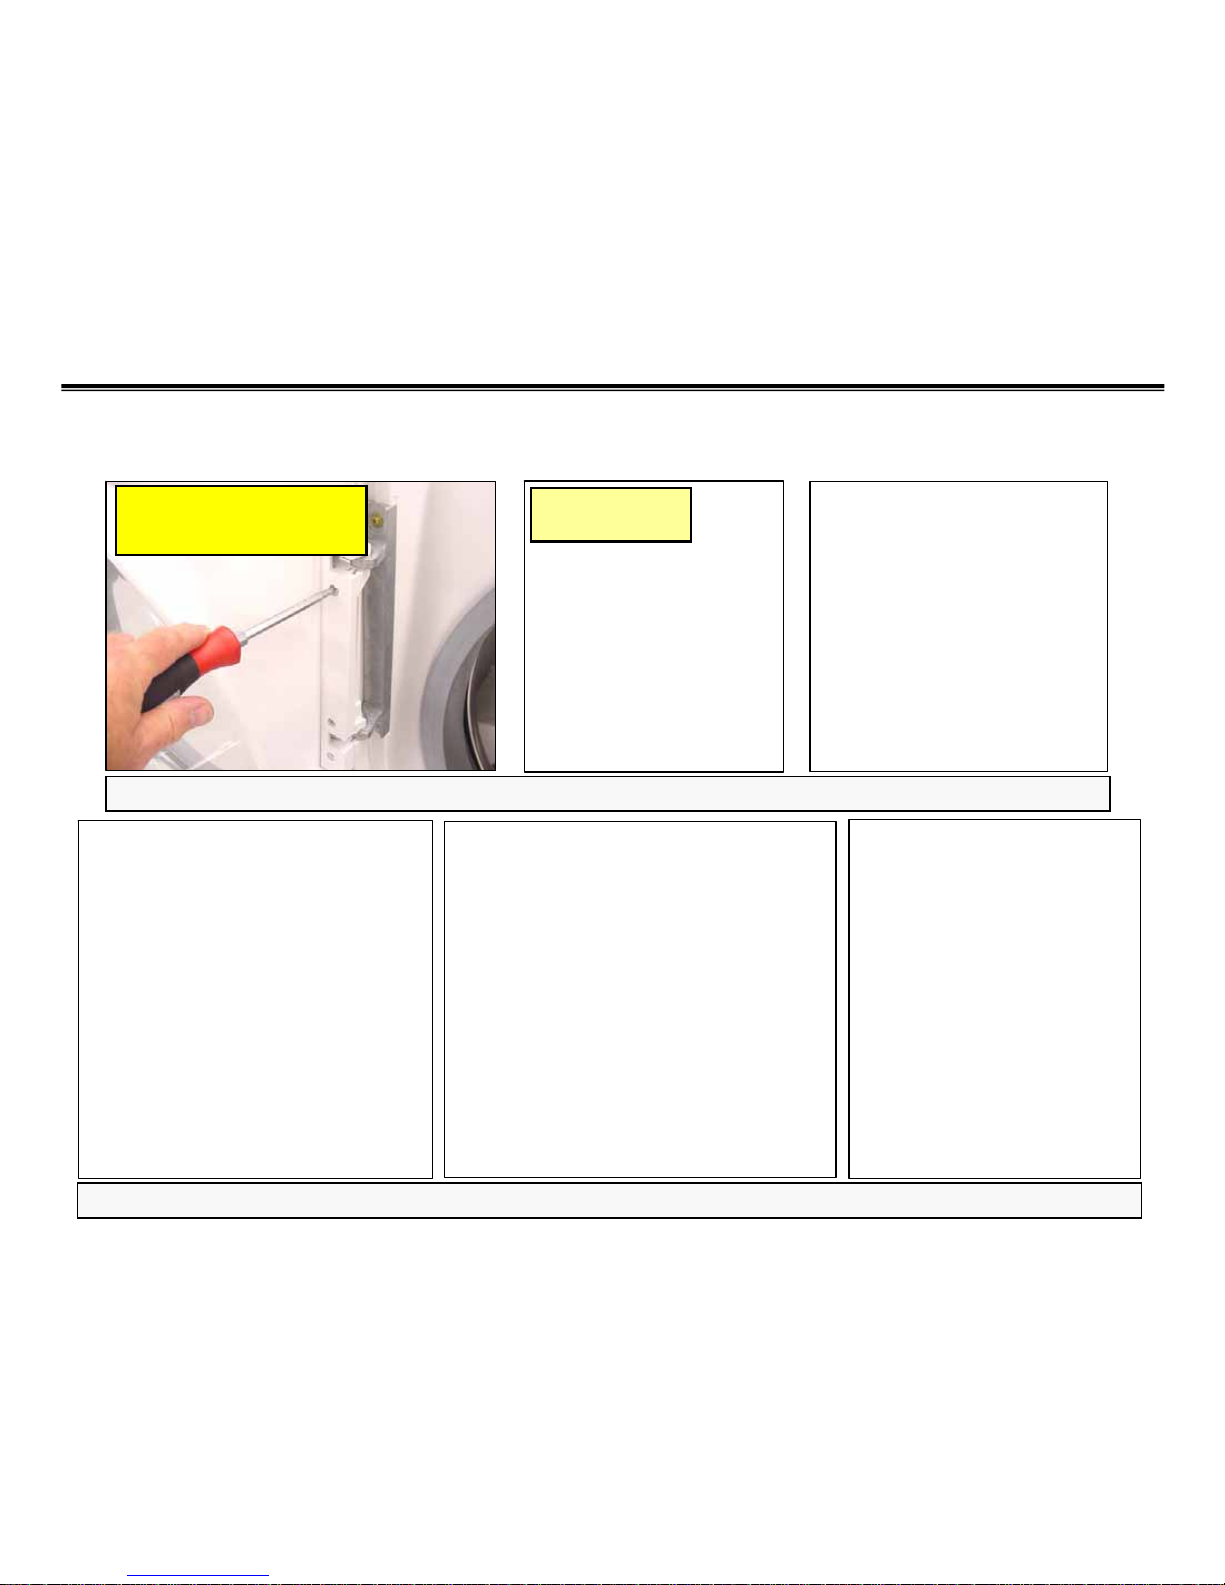
––Fascia (Control) Panel (1)
Fascia (Control) Panel (1)
To remove fascia panel to access control module & dispenser, remove (4) T-20 Torx front/side screws and lift
panel up. Caps over screws can be removed using fingernails or a sharp knife – take care not to scratch
fascia panel or caps.
Knobs are permanently attached to
panels and cannot be removed.
When reassembling
panels, tuck rear
tabs under top
panel 1st.
T-20 screws
702_58300000133618_ara_en_a

Rev 0 (1/17/08)
3
Disassembly
Disassembly
––Fascia (Control) Panel (2)
Fascia (Control) Panel (2)
Control modules can be readily removed from fascia panels, but there’s a knack to it
– must use the procedure below exactly as shown
.
HINT: Don’t force modules out from fascia panels
to avoid breaking plastic parts. If modules don’t
come out easily, the procedure hasn’t been
followed and plastic parts will break.
Start from left side Pry outer & inner tabs together L – R Pry out (3) inner tabs + all outer tabs
HINT: The knob does NOT have
to be removed to remove the
control module. The module lifts
off completely from the panel,
knob & buttons.
HINT: Don’t remove the wire
holders – clip off wire ties
instead. Carry extra wire ties to
reattach wire harnesses.
NOTE: Some control modules have been
replaced since fault codes stored in
module or motor control can’t be cleared.
Modules are operating properly and
shouldn’t
be replaced to clear fault codes.
702_58300000133618_ara_en_a
Rev 0 (1/17/08)
4
Disassembly
Disassembly
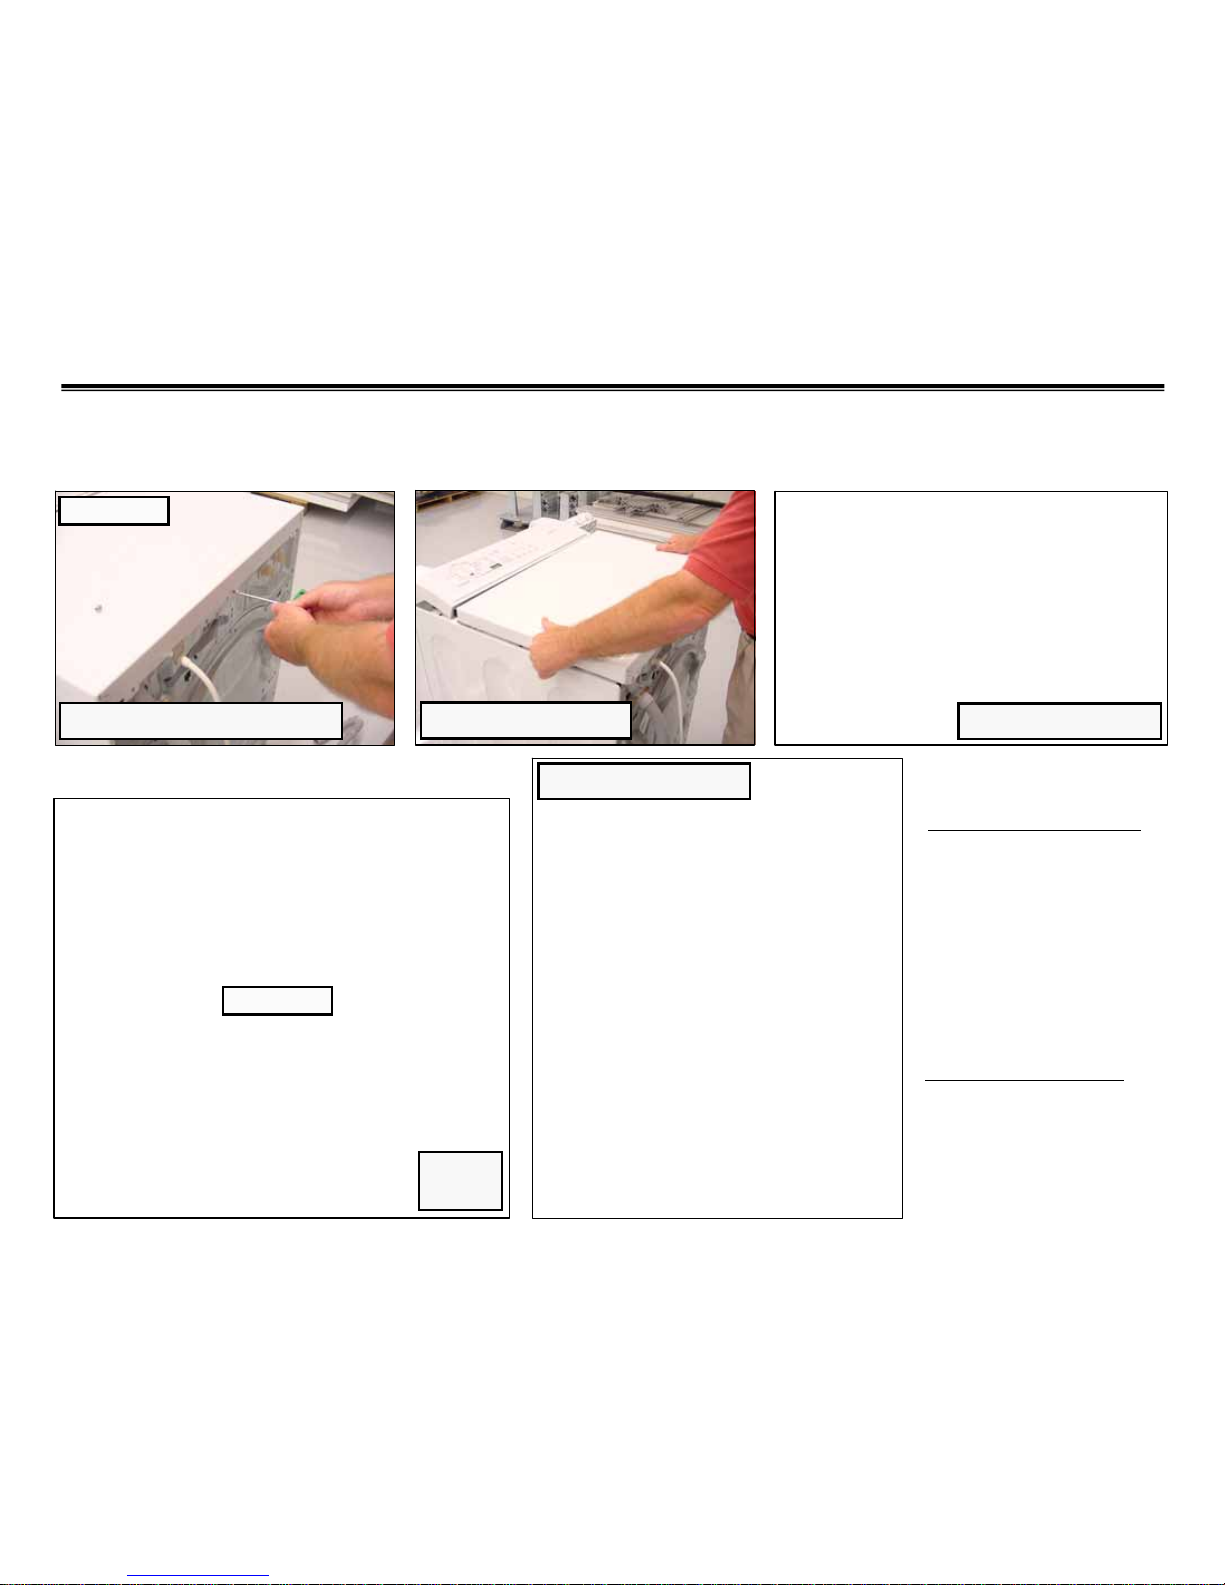
––Top & Rear Panels (1)
Top & Rear Panels (1)
To remove rear panel to
access drive motor and
rear of drum, remove
(18) T-20 screws.
There’s no need to
remove the top rear
panel (with “H” & “C”
stampings).
To remove top panel
(for
easier parts access),
remove (3) T-20 screws
and slide panel to rear of
washer.
Remove top panel
Remove top panel screws
Rear
panel
Top panel removed
Rear panel removed
T-20 screws
T-20 screws
702_58300000133618_ara_en_a
Rev 0 (1/17/08)
5
Disassembly
Disassembly
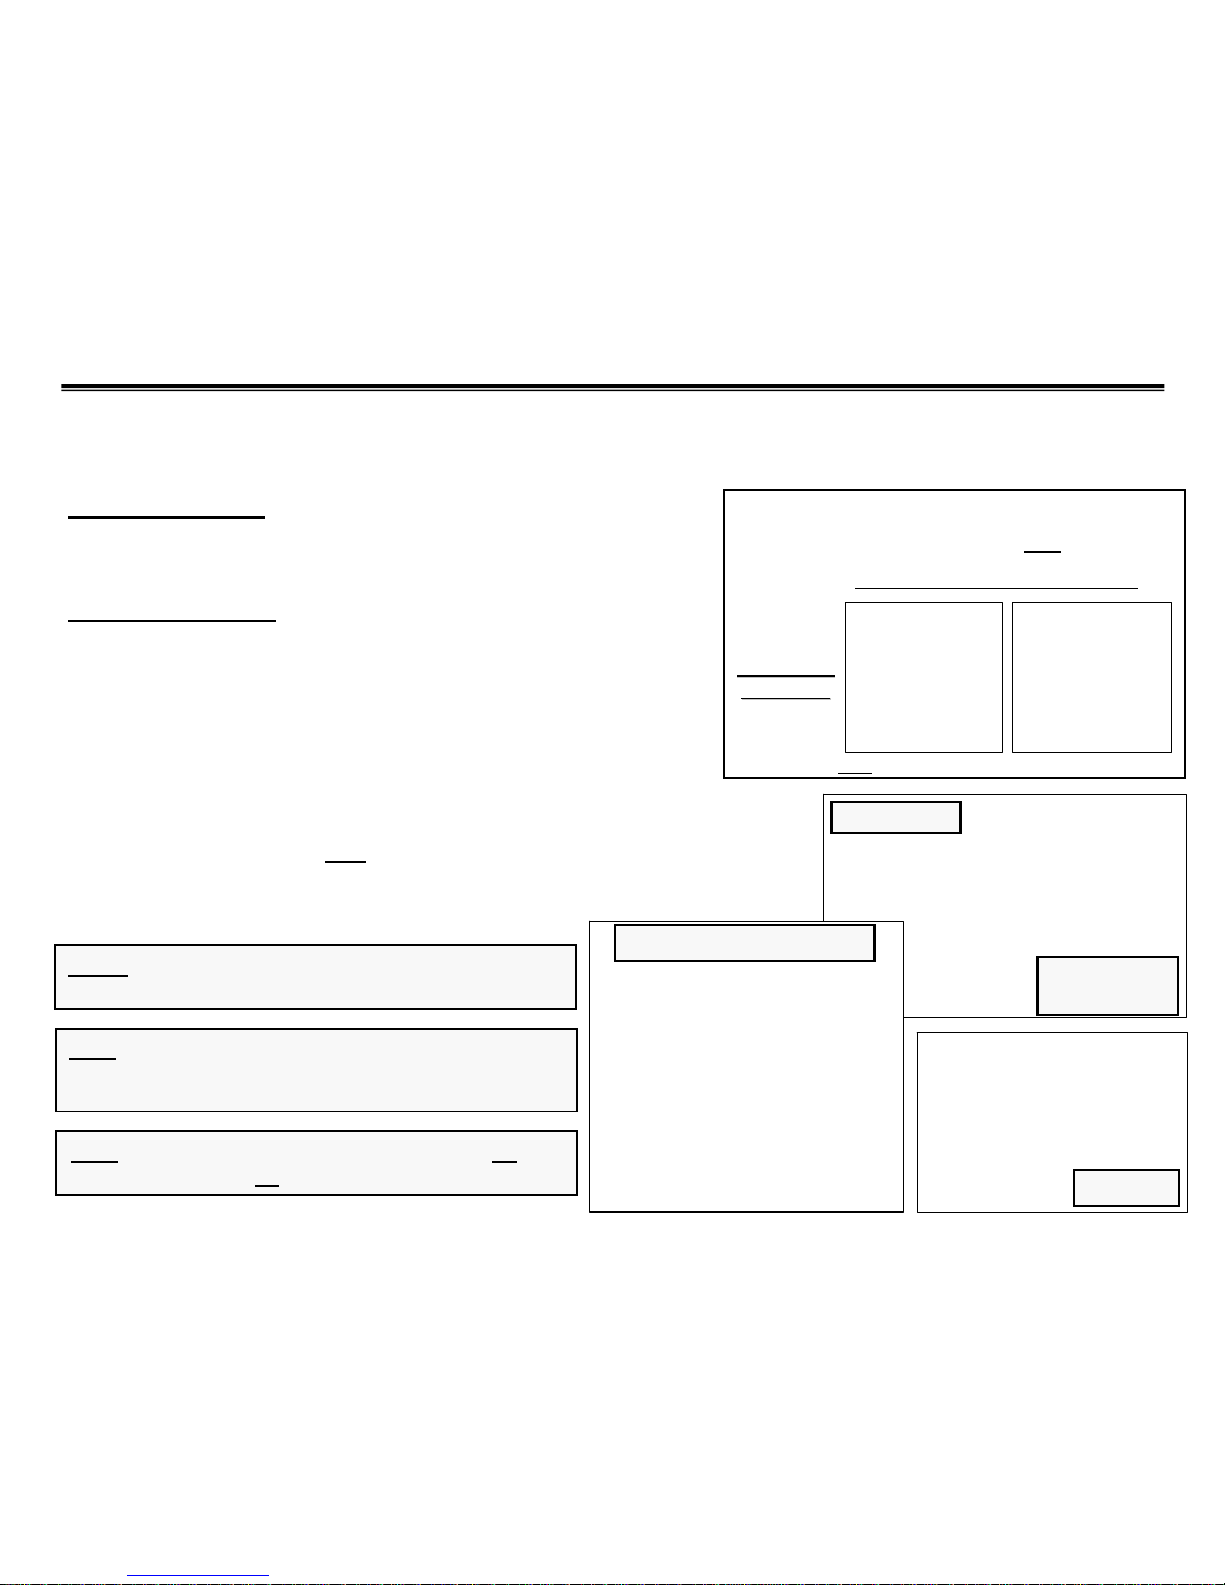
––Tub, Drum & Dampers
Tub, Drum & Dampers
HINT: Unlike WFL2060 & WFR2460 washers, no clips
hold tubs together – no
drilling or cutting is needed.
Outer drum (tub)
The tub consists of two durable Polinox plastic shells
screwed to each other.
To remove outer tub
:
1. Disconnect wire harnesses (as needed) – wire ties
can be cut off, but clips shouldn’t be cut.
2. Remove front panel, rear panel, fascia panel (with
detergent dispenser) and top panel.
3. Remove door seal, top counterweight and both side
counterweights.
4. Disconnect dampers from tub and slip belt off of tub.
5. Remove tub through rear
of washer.
6. Remove (18) T-25 Torx screws holding front & rear
tubs together.
HINT: When installing outer tub bolts, screw them in by
hand onto the first thread. Do not overtighten or crossthread them.
NOTE: Rear drum bearings are factory press fit into
rear outer tubs and cannot be removed or serviced.
Removing
tub screws
Damper
Removing front of tub
T-25 screws
Comparing
Comparing
tub resins
tub resins
All washers starting with index __/04 have new resin tubs, front
and rear, with a translucent beige-tan color compared to older
blue-white tubs. To avoid leaking, tubs must
have the same
resin front and rear, whether older blue-white tubs or new
beige-tan tubs – front/rear tub resin types cannot be mixed
.
NOTE: You can see your fingers through new resin tubs
OldNew
702_58300000133618_ara_en_a
Rev 0 (1/17/08)
6
Disassembly
Disassembly
––Drum Drive Motor
Drum Drive Motor
To remove drum drive motors:
• Remove rear panel
• Remove rear tub spring
• Remove drum belt
• Disconnect wire harnesses
• Remove two motor bolts, then pull motor out
toward rear of washer
WARNING: The drum drive motor & tub are grounded
through the motor control. Since the tub is plastic and the
motor is isolated from the frame, Its critical the ground
leads from the tub, drive motor & motor control are
connected properly.
Drum drive
motor
Rear tub
spring
10mm bolts
HINT: Drum drive motors and controls have changed a
few times – motors and motor controls can’t be mixed.
702_58300000133618_ara_en_a

Rev 0 (1/17/08)
7
To remove drain pumps:
• Remove front panel
• Loosen and remove hoses
• Disconnect green door latch release cord.
• Disconnect wire harness
• Carefully slide pump toward rear of washer,
then lift it out of washer (taking care to not
damage the four rubber feet).
Disassembly
Disassembly
––Drain Pump
Drain Pump
HINT: Drain pumps are mounted on
four rubber feet to dampen vibration &
noise. To remove drain pumps,
carefully slide them toward rear of
washers. To install them, carefully
insert all four feet into notches in
washer base, then slide them forward.
Drain
pump
Note four mounting feet
Drain
pump
Current production pumps are beige
color – earlier WFMC pumps were black.
CAUTION: If opening drain pump
access cover, take care to not get
cut on front panel opening.
Rear access is best
for most repairs.
702_58300000133618_ara_en_a
Rev 0 (1/17/08)
8
Disassembly
Disassembly
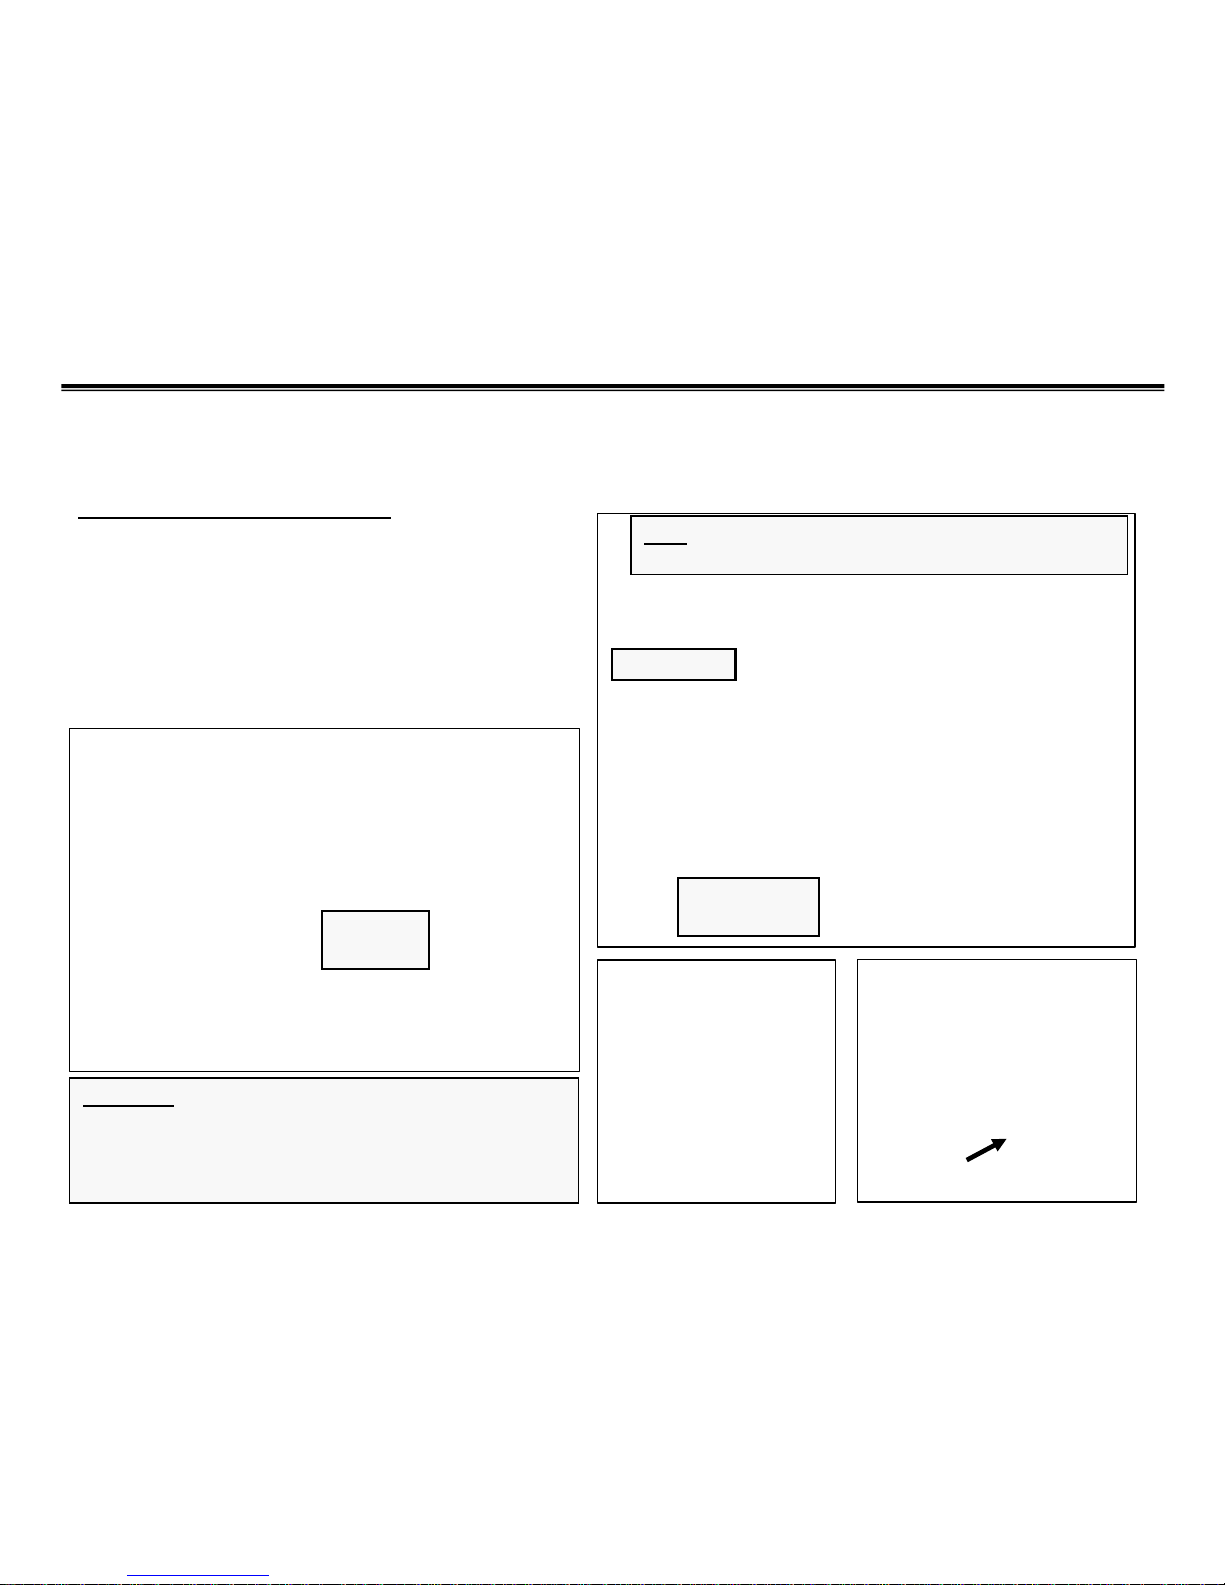
––Front Panel (1)
Front Panel (1)
Remove door latch screws Carefully remove front shield Removing front shield
Remove hinge cover screws Remove hinge screws Remove door seal spring
Rear access is best
for most repairs.
Hinges cannot
be reversed.
702_58300000133618_ara_en_a

Rev 0 (1/17/08)
9
Disassembly
Disassembly
––Front Panel (2)
Front Panel (2)
Front panel tab
Remove front panel
Remove top front panel screws Remove bottom front panel screws Note front panel mounting tabs
HINT: Removing front panel at this point will make
removing front counterweights easier.
HINT: Front panels are mounted using six (6) plastic tabs
– three (3) on each side. Lift front panels up to remove
them. When reassembling front panels, carefully align tabs
and don’t use excessive force to avoid breaking tabs.
HINT: Most washer screws require T-20 Torx
screwdrivers.
T-20 screws
T-20 screws
702_58300000133618_ara_en_a
 Loading...