


MZ30PGSSI
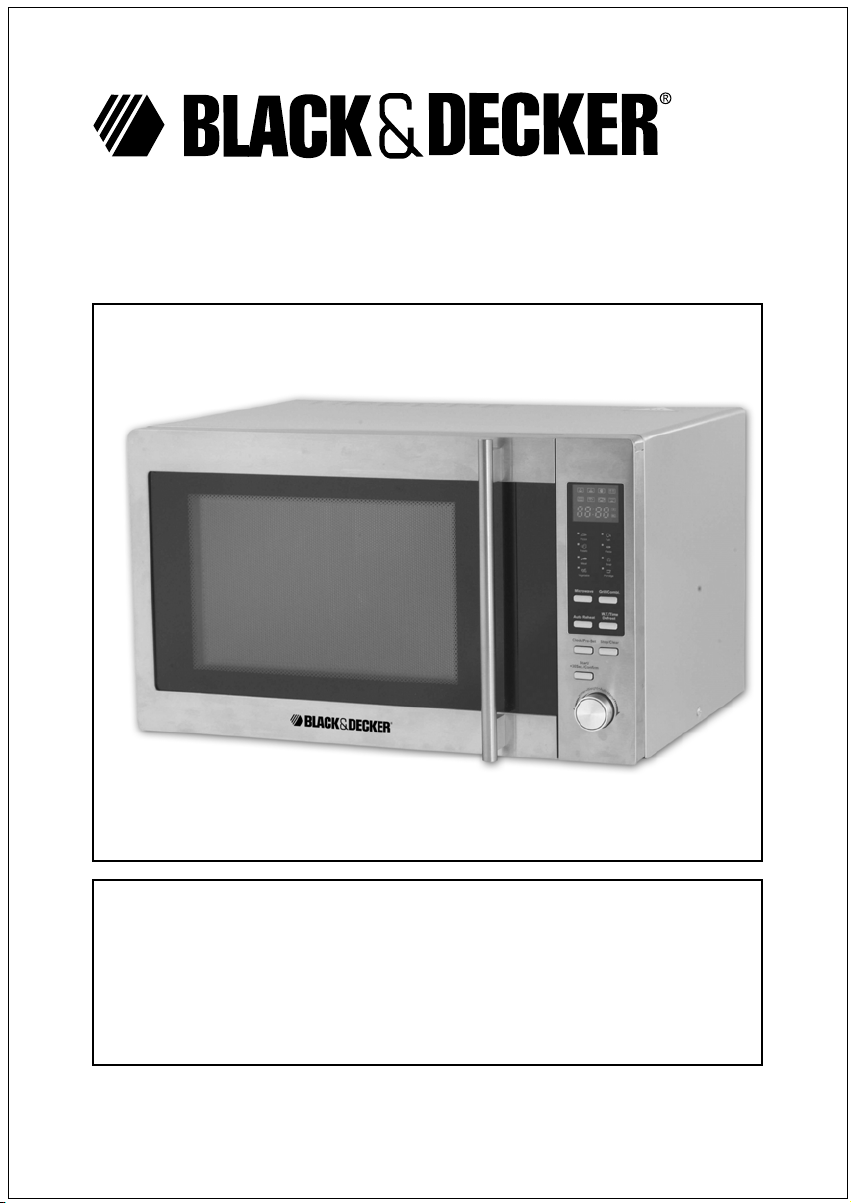
Microwave Oven
First Use Safety Recommendation
Please read through this booklet for safe and efficient use of the appliance.
We urge you to read the "Hint's" section and also follow all detailed
instructions even if you are familiar with using this appliance.
Keep this guide handy for future reference.
English Page 02
Arabic Page 23
MZ30PGSSI

English
Fig A
6
P
i
z
z
a
F
i
s
h
P
ot
at
o
P
ast
a
M
e
a
t
S
o
u
p
V
e
g
e
t
ab
le
Po
r
r
i
d
g
e
M
i
cr
o
wave
Gri
l
l
/
Co
m
bi
.
W
.T
/
T
i
m
e
Au
t
o
R
e
h
e
a
t
D
e
fr
o
s
t
C
lo
c
k
/
P
r
e
Se
t
S
to
p
/C
l
e
a
r
S
tart
+30
S
e
c
/
C
o
n
fi
r
m
4
3
2
1
12
10
5
9
8
4
3
P
i
z
z
a
F
i
s
h
P
o
t
a
t
o
P
a
s
t
a
Me
a
t
So
u
p
V
e
g
e
t
a
b
l
e
P
o
r
r
i
d
g
e
M
ic
r
o
w
a
ve
G
r
i
l
l/Co
m
b
i.
A
u
t
o
R
e
h
e
a
W.T/
t
T
i
m
e
D
e
f
ro
s
t
Cl
o
c
k/P
r
e
-S
e
t
S
t
o
p
/
C
l
ea
r
S
t
a
r
t
+30
S
e
c
/
C
o
n
fi
r
m
2
7
-2-

English
Fig B Fig C
3
11 Mica plate, Do not remove
Piz
za
Fi
sh
P
ot
a
to
P
as
ta
M
ea
t
Soup
V
e
geta
b
le
Por
r
idge
Mic
rowave
/Combi.
Grill
W.T
/Time
o Reheat
Aut
D
ef
rost
Clo
ck/Pre
-Set
p/Clear
Sto
Sta
r
t
+30Se
c
/C
on
fir
m
4
Intended use
Your Black & Decker microwave oven is
designed to heat appropriate foods &
beverages using electromagnetic radiation.
Always check the suitability of ingredients
before cooking. Do not use this appliance
for any other purpose. This product is
intended for indoor household use only.
Safety instructions
IMPORTANT SAFETY INSTRUCTIONS
READ CAREFULLY AND KEEP FOR
FUTURE REFERENCE
• While using electrical appliances, in
order to reduce the risk of fire, electric
shock, and / or injury to persons, basic
safety precautions should be followed,
including the following:
Warning: If the door or door seals are
damaged, the oven must not be operated
until it has been repaired by a competent
person.
Warning: It is hazardous for anyone other
than a competent person to carry out any
service or repair operation that involves the
removal of a cover which gives protection
against exposure to microwave energy.
Warning: Liquids and other foods must not
be heated in sealed containers since they
are liable to explode
Warning: Only allow children to use the
oven without supervision when adequate
instructions have been given so that the
child is able to use the oven in a safe way
and understands the hazards of improper
use.
• This microwave oven is a free-standing
unit & must not be built-in or placed in a
cabinet.
-3-

English
• The oven must have sufficient airflow. To
ensure good ventilation, a gap of 10
centimetres is required at the back, 15
centimetres at one side, 30 centimetres
at the other side and 30 centimetres
above.
• Only use utensils that are suitable for
use in microwave ovens
• When heating food in plastic or paper
containers, keep an eye on the oven due
to the possibility of ignition
• If smoke is observed, switch off or
unplug the appliance and keep the door
closed in order to stifle any flames
• Microwave heating of beverages can
result in delayed eruptive boiling
therefore care must be taken when
handling the container
• The contents of feeding bottles and
baby food jars shall be stirred or shaken
and the temperature checked before
consumption, in order to avoid burns
• Eggs in their shell and whole hard-boiled
eggs should not be heated in microwave
ovens since they may explode, even
after microwave heating has ended
• The oven should be cleaned regularly
and any food deposits removed
• Failure to maintain the oven in a clean
condition could lead to deterioration of
the surface that could adversely affect
the life of the appliance and possibly
result in a hazardous situation
• To protect against the risk of electric
shock, DO NOT IMMERSE the
appliance, cord set or plug in water or
other liquids.
• Do not remove the feet from this
product.
• Do not place any item on top of the
oven.
• Do not cook food directly on the tray.
Always use a bowl or other container
that is suitable for use in a microwave
oven
Using your appliance
• Do not operate any appliance with a
damaged cord or plug, or after the
appliance malfunctions, or is dropped or
damaged in any manner. Return the
complete appliance to your nearest
authorised service facility for
examination, electrical repair, mechanical
repair or adjustment to avoid any hazard.
• Do not attempt to repair the appliance
yourself; instead, take it to your Black &
Decker-owned or Authorised Service
Centre for repair.
• The use of attachments or accessories
not recommended or sold by this
appliance manufacturer may result in fire,
electric shock or personal injury.
• Do not let the cord hang over the edge of
a table, counter, or touch hot surfaces.
• Avoid touching hot surfaces, use handles
and knobs.
• Do not operate or place any part of this
appliance on or near any hot surfaces
(such as gas or electric burner or in a
heated oven) or any appliance that
generates steam.
• Do not abuse the cord. Never carry the
appliance by the cord or yank it to
disconnect it from the outlet; instead,
grasp the plug and pull to disconnect.
• When using an extension cord with your
appliance, make sure the extension cord
is correctly wired, and rated for its use.
• The microwave oven should be placed on
a flat stable surface which can hold the
weight of the appliance and the heaviest
of food likely to be cooked inside.
• Do not operate the microwave oven
without the tray or roller support or shaft
in their proper positions.
• Make sure that the power supply cord is
undamaged and does not run under the
microwave oven or over any hot or sharp
surfaces.
-4-

English
• Do not operate the appliance when
empty. This could damage the oven.
• Do not use the oven to store any items.
• Food surrounded by a membrane, such
as egg yolks, potatoes, chicken livers,
etc. must be pierced several times with
a fork before cooking.
• Do not use metal pans or dishes with
metal handles.
• Never place any item with a metal trim
inside a microwave.
• Always remove twist-ties from any foods
before operating the microwave.
• Some plastics are not suitable for use in
a microwave. Always check the
suitability of any item before use.
• Do not cook in a container with a
restricted opening as they may explode
if heated in a microwave oven.
• Conventional meat or candy
thermometers must not be used in the
oven. Only thermometers that are
specifically made for microwaves should
be used.
• Microwave utensils should be used only
in accordance with the manufacturer's
instructions.
• Do not attempt to deep-fry foods in this
oven.
• Microwave ovens heat the food in a
container and not the container itself. It
is always necessary to check the
temperature of the food to ensure it is
correctly cooked.
• Do not place the oven where heat,
moisture or high humidity are generated,
or near combustible materials.
Warning: Check the oven for any damage,
such as a misaligned or bent door,
damaged door seals and sealing surface,
broken or loose door hinges & latches and
dents inside the cavity or on the door. If
there is any damage, do not operate the
oven.
• Do not cover or block any openings on
the appliance.
• Do not use solvents or other corrosive
chemicals or vapours for cleaning this
appliance.
• Never leave metal utensils in the
Microwave.
• During use the appliance becomes hot.
• Care should be taken to avoid touching
heating elements inside the oven.
Warning: Accessible parts may become hot
during use. Young children should be kept
away.
• Do not use harsh abrasive cleaners or
sharp metal scrapers to clean the oven
door glass since they can scratch the
surface, which may result in shattering of
the glass.
• The temperature of accessible surfaces
may be high when the appliance is
operating.
• This appliance is not intended to be
operated by means of external timer or
separate remote-control system.
• The door or the outer surface may get
hot when the appliance is operating.
• Always stir food to distribute the heat
evenly and allow it to stand for a few
minutes before consumption.
• Containers used for cooking can become
hot because of heat transferred from the
heated food. Always use oven gloves
when removing items from the oven.
• If steam accumulates inside or around
the outside of the oven door, wipe with a
soft cloth. This may occur when the
microwave oven is operated under high
humidity conditions and in no way
indicates malfunction of the unit.
-5-

English
Safety of others
• This appliance is not intended for use by
persons (including children) with
reduced physical, sensory or mental
capabilities, or lack of experience and
knowledge, unless they have been given
supervision or instruction concerning
use of the appliance by a person
responsible for their safety.
• It is not recommended that this product
is used by children
• Children should be supervised to ensure
that they do not play with the appliance.
• Close supervision is necessary when
any appliance is used by or near
children.
• Never leave an appliance unattended
when in use.
After use
• Switch off and remove the plug from the
power outlet when not in use, before
assembling or disassembling parts,
cleaning or carrying out any
maintenance of the appliance. Never
pull the cord while removing it from the
power outlet.
• Keep children and animals away from
the unit and cord set.
Inspection and repairs
If the supply cord is damaged, it must be
replaced by the manufacturer, its service
agent or similarly qualified persons in order
to avoid a hazard.
Electrical safety
This product must be earthed.
Always check that the power supply
corresponds to the voltage on the rating
plate
Power plugs must match the outlet. Never
modify the plug in any way. Do not use any
adaptor plugs with earthed (Class l)
appliances. Unmodified plugs and
matching outlets will reduce the risk of
electric shock.
Never operate an appliance directly below
the socket-outlet it is connected to.
The power outlet this oven is connected to
must be readily accessible so it can be
easily unplugged if necessary.
Do not insert any object into the openings
on the outer case.
Extension cables & Class l product
• A 3-core cable must be used as your
appliance is earthed and of Class l
construction.
• Up to 30m (100 ft) can be used without
loss of power.
• If the supply cord is damaged, it must
be replaced by the manufacturer or an
authorised Black & Decker Service
Centre in order to avoid a hazard.
Parts Identification (Fig A)
1 Control panel
2 Turntable shaft
3 Roller support
4 Tray
5 Observation window
6 Door
7 Safety interlock system
8 Door handle
9 Grill rack
10 Grill elements
11 Mica plate (Do not remove)
12 Control dial
• Make sure that all packaging materials
have been removed before use.
• Inspect the oven after unpacking for any
damage such as a misaligned or
damaged door, dents or holes in the
door window and screen, and any dents
in the cavity. If any of these are seen,
DO NOT use the oven.
• Clean the appliance before first use.
-6-
English
Assembly (Fig. B)
Warning! Before assembly, make sure that
the appliance is switched off and
unplugged.
• Place the appliance on a flat, even
surface.
• Open the door (6) & place the turntable
shaft into the hole in the cavity base.
• Place the roller support (3) into the
recess in the cavity. Place the tray (4) on
top of the roller support.
• Connect the appliance to a suitable
electrical supply.
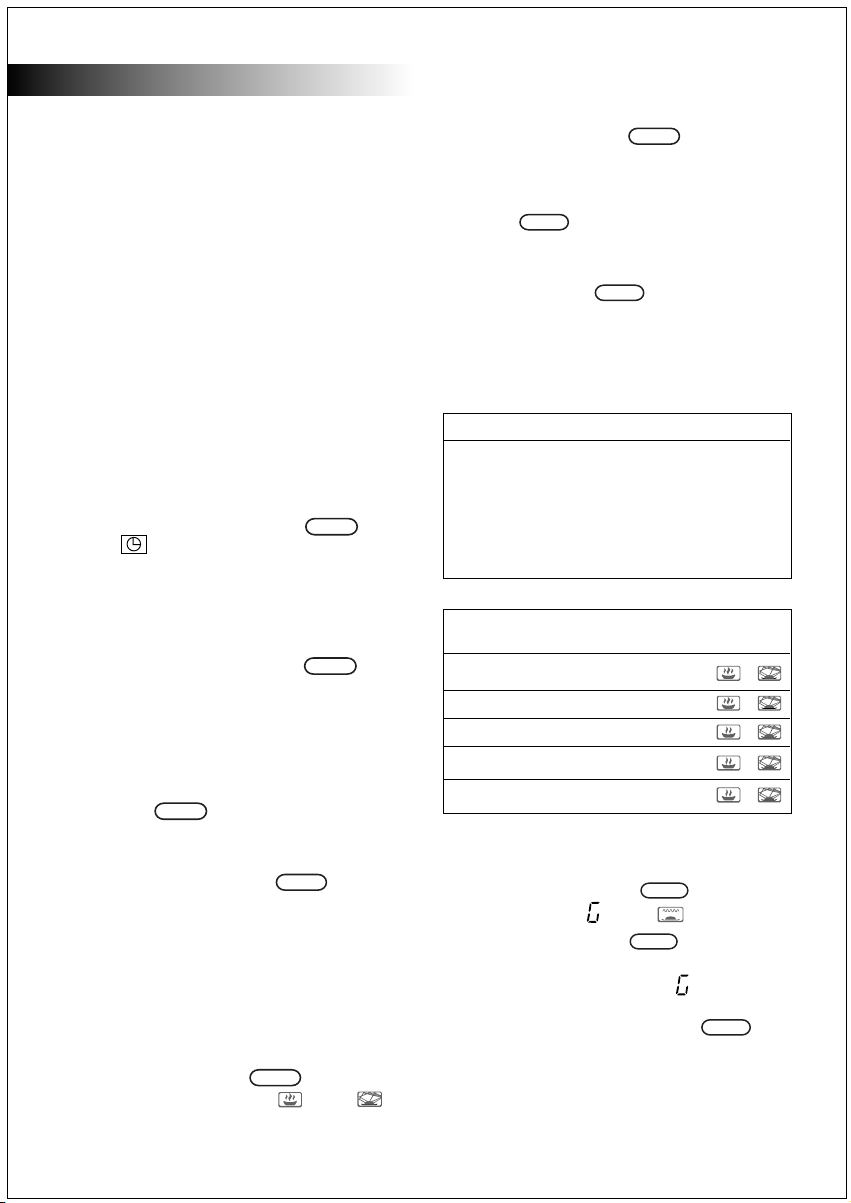
Setting the Clock
When the oven is connected to the electrical supply, the LED will display "0:00".
Clo
ck/Pre
• Press the "Clock / Pre-set" button.
-Set
The symbol will be shown in the
display and the hour figures will flash.
• Rotate the control dial (12) to select the
required hour. The input time must be
between 0 and 23.
Clo
ck/
• Press the "Clock / Pre-set" button
Pre-Set
again. The minute figures will flash
• Rotate the control dial (12) to select the
required minute figures. The input time
must be between 0 and 59.
• To finish setting the clock, press “Clock /
Clo
ck/
Pre
Pre-set” button one more time.
-Set
The symbol “:” will flash in the display
and the set time will be shown.
Stop
Note: If the "Stop / Clear" button is
/Clear
pressed while setting the clock, the oven
will revert to its previous state automatically.
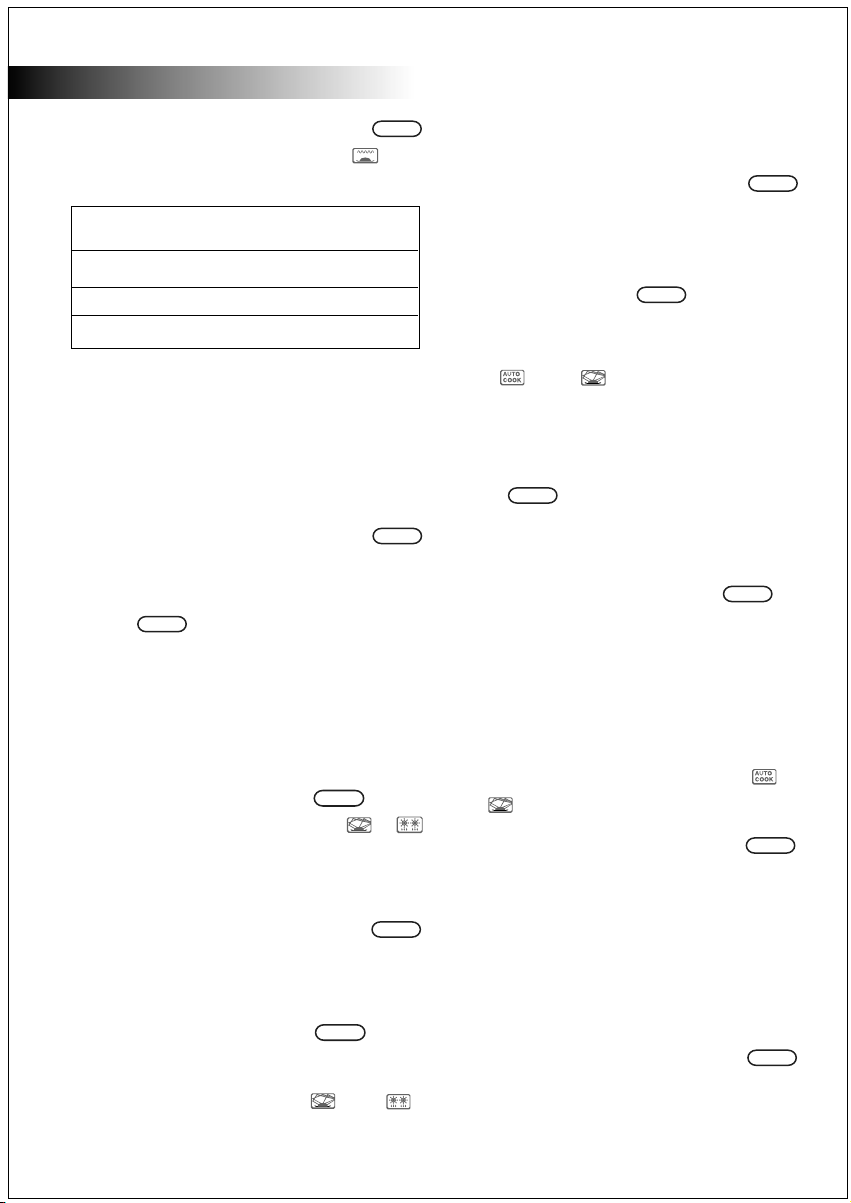
Use (Fig. C)
Open the oven door then place the
container onto the tray (4) then close the
door.
Mic
ro
wa
v
Press the "Microwave" button. The
e
display will show “P100” “ ”and “ “.
To change the microwave power, either
Micro
w
a
press the “Microwave” button
ve
repeatedly, or rotate the control dial (12)
until the required power is shown in the
display, Then press the “Start / + 30 Sec. /
Confirm” button.
Start
+30S
ec/
Con
fir
m
Set the required cooking time using the
control dial (12), then press the “Start / +
30 Sec. / Confirm” button again to
Start
+30S
ec/
Con
fir
m
start cooking.
Note: When the control dial is rotated, the
time will increase in by different values as
shown below:
Time Step
0 - 1 minute : 5 seconds
1 - 5 minutes : 10 seconds
5 - 10 minutes : 30 seconds
10 - 30 minutes : 1 minute
30 - 95 minutes : 5 minutes
Setting Microwave Display
Power
1 100% P100
2 80% P80
3 50% P50
4 30% P30
5 10% P10
Grill and Combi. Cooking
Gril
l
/Co
mbi
Press the "Grill / Combi" button. The
.
LED will display " " and" ".
Gril
l
/Comb
i
Press the Grill / Combi button
.
repeatedly, or rotate the control dial (12) to
select the required power - " ","C-1" or
"C-2" will be shown in the display. Press
the "Start / +30 Sec. / Confirm"
Start
+30S
ec/
Con
firm
button then set the cooking time using the
control dial. The cooking time can be set
between 5
seconds
and 95 minutes.
-7-
English
Start
+30Sec/Confir
Start
+30Sec/Confir
Start
+30Sec/Confirm
m
m
Press the "Start / +30 Sec. / Confirm"
button again to start cooking. The “ ”
symbol will flash during cooking.
Setting Microwave Display Grill
Power Power
1 0% G 100%
2 55% C-1 45%
3 36% C-2 64%
Note: Half-way through the set cooking time,
an audible signal will sound twice. Turn the
ingredients over and close the door. The
oven will resume cooking automatically.
Quick Start
Press the "Start / +30 Sec. / Confirm"
button to start cooking with 100% power.
Note: Each time the "Start / +30 Sec. /
Confirm" button is pressed while using
Start
+30S
ec/
Con
fir
m
the microwave, grill, combi.cooking or time
defrost functions, the cooking time will
increase by 30 seconds up to a maximum of
95 minutes.
Defrost By Weight
W.T/
Ti
me
Def
Press the "W.T. / Time Defrost" button
rost
once.The display will show "dEF1", , &
Rotate the control dial (12) to select the
required weight of food from 100 to 2000 g.
Press the "Start / +30 Sec. / Confirm"
button to start defrosting.
Defrost By Time
Press the "W.T. / Time Defrost" button
W.T/Time
Defrost
twice.
The oven will display "dEF2", “ ” and ‘ ‘.
Rotate the control dial (12) to select the
required defrost time.
Start
Press the "Start / +30 Sec. / Confirm"
+30Sec/Confirm
button to start defrosting.
Auto Reheat
Auto R
ehea
Press the "Auto Reheat" button once.
t
The LED will display "200" and “g” to
indicate 200g of food. The display will also
show “ “ and “ “.
The weight of food to be reheated can be
200, 400 or 600 grams. This is selected by
either repeatedly pressing the "Auto
Reheat" button or rotating the control
Auto Reheat
dial (12) until the required amount of food is
shown.
Press "Start / +30 Sec. / Confirm"
Start
+30Sec/Confirm
button to start cooking.
Auto Menu
Rotate the control dial (12) clockwise until
the required menu is shown in the display.
The display will show "A-1" to "A-8", “ “
and “ “.
Start
Press the "Start / +30 Sec. / Confirm"
+30Sec/Confirm
button to confirm the selection.
Rotate the control dial (12) until the
required weight is displayed.
Note: The available weights are shown
below.
Press the "Start / +30 Sec. / Confirm"
Start
+30S
ec/
Con
button to start cooking.
firm
-8-
 Loading...