


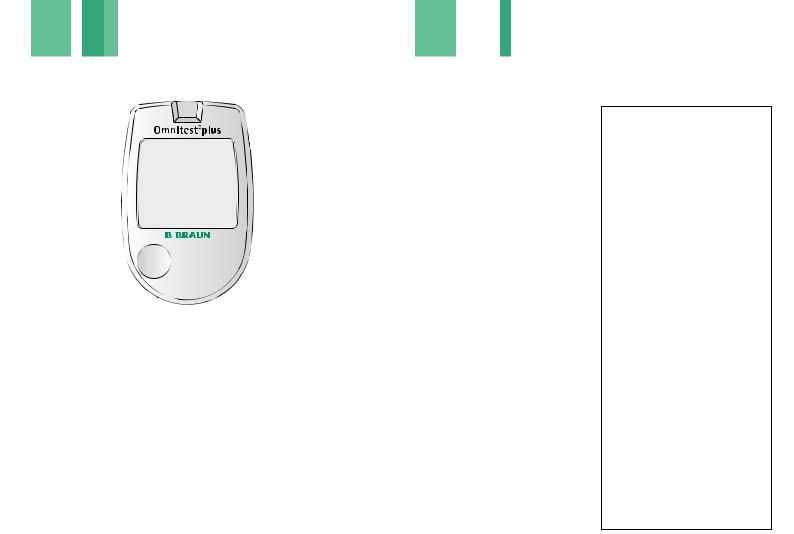
Omnitest® plus
Blood Glucose
Monitoring System
www.omnitest.bbraun.com

Important |
|
|
information |
|
|
|
|
|
|
|
|
|
|
Content |
|
|
|
|
|
|
|
|
|
|
|
|
|
|
|
|
|
|
|
|
|
|
|
|
|
|
|
|
|
|
|
|
|
|
|
|
|
|
|
|
|
|
|
The Omnitest® plus system provides a quick and easy way to measure the blood glucose level. Omnitest® plus could be used for self-monitoring of blood glucose level by diabetes patients.
It should be used only for testing blood glucose (sugar) and only with fresh capillary whole blood samples. It should not be used for the diagnosis of diabetes or for the testing of newborns (neonates). Do not use Omnitest® plus system for any purpose other than blood glucose test. The Omnitest® plus system is intended for use outside the body (in vitro diagnostic use only).
Warning
Before using Omnitest® plus meter, read all instructions in this manual and the additional information given in instructions for use of the test strips. Practice for accurate and safe test. You should have commentary recommendation from your diabetes care professional for the proper use of this meter and daily management of your diabetes.
Do not change your therapy due to blood glucose results of the Omnitest® plus system without prior consulting your physician.
2
Omnitest® plus Blood Glucose Monitoring System |
4 |
The Meter, Display Segments |
6 |
Quick Reference |
8 |
Omnitest® plus Blood Glucose Test Strip |
12 |
Code the Meter |
14 |
Battery |
16 |
Checking the Meter Display |
17 |
Check Strip |
18 |
Using Control Solution |
19 |
Set the Meter |
24 |
Set the Buzzer |
25 |
Set the 12 Hour or 24 Hour mode |
25 |
Set the Date and Time |
26 |
Set the Test Result Unit (mg/dL or mmol/L) |
27 |
Set the Temperature Unit (°C or °F) |
27 |
Set the Average Day |
28 |
Set the Alarm |
29 |
Reviewing Your Results |
30 |
Deleting Test Results |
31 |
Collecting a Drop of Blood Sample |
32 |
Testing Your Blood Glucose |
35 |
Maintain Your Blood Glucose Monitor System |
44 |
Troubleshooting |
46 |
Specifications |
50 |
Transfer Test Results to a Computer |
53 |
Blood Glucose Conversion Table |
54 |
|
3 |

Omnitest® plus Blood Glucose Monitoring System


|
|
|
|
|
|
|
|
|
|
||||
|
||||||
|
||||||
|
|
|
|
|
||
|
|
|
|
|
||
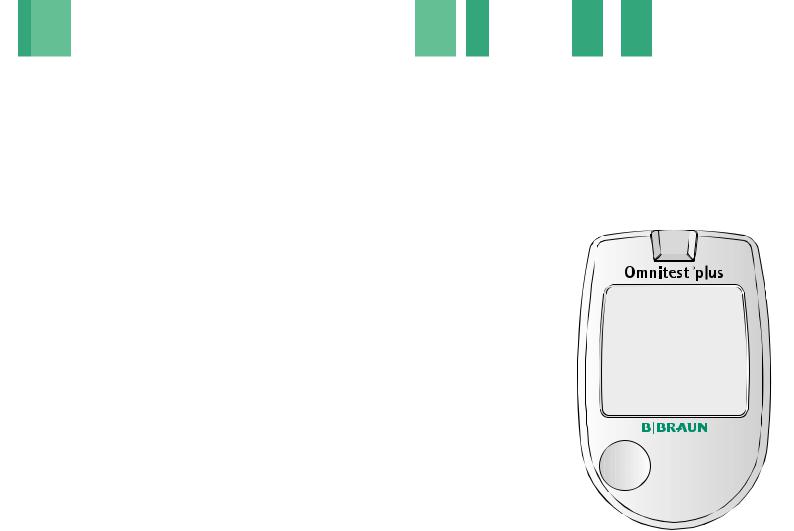
Omnitest® plus meter |
Omnitest® plus test strips |
|
One 3V Li-battery (CR2032) |
(may be sold separately) |
|
|
||
Check strip |
Omnitest® plus Control |
|
control solution |
||
|
||
|
(sold separately) |
Check your Omnitest® plus system to contain all parts shown at the outer packaging. If anything is missing, please return your system to the place of purchase or contact your nearest B. Braun representative.
4 |
5 |
|
The |
Meter |
|
|
|
|
|
|
|
|
|
|
|
|
|
|
|
|
Display |
|
|
Segments |
|
|
|
|
|
|
|
|
|
|
|
|
|
|
|
|
|
|
|
|
|
|
|
|
|
|
|
|
|
|
|
|
|
|
|
|
|
|
|
|
|
|
|
|
|
Test strip port
Data transfer port


 LCD display
Up button |
|
|
|
|
|
|
|
Down button |
|
|
|
|
|
|
|
||
|
|
|
|
|
||||
|
|
|
||||||
|
|
|
|
|
|
|
|
|
|
|
|
|
|
|
|
|
|
Power +
Select button
Test strip ejector 

Product label
Battery cover 
Segment Meaning
The battery symbol means the battery is low and should be changed soon.
The “DEL” mark will display when you can delete results from the meter memory.
Close the test strip vial cap.
The “MEM” mark will display while reviewing the results.
The “SET” mark will display during ALL meter setting.
The “CODE” mark will display while coding the meter.
Segment Meaning
“AVG” is displayed when average results are shown.
Control solution symbol
Alarm symbol
Buzzer symbol
Sample applying symbol
Test result unit
Temperature symbol
Year
Month
Day
0 - 12 o'clock
12 - 24 o'clock
6 |
7 |
Quick Reference
1 |
2 |
3 |
4 |
CODE? |
|
3 |
|
sec. |
|
8 |
9 |
Quick Reference
5
a) |
c) |
d) |
f) |
b) |
|
e) |
6 |
7 |
8 |
10 |
|
11 |

Omnitest® plus Blood Glucose Test Strip
Omnitest® plus test strips are only to be used with Omnitest® plus meter for accurate analysis of your blood glucose level.
Use the test strip exactly as described in the user’s manual for
Omnitest® plus test strips.
|
|
|
|
|
|
Opening of the |
|
|
|
|
|
|
|
|
|
|
|
|
|
measurement |
|
|
|
|
|
|
|
Confirmation window |
|
|
|
|
|
chamber |
|
|
|
|
|
|
Meter contacting leads
Storage and Handling:
■Prior to first use. Check that the vial is undamaged and closed.
■Store the Omnitest® plus test strip vials in a cool, dry place between 2 - 30 °C (36 - 86 °F). Do not refrigerate or freeze. Keep out of direct sunlight. Do not use test strips which had been stored under inappropriate conditions.
■Store test strips in its original vials only. Do not put the test strips in new vials or in any other container.
■Close the vial cap tightly immediately after removing an Omnitest® plus test strip. This keeps the strips fully functional
right up to the expiry date.
12
■Use test strip immediately after removing it from the vial.
■Do not use test strips after the expiration date  printed on the package or vial since it may cause inaccurate results.
■Make a notation of the date on the vial label when you first open it. Discard remaining Omnitest® plus test strips 3 months after first opening the vial.
■Avoid getting dirt, food or water on the test strip. Do not handle test strips with wet hands. All parts of the test strip could be touched with dry and clean fingers.
■ Do not bend, cut, or alter an Omnitest® plus test strip.
■Omnitest® plus test strips are for single use only.
■Do not perform blood glucose tests at temperature below +10 °C (50 °F) or above +40 °C (104 °F), above 90 % relative humidity.
■Warning! Keep the test strip bottle away from children. A child could choke on the cap or the test strips. The test strip and the vial wall contains agents that may be harmful if swallowed.
Note
Please refer to the user’s manual for Omnitest® plus blood glucose test strip for additional information.
13
Code the Meter
Code numbers are used to calibrate the Omnitest® plus meter for accurate results. You must confirm the code number of the test strip vial with the number shown on the meter, before using Omnitest® plus test strips.
Press  button to increase the code number or
  button to decrease the code number. The number increases or decreases by one digit every time you press
  or
or  button while the code number appears on the display. The code number increases or
decreases automatically and fast while holding to press |
or |
|||||||
button. |
|
|
|
|
|
|
||
|
|
|||||||
|
|
|
|
|
|
|
|
|
|
|
|
|
|
|
|
|
|
|
|
|
|
|
|
|
|
|
? |
|
|
|
|
|
||
|
|
|
|
|
|
|
|
|
|
|
|
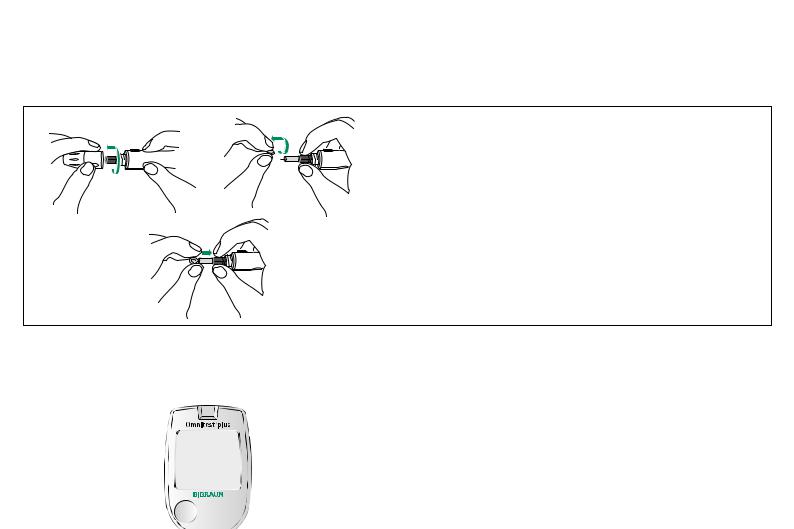
Insert Omnitest® plus test strip to turn on the meter. The code number will appear on the display for 3 seconds. Compare the code number (example; C25) on the meter’s display with the code number on the test strip vial. If these two code numbers match, you can start testing. If these two code numbers do not match, you must code the meter according to the test strip vial code number.
14
If you missed to set the right code number, insert the test strip again.
Caution
Without matching the code numbers, you will not get accurate test results of your blood glucose level.
15
Battery |
|
|
|
|
|
|
|
|
|
|
|
|
|
|
|
|
|
|
Checking |
|
|
the Meter |
Display |
|
|
|
|
|
|
|
|
|
|
|
|
|
|
|
|
|
|
|
|
|
|
|
|
|
|
|
|
|
|
|
|
|
|
|
|
|
|
Change the battery when the battery icon 


 appears on the display or when the meter does not power on by any means.
The meter needs only one 3V Li CR2032 battery. One battery is provided with the Omnitest® plus meter system. When changing battery, pay attention to the polarity, which is printed in the battery holder of the meter. The plus of the battery has to face up.
If the new battery is inserted, at first all segments of the display will be shown. Thereafter an internal check of the electronic takes place in the following seconds.
Correct the date and time setting after the battery change.
Each time you enter a new battery, all segments of the display will appear for 3 seconds. The numbers displayed later are only meant for internal tests of the electronics.
The following picture shows all possible display segments, so that you could check that the display is working properly.
|
|
|
|
|
|
|
|
|
|
16 |
|
|
|
|
|
|
|
|
17 |
|
|
|
|
|
|
|
|
||
|
|
|
|
|
|
|
|
 Loading...