

Page 1

Operating manual
SpectralTransfer
01/2008
- Backup of measurement data
- Backup and recovery of user-defined methods
- Software and methods update
Page 2

SpectralTransfer
Accuracy when going to
press
The use of advanced technology and the high quality standard of our
instruments are the result of continuous development. Consequently,
this may result in some differences between this operating manual and
your instrument. Also,
we cannot guarantee that there are absolutely no errors in this manual.
Therefore, we are sure you will understand that we cannot accept
any legal claims resulting from the data, figures or descriptions.
01/2008
Page 3

SpectralTransfer Contents
SpectralTransfer - Contents
1 Overview . . . . . . . . . . . . . . . . . . . . . . . . . . . . . . . . . . . . . . 5
2 Installation . . . . . . . . . . . . . . . . . . . . . . . . . . . . . . . . . . . . 6
2.1 PC system requirements . . . . . . . . . . . . . . . . . . . . . . . . . 6
2.2 Installation under Windows . . . . . . . . . . . . . . . . . . . . . . . 6
3 Setting up the connection and starting the program . . 7
3.1 Connecting the photometer to the PC . . . . . . . . . . . . . . . 7
3.2 Setting up the ActiveSync
3.3 Starting SpectralTransfer . . . . . . . . . . . . . . . . . . . . . . . . . 9
®
connection . . . . . . . . . . . . . . 7
4 Operation . . . . . . . . . . . . . . . . . . . . . . . . . . . . . . . . . . . . 10
4.1 Backing up measurement data . . . . . . . . . . . . . . . . . . . 10
4.2 Backing up user-defined methods . . . . . . . . . . . . . . . . . 12
4.3 Backing up the multi wavelengths methods . . . . . . . . . . 13
4.4 Software and methods update . . . . . . . . . . . . . . . . . . . . 14
01/2008
3
Page 4

Contents SpectralTransfer
4
01/2008
Page 5

SpectralTransfer Overview
1 Overview
The SpectralTransfer program is used for the direct data exchange between
the photometer and PC. The SpectralTransfer program requires additional
software on the PC for the data exchange (see section 2.1).
When all programs have been installed, you can:
z Backup measurement data saved in the photometer in *.csv format on a
PC
– Exported measurement datasets from the measurement data memory
(concentration, absorbance, transmission and multi-wavelengths
measurements)
– Spectra
– Kinetic records
z Transmit and save user-defined methods
– from the photometer to a PC
– from the PC (existing backup data) to the photometer
z Carry out the software and method update
It is also possible to save the photometer data and carry out the software and
method update by means of a USB memory connected to the photometer.
The transmission of user-defined methods to the photometer, however, is
possible with a direct connection of the PC and photometer only.
01/2008
5
Page 6

Installation SpectralTransfer
2Installation
2.1 PC system requirements
z AT-compatible computer with Pentium processor or higher
z Free USB connection
®
z Operating system from Windows
z Microsoft
®
ActiveSync
®
synchronization software, from version 4.5.0.
The program and installation instructions can be downloaded from
Microsoft
®
under www.microsoft.com.
XP.
Note
For the installation of programs under Microsoft
®
Windows® NT, 2000, XP,
Vista or higher, administrator rights are required.
2.2 Installation under Windows
z Download and install the program, Microsoft® ActiveSync® (version 4.5.0
or higher).
z Insert the installation CD for the SpectralTransfer program in the CD drive.
®
z Call up the Windows
z Select the CD-ROM drive in the Windows
z Double-click on the "SpectralTransfer\SpektralTransfer_Setup.exe"
program.
z Follow the instructions of the setup program.
The program is installed.
Note
For the data exchange of photometer and PC, the
"Microsoft .NET Framework 2.0" program is required in addition to the
SpectralTransfer software.
Explorer.
®
explorer.
If the "Microsoft .NET Framework 2.0" software is not yet available on the PC
it is automatically installed as well.
6
01/2008
Page 7
SpectralTransfer Setting up the connection and starting the program
3 Setting up the connection and starting the
program
3.1 Connecting the photometer to the PC
A USB cable (type A - type B) is required for the connection.
Proceed as follows:
1 Switch on the photometer.
2 Switch on the PC and log in if necessary.
3 Connect the photometer to the PC with the aid of the USB cable.
®
The ActiveSync
program recognizes the connected instrument and
starts automatically (see section 3.2)
Note
ActiveSync
®
is preset to start automatically as soon as the photometer is
connected to the PC. If this setting has been changed you have to start
ActiveSync
®
manually, e.g. in the Windows
®
start menu. You can then adjust
the connection settings (menu, File->Connection settings...).
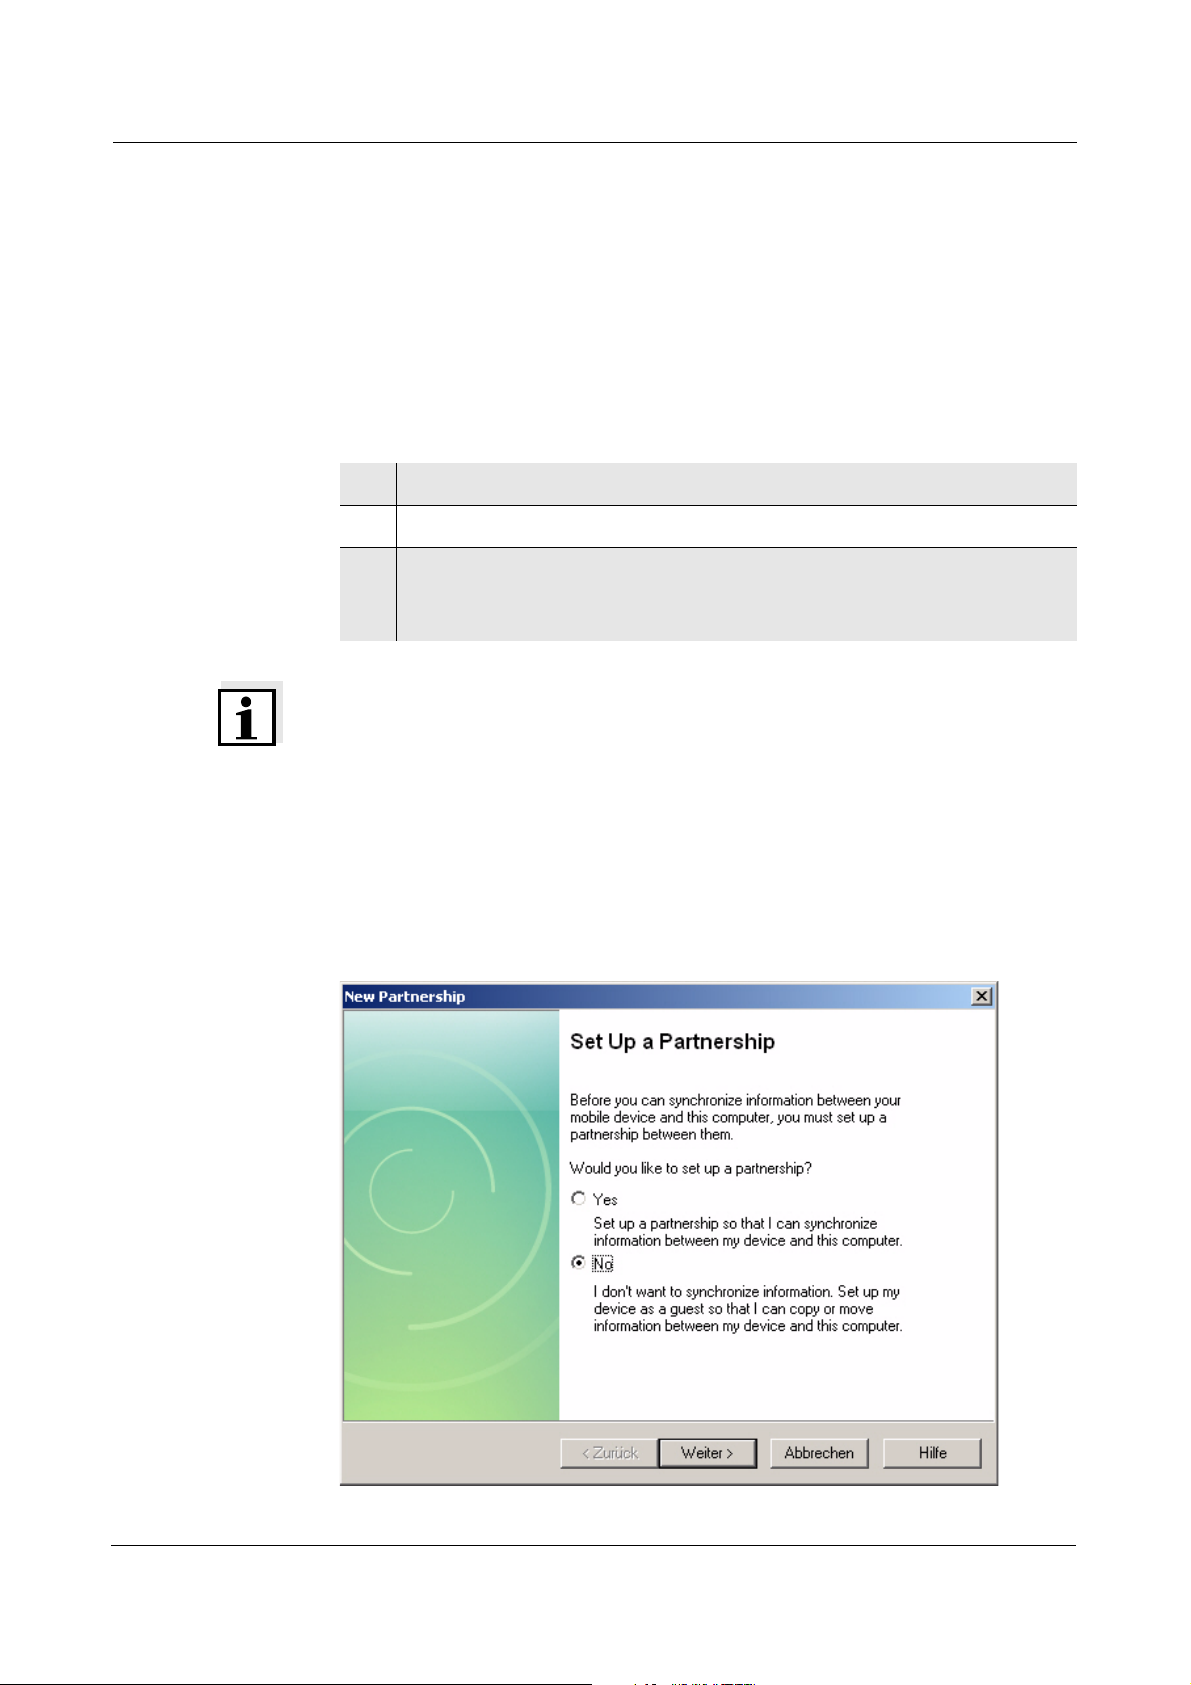
3.2 Setting up the ActiveSync® connection
After the start of ActiveSync® the following window appears:
01/2008
7
Page 8
Setting up the connection and starting the program SpectralTransfer
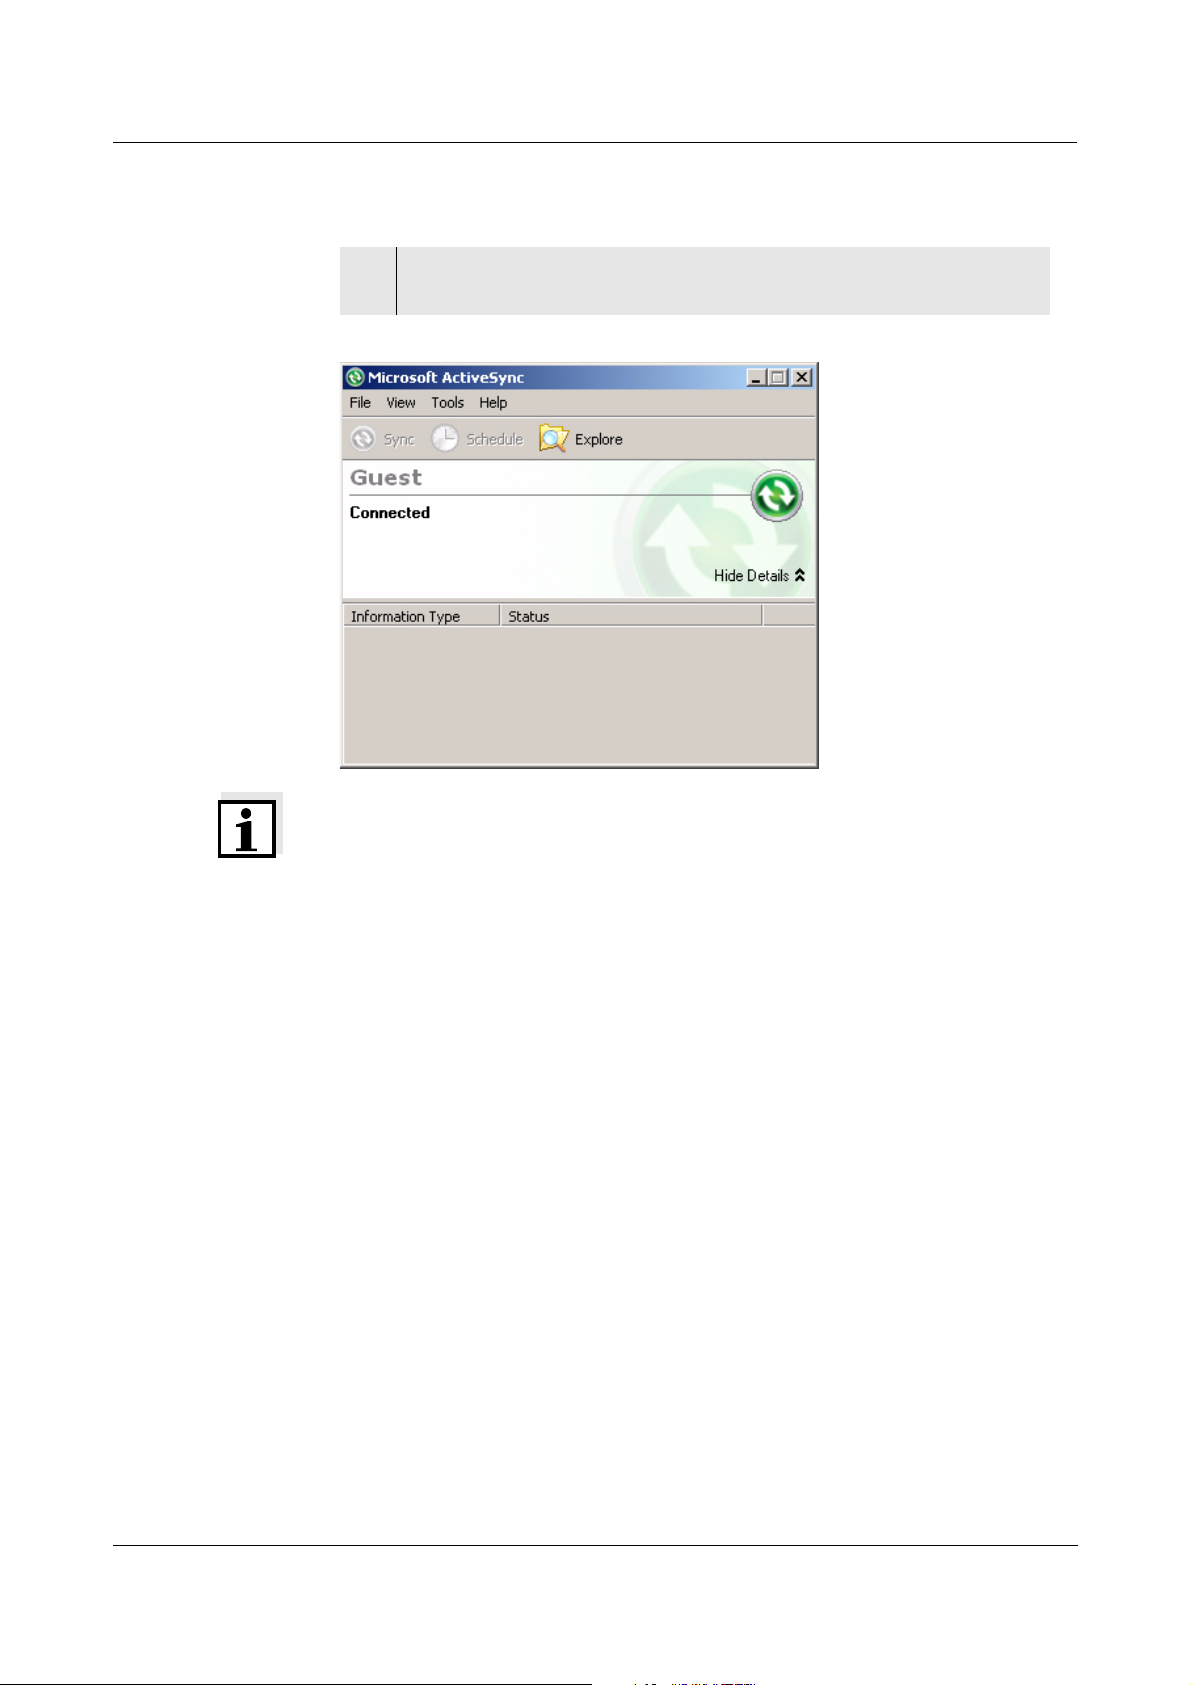
4 In the New partnership window, select the option No and press the
Continue > button. The photometer is connected to the PC.
Note
You can now minimize or exit ActiveSync
in the background.
®
. The connection remains active
8
01/2008
Page 9

SpectralTransfer Setting up the connection and starting the program
3.3 Starting SpectralTransfer
In the Windows® start menu, click Programs->SpectralTransfer->
SpectralTransfer. The program starts. The SpectralTransfer main window
appears.
01/2008
9
Page 10
Operation SpectralTransfer
4Operation
4.1 Backing up measurement data
Measurement data that should be saved on a PC must be available as *.csv
files in the photometer. The following measurement data can be saved:
z Exported measurement datasets from the measurement data memory
(concentration, absorbance, transmission and multi-wavelengths
measurements)
z Spectra
z Kinetic records
Note
Spectra and kinetic records are automatically saved as *.csv files.
Measurement datasets in the measurement data memory are stored in an
internal data format. These measurement datasets can be (filtered and)
exported to a *.csv file in the photometer.
Functions
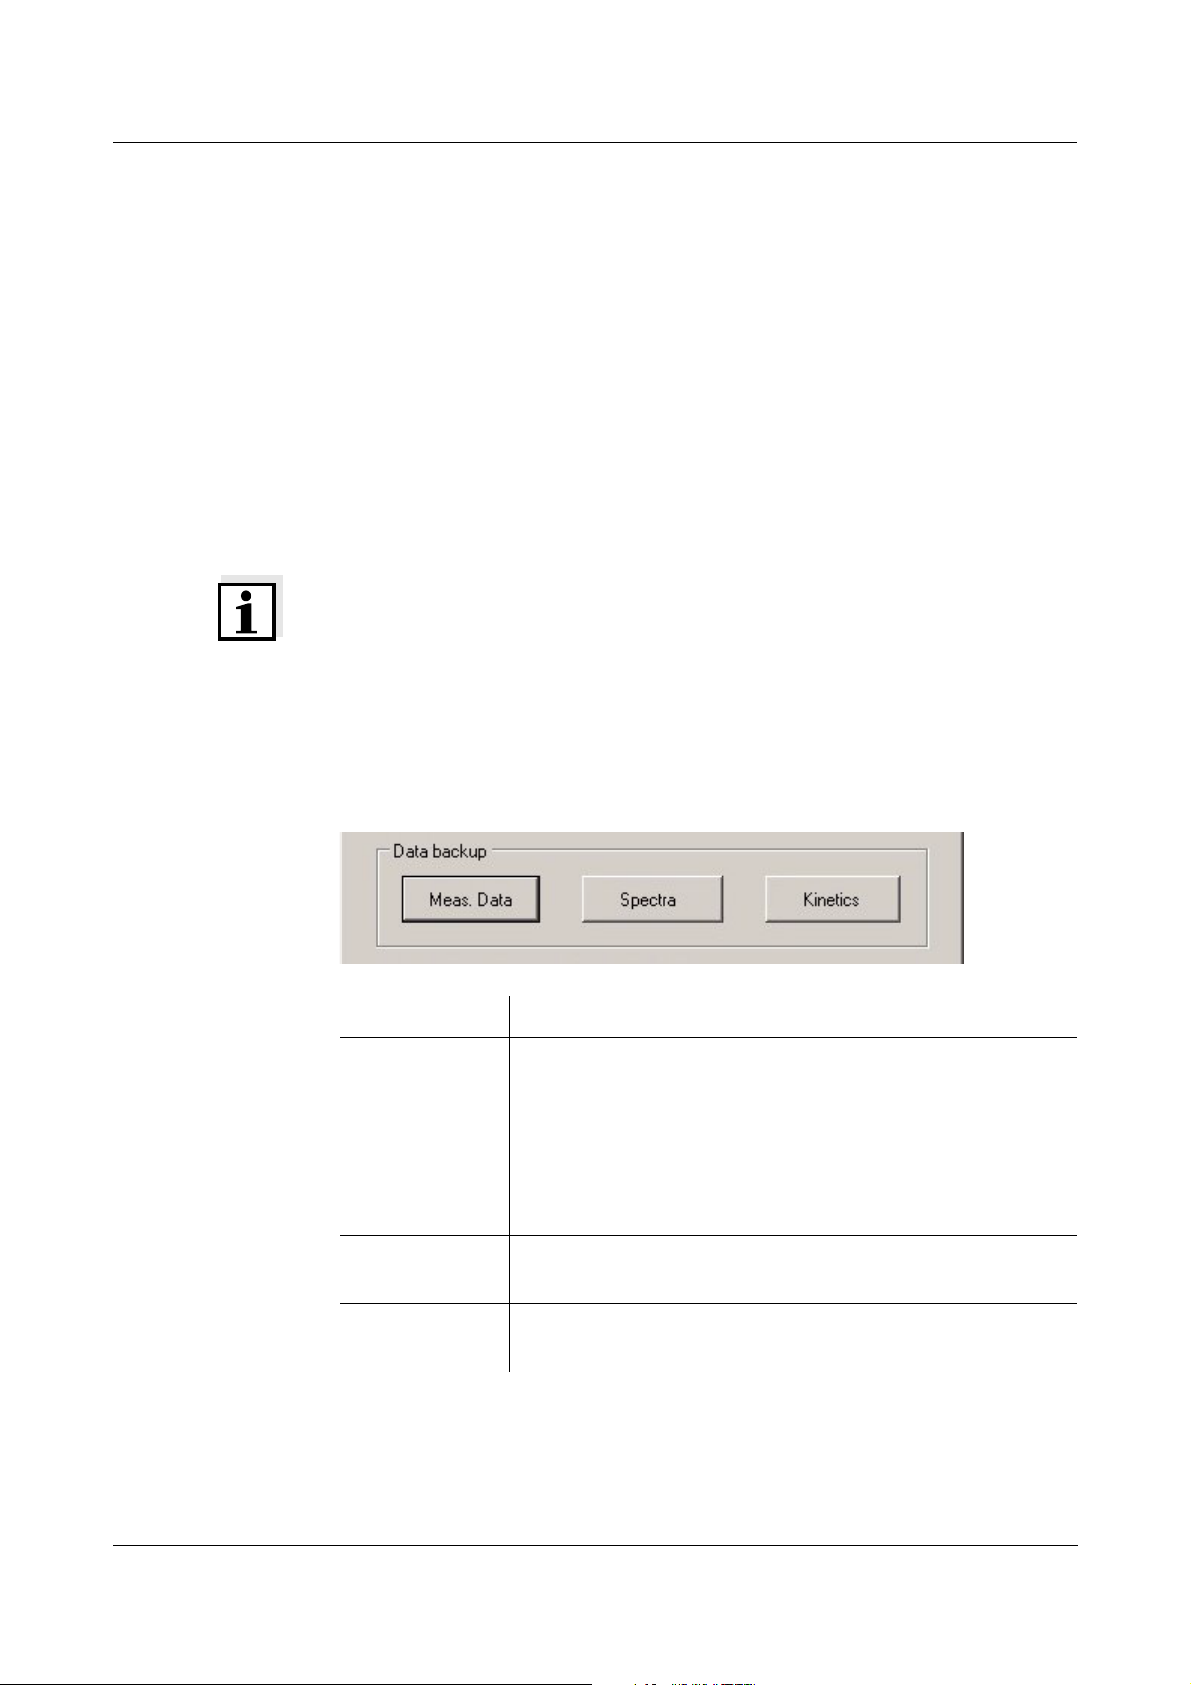
The backup of measurement data, spectra or kinetic records is started in the
group box, Data backup:
Button Function
Meas. Data Opens the dialog box to save the measurement datasets
from the measuring modes, concentration, absorbance /
% transmission and multi-wavelengths.
Only those measurement datasets can be saved that
were first exported into a *.csv file in the photometer.
The backup on the PC is done in a directory of your
choice.
Spectrum Opens the dialog box for the backup of all spectra (as a
*.csv file) in a directory of your choice on the PC.
Kinetics Opens the dialog box for the backup of all kinetic records
(as a *.csv file) in a directory of your choice on the PC.
10
01/2008
Page 11
SpectralTransfer Operation
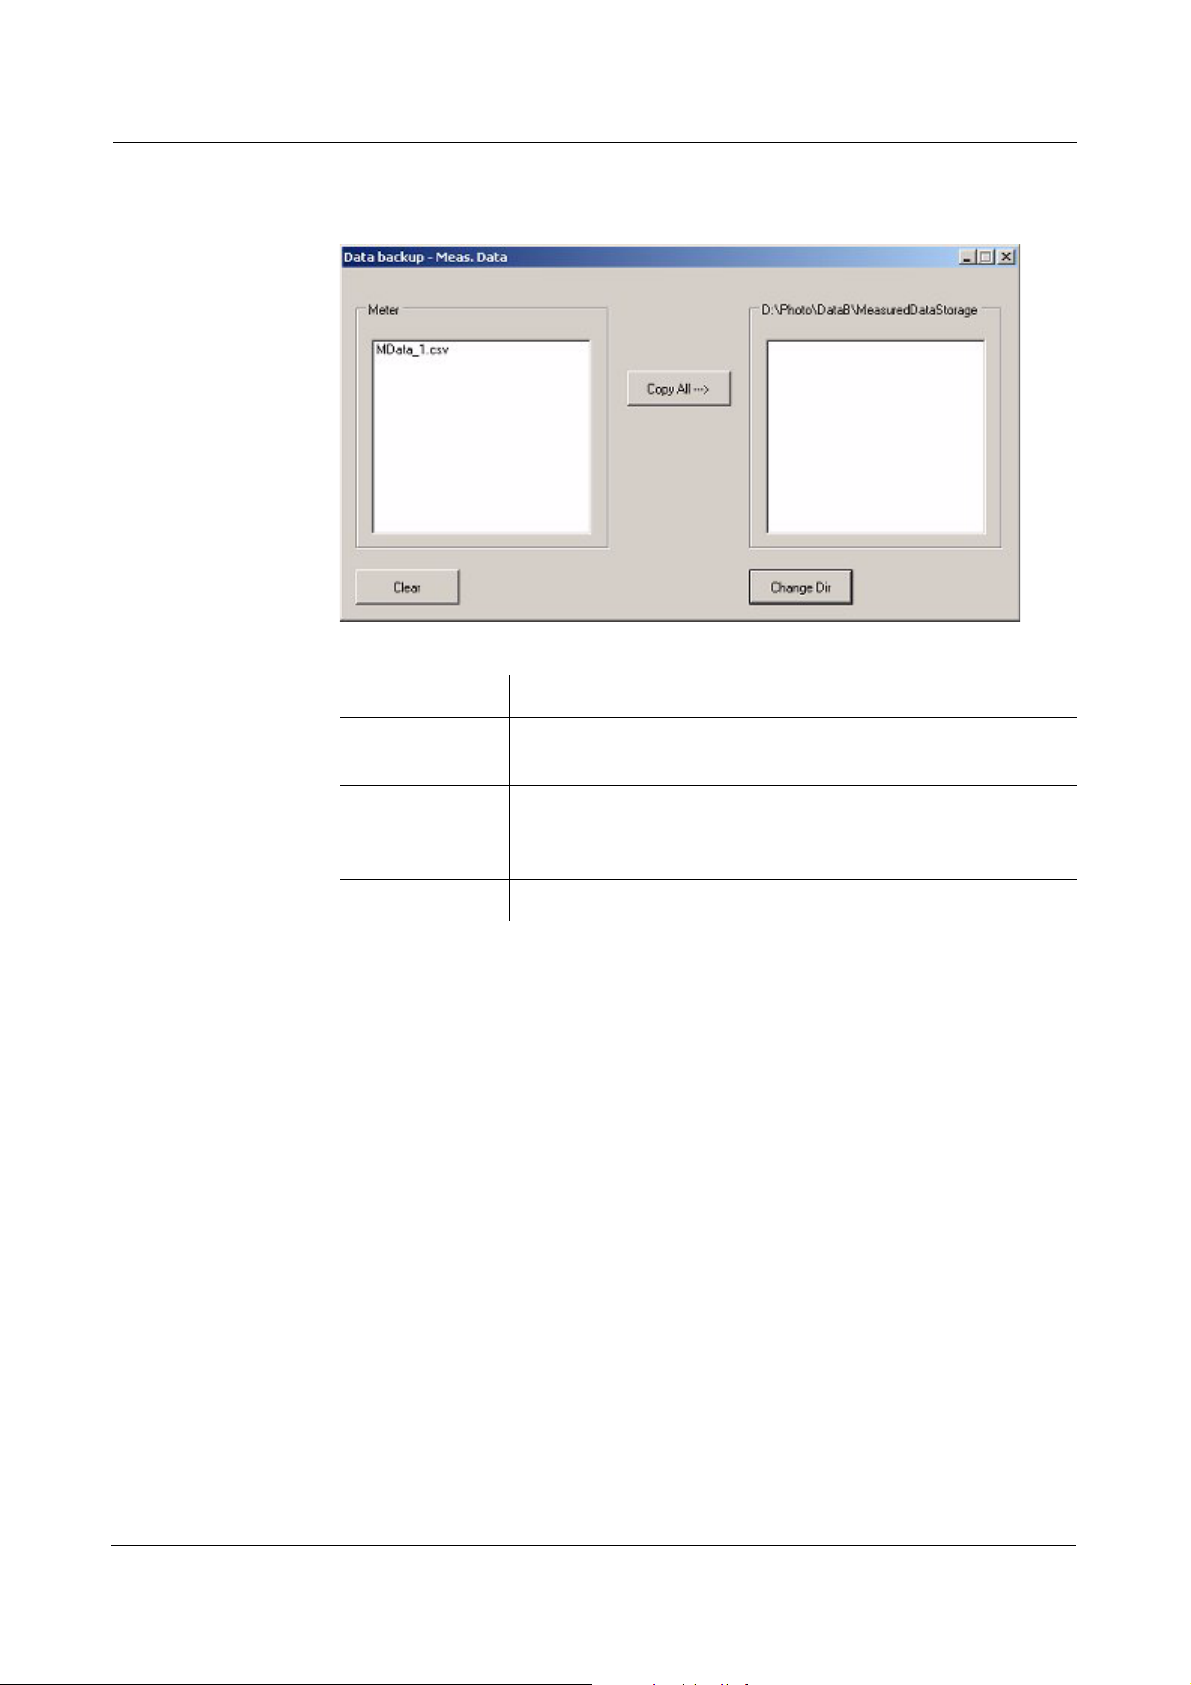
Example: Dialog
box for the
backup of
measurement
datasets (Meas.
Data)
Functions
Button Function
Change Dir Opens the directory selection dialog box.
Here you determine the target directory on your PC.
Copy All --> Copies all files from the source directory to the target
directory. Already existing files with the same name are
overwritten.
Clear Deletes all files in the meter.
01/2008
11
Page 12
Operation SpectralTransfer
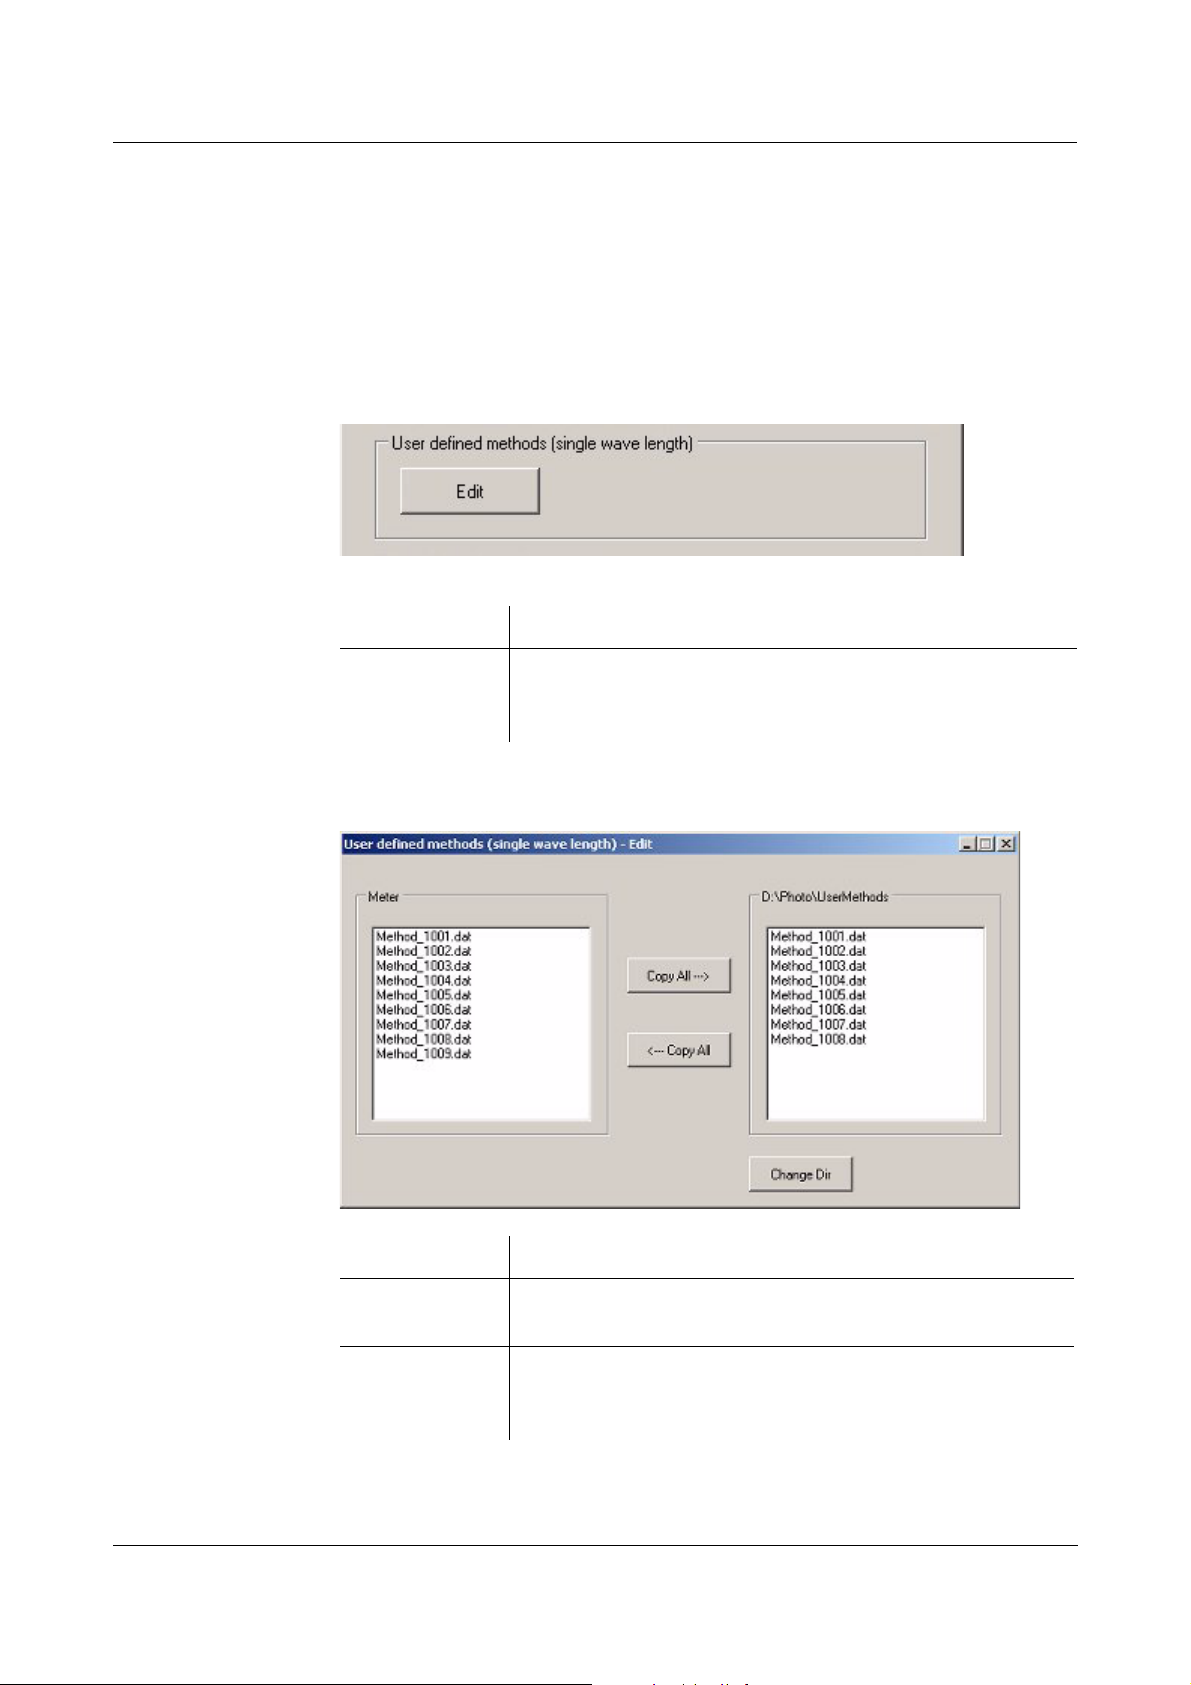
4.2 Backing up user-defined methods
Here you can backup and recover all user-defined methods for the measuring
mode, concentration. Thus you can, e.g., transmit the user-defined methods
to a different photometer.
Start the backup of user-defined methods in the group box, User defined
methods (single wave length):
Functions
Dialog box, user
defined methods
Button Function
Edit Opens the dialog box for the backup of all user-defined
methods for the concentration measuring mode in a
directory of your choice on the PC.
12
Functions
Button Function
Change Dir Opens a directory selection box. Here you determine the
target directory on your PC.
Copy All -->
<-- Copy All
Copies all files from the selected source directory to the
target directory. Already existing files with the same
name are overwritten.
01/2008
Page 13
SpectralTransfer Operation
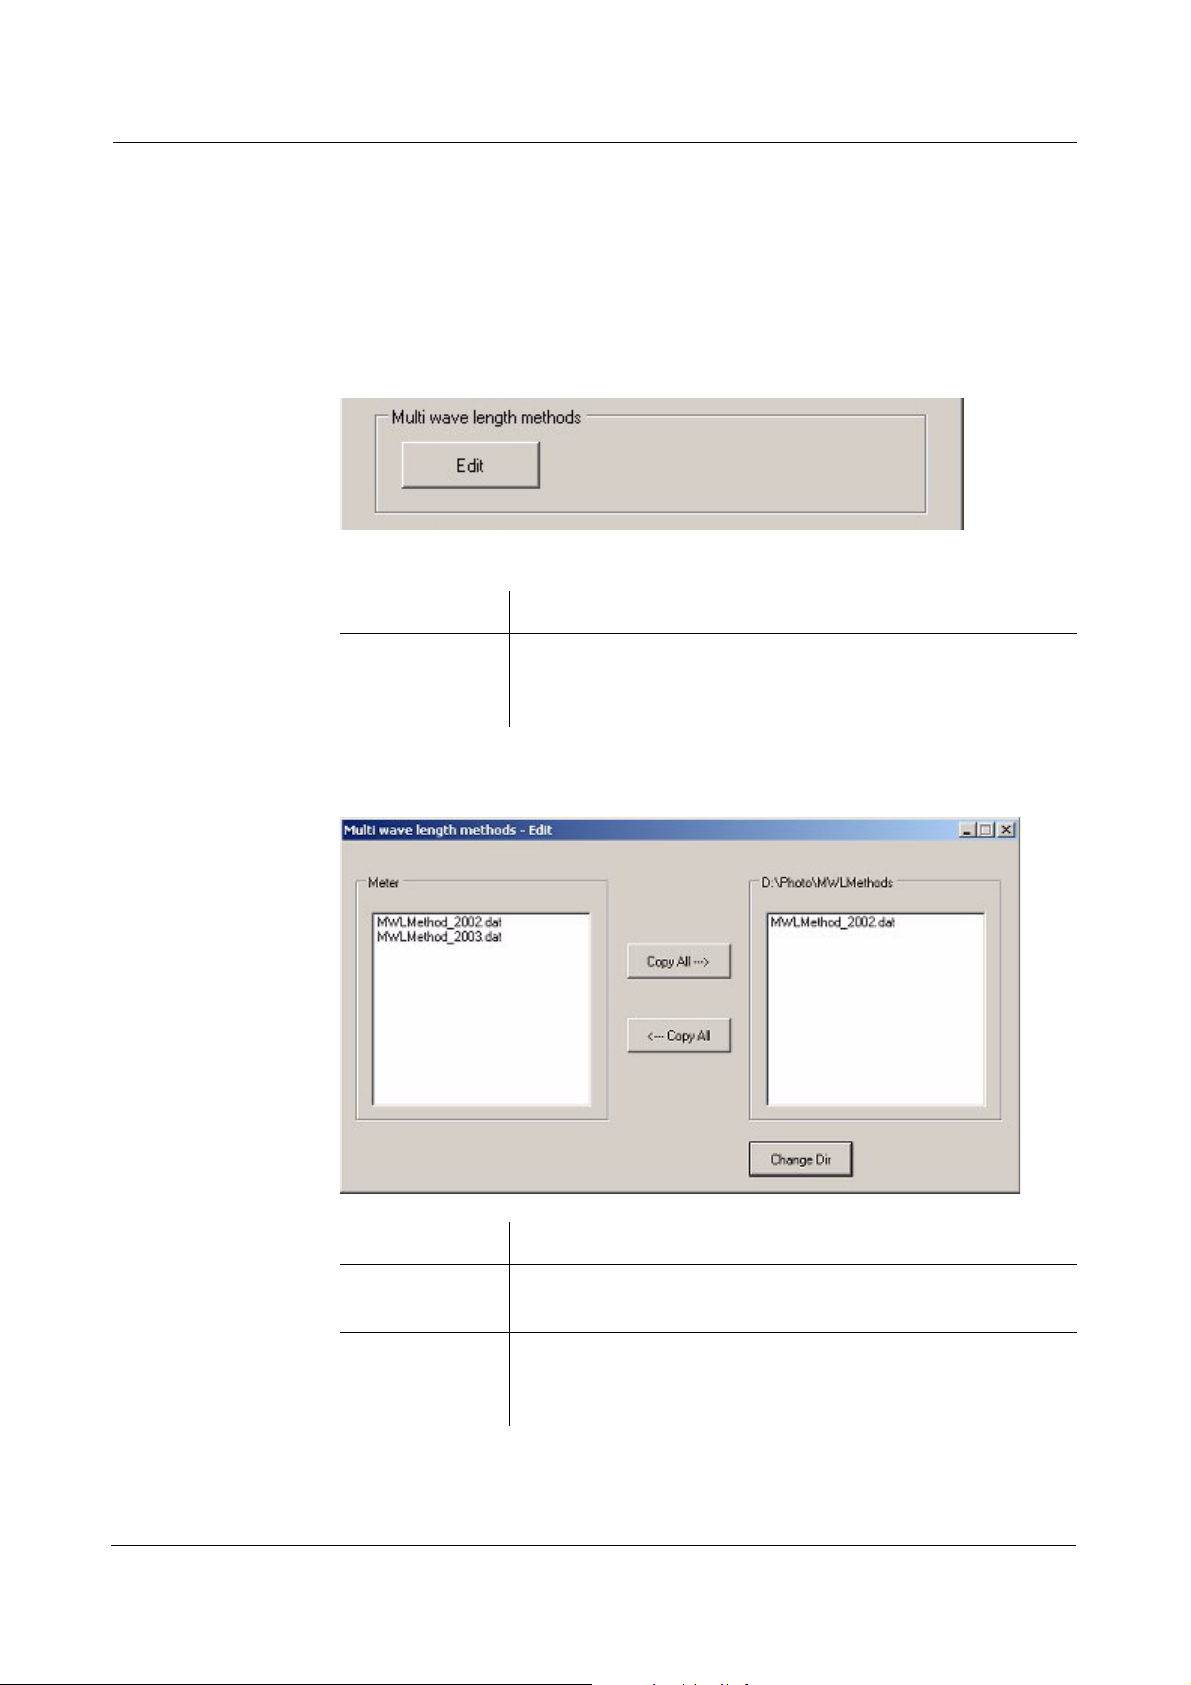
4.3 Backing up the multi wavelengths methods
Here you can back up and recover all multi wavelengths methods. Thus you
can, e.g., transmit the multi wavelengths methods to a different photometer.
The backup of the multi wavelengths methods is started in the group box,
Multi wave length methods:
Functions
Dialog box,
multi-wavelength
methods
Button Function
Edit Opens the dialog box for the backup of all multi
wavelengths methods in a directory of your choice on the
PC.
01/2008
Functions
Button Function
Change Dir Opens a directory selection box. Here you determine the
target directory on your PC.
Copy All -->
<-- Copy All
Copies all files from the selected source directory to the
target directory. Already existing files with the same
name are overwritten.
13
Page 14

Operation SpectralTransfer
4.4 Software and methods update
Requirements The following is required for the update:
z A free USB connection on the PC
z A USB cable (type A - type B)
z The SpectralTransfer program.
It is on the CD-ROM provided with the photometer.
®
z The ActiveSync
It is available in the download area of Microsoft
z The current photometer update file.
It is available from your photometer manufacturer on the Internet.
The update file contains:
– the newest firmware (meter software)
– new or changed method data.
program.
®
on the Internet.
Process of the
software and
methods update
Proceed as follows:
1 Unpack the contents of the downloaded exe or zip file into a directory
of your choice on the PC.
Note:
Make sure the folder structure is unpacked as well. If you use
an unpacking program such as WinZip, the option, "Nutze
Ordnernamen" or "Use Folder Names" must be set.
2 Using the USB cable, connect the photometer (USB-B connection) to
the PC.
3 Switch on the photometer.
®
4 Start the ActiveSync
program on the PC.
5 Start the SpectralTransfer program on the PC (see chapter 3).
6 Press the Copy to target button in the Software Update group box.
14
7 In the directory with the files unpacked in step 1 select the "Update"
folder.
The files are transmitted to the photometer. The process takes
several seconds.
01/2008
Page 15

SpectralTransfer Operation
General setup
04/16/07 9:52
Language
Date/Time
Display settings
User managementg
Measured value memory
Software/methods update
Reset
Data transfer/Printer
Save all data on USB memory
Software/methods update
04/16/07 9:52
Software/methods update
Select source of update data:
USB memory
PC
Cancel
The following steps are carried out at the photometer. A PC connection is no
longer required.
1 Call up the main menu with the
<HOME> key.
2 Using the F1 function key
[Settings], open the Settings
menu.
3 Using ▲><▼>
, select the menu
itemSoftware/methods update
and press <START ENTER>.
4 Using ▲><▼>, select PC as the
source and press
<START ENTER>.
The update process starts.
The update process takes approx. three minutes. Then the photometer
restarts and carries out the self-test.
01/2008
Note
If the photometer does not correctly start after a software update (e.g. no selftest due to a power failure during the software update):
Press the <F3> key and continue the software update.
15
Page 16

Operation SpectralTransfer
16
01/2008
 Loading...