

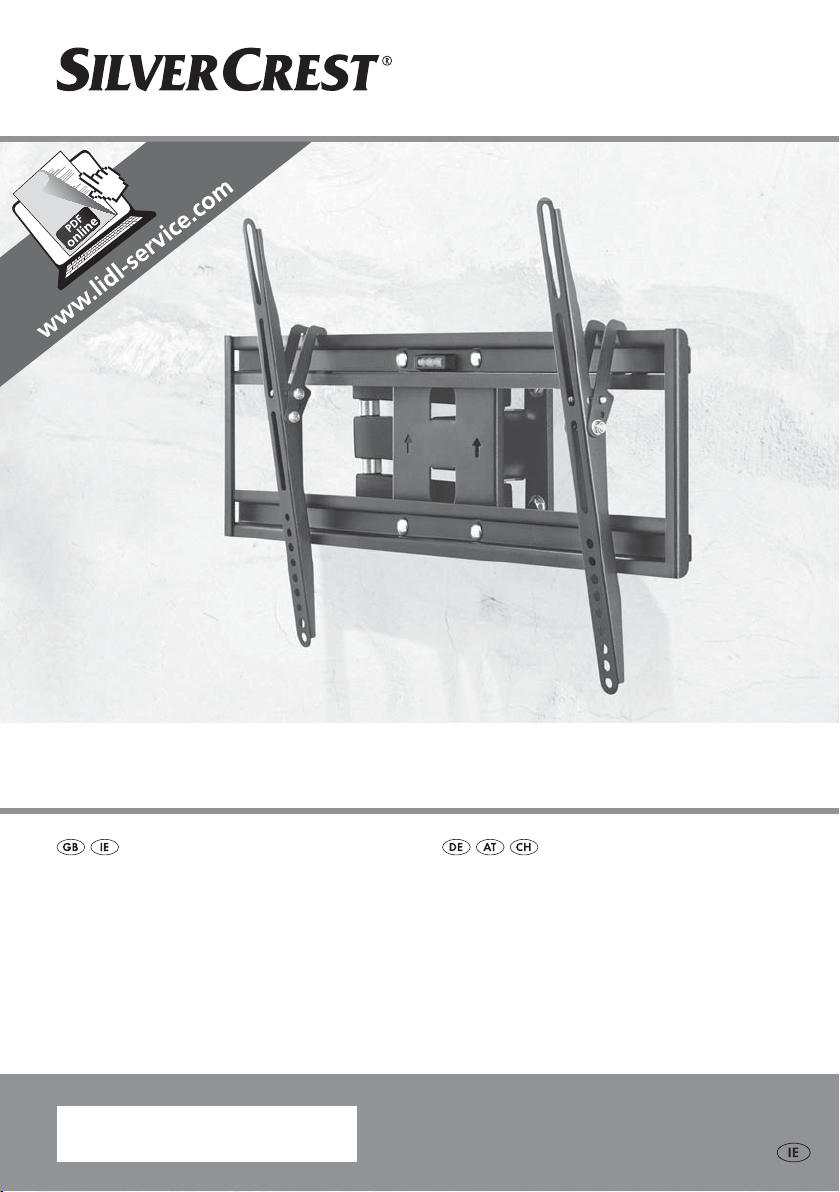
TV WALL BRACKET STW 32 - 60" A1
TV WALL BRACKET
Assembly Instructions
IAN 106956
TV-WANDHALTERUNG
Montageanleitung

GB / IE Assembly Instructions Page 1
DE / AT / CH Montageanleitung Seite 13
Contents
Introduction . . . . . . . . . . . . . . . . . . . . . . . . . . . . . . . . . . . . . . . . . . . . . . . . . . . 2
Information about these assembly instructions . . . . . . . . . . . . . . . . . . . . . . . . . . . . . . . . . . . 2
Intended use . . . . . . . . . . . . . . . . . . . . . . . . . . . . . . . . . . . . . . . . . . . . . . . . . . . . . . . . . . . . 2
Warnings used . . . . . . . . . . . . . . . . . . . . . . . . . . . . . . . . . . . . . . . . . . . . . . . . . . . . . . . . . . . 2
Safety. . . . . . . . . . . . . . . . . . . . . . . . . . . . . . . . . . . . . . . . . . . . . . . . . . . . . . . . 3
Basic safety guidelines . . . . . . . . . . . . . . . . . . . . . . . . . . . . . . . . . . . . . . . . . . . . . . . . . . . . . 3
Package contents . . . . . . . . . . . . . . . . . . . . . . . . . . . . . . . . . . . . . . . . . . . . . . 4
Mounting kit . . . . . . . . . . . . . . . . . . . . . . . . . . . . . . . . . . . . . . . . . . . . . . . . . . 4
Installation . . . . . . . . . . . . . . . . . . . . . . . . . . . . . . . . . . . . . . . . . . . . . . . . . . . . 4
Preparing for assembly . . . . . . . . . . . . . . . . . . . . . . . . . . . . . . . . . . . . . . . . . . . . . . . . . . . . 4
Required tools . . . . . . . . . . . . . . . . . . . . . . . . . . . . . . . . . . . . . . . . . . . . . . . . . . . . . . . . . . . 5
Assembly steps . . . . . . . . . . . . . . . . . . . . . . . . . . . . . . . . . . . . . . . . . . . . . . . . . . . . . . . . . . 6
Maintenance . . . . . . . . . . . . . . . . . . . . . . . . . . . . . . . . . . . . . . . . . . . . . . . . . 10
Cleaning . . . . . . . . . . . . . . . . . . . . . . . . . . . . . . . . . . . . . . . . . . . . . . . . . . . . . 10
Disposal . . . . . . . . . . . . . . . . . . . . . . . . . . . . . . . . . . . . . . . . . . . . . . . . . . . . . 10
Appendix . . . . . . . . . . . . . . . . . . . . . . . . . . . . . . . . . . . . . . . . . . . . . . . . . . . . 10
Technical data . . . . . . . . . . . . . . . . . . . . . . . . . . . . . . . . . . . . . . . . . . . . . . . . . . . . . . . . . . 10
Warranty . . . . . . . . . . . . . . . . . . . . . . . . . . . . . . . . . . . . . . . . . . . . . . . . . . . . . . . . . . . . . . 11
Service . . . . . . . . . . . . . . . . . . . . . . . . . . . . . . . . . . . . . . . . . . . . . . . . . . . . . . . . . . . . . . . . 11
Importer . . . . . . . . . . . . . . . . . . . . . . . . . . . . . . . . . . . . . . . . . . . . . . . . . . . . . . . . . . . . . . . 11
GB
IE
STW 32 - 60" A1
1
GB
IE
Introduction
Information about these assembly instructions
Congratulations!
You have purchased a high-quality product. Familiarise yourself with the product
before assembly and before using it for the fi rst time. Please read the following
assembly instructions and safety notices carefully. Use the product only as described
and for the range of applications specifi ed. Retain these instructions for future
reference. Please also pass all associated documents on to any future owner(s).
Intended use
This wall bracket is designed exclusively for wall mounting fl at-panel displays
with a screen diagonal of approx. 81 cm–152 cm (32"–60") in private, noncommercial households. The wall bracket is only intended for use inside buildings.
No liability will be assumed for damage caused by misuse or improper handling,
the use of force or unauthorised modifi cation. The risk shall be borne solely by
the user.
Warnings used
In these assembly instructions, the following warnings are used:
WARNING
A warning at this hazard level indicates a potentially hazardous
situation.
If the hazardous situation is not avoided, there is a risk of injury or property
damage.
► Follow the instructions in this warning to avoid injuries or property damage.
NOTE
A note provides additional information that will assist you in using the device.
►
2
STW 32 - 60" A1

Safety
In this section, you will fi nd important safety instructions for using the device.
Improper use may result in personal injury and property damage.
Basic safety guidelines
To ensure safe operation of the device, follow the safety guidelines set out below:
■ Do not install the product in places under which people might stand.
■ After mounting the product, check its stability and operational reliability as well
as that of the mounted load. This check should be repeated at regular intervals
(at least quarterly).
■ Ensure that you do not exceed the maximum permissible load capacity of the
product and no load is applied that exceeds the maximum allowable dimensions.
■ Maintain a safe distance around the mounted load (depending on the model).
■ In the case of damage, remove the mounted load and stop using the product.
■ Bearing in mind the wide variety of TV sets and wall mountings available on the
market, the supplied mounting kit may not cover all the possibilities.
■ In rare cases, it is possible that the screws for attaching the TV set may be too
long. If this is the case, use the supplied spacers.
■ Ensure that the supplied wall plugs are only suitable for concrete and brick walls.
■ Before mounting, read the operating instructions for your TV set. This will gener-
ally provide information about the type and dimensions of the suitable mounting
materials.
■ If the mounting material necessary for your TV set is not provided in the supplied
mounting kit, please purchase the items you require from a specialist shop.
■ If your wall is made of diff erent types of materials and construction than that
intended for the installation, purchase suitable materials from a specialist shop.
■ Never use violence or excessive force for assembly. This could damage your TV
set or wall bracket.
■ If in doubt, contact a suitable specialist for information on mounting this product
and do not try to mount the product yourself.
GB
IE
STW 32 - 60" A1
3

GB
IE
Package contents
▯ 1 x wall bracket
▯ 2 x mounting rails
▯ 1 x Velcro strip
▯ Mounting materials
▯ These assembly instructions
NOTE
Check the package for completeness and for signs of visible damage.
►
Mounting kit
A B C D E
M4 x 20 M6 x 25 M8 x 25 Ø18xØ8.5x10 Ø18 x Ø7
4 x 4 x 4 x 4 x 4 x
F
Ø22 x Ø8 S10 x 50 mm M8 x 65 mm 5 x 5
4 x 4 x 4 x 1 x 1 x
Installation
Preparing for assembly
NOTE
Allow plenty of time for the assembly of the wall bracket.
►
► Remove the individual parts from the packaging and place them within
easy reach.
4
G
H I J
STW 32 - 60" A1
NOTE
Do not install the wall bracket on your own!
►
► Diff erent TV sets have diff erent connectivity options for wiring and other
devices. Before installation, check that the required connections will still be
accessible after assembly.
► Depending on your TV set and the type of mounting, you may not need
the complete mounting kit. It is therefore possible that there may be some
small parts left over even if the assembly has been carried out correctly.
Store these carefully together with these assembly instructions for later use
(sale of the wall bracket, new TV set, etc.).
WARNING
► Before installation, check the suitability of the proposed wall for supporting
the weight that is to be mounted and ensure that there are no electrical cables,
water or gas pipes or other lines in the wall at the mounting location.
► Ensure that the supplied wall plugs are only suitable for concrete and brick
walls. If you are unsure about the suitability of your wall, please consult an
expert.
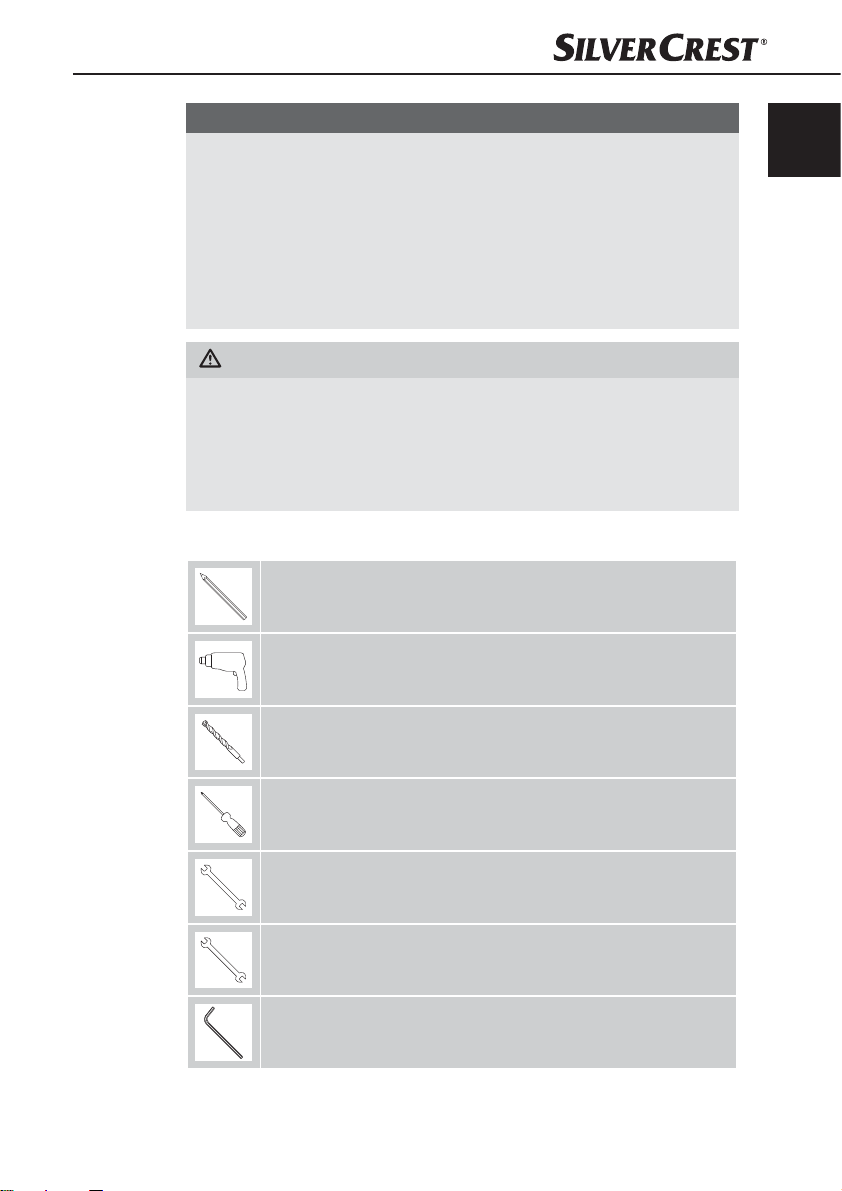
Required tools
GB
IE
Pencil
Drill
STW 32 - 60" A1
Drill bit Ø 10 mm
Phillips head screwdriver
Open-ended spanner SW 13 mm
Open-ended spanner SW 10 mm
Allen key 5 x 5 (supplied)
5

GB
IE
Assembly steps
Step 1: Attaching the mounting rails
♦ Check whether the supplied screws ( A, B or C) fi t in the prepared holes
on the back of your TV set. If this is not the case, please use other suitable
screws and washers.
♦ Attach the mounting rail so that the screw heads for adjusting the tilt angle
face outwards and the hooks are facing downward. Screw the mounting rail
tight using the suitable screws (
run parallel and are aligned at the same height.
♦ For TV sets with a fl at back, no spacers D are usually required. Fasten the
mounting rails with the appropriate screws and washers directly onto the
rear panel of the device.
♦ For TV sets with a curved rear panel, it may be necessary to use the supplied
D
spacers
between the TV set and the mounting rail.
A, B
or C) and washers E so that they
A B C
E
A B C
E
Step 2: Attaching the wall bracket to the wall
♦ Start by selecting a suitable mounting height. The ideal height for a TV set is
parallel to the eye-level of a seated person.
♦ Hold the wall bracket up to the to the desired position on the wall to use
as a template and align it with the aid of a spirit level. Mark the 4 holes
with a pencil.
D
6
STW 32 - 60" A1
 Loading...