


Samsung P4082, P5082, P5102, P5122, P4042 User Manual
...Quick Start Guide KIT MODEL
SDS-P3042 / P4042 / P4082/ P5082 / P5102 / P5122
DVR MODEL SDR-3102 / 4102 / 5102
SAMSUNG ALL-IN-ONE SECURITY SYSTEM
Thank you for purchasing a Samsung DVR Security System.
Follow the simple steps in this guide to set up and start using your new system.
If you have any questions or need help installing your new product please contact our free technical support.
Telephone: 1-877-349-3149 9am - 9pm EST, Monday - Friday
Internet: http://www.samsungsv.com
inStaLLinG YOuR SYSteM
M ` Images may differ depending on the model.
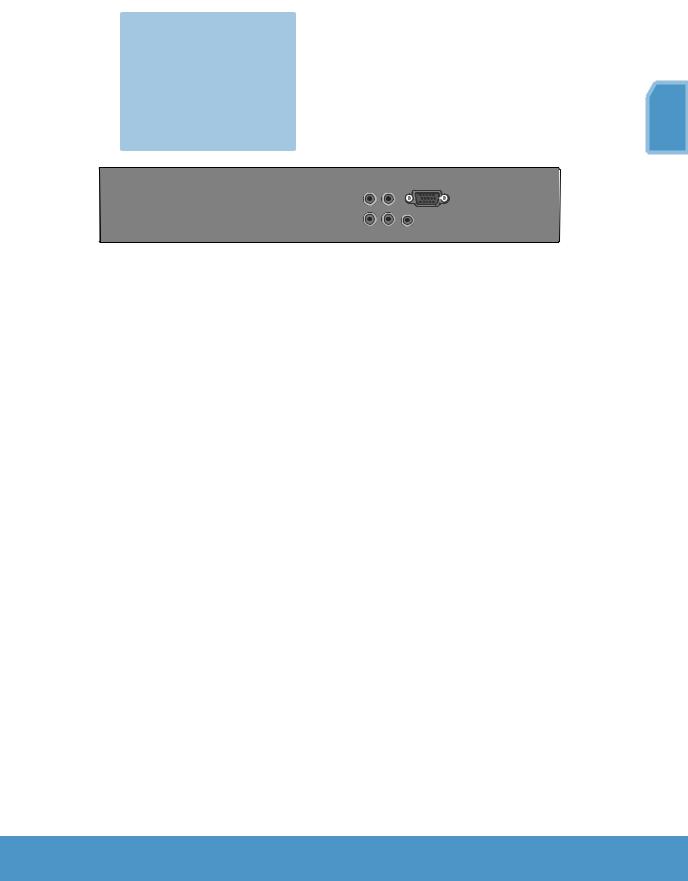
4ch DVR
Front
POWER REC NETWORK


 1
1
Rear
VIDEO IN |
IN1 |
IN2 |
LAN |
|
|
IN3 |
IN4 |
VGA |
|
|
|
|
AUDIO IN |
|
|
eSATA |
|
|
AUDIO OUT |
|
|
||
|
|
HDMI |
|
|
|
|
|
|
|
|
|
|
|
|
USB |
RS485 |
|
|
|
|
|
DC12V |
|
|
|
|
|
|
3
4
5


 2
2
1 |
Connect a mouse |
4 |
Connect the DC adaptors |
2 |
Connect a camera |
5 |
Connect to a network router |
3 |
Connect a monitor |
|
|
english
English _1

8ch DVR
Rear
VIDEO IN |
IN1 |
IN2 |
LAN |
|
|
|
|
|
|||
IN3 |
IN4 |
VGA |
|
|
|
|
|
|
|
||
|
AUDIO IN |
|
|
eSATA |
|
|
AUDIO OUT |
|
|
||
|
|
HDMI |
|
|
|
|
|
|
|
|
|
|
|
|
USB |
RS485 |
|
|
|
|
|
DC12V |
|
|
|
|
|
|
3
2
16ch DVR
Rear
4 |
5
VIDEO IN


3
2
IN1 |
IN2 |
|
|
IN3 |
IN4 |
AUDIO IN |
|
VGA |
AUDIO |
HDMI |
OUT |
eSATA |
LAN |
|
RS485 |
USB |
|
|
DC 12 V |
|
|
|

 4
4
5 
connecting the DVR to Live monitoring
Front
POWER REC NETWORK
1 Connect a mouse
2_ English
Rear
3 Connect the DC adaptors (Camera)
2 Connect an BNC camera
|
|
|
|
|
|
|
|
|
|
|
|
eSATA |
LAN |
|
CH1 |
CH2 |
CH3 |
CH4 |
CH5 |
CH6 |
CH7 |
CH8 |
IN1 |
IN2 |
|
VGA |
|
|
|
|
|
|
|
|
|
|
|
|
|
|
|
|
|
|
CH9 |
CH10 |
CH11 |
CH12 VIDEO INCH13 |
CH14 |
CH15 |
CH16 |
IN3 |
IN4 |
AUDIO OUT |
HDMI |
RS485 |
USB |
DC 12 V |
|
AUDIO IN |
||||||||||||||
4 Connect a monitor
5 Connect the DC adaptors (DVR)
6 Connect to a network router
English
English _3

View the Launcher Menu
The Launcher menu appears on the bottom of the live screen. |
|
|
|
|
|
|
|
|
|
|
|
|
|
|
|
|
|
|
|
|
|
|
|
|
|
|
|
1. |
In Live mode, right-click to display the context menu and select |
01:10:25 |
|
|
|
|
|
|
|
|
|
|
|
|
|
|
|
|
|
|
|
|
|
|
|
|
|
2. |
<Show Launcher>. |
2013-01-01 |
|
|
|
|
|
|
|
|
|
|
|
|
|
|
|
|
|
|
|
|
|
|
|
|
|
2013-01-01 |
|
|
|
|
|
|
|
|
|
|
|
|
|
|
|
|
|
|
|
|
|
|
|
|
|||
Move the cursor to the bottom and click a desired item in the |
1 |
|
|
|
|
|
|
|
2 |
|
|
|
|
|
|
3 4 5 6 7 890 |
|||||||||||
|
Launcher menu. |
01:10:25 |
|
|
|
|
|
|
|
|
|
|
|
|
|
|
|
|
|
|
|
|
|
|
|
|
|
|
|
|
|
|
|
|
|
|
|
|
|
|
|
|
|
|
|
|
|
|
|
|
|
|
|
|
|
|
|
|
|
|
|
|
|
|
|
|
|
|
|
|
|
|
|
|
|
|
|
|
|
|
|
|
|
|
MM `` If no input is entered for 10 seconds, the menu will disappear. |
|
|
|
|
|
|
|
|
|
|
|
|
|
|
|
|
|
|
|
|
|
|
|
|
|
|
`` The Launcher menu can be accessed only by using the mouse. `` Screen mode may vary depending on the DVR supported channel.
1 |
Date/Time |
5 |
Zoom |
9 |
Play |
2 |
Screen Mode |
6 |
PTZ |
0 |
Record |
3 |
Menu Expansion Button |
7 |
Alarm |
|
|
4 |
Audio |
8 |
Freeze |
|
|
SYSTEM SETTING
Time Setting
1. Right click on the mouse and select main menu.
2.In the login window, enter the password and click <OK>.
JJ The initial administrator ID is “admin” and the password should be set when logging in for the first time.
Set password for your wireless network if you use the product with a wireless router. Being not protected with password or using the default wireless router password may expose your video data to potential threat. Please change your password every three months to safely protect personal information and to prevent the damage of the information theft. Please, take note that it’s a user’s responsibility for the security and any other problems caused by mismanaging a password.
3.Click on Date/Time/Language. Set time and date.
4_ English
 Loading...