


OWNER’S INSTRUCTIONS
MANUEL D’UTILISATION
AZ09F7KE
AZ09A7KE
AZ09F8KE
AZ09A8KE
Window-type Room Air Conditioner ( Cool and Heat )
Climatiseur de type Fenêtre ( Refroidissement et Chauffage )
FRANÇ AIS ENGLISH
E F A DB98-05458A(1)

Safety Precautions
The following safety precautions must be taken when installing and using your air conditioner.
1The air conditioner must be plugged into its own specific power source, which must be installed in compliance with national wiring, earthing and safety regulations.
Depending on national regulations and your specific installation, you may need to install:
A circuit breaker
For further information on electrical requirements, contact a professional electrician.
This device must be installed according to the national electrical rules.
2Make sure that the unit is correctly ventilated at all times; do NOT place clothing or other materials over it.
3NEVER spill liquids of any kind into the unit.
Should this happen, unplug the unit and contact your installation specialist.
4Do NOT insert anything between the air outlet blades, as it may damage the inner fan and you may be hurt. Keep children away from the unit.
5ALWAYS ensure that the power cable is in good condition.
If the power cord is damaged in any way, it must be replaced by the manufacturer or its service agent or a similarly qualified person in order to avoid a hazard.
6Do NOT attempt to repair the unit yourself. If it is damaged in any way, contact:
An authorized service center
The dealer from whom you purchased the air conditioner.
7Do NOT place any brocking objects in front of the unit.
8If the remote control will not be used for a long time, remove the batteries.
9Before throwing out the device, it is necessary to pull back the battery cells and get rid of them safely.
E-2

ENGLISH
|
Contents |
|
PREPARING YOUR AIR CONDITIONER |
|
|
■ |
Safety Precautions ......................................................................................... |
2 |
■ Air Conditioning Unit - Main Parts, Buttons and Display ............................... |
4 |
|
■ |
Remote Control Buttons ................................................................................. |
5 |
■ |
Getting Started ............................................................................................... |
6 |
■ Inserting the Remote Control Batteries .......................................................... |
7 |
|
OPERATING YOUR AIR CONDITIONER |
|
|
■ |
Cooling Your Room ........................................................................................ |
8 |
■ |
Heating Your Room ........................................................................................ |
9 |
■ |
Airing Your Room ........................................................................................... |
10 |
■ Adjusting the Air Flow Direction Horizontally .................................................. |
11 |
|
■ Adjusting the Air Flow Direction Vertically ...................................................... |
11 |
|
PROGRAMMING YOUR AIR CONDITIONER |
|
|
■ Switching the Unit Off Automatically (Off Timer) ............................................ |
12 |
|
■ Canceling the Off Timer .................................................................................. |
12 |
|
RECOMMENDATIONS FOR USE |
|
|
■ |
Operating Recommendation ........................................................................... |
13 |
■ Temperature and Humidity Ranges ................................................................ |
14 |
|
■ |
Cleaning Your Air Conditioner ........................................................................ |
15 |
■ |
Solving Common Problems ............................................................................ |
17 |
■ |
Technical Specifications ................................................................................. |
17 |
METHOD OF INSTALLATION .................................................................................... |
18 |
|
E-3

Air Conditioning Unit - Main Parts, Buttons and Display
Air inlet (inside)
Air filter
(The air filter is located inside)
setting
Timer indicator
Temperature indicator
Fan speed indicators
Fan speed button
flow blade swing button
The design and shape are subject to change according to the model.
Inner air flow blades (right/left orientation)
Air outlet
Outer air flow blades (up/down orientation)
Air inlet (Outside)
Ventilation lever
Hr.
C
FAN SPEED 
Power plug
(The type of the power plug may differ according to the type of local power supply.)
|
|
|
Remote control sensor |
Hr. |
C |
|
Temperature |
|
|
TEMP. |
|
|
|
adjustment button |
|
|
|
|
|
|
|
|
Deice indicator |
|
HIGH |
|
Operating mode indicators |
|
|
RESTART |
|
|
LOW |
COOL FAN |
(HEAT, COOL, FAN) |
|
|
|
Operating mode selection |
SWING |
FAN SPEED |
MODE |
button |
|
|
POWER |
|
|
|
|
ON/OFF button |
Restart Indicator
■When the power plug is connected, the indicator comes on.
■If a power failure occurs when the air conditioner is operating, the unit is switched off. Then the power returns, the air conditioner starts up again automatically and the restart indicator blinkes. The indicator lights up
after 2 minutes.
(Only AZ09F8KE / AZ09A8KE)
E-4
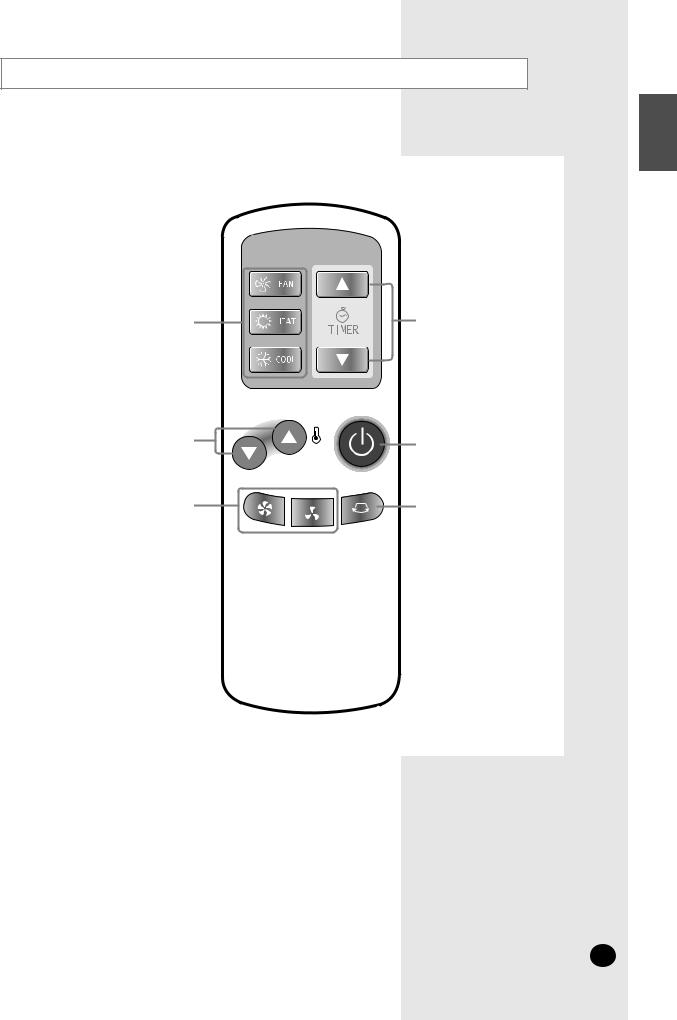
Remote Control - Buttons
ENGLISH
Operating mode selection buttons |
Timer setting buttons |
(FAN, HEAT, COOL) |
|
Temperature adjustment buttons |
ON/OFF Button |
|
Fan speed adjustment buttons |
Air flow blade swing button |
E-5
Getting Started
You have just purchased a window-type room air conditioner and it has been installed by your installation specialist.
Your Owner’s Instructions contain valuable information on using your air conditioner.
Please take the time to read them as they will help you take full advantage of the unit’s functions.
The booklet is organized as follows.
The following figures are shown on pages 4 and 5:
-Air conditioning unit (main parts, buttons and display)
-Remote control (buttons)
They will help you find the buttons and understand the symbols displayed.
In the main part of the document, you will find a series of step-by-step procedures for each function available.
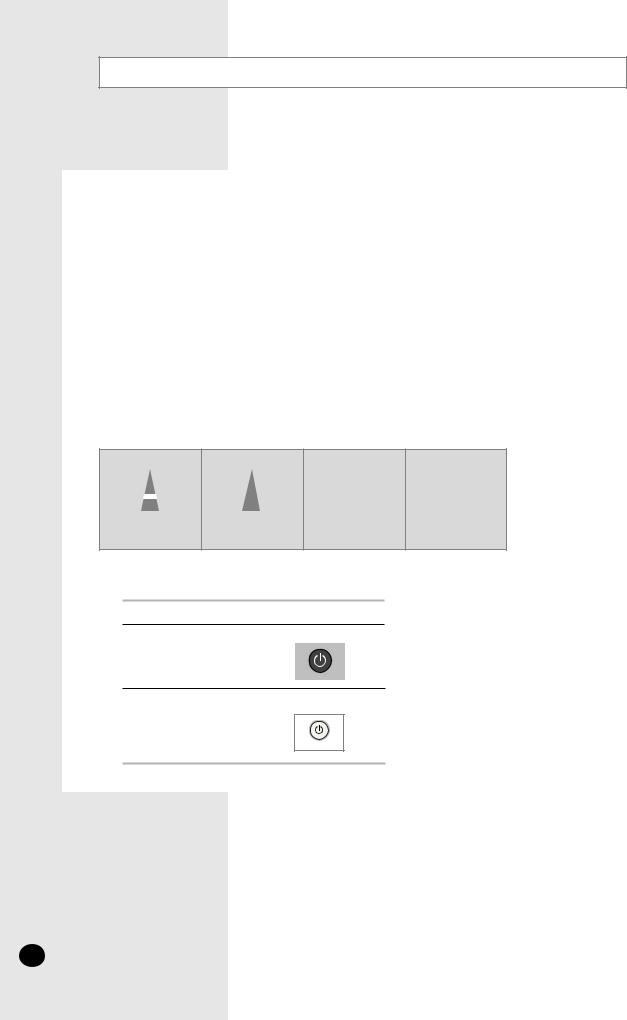
The illustrations in the step-by-step procedures use four different symbols:
PRESS |
PUSH |
IMPORTANT |
NOTE |
Moreover, applicable, wherever the illustrations show the positions of the buttons on both the remote control and the unit itself.
For the... |
The illustrations have a... |
Remote control |
Gray background. |
|
Example: |
Unit itself |
White background. |
|
Example: |
|
POWER |
E-6
 Loading...