

Digital Ultrasonic Diagnostic Imaging System
Operation Note
Model DP-8800Plus/DP-8600
This operation note is a quick operation reference for the DP-8800Plus/DP-8600, which
briefly describes the control panel and the basic operating procedures of the menus.
Refer to the operator’s manual for details.
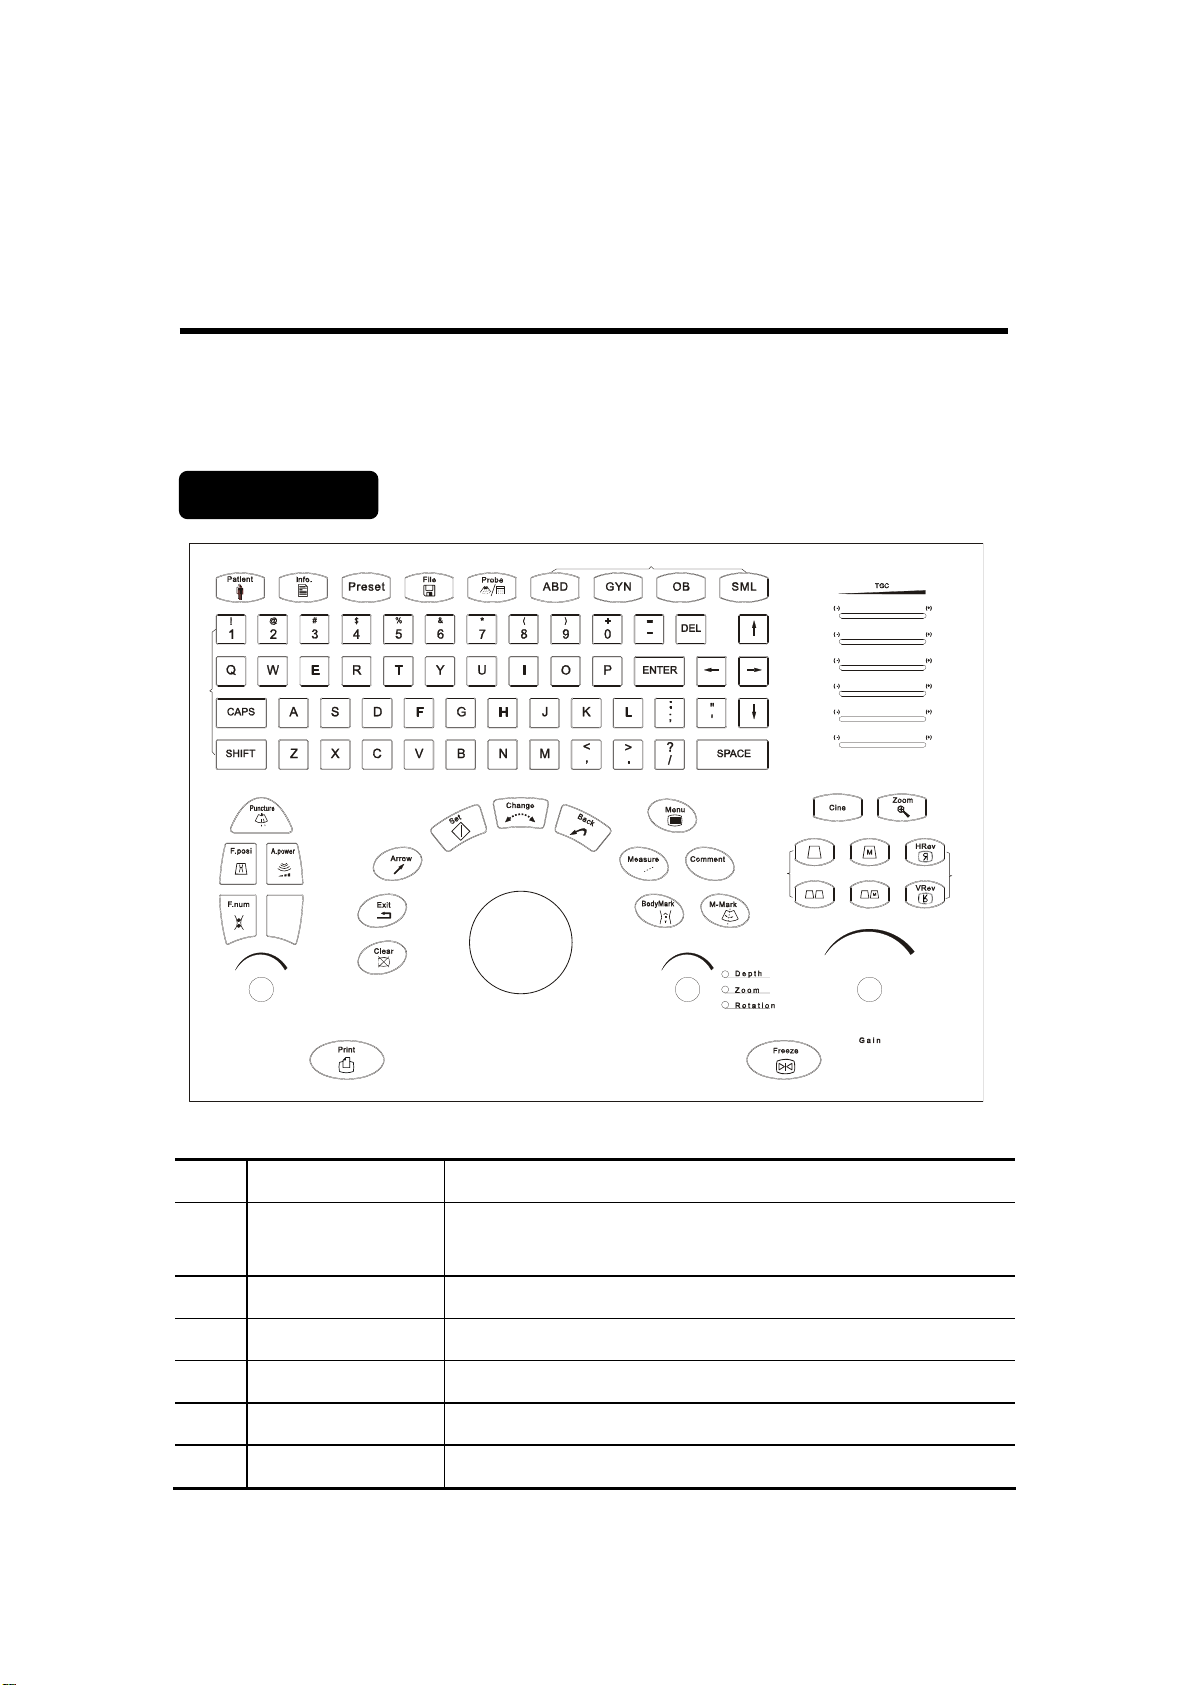
Control Panel
<>
6
<>
8
<>
7
<>
1
<>
2
<>
3
<>
4
<>
5
<>
28
<29>
<>
32
<>
31
<>
10
<>
11
<>
9
IP
<>
14
<>
12
<>
13
<>
33
<>
18
<>
17
<>
16
<>
15
<>
19
<>
21
<>
20
<>
23
<>
24
<>
+
+
22
<>
<>
A B C
25
<>
26
27
<>
30
<>
34
NO. Key Name Function
<1> Patient Delete the data for the previous patient, including the ID and
measured values, and begin with a new patient.
<2> Info The patient information screen appears.
<3> Preset Invoke the registered initial settings (presets).
<4> File Quickly save image files
<5> Probe Switch transducers
<6> ABD/GYN/OB/SML Select exam mode
1

NO. Key Name Function
<7> Character Key
Used to enter characters and symbols
When backlight of SHIFT key is on, the symbol in the upper row
on keys can be entered.
When pressing CAPS key, the capital letter can be entered.
<8> TGC Adjust the ultrasound echo reception sensitivity according to
the depth from the body surface
<9> Puncture Enter biopsy menu
<10> F.Posi Enter the focus position adjusting mode
<11> F.Num Enter the focus number adjusting mode
<12> A.power Enter the acoustic power adjusting mode
<13> IP Adjust the image quality according to the registered image
conditions
<14> Parameter adjust
knob
Adjust some value of Puncture, F.Posi, F.Num, A.Power and IP
with combination of corresponding key
<15> Clear Clear comments, BodyMark, measurements and results on
screen
<16> Exit Exit the current work mode
<17> Arrow Enter the arrow comment mode and add arrows
<18> Set Determine the cursor position for measurement, and confirm
the selected items, and adjust the value or items in menus etc
<19> Change Change the fixed end or active end in measurement
<20> Back Delete the comment or the previous operations, and adjust the
value or items in menus etc
<21> Trackball Move the cursor or mark during image movement or
measurement
<22> Menu Open or close the menu on screen
<23> Measure Go into measurement mode
<24> BodyMark Enter BodyMark mode
<25> Comment Go into comment mode
<26> M-Mark Enter M-Mark mode
<27> Depth/Zoom/
Rotation
Adjust the viewing depth for display, the zoom mode, and the
arrow rotation of the ultrasound images
<28> Cine Enter the manual playback mode
<29> Zoom Enter the mode of amplifying the image
<30> B/M/M+B/B+B Select display mode
<31> HRev / VRev Reversal the image horizontally or vertically
2
NO. Key Name Function
<32> Gain Adjust the sensitivity of black/white images
<33> Print Activate a printing function for a video printer connected
<34> Freeze Freeze and unfreeze the image. If the image is frozen, output
of acoustic power is stopped. In the Freeze status, the user can
perform file-saving operations via the Freeze menu.
Menu Operating Procedures
Basic Operations:
(1) Press the 『Menu』 key to display the related menu.
(2) Turn the trackball to move the cursor to the desired item.
(3) Press the 『Set』 key to adjust the value of the item or perform corresponding operation.
(4) To close the menu, press the 『Menu』 key again.
The menus are classified into four types: command item, number item, switch item and
character item. Now an example operation will be given for each type.
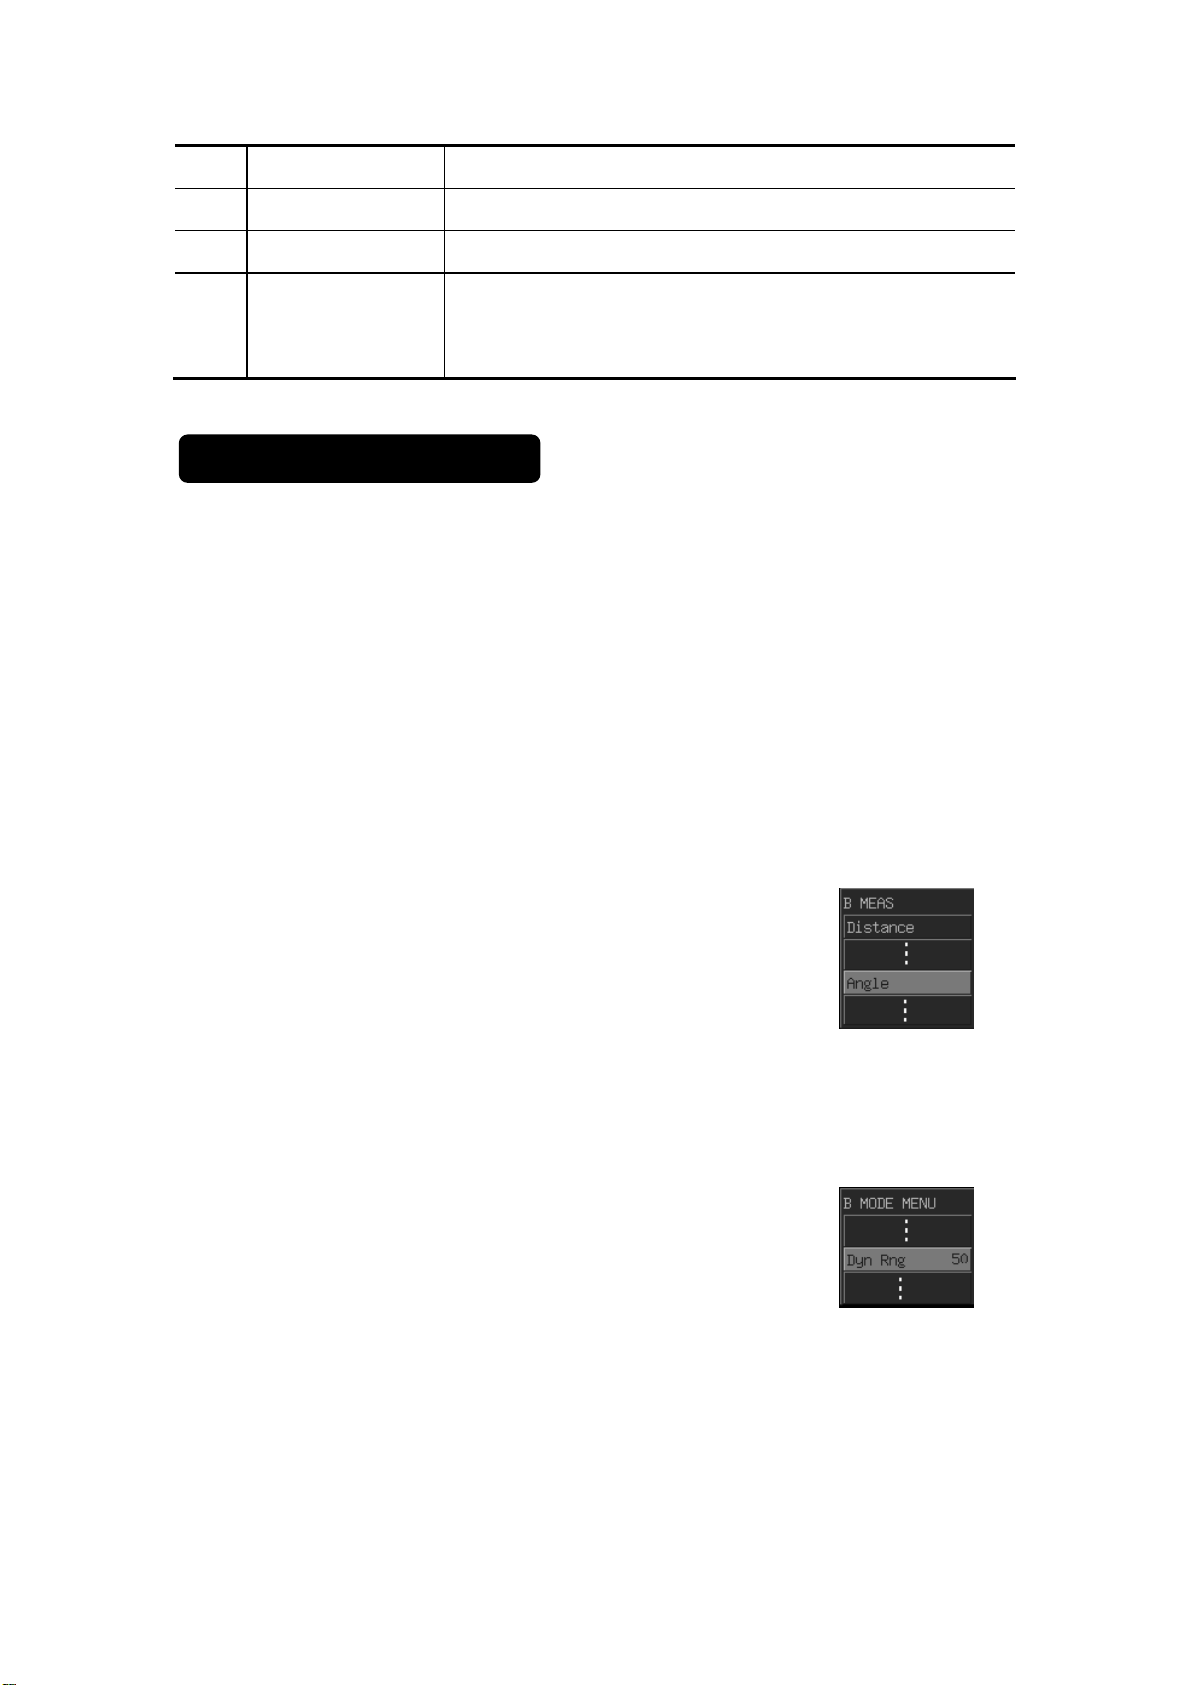
Command Item:
Command items are used to order the system to execute an action,
such as popping up a dialog box or starting a measurement, etc.
Use the [Angle] item in the menu of B MEAS as an example.
Roll the trackball to the highlight [Angle] item, press the 『Set』 key
to enter the Angle Measurement.
Number Item:
Number items are used to adjust the value of the specified
parameter in the menu. The name of the parameter being adjusted
is displayed in the left side of the menu item while the value is in its
right.
Use the [Dyn Rng] item in the B MODE MENU as an example.
Roll the trackball to highlight the [Dyn Rng] item. Press the 『Set』
key to increase the value and the 『Back』 key to reduce the value.
3
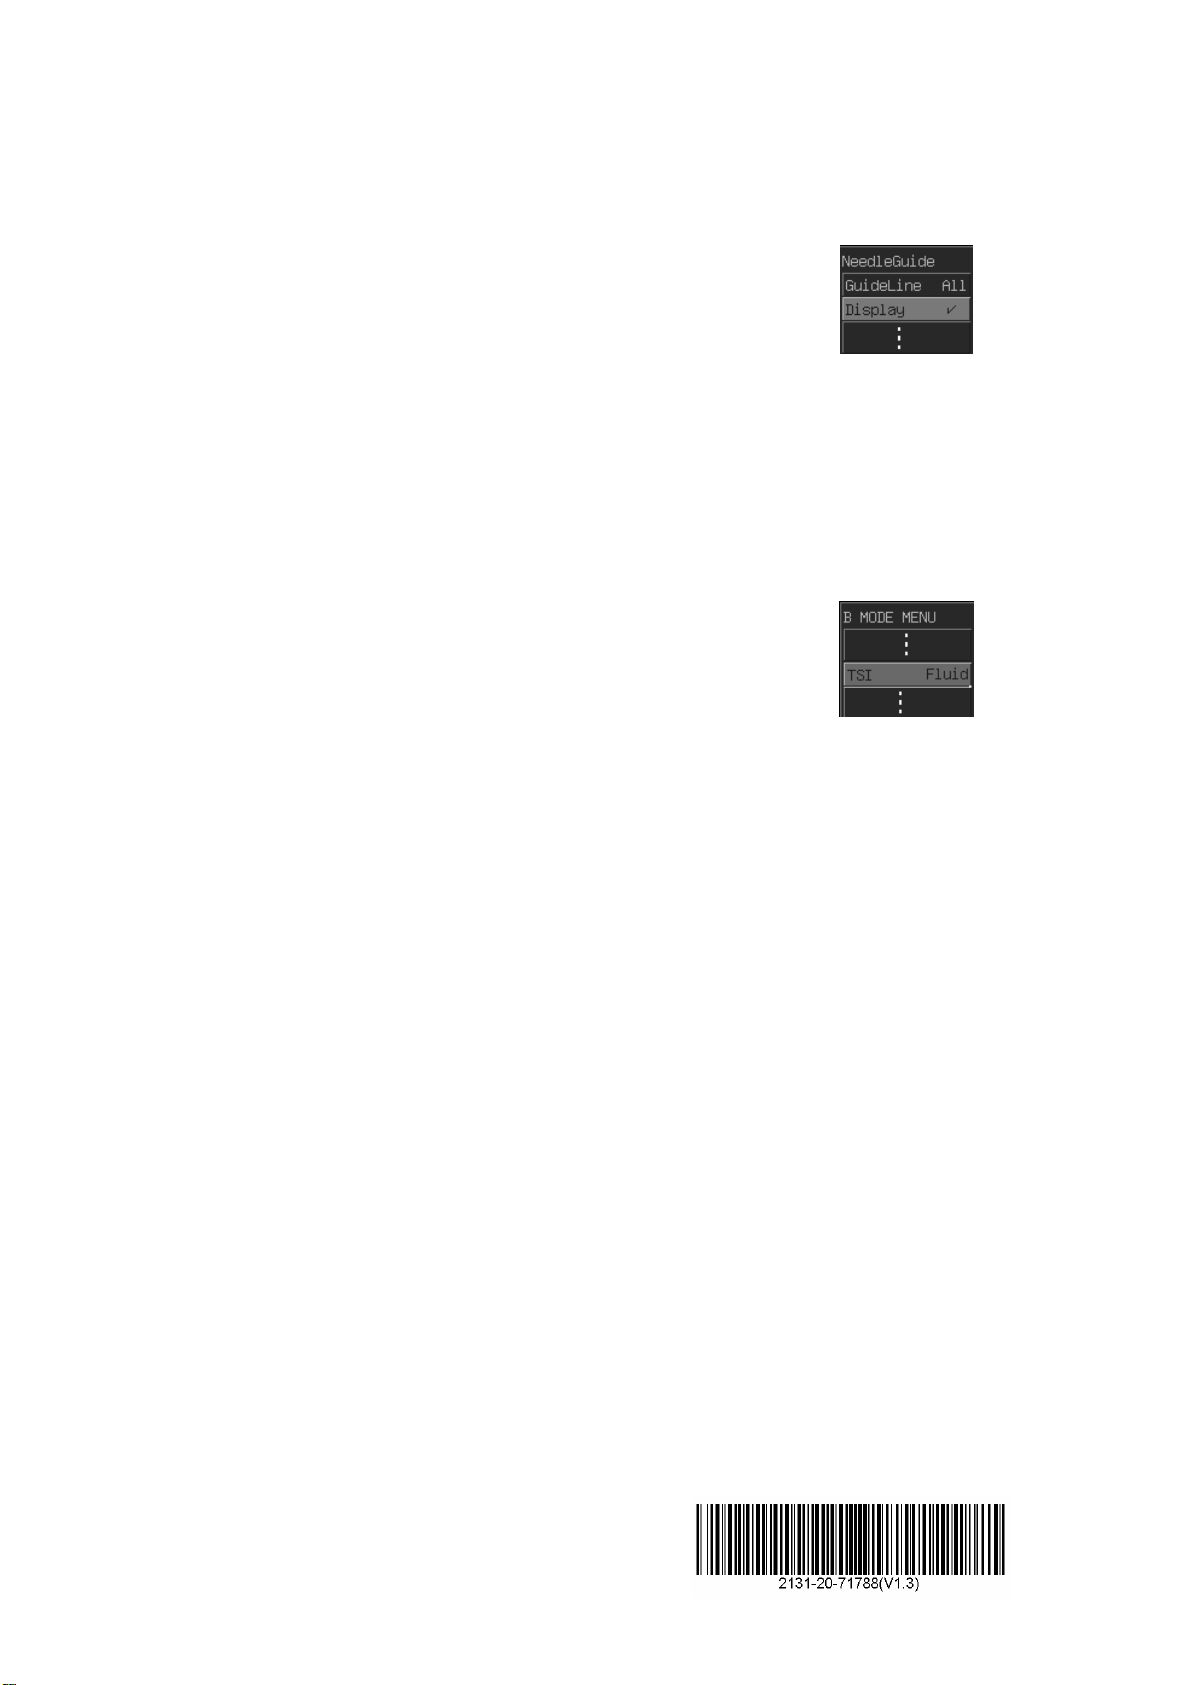
Switch Item:
Use Switch items to adjust the parameter having only two states: On
and Off. The name of the parameter being adjusted is displayed in
the left side of the item and the symbols like “√” or “×” in its right
indicating On or Off respectively.
Use the [Display] item as an example.
Roll the trackball to highlight the [Display] item. Press the 『Set』 or
the 『Back』 key to toggle between On and Off.
Character item:
About the character items, the name of the parameter being
adjusted is displayed in the left side of the item and value in its right.
What is different from the number items is that the value is displayed
in characters.
Use the [TSI] item in the B MODE MENU as an example.
Roll the trackball to highlight the [TSI] item. Press the 『Set』or the
『Back』 key to toggle among the values of the character items.
© 2006-2007 Shenzhen Mindray Bio-medical Electronics Co., Ltd. All Rights Reserved.
4
 Loading...