

La Crosse Technology WS6158-IT Instruction Manual
19
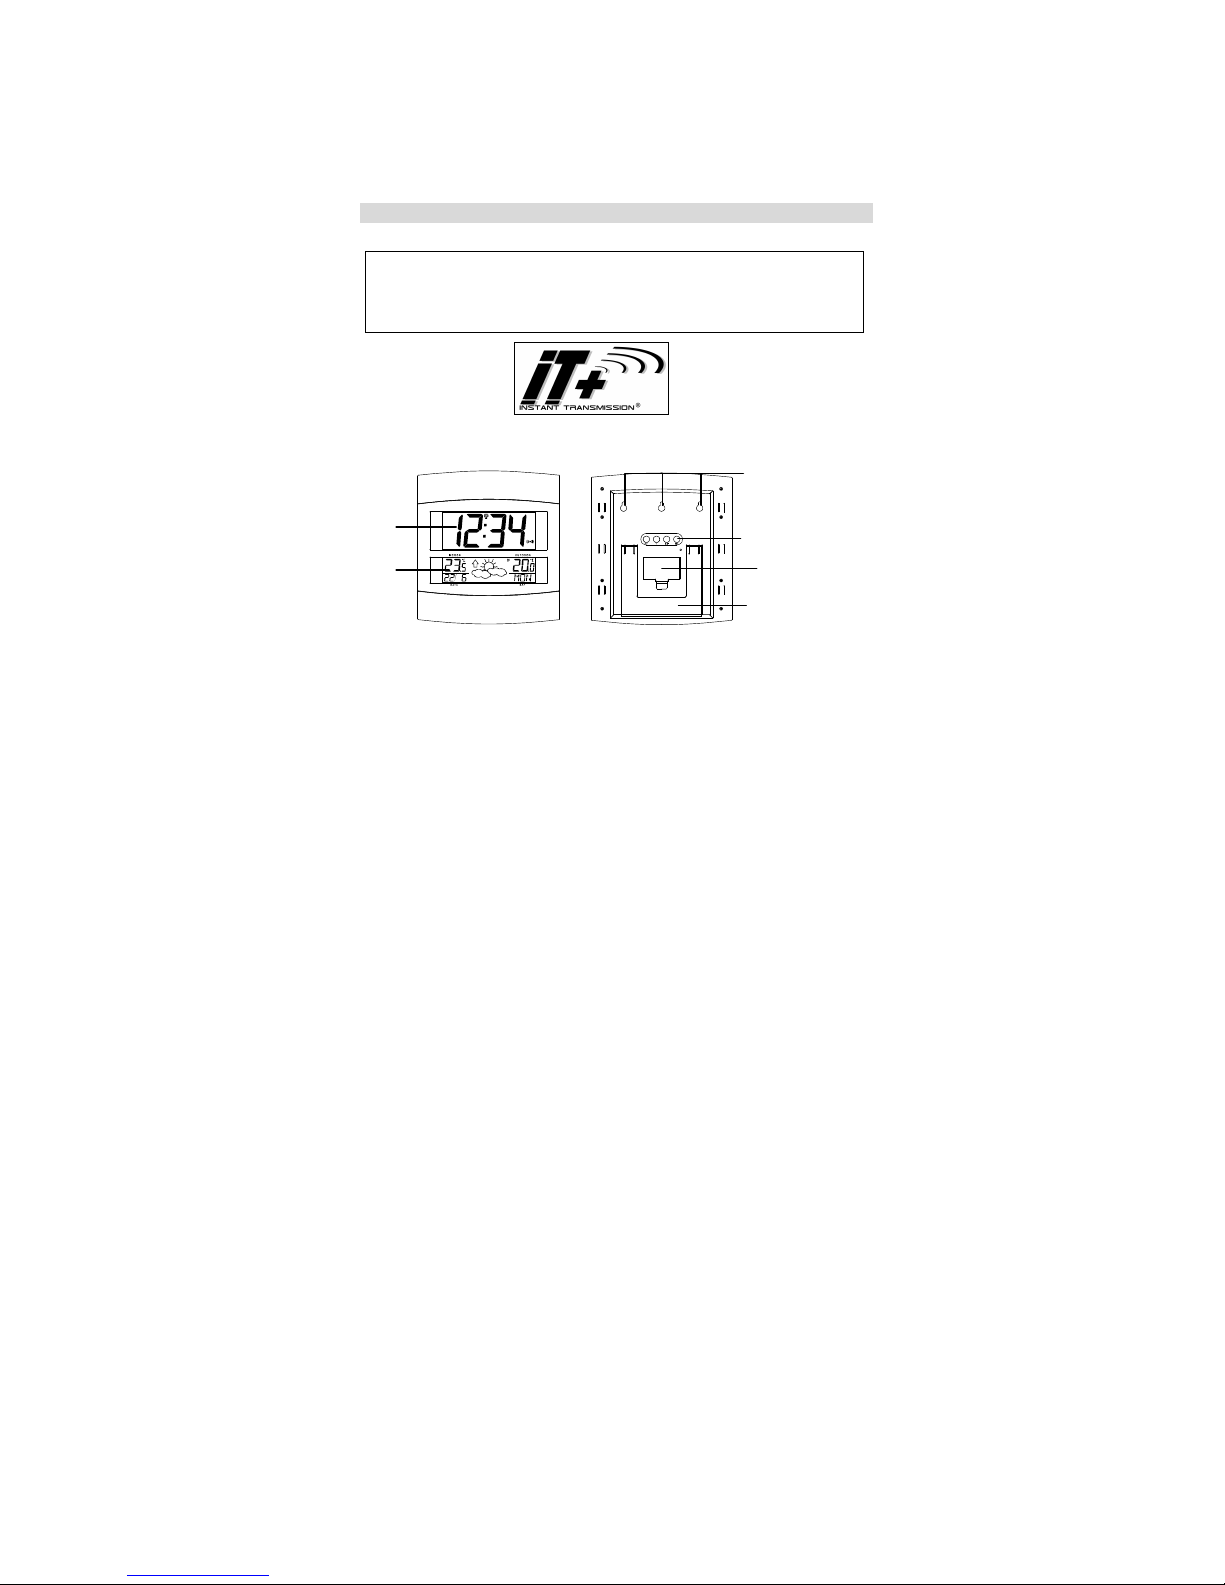
LCD2
display
Battery cover
LCD1
display
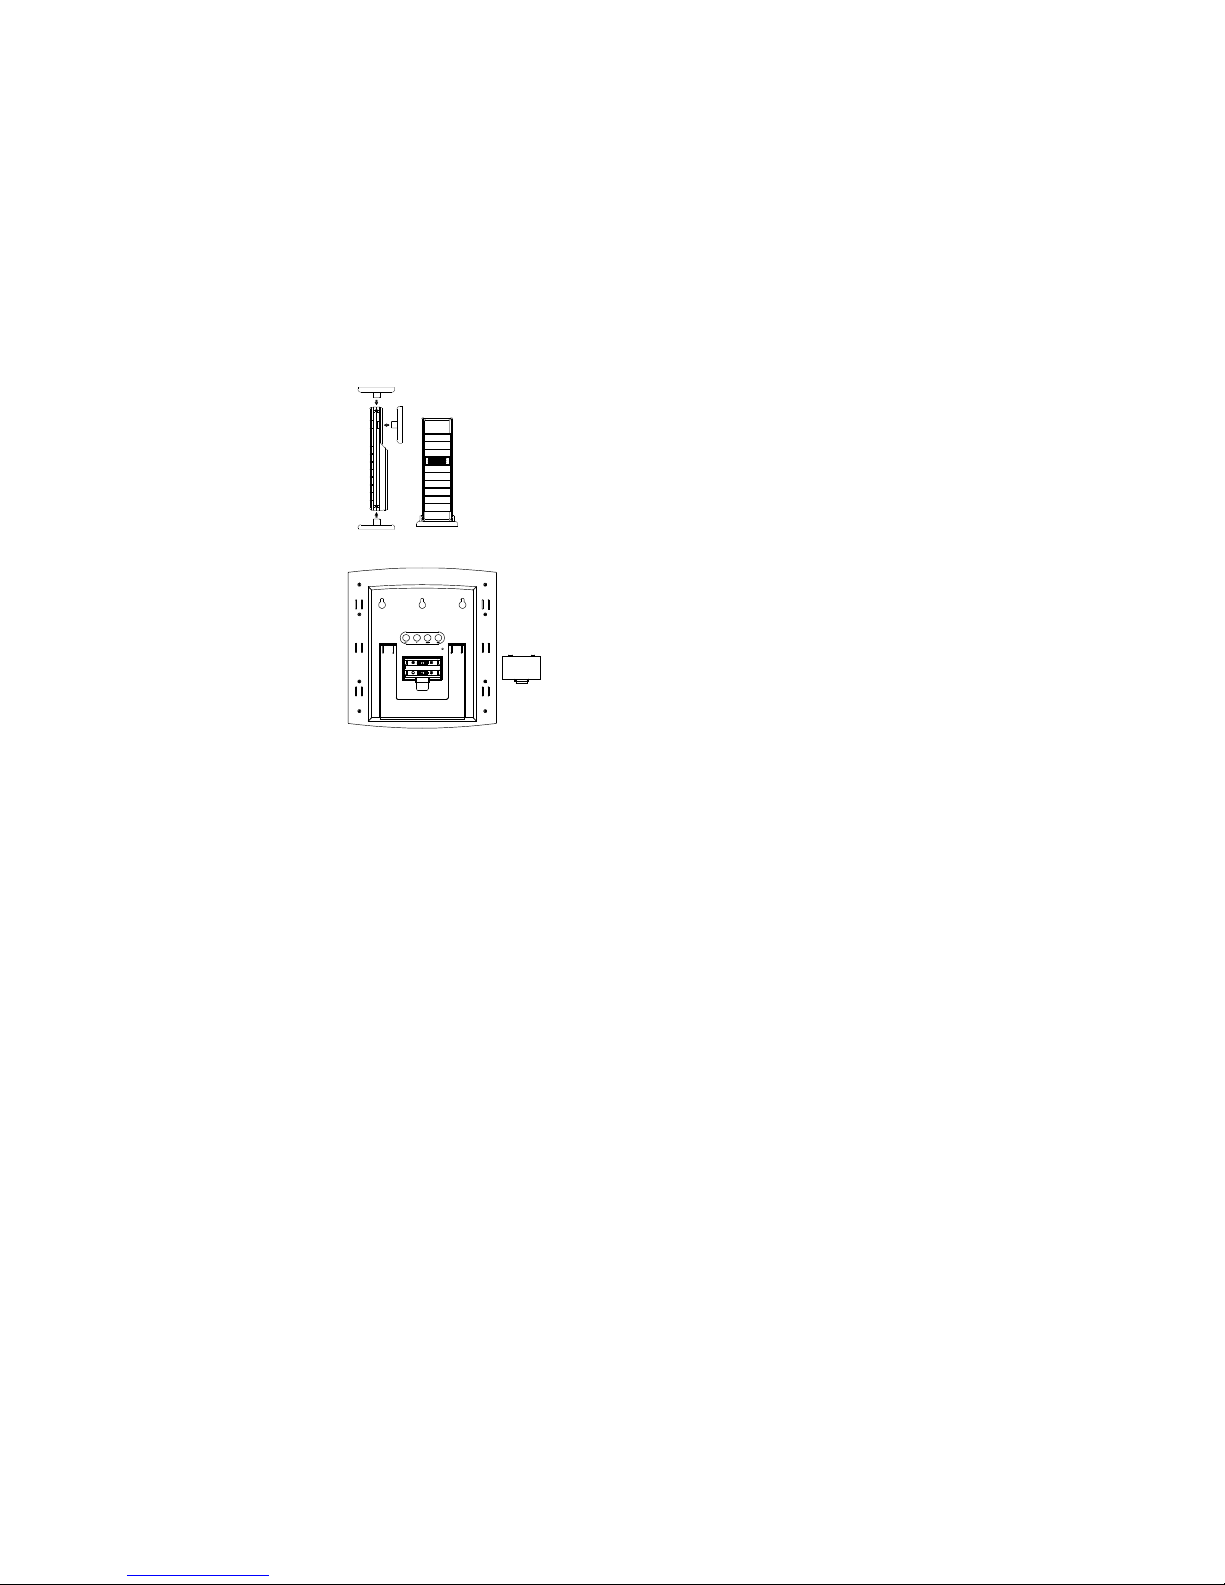
Hanging holes
Foldable stand
WEATHER WALL CLOCK
Instruction Manual
FEATURES:
WEATHER WALL CLOCK:
• DCF-77 Radio controlled time with manual setting option
• 24 hour time display
• Time display: hour, minute, second
• Alarm setting with snooze function
• Calendar display
• Weekday display (3 languages to choose from: German, English, and French)
Function keys
« Instant Transmission+» is the up and coming state-of-the-art new wireless
transmission technology, exclusively designed and developed by LA CROSSE
TECHNOLOGY.
“IT +” offers you an immediate update of all your outdoor data measured from the
transmitters: follow your climatic variations in real-time!
20
• Weather forecasting with 3 weather icons
• Weather tendency indicator
• Time zone setting
• ºC or ºF temperature display selectable
• Indoor temperature display
• Outdoor temperature display via 868MHz transmission
• Low battery indicator
• Signal reception intervals at 4-second
• Wall mount or freestanding
OUTDOOR TEMPERATURE TRANSMITTER:
• Remote transmission of outdoor temperature to Weather Station
by 868 MHz
• Wall mounting case
• Mounting at a sheltered place. Avoid direct rain and sunshine
TO INSTALL AND REPLACE BATTERIES IN THE WEATHER WALL CLOCK
The weather wall clock uses 2 x AA, IEC LR6, 1.5V
batteries. To install and replace the batteries, please
follow the steps below:
1. Insert finger or other solid object in the space at
the bottom center of the battery compartment and
lift up to remove the cover.
2. Insert batteries observing the correct polarity (see
marking inside battery compartment).
3. Replace compartment cover.
DO NOT SET THE CLOCK.

21
TO INSTALL AND REPLACE BATTERIES IN THE TEMPERATURE
TRANSMITTER
The transmitter uses 2 x AA, IEC LR6, 1.5V batteries. To install and
replace the batteries, please follow the steps below:
1. Remove the cover.
2. Insert the batteries, observing the correct polarity (see marking
inside battery compartment).
3. Replace the battery cover on the unit.
Alkaline batteries are recommended for use in both units. Avoid
using rechargable batteries.
SETTING UP:
1. Insert the 2 x AA, IEC LR6, 1.5V batteries into the transmitter (See “To install and
replace batteries in the Temperature Transmitter” above).
2. Within 3 minutes, insert 2 x AA, IEC LR6, 1.5V batteries into the Weather wall clock as
indicated above (see "To install and replace batteries in the Weather wall clock“
above).
3. Once the batteries are in place, all segments of the LCD will light up briefly and a brief
beep sound will be hear. Then the indoor temperature “OF” and outdoor temperature - - -,
the time as 0:00, the date as 1/1, and weekday will be displayed.
4. Do not press any buttons for 10 minutes
5. The Weather wall clock will start receiving data from the transmitter. The remote
temperature will then be displayed on the Weather wall clock. If the outdoor temperature
is not displayed 90 seconds after inserting the batteries into the receiver, all batteries are
needed to be removed and wait for at least 1 minute for reset from step 1.
6. The DCF time code reception will automatically start. This takes typically between 3 - 5
minutes in good conditions. This time period is an excellent opportunity to locate the
transmitter in suitable location outdoors. In order to ensure sufficient 868MHz
transmission however, this should under good conditions be no more than 100 meters
from where the Weather wall clock will be finally positioned (see notes on “Positioning”
and “868MHz Reception”).
7. If after 10 minutes the DCF time has not been received, use the SET key to enter into the
set mode and change either the time or date in order to activate the DCF reception. The
clock will then automatically attempt to receive the DCF time. When this is successful,

22
the received time will override the manually set time. The date is also updated with the
received time (Please refers to notes on “DCF Radio controlled time” and “Manual time
setting”).
Note:
In the event of changing batteries of the unit ensure that the batteries do not spring free from
the contacts. Always wait at least 1 minute after removing the batteries before reinserting,
otherwise start up and transmission problems may occur.
RADIO CONTROLLED TIME:
The time base for the radio controlled time is a Cesium Weather wall clock operated by the
Physikalisch Technische Bundesanstalt Braunschweig, which has a time deviation of less than
one second in one million years. The time is coded and transmitted from Mainflingen near
Frankfurt via frequency signal DCF-77 (77.5 kHz) and has a transmitting range of
approximately 1,500 km. Your radio-controlled Weather Station receives this signal and
converts it to show the precise time in summer or wintertime.
The quality of the reception depends greatly on the geographic location. In normal cases, there
should be no reception problems within a 1500km radius of Frankfurt.
Once the outdoor temperature is displayed on the Weather station, the DCF tower icon in the
clock display will start flashing in the upper left corner. This indicates that the clock has
detected that there is a radio signal present and is trying to receive it. When the time code is
received, the DCF tower becomes permanently lit and the time will be displayed.
Daily DCF reception is done at 02:00 and 03:00 every day. If the reception at 03:00 is not
successful, then at 04:00 and 05:00 and 06:00 there are other tries, until one is successful. If
the reception at 06:00 is still not successful, then the next try takes place at 02:00 next day.
If the tower icon flashes, but does not set the time or the DCF tower does not appear at all,
then please take note of the following:
• Recommended distance to any interfering sources like computer monitors or TV sets is a
minimum of 1.5 - 2 metres.
• Within ferro-concrete rooms (basements, superstructures), the received signal is
naturally weakened. In extreme cases, please place the unit close to a window and/ or
point its front or back towards the Frankfurt transmitter.
23
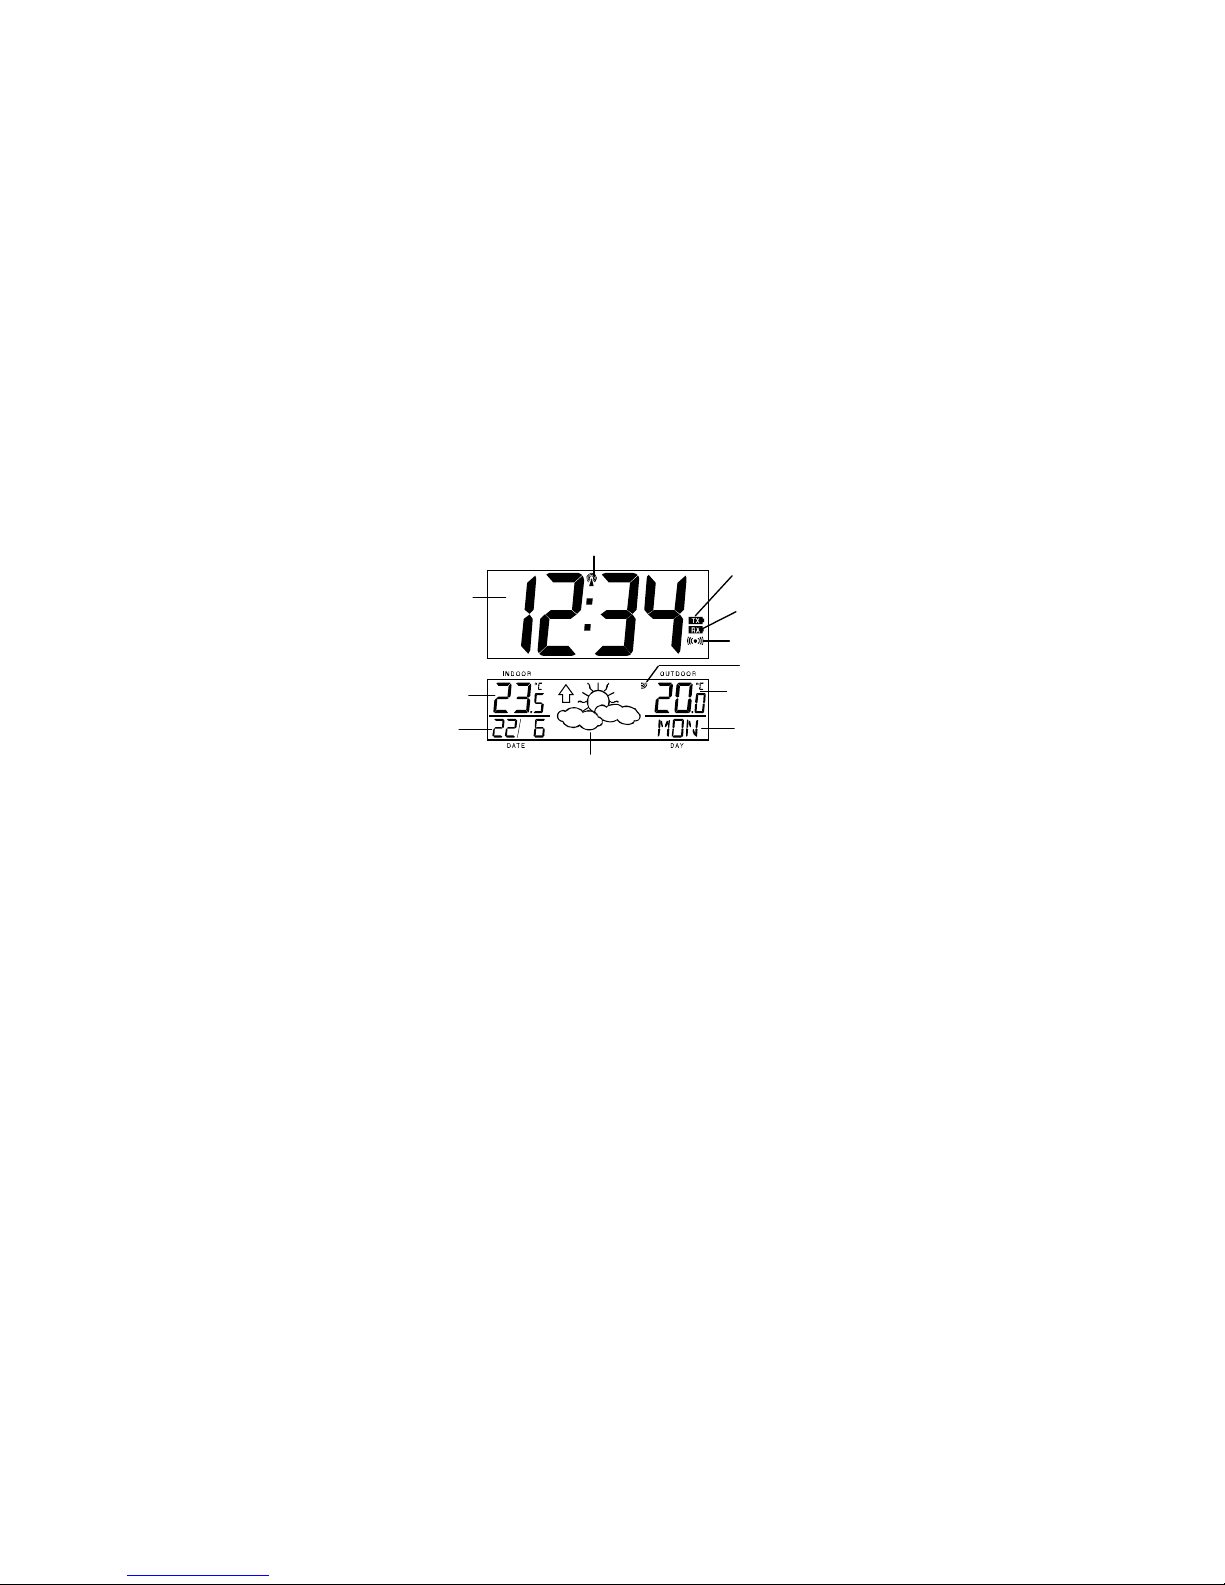
Weekday
DCF time
Indoor temperature
Weather forecast and weather tendency indicator
• During nighttime, the atmospheric disturbances are usually less severe and reception is
possible in most cases. A single daily reception is adequate to keep the accuracy
deviation below 1 second.
FUNCTION KEYS
The weather wall clock has four easy to use keys:
SET key : To enter into the set mode for the following setting: Time zone, language,
hour, minute, year, month, day, weekday, ºC or ºF temperature display.
To stop the snooze function
To exit the setting mode
+ key : To toggle between the date, alarm time, seconds display.
To change the values in manual set mode
To stop the snooze function
ALM key : To enter into the alarm set mode
To set the alarm ON/OFF
To exit the alarm setting mode
SNZ key : To activate the snooze function during alarm
To exit the setting mode
WEATHER WALL CLOCK LCD SCREEN DESCRIPTIONS
The weather wall clock's LCD is divided into 2 sections and once the batteries are inserted, all
the segments will light up briefly before displaying the information for time, date, indoor and
outdoor temperatures.
Date
Outdoor temperature
Radio reception icon
Alarm icon
Low battery icon
(wall clock)
Low battery icon
(transmitter)
Outdoor
reception signal
 Loading...