Kenmore 110.2967*, 110.2968*, 110.2969* Quick Reference Guide

Quick Start Washer Guide
We have taken great care to give your new washer the most convenient and easy-to-use features.Use this guide to help optimize the use of your washer. Consult the Use and Care Guide for more detailed instructions. Tocontact the Sears Service Center,call 1-800-4-MY-HOME® (1-800-469-4663).
Models/Modelos/Modèles 110.2967*, 2968*, 2969*
START
Measure detergent and pour into washer.
Drop sorted load loosely into washer. Load evenly around agitator to maintain balance.
Optional step: Pour measured liquid chlorine bleach into the liquid chlorine bleach dispenser (on some models). Optional step: Pour measured liquid fabricsoftenerinto the fabric softener dispenser (on some models).
Close the lid.
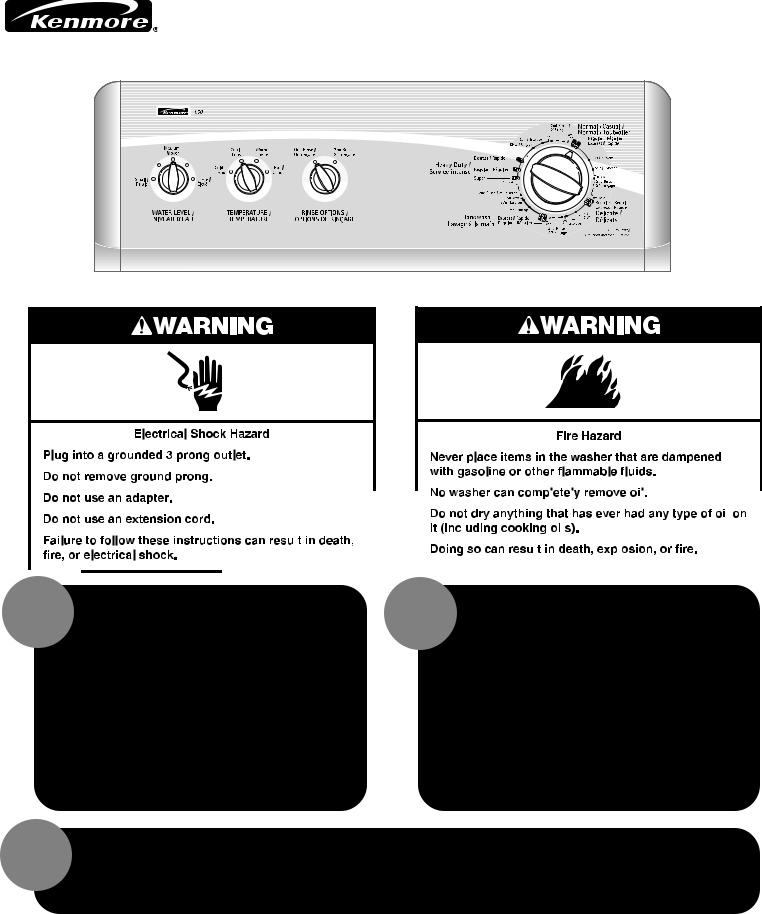
Select Cycle, Water Level, Soil Level, Temperature, and Rinse Options based on your load.
Pull out Cycle Selector (Timer) knob to start.
Push in Cycle Selector (Timer) knob to stop the washer.
WATER TEMPERATURE CONTROL
• You should select the wash/rinse water temperature based on the type of load you are washing.
• Always use the warmest wash water safe for fabric and follow garment label instructions. For recommended use, see the Use and Care Guide.
• Depending on location, water temperatures may vary by season. The fill rate may also differ depending on the water temperature selected.
WATER LEVEL CONTROL
Adjust to load size. Clothes should move freely. Tochange the water level after the wash action starts, you may turn knob to desired setting. On models with Variable Water Level Control, you must turn the knob to Reset beforechangingthe water level.This is
necessary only when the changeneeds to be done once the machine has started to fill.
W10026684A |
Continued on back |

CYCLE SELECTOR (TIMER) CONTROL
(Estimated cycle time based on a full load with Regular Soil Level setting.)
Heavy Duty
Use this cycle for cottons and linens used regularly. For maximum soil removal, you should set the Cycle Selector (Timer) Control for the longest available time.
Normal / Casual
Select this cycle for synthetic fabrics such as dress shirts, blouses, and slacks. The cycle will give you a load-cooling spray rinse to reduce wrinkling.
Delicate
This cycle combines slow-speed agitation and slow-speed spin to gently clean garments while reducing wrinkles.
Handwash
Use this cycle for special care items. This cycle features a series of brief agitations and short soaks for the gentlest cleaning and for minimal wrinkling.
2nd Rinse
A second rinse can be used to aid in improved removal of detergent or bleach residue from garments. This option may be automatically added to the wash cycle by setting the OPTIONS control to 2nd Rinse anytime before the end of the cycle.
Rinse & Spin
Select this option if you think an extra rinse is needed. Set OPTIONS Control to 2nd Rinse. You should then set the Cycle Selector (Timer) Control knob to a 2nd Rinse setting.
Spin Only
A drain and spin may help shorten drying times for some fabrics by removing excess water. Set OPTIONS Control (if available) to One Rinse. You should then set Cycle Selector (Timer) Control to a Spin setting.
OPTIONS
ThisOneis the rinseRinseat the end of each cycle. Choose2nd Rinsethis option for an automatic 2nd rinse for each cycle.
TROUBLESHOOTINGBeforeyou call service–...SOUNDScheck forandthe followingLEAKS .
Loud clicking and banging?
• The yellow shipping strap may still be in the rear of the washer. Completely remove the yellow shipping strap.
• The washer should be level, and the feet should be firmly on the floor.
Some sounds are normal but may be different from those of your previous washer.
• The gears engaging after the drain and before the spin.
• The sound of air being pulled through the pump after most of the water has drained.
Is the washer leaking?
• Fill hose connections are tight.
• Gaskets in fill hose are tight and flat.
• Drain hose clamp is securely attached.
• Faucets, drain/standpipe, or laundry tub is not leaking.
• The washer tub is centered, and the load evenly balanced at the start of each load.
• The washer is level.
• The front feet are installed, and the nuts are tightened to the cabinet.
See the Use and Care Guide for complete details.
W10026684A |
® Registered Trademark / TM Trademark / SM Service Mark of |
7/08 |
© 2008 Sears Brands, LLC. |
Sears Brands, LLC, used under licensee by Sears Canada Inc. |
Printed in U.S.A. |
 Loading...