

Page 1
LASERJET PRO 500 COLOR MFP
Quick Reference Guide
M570
Page 2
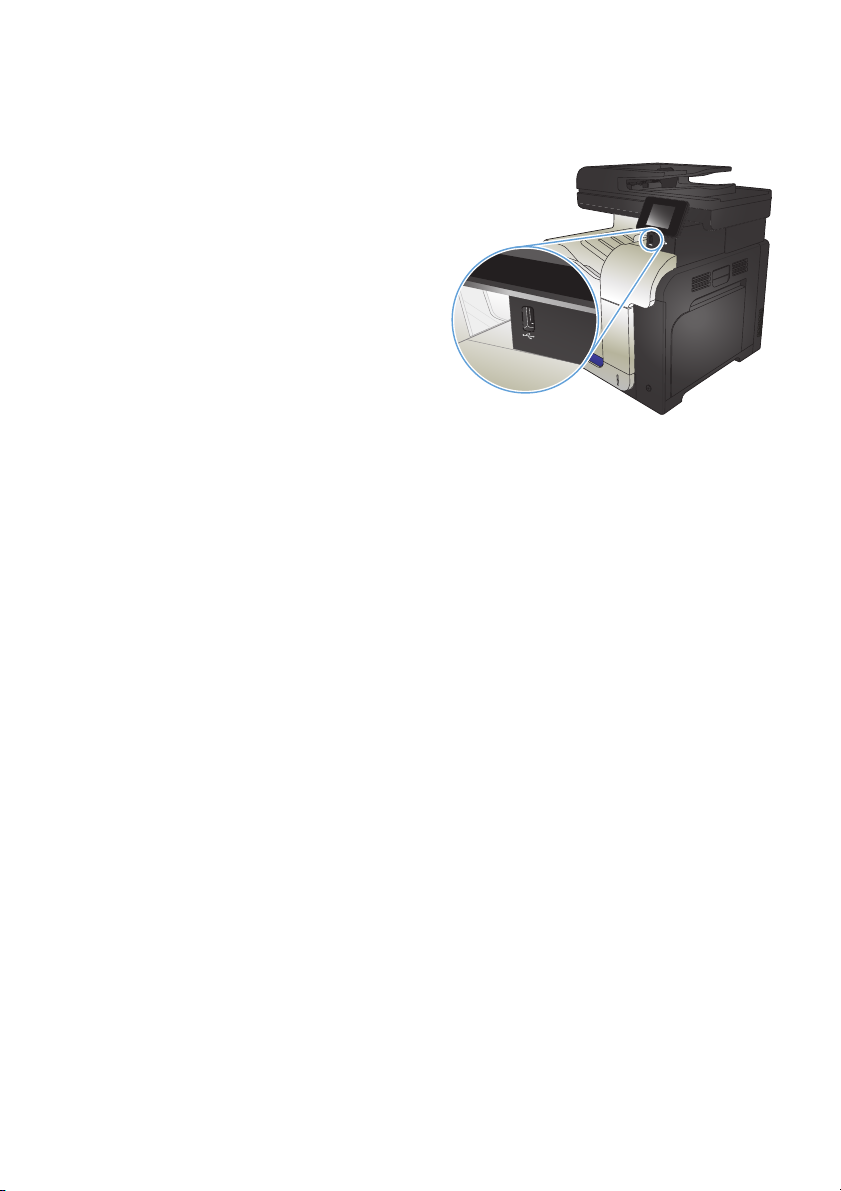
Use walk-up USB printing
1. Insert the USB flash drive into the USB port
on the front of the product.
2. The USB Flash Drive menu opens. Touch the
arrow buttons to scroll through the options.
Print Documents
●
View and Print Photos
●
Scan to USB Drive
●
3. To print a document, touch the Print
Documents screen, and then touch the name
of the folder on the USB drive where the
document is stored. When the summary
screen opens, you can touch it to adjust the
settings. Touch the Print button to print the
document.
4. To print photos, touch the View and Print
Photos screen, and then touch the preview
image to select each photo that you want to
print. Touch the Done button. When the
summary screen opens, you can touch it to
adjust the settings. Touch the Print button to
print the photos.
5. Retrieve the printed job from the output bin,
and remove the USB flash drive.
2Quick Reference Guide ENWW
Page 3

Collate a copy job
1. Load the document onto the scanner glass
or into the document feeder.
2. From the Home screen on the product
control panel, touch the Copy button.
3. Touch the Settings button, and then scroll to
and touch the Collation button. Touch the
arrow buttons to scroll through the options,
and then touch an option to select it.
4. Touch the Black or Color button to start
copying.
ENWW
Collate a copy job
3
Page 4
Copy on both sides (duplex)
Copy on both sides automatically
1. Load the original documents into the
document feeder with the first page facing
up, and with the top of the page leading.
2. Adjust the paper guides to fit the size of the
document.
3. From the Home screen on the product
control panel, touch the Copy button.
4. Touch the Settings button.
5. Scroll to and touch the Two-Sided button.
6. Touch the arrow buttons to scroll through
the options, and then touch an option to
select it.
7. Touch the Black or Color button to start
copying.
4Quick Reference Guide ENWW
Page 5

Copy on both sides manually
1. Place the document face-down on the
scanner glass with the upper-left corner of
the page in the upper-left corner of the
glass. Close the scanner.
2. From the Home screen on the product
control panel, touch the Copy button.
3. Touch the Settings button.
4. Scroll to and touch the Two-Sided button.
5. Touch the arrow buttons to scroll through
the options, and then touch an option to
select it.
6. Touch the Black or Color button to start
copying.
7. The product prompts you to load the next
original document. Place it on the glass,
and then touch the OK button.
8. Repeat this process until you have scanned
the last page. Touch the Done button to
finish printing the copies.
ENWW
Copy on both sides (duplex)
5
Page 6

Reduce or enlarge a copy
1. Load the document onto the scanner glass
or into the document feeder.
2. From the Home screen on the product
control panel, touch the Copy button.
3. Touch the Settings button, and then touch
the Reduce/Enlarge button. Touch the
arrow buttons to scroll through the options,
and then touch an option to select it.
4. Touch the Black or Color button to start
copying.
6Quick Reference Guide ENWW
Page 7
Optimize copy quality
The following copy-quality settings are available:
Auto Select: Use this setting when you are not concerned about the quality of the copy. This is the
●
default setting.
Mixed: Use this setting for documents that contain a mixture of text and graphics.
●
Text: Use this setting for documents that contain mostly text.
●
Picture: Use this setting for documents that contain mostly graphics.
●
1. Load the document onto the scanner glass
or into the document feeder.
2. From the Home screen, touch the Copy
button.
3. Touch the Settings button, and then scroll to
and touch the Optimize button. Touch the
arrow buttons to scroll through the options,
and then touch an option to select it.
4. Touch the Black or Color button to start
copying.
ENWW
Optimize copy quality
7
Page 8

Set the paper size and type for copying on special paper
1. From the Home screen, touch the Copy button.
2. Touch the Settings button, and then scroll to and touch the Paper button.
3. From the list of paper sizes, touch the name of the paper size that is in Tray 1.
NOTE: The product supports these sizes for copying: Letter, Legal, and A4.
4. From the list of paper types, touch the name of the paper type that is in Tray 1.
5. Touch the Black or Color button to start copying.
8Quick Reference Guide ENWW
Page 9

Scan to a USB flash drive
1. Load the document onto the scanner glass or into the document feeder.
2. Insert a USB flash drive into the port on the front of the product.
3. From the Home screen on the product control panel, touch the Scan button.
4. Touch the Scan to USB Drive screen.
5. Touch the Scan button to scan and save the file. The product creates a folder named HPSCANS on
the USB drive, and it saves the file in .PDF or .JPG format using an automatically generated file
name.
NOTE: When the summary screen opens, you can touch it to adjust settings.
You also can change the folder name.
ENWW
Scan to a USB flash drive
9
Page 10

Scan to a network folder
Use the product control panel to scan a document and save it to a folder on the network.
NOTE: In order to use this feature, the product must be connected to a network and the scan feature
must be configured using the HP Embedded Web Server.
1. Load the document onto the scanner glass or into the document feeder.
2. From the Home screen on the product control panel, touch the Scan button.
3. Touch the Scan to Network Folder item.
4. In the list of network folders, select the folder to which you want to save the document.
5. The control panel screen displays the scan settings.
If you want to change any of the settings, touch the Settings button, and then change the
●
settings.
If the settings are correct, go to the next step.
●
6. Touch the Scan button to start the scan job.
10 Quick Reference Guide ENWW
Page 11
Scan to email
Use the product control panel to scan a file directly to an email address. The scanned file is sent to the
address as an email message attachment.
NOTE: In order to use this feature, the product must be connected to a network and the scan feature
must be configured using the HP Embedded Web Server.
1. Load the document onto the scanner glass or into the document feeder.
2. From the Home screen on the product control panel, touch the Scan button.
3. Touch the Scan to E-mail item.
4. Touch the Send an E-mail item.
5. Select the From address that you want to use. This is also known as an “outgoing email profile.”
NOTE: If the PIN feature has been set up, enter the PIN and touch the OK button. However, a PIN
is not required to use this feature.
6. Touch the To button and pick the address or group to which you want to send the file. Touch the
Done button when finished.
7. Touch the Subject button if you would like to add a subject line
8. Touch the Next button.
9. The control panel screen displays the scan settings.
If you want to change any of the settings, touch the Settings button, and then change the
●
settings.
ENWW
If the settings are correct, go to the next step.
●
10. Touch the Scan button to start the scan job.
Scan to email
11
Page 12

Fax from the flatbed scanner
1. Place the document face-down on the
scanner glass.
2. From the Home screen on the product
control panel, touch the Fax button.
3. Use the keypad to enter the fax number.
4. Touch the Start Fax button.
5. The product prompts you to confirm that you
are sending from the scanner glass. Touch
the Yes button.
6. The product prompts you to load the first
page. Touch the OK button.
7. The product scans the first page and then
prompts you to load another page. If the
document has multiple pages, touch the Yes
button. Continue this process until you have
scanned all the pages.
8. When you have scanned the last page,
touch the No button at the prompt. The
product sends the fax.
12 Quick Reference Guide ENWW
Page 13

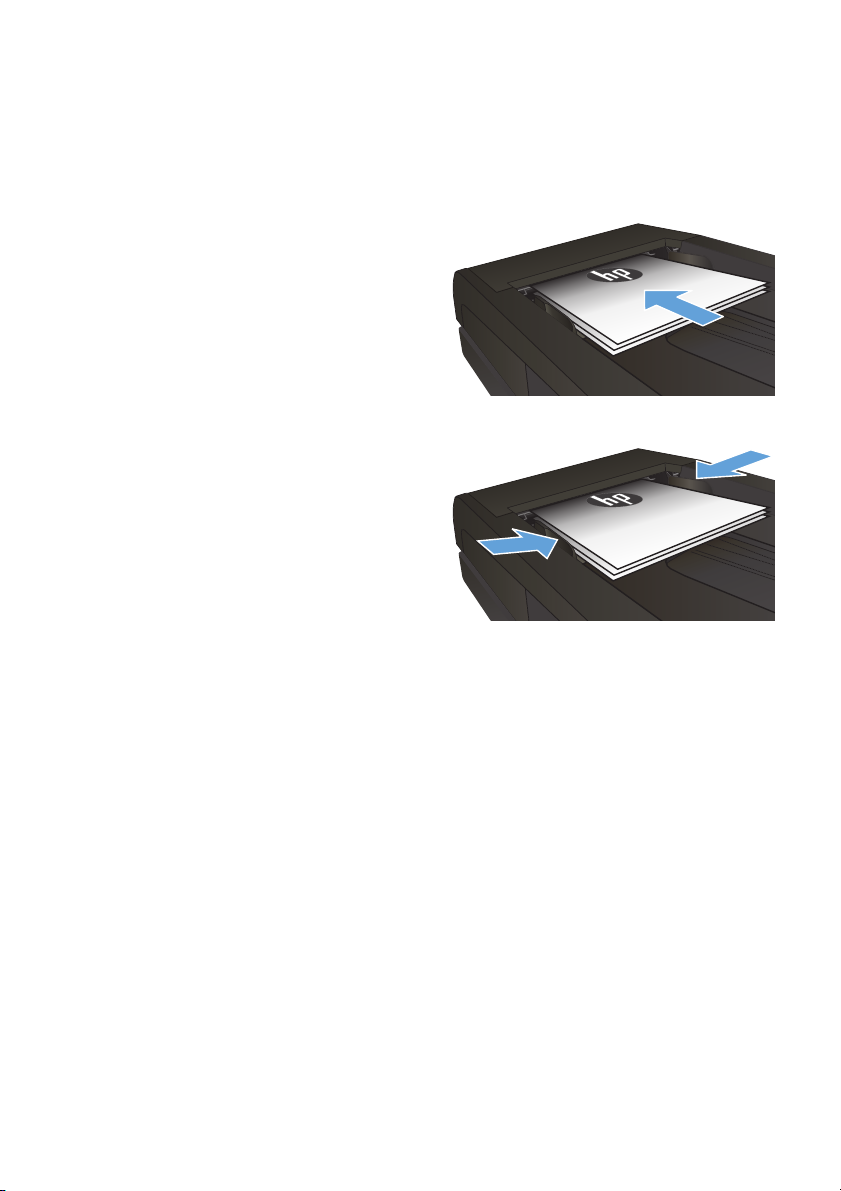
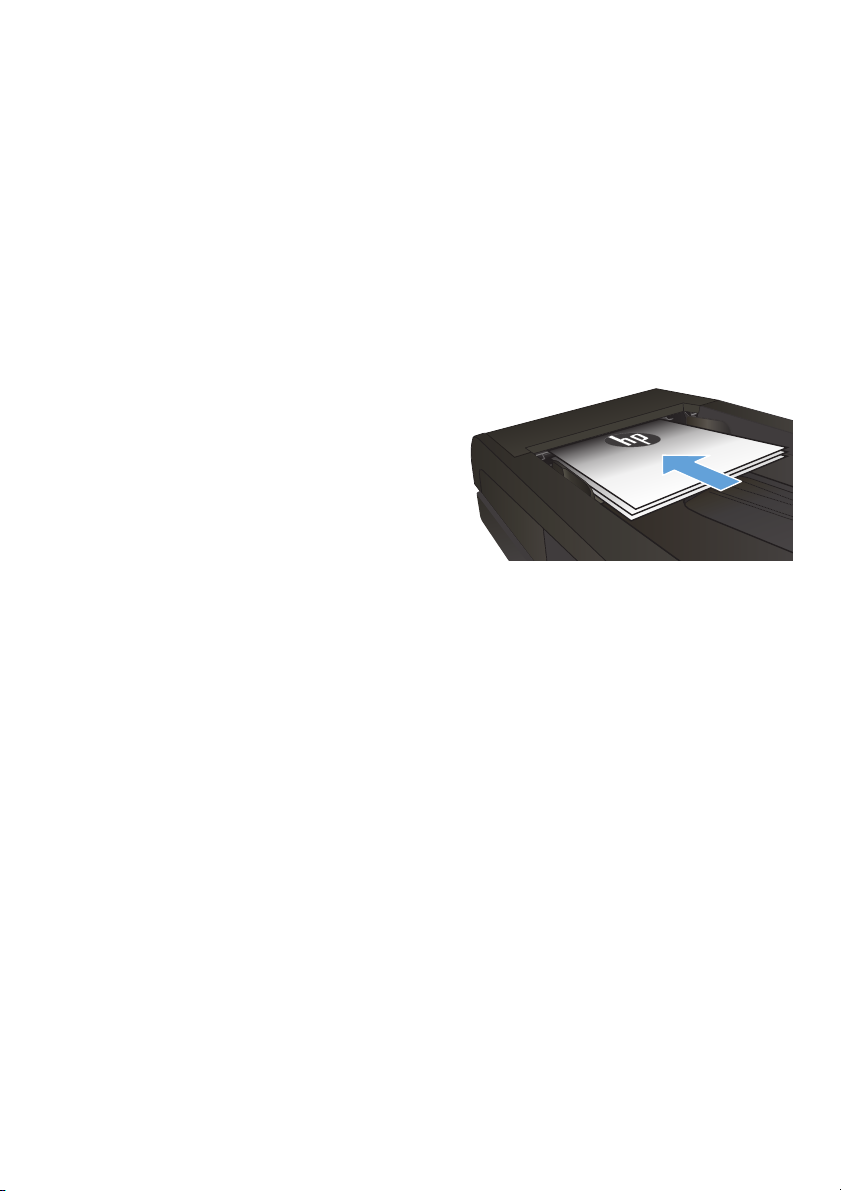
Fax from the document feeder
1. Insert the originals into the document feeder
face-up.
NOTE: The document feeder capacity is
up to 50 sheets of 75 g/m
CAUTION: To prevent damage to the
product, do not use an original that
contains correction tape, correction fluid,
paper clips, or staples. Also, do not load
photographs, small originals, or fragile
originals into the document feeder.
2. Adjust the paper guides until they are snug
against the paper.
3. From the Home screen on the product
control panel, touch the Fax button.
4. Use the keypad to enter the fax number.
5. Touch the Start Fax button.
2
(20 lb) paper.
ENWW
Fax from the document feeder
13
Page 14

14 Quick Reference Guide ENWW
Page 15

Page 16

© 2012 Hewlett-Packard Development Company, L.P.
www.hp.com
Edition 1, 11/2012
Part number: CZ271-90984
Windows ® is a U.S. registered trademark of Microsoft Corporation.
Reproduction, adaptation or translation without prior written permission is
prohibited, except as allowed under the copyright laws.
The information contained herein is subject to change without notice.
The only warranties for HP products and services are set forth in the express
warranty statements accompanying such products and services. Nothing herein
should be construed as constituting an additional warranty. HP shall not be liable
for technical or editorial errors or omissions contained herein.
*CZ271-90984*
*CZ271-90984*
CZ271-90984
 Loading...