

Hp LASERJET M5035 MFP, LASERJET M3027 MFP, LASERJET M4345 MFP, LASERJET M5025 MFP, LASERJET M3035 MFP Use the HP Driver Configuration Editor
Page 1

W
hite
r
HP LaserJet MFP Products - Use
the HP Driver Configuration
paper
Edito
Security Level: Public
Date Written/Updated: 6/15/2007
Document Summary
9 This document provides information on how to use the HP Driver Configuration
Editor
9 How to create a Pre-Config file that will not break the WHQL process.
HP Driver Configuration Editor
Description
The HP Driver Configuration Editor is a small Windows application that the user can use to
edit the configuration file associated with a particular driver. The configuration file controls
the printer driver settings and takes effect when the driver is installed.
This tool does not handle any part of the deployment or installation of the driver. Rather, the
configuration file is modified and saved back to the same driver directory in which it was
opened.
It is intended for use in environments where there is an established process for deploying
drivers or where the server platform is not Windows-based. To support any Novell or PSA
Point and Print environments, this is the pre-configuration tool of choice.
Access/installation
The HP Driver Configuration Editor can be downloaded from hp.com at the following URL:
http://www.hp.com/go/hpdpc_sw
After it has been downloaded, the compressed package can be expanded into a local or
network directory. No formal installation process is required; as soon as the package has
been expanded, it is ready to be run. The application can be run by double-clicking
HPBCFGAP.EXE in the destination directory.
This application shares functional features and user interface with the Customization Utility
and Web-based versions of the HP driver pre-configuration.
Page 1 of 11 white paper
Page 2
Procedure
In order to use the HP Driver Configuration Editor, the driver(s) to be configured must be in
their standard .INF-file driver packages that are obtained from HP (either from the HP Web
site or from the product in-box CD-ROM). The driver(s) must be stored in a location for
which the user of the tool has write-access. The driver must also support driver preconfiguration. If the tool is used to browse to a driver directory and there is no .CFG or
.CFM file, the driver cannot be preconfigured.
1. Run HPBCFGAP.EXE from the download directory
To run the HP Driver Configuration Editor, double-click HPBCFGAP.EXE.
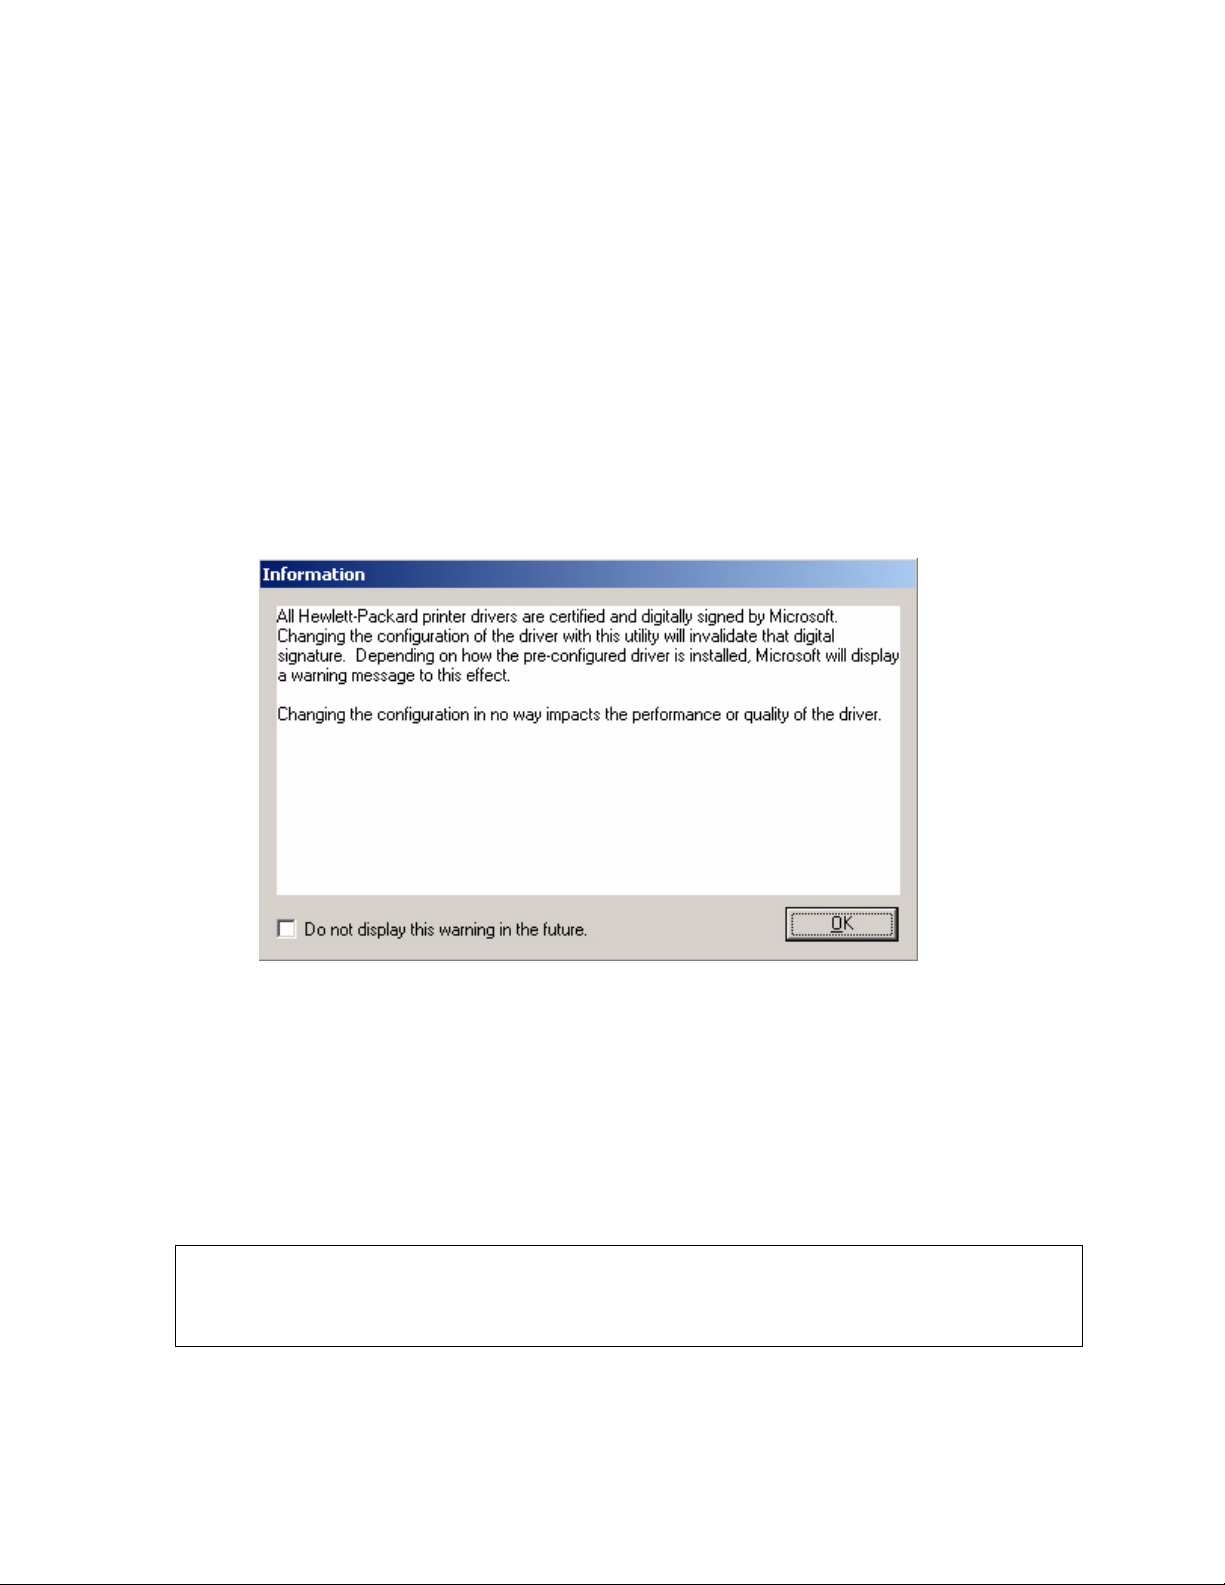
2. The Information dialog box appears, as shown in Figure 1.
Figure 1 Information dialog box
This dialog box warns users that, depending on how the driver is installed, a
Windows Hardware Quality Labs (WHQL) Digital Signature Warning will appear.
Because the .CFG file that is shipped with the drivers is part of the .INF-file package
(and referenced in the .INF file as a dependent file of the driver), modifying this file
invalidates the digital signature that Microsoft provides when the driver is WHQLcertified.
Note To prevent the WHQL Digital Signature warning from appearing during driver
installation, save the driver configuration file as a Modified Config File (.CFM) and
store it with the driver files. For more information on .CFM files, see step 4.
Figure 2 shows the Microsoft warning dialog that appears at install time.
Page 2 of 11 white paper
Page 3
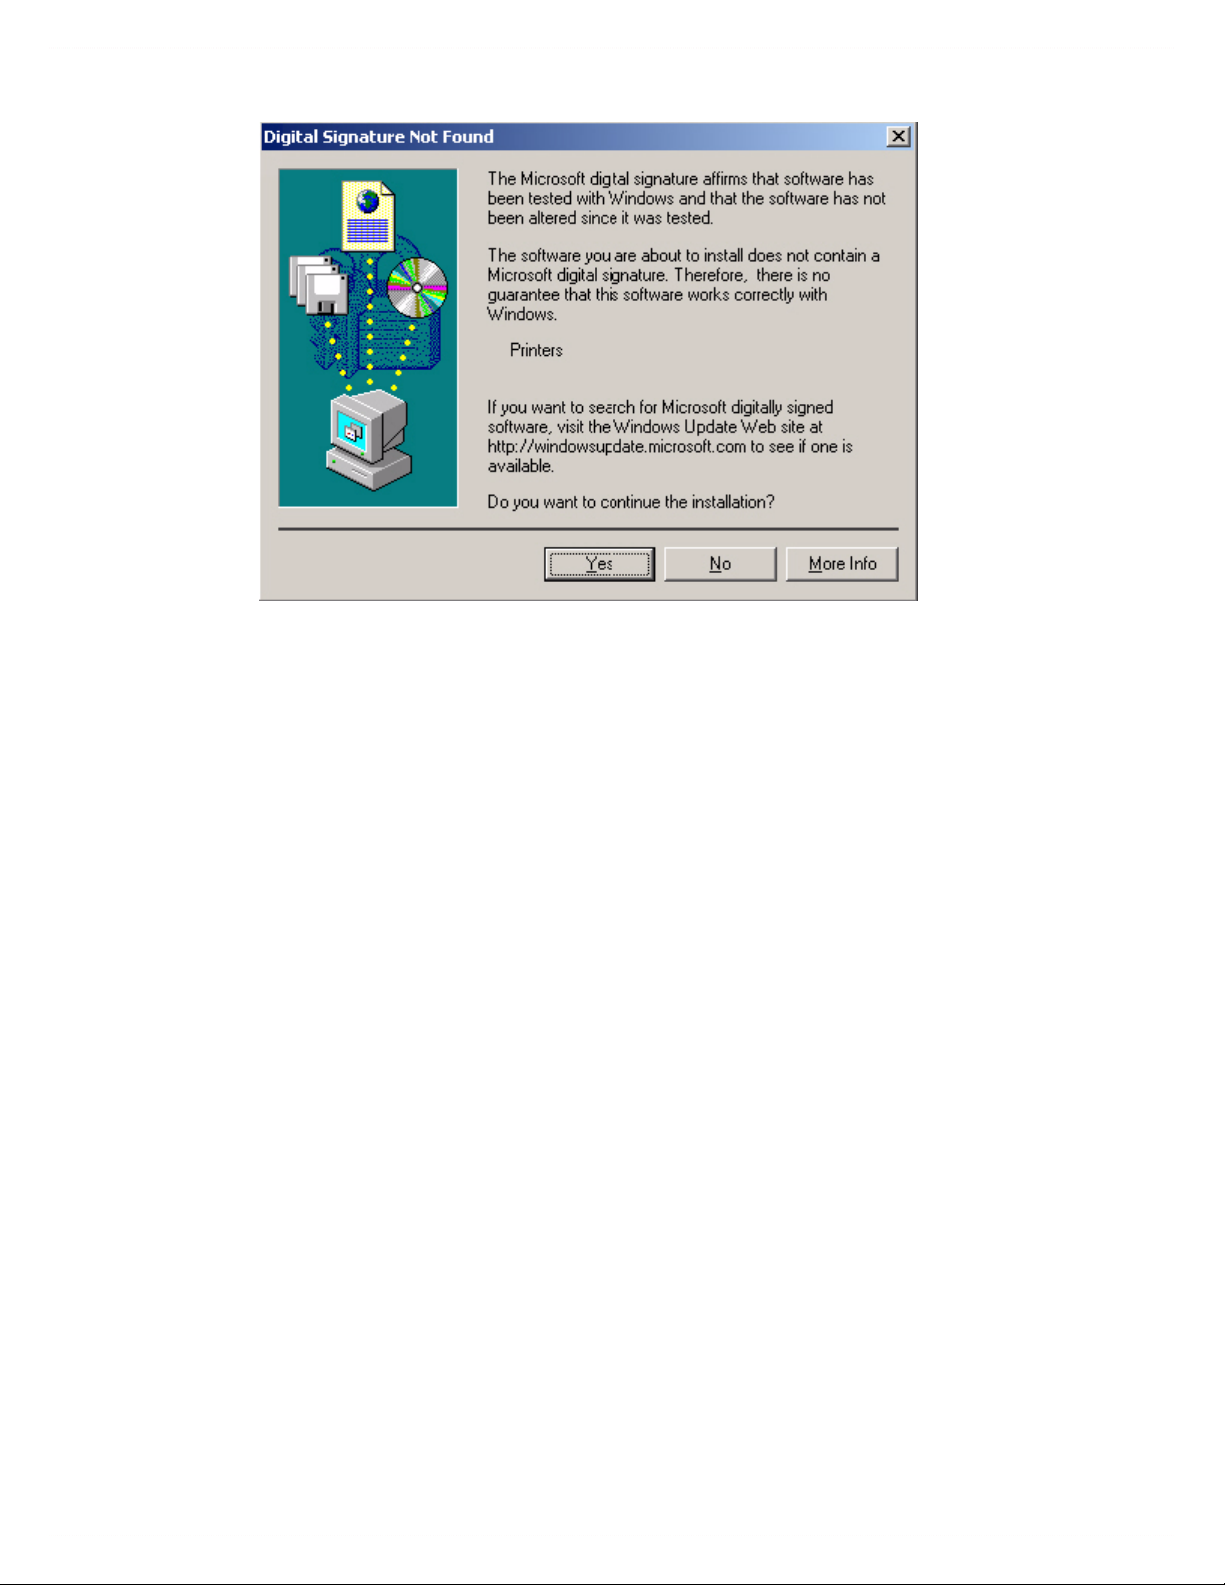
Figure 2 Digital Signature Not Found dialog box
This dialog appears only in Windows 2000, Windows XP, and Windows 2003
Server, and only when drivers are being installed directly on the machine (not when
they are being installed as a Point and Print client).
3. Open a configuration file and modify it to meet your requirements. A configuration
file can be a .CFG or a .CFM file. The .CFG file is the standard configuration file
that is part of the driver installation package.
The .CFM file is a special file that can be used to configure a driver without
triggering the WHQL Digital Signature warning during driver installation. The .CFM
file is not a part of the driver and cannot be installed as a part of a standard
network installation.
For information on deploying a .CFM file, see Copying a .CFM file to the driver
directory.
The UI consists of two tabs: Device Settings and Printing Preferences.
Device Settings tab
The settings in the Device Settings tab, illustrated in Figure 3, are related to the
installed hardware on the device. Certain features on the Printing Preferences
tab rely on the installation of various hardware accessories in order to be used.
Page 3 of 11 white paper
Page 4

Bundle Selection
The Bundle Selection field lists the various hardware bundles available for the
product and, when changed, modifies the individual settings to reflect the bundle
contents.
Figure 3 Device Settings tab
Printing Preferences tab
Settings in the Printing Preferences tab, illustrated in Figure 4, are related to the
actual formatting of documents as they are printed. By modifying the feature settings,
the default behavior of the driver is altered. For example, if Media Type is
changed to Letterhead, then every job printed will default to being printed on
Letterhead paper. The user can modify this setting on both a per-document and a
per-printer basis.
Page 4 of 11 white paper
Page 5

Figure 4 Printing Preferences tab
Feature locking
HP driver preconfiguration supports the ability to lock five settings:
• Print on Both Sides (Duplex)
• Print in Grayscale
• Media Type
• Paper Source
• Output Bin
When a feature is locked, the selected default option is the only option that is available to
users.
Generally, the feature is simply disabled in the driver UI after it has been installed. In the
preceding figure (Figure 4), the Print on Both Sides (Duplex) setting has been locked
to True.
A small icon showing a padlock appears next to the setting in the UI. As a result, the user is
unable to print from this driver on only one side of the page. If the driver is installed on a
server, clients connecting to that printer are also unable to print on only one side of the
page.
Page 5 of 11 white paper
Page 6

Constraints
The .CFG/.CFM file is encoded with all of the same constraints that the drivers
enforce. As a result, if the user of the HP Driver Configuration Editor attempts to set
features to an invalid combination, a warning dialog box appears, and the feature
change that triggered the warning is returned to its original state. For example, if the
Media Type option is set to Transparency when Print on Both Sides
(Duplex) is set to True, an Invalid Selection dialog box appears, as shown in
Figure 5.
Figure 5 Invalid Selection - duplexing for transparencies
4. Save the altered configuration file and place it back in the driver directory.
• If the file was opened from the driver directory, simply click File > Save.
• Otherwise, click File > Save As and browse to the driver directory to save the
file.
• To prevent the WHQL Digital Signature warning from appearing during
installation, save the configuration file as a .CFM file by clicking File > Save As
CFM. A .CFM file is created in the same directory as the original configuration
(.CFG) file.
Note If you create a .CFM file, it must be copied manually to the driver installation
directory. It is not deployed as a part of a normal driver installation. For information on
how to manually copy the file, see Copying a .CFM file to the driver directory.
Once the file is saved, the driver package is ready to be installed with the new
settings.
5. Install the driver and create a printer using any preferred method.
Driver pre-configuration using a modified .CFG file is compatible with any
installation method that relies on the published Microsoft procedures for installing a
printer. See the Microsoft Developer Network documentation for details about the
published methods. All commercially available installation methods, including driver
vending from Novell and Samba servers, adhere to these guidelines.
Page 6 of 11 white paper
Page 7

For more information, see the Microsoft Developer Network Web site at:
http://msdn.microsoft.com/default.asp
Driver preconfiguration using a .CFM file is not compatible with any remote
installation methods. The .CFM file must be copied to the driver installation directory
on the local machine in order to take effect. See Copying a .CFM file to the driver
directory.
Note If both a .CFG and .CFM file reside in the printer installation directory, the .CFM file
takes priority for printer driver configuration.
6. Exit the HP Driver Configuration Editor.
7. Install the driver on a server or workstation.
At this point the driver can be installed on a Windows workstation, or a Point and
Print server (Windows, Novell, or HP Printer Server Appliance). All queues that use
the driver default to the settings that were selected within the configuration editor,
and any features that were set to Locked are locked for all users, regardless of how
they gain access to the driver (whether through the server or the client).
Copying a .CFM file to the driver directory
Before you can use a .CFM file, it must be copied to the Windows printer driver directory
of the local machine. You can manually copy the file or use the copyconfig.exe utility.
On Windows 2000, Windows XP, and Windows 2003 Server 32 bit systems, the driver
directory is located at: %systemroot%\system32\spool\drivers\w32x86\3
On Intel/AMD 64 bit systems, the driver directory is located at:
%systemroot%\system32\spool\drivers\x64\3
1. To use the copyconfig.exe utility, locate the copyconfig.exe file in the same directory
as the Driver Configuration Editor and double-click on it.
2. Click Browse and locate the .CFM file.
3. Click Copy. The file is copied to the Windows printer driver folder.
4. Repeat steps 2 and 3 for each .CFM file you wish to copy.
The .CFM file can be copied to the driver installation directory before or after driver
installation. Once the .CFM file has been copied, it takes precedence over any other .CFG
files for the driver. Be sure to edit the .CFM file instead of the .CFG file when making
driver configuration modifications.
Document Attributes
Product Models: HP LaserJet M3035 MFP Base, HP LaserJet M3035MFP XS, HP LaserJet M3027MFP,
HP LaserJet M3027MFP X, HP LaserJet M5035 MFP, HP LaserJet M5035 MFP X, HP LaserJet M5035 MFP
XS, HP LaserJet M5025 MFP
Product Numbers: CB414A, CB415A, CB416A, CB417A, Q7829A, Q7830A, Q7831A, Q7840A,
CB425A, CB426A, CB427A, CB428A
Page 7 of 11 white paper
 Loading...