


TABLE OF CONTENTS
TABLE OF CONTENTS. . . . . . . . . . . . . . . . . . . . 3
MINIMUM SYSTEM REQUIREMENTS . . . . . . . . . 4
INSTALLATION . . . . . . . . . . . . . . . . . . . . . . . . . 4
TO PLAY KKND KROSSFIRE . . . . . . . . . . . . . . 5
BACKSTORY. . . . . . . . . . . . . . . . . . . . . . . . . . . 5
OPTIONS SCREENS
(SUPERSTRUCTURE) . . . . . . . . . . . . . . . . . . . . 6
YOUR OBJECTIVE. . . . . . . . . . . . . . . . . . . . . . . 7
COMMANDS & SHORTCUTS
(A SUMMARY) . . . . . . . . . . . . . . . . . . . . . . . . . . 7
VISIBILITY: SEEIN’ STUFF . . . . . . . . . . . . . . . . 9
FOG OF WAR/SHROUD . . . . . . . . . . . . . 9 LINE OF SIGHT. . . . . . . . . . . . . . . . . . . . 9 MINIMAP . . . . . . . . . . . . . . . . . . . . . . . . . 9 RADAR. . . . . . . . . . . . . . . . . . . . . . . . . . 10 SHORTCUTS TO MAP AREAS . . . . . . . . 10
SELECTING STUFF . . . . . . . . . . . . . . . . . . . . . 10
STATUS BARS. . . . . . . . . . . . . . . . . . . . . . . . . . 11
BOSSING THINGS ABOUT . . . . . . . . . . . . . . . . 12
MOVING . . . . . . . . . . . . . . . . . . . . . . . . . 12 ATTACKING . . . . . . . . . . . . . . . . . . . . . . 13 WAYPOINTS & MARSHALLING POINTS. . 14 ORDERS LIST . . . . . . . . . . . . . . . . . . . . 14 SPECIAL ORDERS . . . . . . . . . . . . . . . . 15
RESOURCES . . . . . . . . . . . . . . . . . . . . . . . . . . 15
OIL. . . . . . . . . . . . . . . . . . . . . . . . . . . . . 15 ALTERNATIVE ENERGY. . . . . . . . . . . . . 16
TECH LEVELS . . . . . . . . . . . . . . . . . . . . . . . . . 16
VETERAN UNITS . . . . . . . . . . . . . . . . . . . . . . . 17
SIDEBAR DESCRIPTION . . . . . . . . . . . . . . . . . 18
3
SYSTEM REQUIREMENTS & ISTALLATIONS |
PLAYING KKND KROSSFIRE |
MINIMUM |
|
INSTALLATION |
TO PLAY KKND KROSSFIRE |
|
|||
|
|
be a |
all the defaults during the |
|
|
all. Or at |
you’ll find the KKND Krossfire |
|
|
can get |
START menu under \Pro- |
|
|
|
House\KKND Krossfire. It’s |
|
|
|
little KKND Krossfire graphic |
|
|
|
then hit the ‘Play’ button, and |
|
|
into your |
|
|
|
of Win95 |
Backstory |
|
|
screen. |
|
|
|
graphic. |
|
|
|
AutoRun |
a |
|
|
START |
only |
|
|
click |
|
|
|
sure your |
|
|
|
window, |
half |
|
|
SETUP.EXE. |
Y, |
|
|
|
- |
Recommended |
selecting the |
- |
|
|
|
|
for |
|
|
|
now |
|
|
|
also |
Supported |
|
|
|
SURVIVORS, IN BRIEF
Agoraphobia got the best of the military types, and they cowered underground for 40 years after deserting the First Surface War. Today, they think they’re finally over it, and it’s time to retake the surface in the name of the ‘true humans’, as well as try out their weapon enhancements. They’re now called the New Survivors. But the mentality hasn’t changed a bit.
EVOLVED, OUT OF BRIEFS
They’ve had 40 more years to evolve in a radioactive environment, so they look almost as twisted as their new animals. They still believe that the first war was caused by The Scourge, angry gods punishing humans for shunning and destroying nature. It is the duty of The Further Evolved to prevent the Survivors taking over, for fear of even greater wrath. The Further Evolved have gone back closer to nature, shunning the vehicles used by their ancestors. Nature or nuthin’! Except for the guns, of course…
SERIES 9
The agricultural robots are new to the war, but their motive is as old as they come. Revenge. Nine series of robots were invented before the
Great War to perform menial tasks. Series 1-4, citybots, were annihilated along with the cities targetted by the Great War’s bombs. The fallout from those bombs killed crops and sterilised soil far away where the Series 9, agricultural robots, were working, safe from the blast but not the after-effects. Their circuitry fused, they destroyed Series 5-8 out of spite (and lunacy) and plotted revenge on the humans who ruined their livelihood. In 2140, from a distance, they observed the Survivors and Evolved warring and realised that their pitchfork weapons weren’t gonna cut it. They spent an extra 40 years developing a more ‘military’ approach. They’re quite pleased with the results. Revenge will indeed be sweet.
END OF STORY.
Now go out there and blow things up!
4 |
5 |
5 |
OPTIONS SCREENS (SUPERSTRUCTURE) |
YOUR OBJECTIVE |
Main Screen
|
meaning |
|
|
|
|
of |
Single- |
|
|
|
here. |
|
|
|
|
the sound |
|
|
|
|
level of the |
|
|
|
|
|
|
• |
Sound Volume: |
|
everything? Hit |
|
Fiddle with the Sound Effects volume. |
|
|
|
|
• |
Music Volume: |
|
|
|
|
Ditto on the Music volume. |
|
|
|
• |
Scroll Speed: |
|
and all this |
|
Sets your scroll speed for the cursor keys |
|
|
no, just do |
|
and the Left Mouse Button (ie. your stan |
|
|
|
|
|
dard scroll speed). |
|
|
|
• |
Fast Scrollspeed: |
|
|
|
|
Your Right Mouse Button allows you to |
|
|
|
|
rapidly scroll over the map. This slider sets |
In-Game |
Options Screen |
|
|
the speed of this. |
|
|
|
• Gamespeed: |
|
|
happily in |
|
Sets overall game speed, affecting con- |
|
|
you might |
|
struction times, unit speeds, things like that. |
|
|
|
choice. |
• OK: Okay? |
|
. |
Hitting |
• |
Save: |
|
|
or |
clicking |
|
To Save your game position, click this but- |
|
|
(at the |
|
ton then either double click on a save slot |
|
sidebar) |
|
or click once then click the Save button. |
|
|
into the In- |
|
Done! Your game details (name, time of |
|
|
menu: |
|
save) will occupy a slot. You can click an |
|
|
|
|
|
occupied slot and you’ll be prompted to |
|
|
|
|
confirm whether you want to replace the |
|
|
Here’s |
|
current game in that slot with the new one. |
|
|
|
|
Click yes to do so. |
|
|
|
• |
Load: |
|
|
. |
|
See ‘Load Game’ above. |
|
|
|
• |
Restart: Restarts your current mission. |
|
at each |
• |
Briefing: |
|
|
numbers to |
|
For an even briefer brief, click this. It’ll |
|
|
See under |
|
restate your mission objectives in text form. |
|
•Help:
Click this to scroll through all the keyboard and mouse commands used in KKND Krossfire.
•Return:
Drops you back to the game. ESC does the same thing.
•Quit:
Fires you back to the main screen.
YOUR OBJECTIVE
ell, it’s like most wars. Your objective is
Wto own EVERYTHING... to own... THE WORLD! (insert maniacal laughter here). You go about this by selecting an army to join, then annihilating everything that does- n’t wear the same colours. More specifically, you gather resources, using them to produce your own buildings and units to fight and remove the enemy’s buildings and units on each territory. There’s a bit more to it than that, and you’ll find out the finer points during the mission briefings you’ll receive before you’re sent out into the battle zone by commanders who never go anywhere near them. War! Who’ll ever understand it?
COMMANDS & SHORTCUTS (A SUMMARY)
ere are the main commands and shortcuts
Hfor playing the game. The full list appears in Appendix A: Commands and Shortcuts.
LEFT MOUSE BUTTON
The Left Mouse Button is mainly responsible for Selecting, Moving and Attacking. See under each of these sections for details. Here’s a brief list:
•Selection/Status:
Click individual units or drag select a bunch of ‘em. They’ll be selected, and you’ll see
6 |
7 |
7 |
COMMANDS & SHORTCUTS (A SUMMARY) |
VISIBILITY: SEEIN’ STUFF |
|
|
|
|
|
VISIBILITY: |
SEEIN’ STUFF |
|
|
|
|
|
|
in KKND |
|
|
screen on |
|
Some units, |
||
|
|
|
|
|
|
what you see |
|
|
|
|
|
|
other visibi- |
|
|
active), so |
|
. Let’s get |
||
|
|
Technicians will |
|
|
||
|
|
|
drag sel- |
|
|
|
|
|
building (eg. |
|
area on |
||
|
|
|
main buil- |
|
your units |
|
|
|
|
click the |
|
a stippled |
|
|
|
|
|
|
|
explored area |
|
|
|
|
|
|
any of your |
|
|
(See |
under |
|
only the |
|
|
|
|
|
|
|
or units. |
|
|
|
. (Also see |
|
|
|
|
|
|
|
|
|
always as |
|
|
the in-game |
|
of sight can |
||
|
|
|
|
|
|
of |
|
|
|
|
|
|
tech- |
|
|
|
|
|
|
over |
|
|
. Activates |
|
|
||
|
|
|
next unit |
|
|
|
|
|
|
over. |
|
|
|
|
|
|
put, even |
|
|
|
|
|
them. |
|
|
|
|
|
|
will |
scatter |
|
|
|
KE |
YBOARD |
|
. |
|
|
|
|
|
aggressively |
|
|
||
|
|
|
unit within |
MINIMAP |
||
|
|
|
|
|
The Minimap is a miniaturised version of the |
|
|
|
stick by the |
map. Not many surprises there. It gives you a |
|||
|
|
it |
if |
it gets |
quick overview of the surrounding area. |
|
|
|
|
|
|
Here’s what you need to know: |
|
|
|
See |
under |
|
|
|
|
|
|
. |
|
• Getting it |
|
|
|
|
Speed. |
Your main building (eg. Clanhall) starts at |
||
|
|
keys). |
Tech Level 0. Upgrade it once and your |
|||
Minimap On/Off button appears near the bottom of your sidebar. Click it (or hit TAB) to see the Minimap, click it again to hide it.
•Upgrading it
Upgrading your main building also upgrades your Minimap. At Tech 1, the Minimap shows terrain and friendly units; Tech 2 gives you enemy units as well; Tech 3 extends the radar range from your main building.
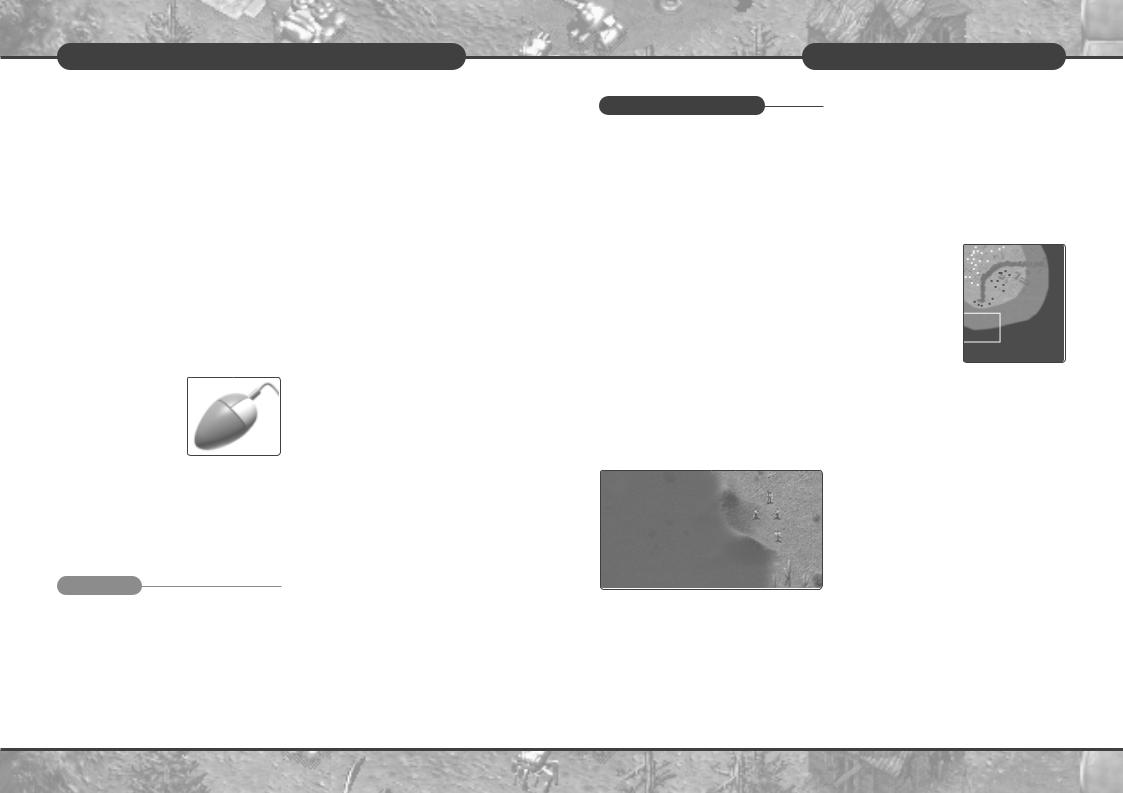
•Understanding it
Here’s what it looks like.
The black areas are Shroud (see above). Grey areas are Fog. Coloured dots represent units or buildings, their colour showing their team. When you are under
attack, you’ll see little flashes of red on the Minimap to point to the action. Some units appear to appear and disappear under the Fog. See Radar below for an explanation.
•Moving it
The tilde (~) key toggles your Minimap to the top left or bottom left corners of your screen so the Minimap isn’t in the way.
•Scrolling it
If the main playing area is quite large, the Minimap won’t fit it all in, so you’ll need to scroll around inside it. You can position the cursor to an inside edge of the Minimap and click repeatedly to move in that direction, or you can scroll around the larger map (left or right mouse buttons or cursor keys).
8 |
9 |
9 |

SELECTING STUFF
allowing |
Button held and |
|
|
to get around the |
|
yourself |
ways exist. And |
|
|
distant area that’s visi- |
|
your |
simply click on it in |
|
field |
|
|
And |
|
|
|
screen positions, |
|
mobile |
screen positions as |
|
. |
keys. This is handy |
|
|
back to |
secondary |
a |
interest |
(oil setups, |
|
You can set up four |
|
a |
are on the desired |
|
- |
CTRL and hit a func- |
|
visual |
this, simply hitting |
|
fog’ |
display that map |
|
(in a |
|
|
. |
|
|
|
centre the screen on |
|
below). |
Outpost). Repeated |
|
|
through other Outpost |
|
sho- |
have them. |
|
(avai- |
|
|
|
into number keys |
|
in |
below), then you can |
|
equip- |
centre the screen on |
|
on |
while |
hitting the |
Stealth |
|
|
will |
|
|
|
SELECTING STUFF |
|
|
ou gotta get people’s attention before |
|
a |
Yyou can get them to do stuff for you. |
|
trans- |
Here’s all you need to know about selecting |
|
|
units and storing groups. |
|
SELECTING
There are two basic ways to select units. You either click on an individual unit or building, or you click and drag a selection box around a number of units, then let go, thus sel-
-
on to the latter is when Smart Select is active. See below.
ADDING TO SELECTIONS
To add a unit to an existing selection, hold SHIFT and click on the unit you wish to add.
DESELECTING
To deselect, click the Right Mouse Button anywhere on the map that isn’t a unit or a building.
STORING & RETRIEVING GROUPS
You may wish to store a unit, group or building somewhere, so you can access them quickly and easily when the heat’s on. Easy! To store something, first select it, then hold CTRL and press a number key (0-9). It’ll be stored in that shortcut key, and the number of the key will be applied to all the status bars of the contained units. To retrieve that selection and make it the current selection, simply press that number key.
SMART SELECT
Okay, so you’re under attack and you’ve clicked and dragged everything in your camp to go fight. And what happens? You notice that your unarmed Tankers and Technicians have run off to get killed, and you’ve selected your buildings for no readily available reason. Solution? Turn Smart Select on in your in-games options menu (hit ESC)! With Smart Select on, Tankers, Buildings and Technician-types are ignored by drag selections. Note that you can still click on these units individually, and you can make them selectable on a one-off basis by using the Override feature detailed below.
OVERRIDING SMART SELECT
Although Smart Select can be turned off completely via the in-game options menu (hit ESC to access it), there are times where you’ll want everything to respond to a drag selection, just this once. Holding CTRL and performing a drag select will include all units in that selection. Okay?
STATUS BARS
STATUS BARS
tatus Bars appear over units and buildings
Swhen they’ve been selected. Since they’re a few different types of Status Bar, you might need a quick run down. So here we go:
Here is a list of all the information that could possibly be contained in a Status Bar:
•Health level:
This is the coloured bar inside buildings, units and vehicles/animals. It changes colour and size as the unit takes damage or heals.
•Oil level:
A blue bar showing how much oil is contained in the unit or reservoir.
•Tech Level:
Shows the Tech Level of a building. Yellow indicates current Tech Level, black indicates room for further advancement, and red indicates Tech Levels unavailable at this time (the Global Tech Level limit).
•Capacity Slots:
Shows the capacity of transport units. Yellow shows slots filled, black shows slots available.
•Veteran Status:
Represented in the Status Bar’s border of infantry and vehicles/animals. Grey border represents inexperience, blue border signifies a first level veteran, red border indicates a top level veteran.
•Group Number:
Displayed below the Status Bar. Shows the group’s number (ie. the key where its shortcut has been stored)
1 |
11 |
10 |
11 |
BOSSING THINGS ABOUT
BOSSING THINGS ABOUT
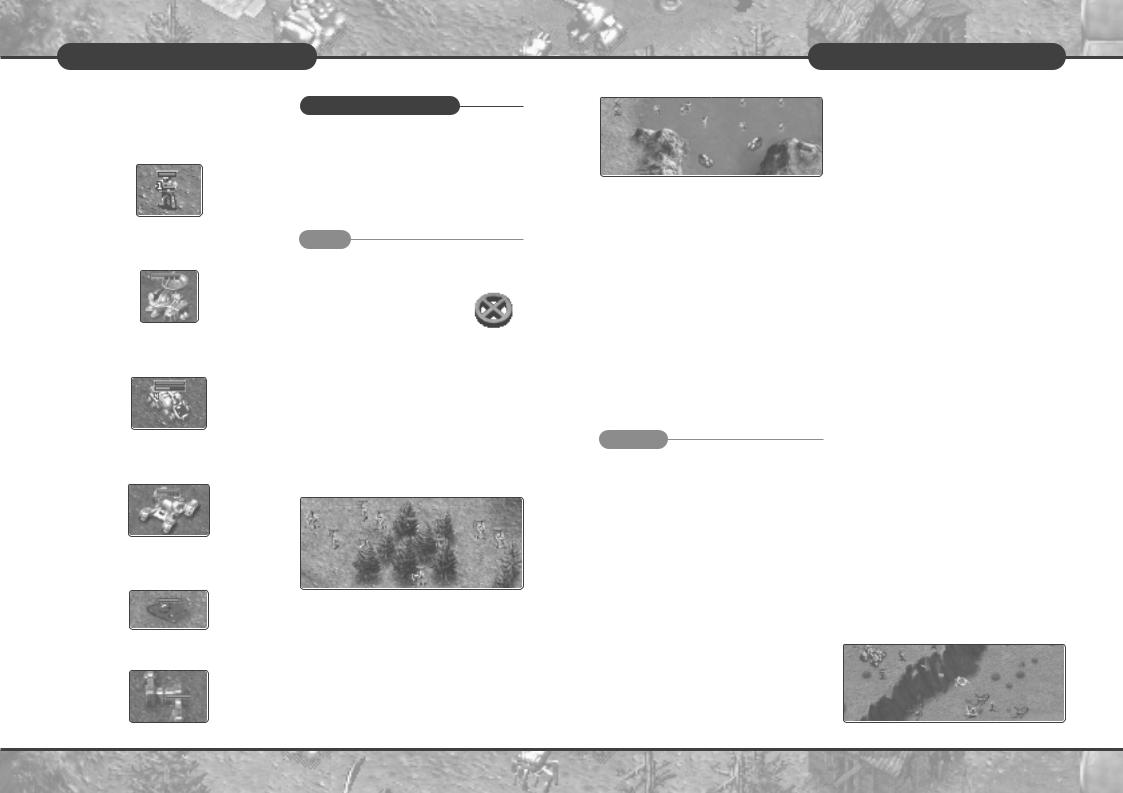
Moving
There are three types of water, although they’re sneaky and look identical. Shallow water allows all units (including infantry) to cross, Medium level water allows infantry and amphibious units only, and Deep water will only allow amphibious units across. This, of course, assumes that the-
a nice flat shoreline to enter the water no jumping in the pool!
BOSSING THINGS ABOUT
Air: Air units, available at higher Tech Levels, can be ordered about like any other unit. They fly over all terrain, but will attempt to land on the nearest piece of flat ground reach their destination. If directhey will do so, then return to
they touched the ground.
ANGER
your units to get from point A to as you can without getting click a destination on the map. want them to smack up anyoacross in their travels, then hold the destination point. They’ll
walk with attitude.
Attacking
THE REGULAR KIND
Simple ol’ attacking’s easy. Select your group, position the cursor over the enemy unit or building you want attacked (the cursor will become the attacking cursor), and click with the Left Mouse Button. Your units will attack to the best of their ability, attacking all units around that area when they’re done. Easy.
FORCE ATTACK
There’ll be times when you want to shoot up a weakened bridge, or just attack an area of ground to set up a nasty ‘firewall’. Or heck – you might decide that now’s the right time to blow the crap out of an ally. Or maybe you’ve gone war crazy and you wanna shoot your own units or buildings. Who can explain what happens out there? Anyway, to perform a Force Attack, hold ALT, position the cursor over the desired target, and hit the Left Mouse Button. Kaboom!
And by the way, to stop your unit Force
Attacking, select it and hit the SPACEBAR,
which cancels orders.
SHOOTING BIRDS (GROUND TO AIR ATTACKS)
Shooting aerial targets from the ground is the same as regular attacking, except that only a few units can do it. And those units are specifically anti-aircraft units or they’re long-range units who can easily aim at the sky. These units are: Anti-Aircraft Constructibles, Anti-Aircraft Towers, other fighter aircraft, and Rocket Launcher infantry (or equivalent). Of course, if an aerial unit lands, then all units can go bananas at it!
ARTILLERY
Artillery units (created as Constructible Units) can shoot big distances and do big damage. They have a minimum range (so help them out if units get too close), but they have a delightful maximum range.
FIGHT ORDER
The Fight order, or the ‘Bully Patrol’ as we like to call it, sets up your units to just go out wanderin’ and pickin’ fights. The units will immediately look around for any enemy units in their visual range and go smack up the ones they’re best at smacking. See more about Special Orders below.
CLIFFS
A special note on cliffs is required here: All units can shoot down ‘em, but only the Artillery Constructible units can shoot up ‘em. So secure the tops of cliffs for some safe, deadly action. And keep away from the bottom of them if the enemy’s likely to have taken the high road.
1212 |
13 |
13 |
BOSSING THINGS ABOUT
Waypoints |
& Marshalling Points |
Waypoint |
|
|
|
|
caught up, and only then will |
|
|
|
to the next Waypoint. |
|
|
|
hang out the front of their creati- |
|
|
|
sometimes you’ll want your |
|
|
|
head straight into battle. To set |
|
|
|
the relevant creation building, |
|
|
|
click out some Waypoints |
|
|
|
desired path. New combat units |
|
|
|
path upon creation. To cancel |
|
|
|
building and hit SPACE (cancel |
|
|
Order |
List |
|
|
inflate your ego as supreme commander |
|
|
|
the war, you now have more orders you |
|
|
|
lay on your poor little units. The |
|
|
|
Keyboard commands are listed with the |
|
|
|
descriptions below, and they also appear, |
|
|
|
|
with all Keyboard and Mouse |
|
|
Commands, under the ‘Help’ button in the in- |
|
|
|
options menu. |
|
|
|
|
Stand Ground. Select units and hit |
|
|
|
the S key and those units will remain |
|
|
|
where they are and not attack |
|
|
|
unless specifically ordered to do so. |
|
|
|
Disperse. Selected units will imme- |
|
|
|
diately scatter and move a short |
|
|
|
distance from the current mouse- |
|
|
|
pointer position. |
|
|
|
Fight. Selected units will attack any |
|
|
|
enemy within visual range, and will |
|
|
|
hunt what they’re best at killing if |
|
|
|
there’s a choice. |
|
|
|
Guard. Selected units will stay near |
|
|
|
and Guard a building, unit, or area. |
|
|
|
Select the units, hold the cursor over |
|
|
|
that that requires guarding, and hit G. |
of Waypoint commands for a Transport, clicking the L key will set the most recently clicked destination as a pick up point. The Transport will set down and remain for a short time so that units can be piled in, then it will fly to its next destination point.
U:Unload Transport. As part of a series of Waypoint commands for a Transport, clicking the U key will set the most recently clicked destination as the point it will lay down its cargo.
ALT: Force Attack. Forces a unit to attack an ally, terrain feature, bridge, etc. See ‘Force Attack’.
SHIFT: Waypoint/Queue orders. Sets Waypoints. See above.
SPACE: Cancel Order. Selected units will stop moving or attacking, selected buildings will forget their Marshalling Points, Selected towers will stop firing.
T:Auto Assign Tanker. Sets an idle Tanker off to find an Oil Rig and Power Station and start hauling oil.
CTRL: Move while attacking. Holding CTRL and selecting a destination point will make your units alert – they’ll defend themselves against attacks, then continue to their destination once they’re no longer under direct threat.
RESOURCES
Spezial Order
few special orders for special units exist,
Abut they’re fairly straightforward. For example, the Detonate order for suicide units and the Repair order for the Mobile Constructible Repair vehicle are treated as basic ‘targetting’ orders. Click on the unit, then click on the unit/building you’d like it to affect.
RESOURCES
RESOURCE UNITS
Resource Units represent the level of energy you’ve collected. Everything you make costs Resource Units to build, and some functions (such as Research) cost Resource Units as well. You can see your current level of Resource Units in the Resource Display at the top of your screen.
How do you acquire Resource
Units? Keep readin’…
OIL
Oil (called Earth Blood by the more caring Evolved) is great, and don’t you go listening to what those nutritionists say. Oil is also the richest source of Resource Units in the war, and since Resource Units allow you to build up a force, which allows you to wipe out the enemy, which allows you to win the war, which allows you to take over the whole world, you can bet that oil’s pretty darned important. You can
find out how much oil is in each puddle by holding the cursor over a puddle and looking at its Status Bar.
An oil puddle.
1414 |
15 |
15 |
 Loading...