


2030
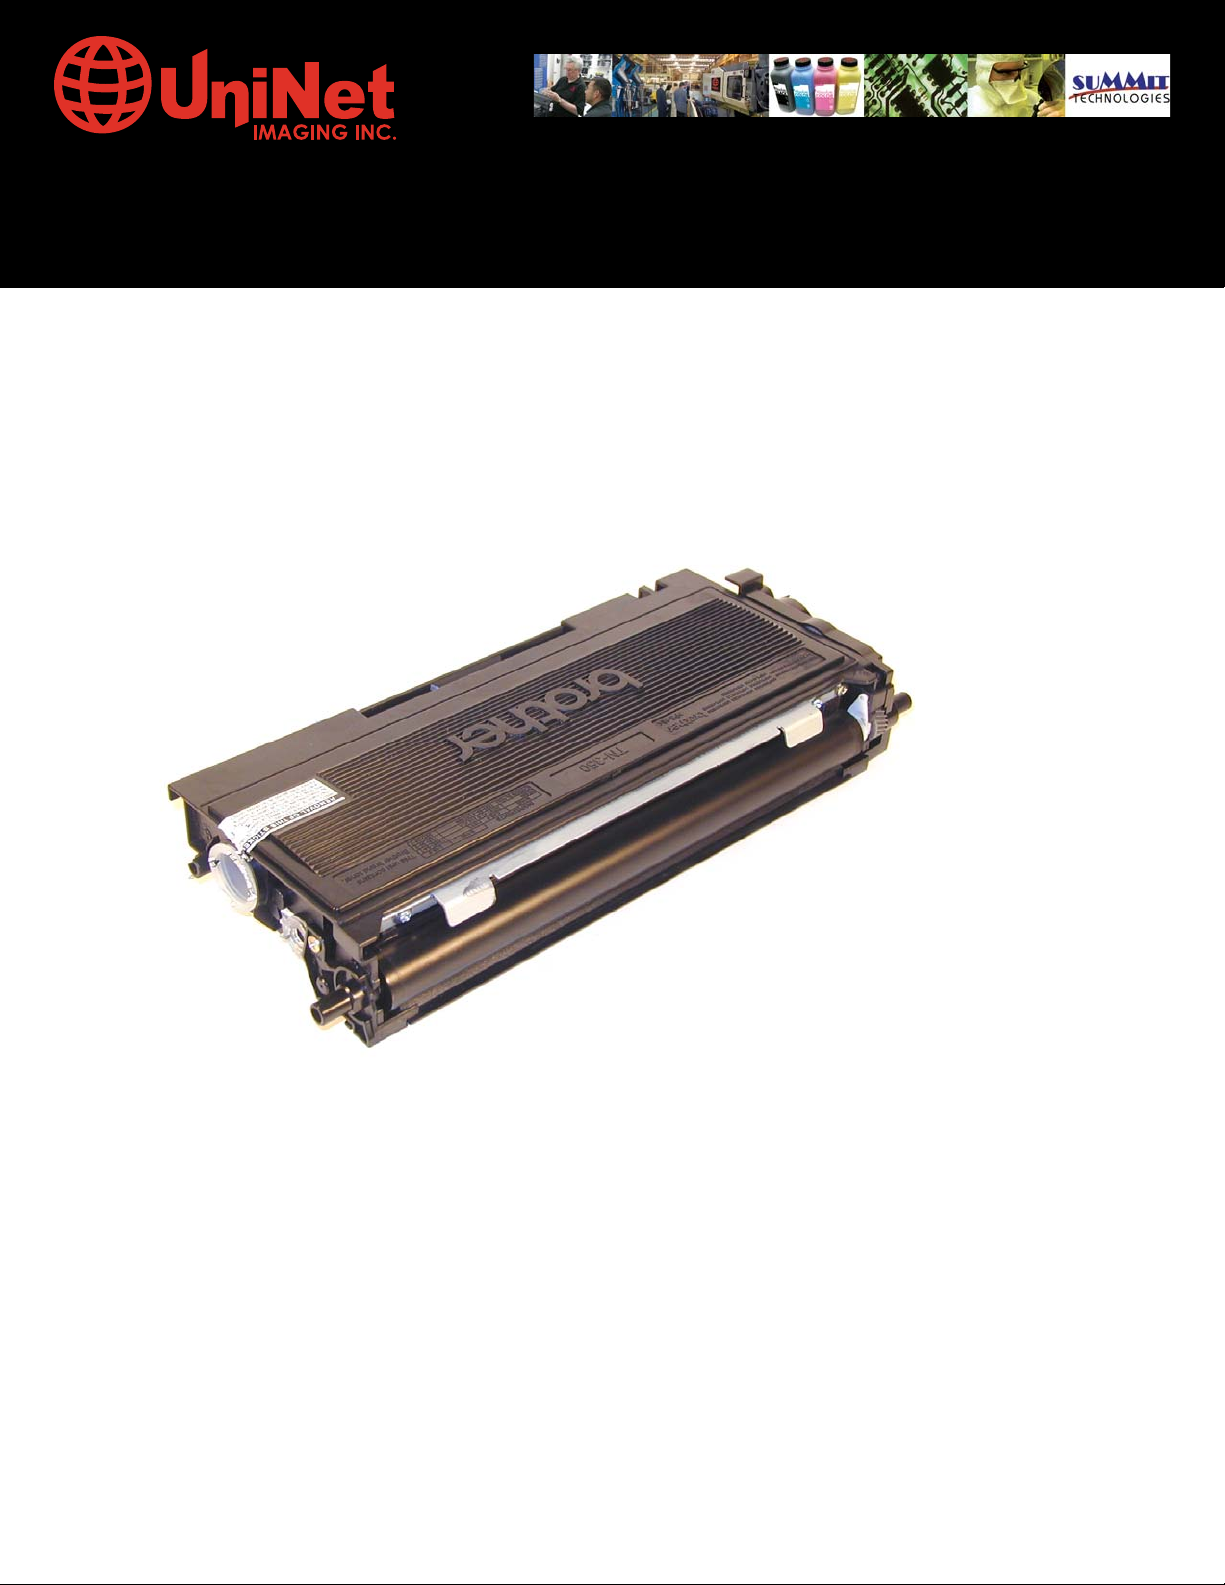
BROTHER™TN 350
TONER CARTRIDGE
BROTHER™HL 2030 (TN 350)
CARTRIDGE REMANUFACTURING INSTRUCTIONS
© 2007 UniNet Imaging Inc. All Trademark names are property of their respective owners. Product brand names mentioned are intended to show compatibility only. UniNet Imaging does not guarantee or warrant downloaded information.
Summit Technologies is a division of UniNet Imaging Inc.
www.uninetimaging.com/technical.asp
11124 Washington Blvd., Culver City, California USA90232 • Ph +1 310 280 9620 • Fx +1 310 280 0533 • techsupport2@uninetimaging.com
Absolute COLOR
®
• Absolute BLACK® • Unidrums® • Unirollers® • Uniparts® • Unicoatings
®

REMANUFACTURING THE BROTHER HL 2030 TONER CARTRIDGES • TN-350 (TN-2000 EUROPE)
Released in January 2005, the Brother HL-2030 printer engine is based on a new 20ppm, 1200 DPI laser engine. While it is similar to
previous Brother engines, there are differences. Beside physically looking different, the toner is also new. The first section of this article
covers the theory behind these cartridges. If you are already familiar with the pitfalls of the HL-1240 cartridges, there is nothing new in
the theory here. If you are not however, it would be best to read through this section. It may save you a few very frustrating hours.
At this point, there are not many machines released, but I’m sure more will follow. With a street price of $137.00 for the HL-2040, they
are fast becoming very popular. HL-2030, HL-2040, HL-2070N
So far, Brother has only released one cartridge for these machines, the TN-350. The TN-350 cartridge is rated for 2,500 pages at 5%. The
drum unit is new as well, Part # DR-350 (DR-2000 Europe). It will be covered in a future article.
One change for these cartridges is the presence of a flag gear that resets the printer. The starter cartridges that come with new printers
do not have this gear. We are working on new flag gears, but until they become available, the starter cartridges cannot be remanufactured.
As with previous Brother cartridges, the waste toner is repelled out of the drum cartridge and picked up by the developer roller in the toner
cartridge and brought back into supply chamber. That is why there will always be a good amount of toner left in the supply chamber when
the cartridge is finished. This remaining toner MUST be completely removed from the supply chamber before adding new toner. Failure to
do this will cause back grounding. In addition to contaminating the toner cartridge, this will also contaminate the cleaning section of the
drum cartridge, which in turn will contaminate the toner cartridge again. The reasons for this are explained in the following cartridge theory section.
The cleaning section of the drum cartridge consists of a "cleaning brush" and a recovery blade. The cleaning brush has two opposite
charges placed on it during the print cycle. The first attracts any remaining toner off the drum. The second repels the toner off the brush
back onto the drum where it then transfers back into the toner cartridge. This is all done in a timing sequence that does not interfere with
the printing process. If the cleaning brush becomes contaminated with bad toner that will not charge, the brush will not be able to clean
itself, and back grounding will occur. It seems to be the nature of contaminated toner that it will accept most of the charge to be cleaned
off the drum, but it will not accept the charge that would allow the brush to clean itself off at all. A properly working cleaning brush will at
any given time have only a small amount of toner on it. Once contaminated, toner will accumulate, which will only cause the problems to
get worse.
Since the developer roller actually contacts the drum, some toner is transferred back into the supply of the toner cartridge. Once you print
with a bad toner cartridge, the drum unit will become contaminated. Even when you change out the toner with a good properly recycled
or new OEM cartridge, the drum unit will transfer some of the bad toner back into the good toner cartridge, which will again cause back
grounding. Both cartridges will be contaminated again.
The remaining "toner" in the toner cartridge is just below the bare minimum that can maintain the proper charge level. When the change
toner light comes on, the toner will not charge up to the proper level and will cause the back grounding. As the toner cartridge reaches
the end of it's useful life, the printer senses the low charge level in the toner supply and will try to keep the charge level up. This constant
charging keeps an almost "empty" cartridge from back grounding. Once the printer cannot get the remaining toner up to the minimum
charge, the change toner light comes on. The cartridge at this point will still be printing properly. If you were to take that same cartridge
out of the machine for a few days, and then put it back in the printer with out doing anything to it, the cartridge will shade. This will happen because the charge level that the printer was trying so hard to keep up has dissipated out and the materials left can no longer accept
a proper charge.
© 2007 UniNet Imaging Inc. All Trademark names are property of their respective owners. Product brand names mentioned are intended to show compatibility only. UniNet Imaging does not guarantee or warrant downloaded information.
www.uninetimaging.com/technical.asp
11124 Washington Blvd., Culver City, California USA90232 • Ph +1 310 280 9620 • Fx +1 310 280 0533 • techsupport2@uninetimaging.com

WHAT DOES THIS ALL MEAN?
1. Make sure that your cartridge technicians thoroughly clean out the supply chamber of the toner cartridge.
2. In the event that they forget, and you have a shading cartridge. The toner must be completely cleaned out again (do not use the toner
over!!), and NEW fresh toner MUST be installed.
3. The drum unit has to be taken apart and cleaned out with emphasis on the cleaning brush area. This is a very simple process but very
necessary once contaminated.
How to run test pages, Printer trouble shooting as well as common cartridge problems will be covered at the end of this article.
TOOLS REQUIRED
Toner approved vacuum
Phillips Head Screwdriver
Small Common Screwdriver
Needle nose pliers
REQUIRED SUPPLIES
Brother 2030 Black Toner (90g)
Lint free cotton cloths
Toner magnet cloths
White Lithium Grease
NOTES
© 2007 UniNet Imaging Inc. All Trademark names are property of their respective owners. Product brand names mentioned are intended to show compatibility only. UniNet Imaging does not guarantee or warrant downloaded information.
www.uninetimaging.com/technical.asp
11124 Washington Blvd., Culver City, California USA90232 • Ph +1 310 280 9620 • Fx +1 310 280 0533 • techsupport2@uninetimaging.com
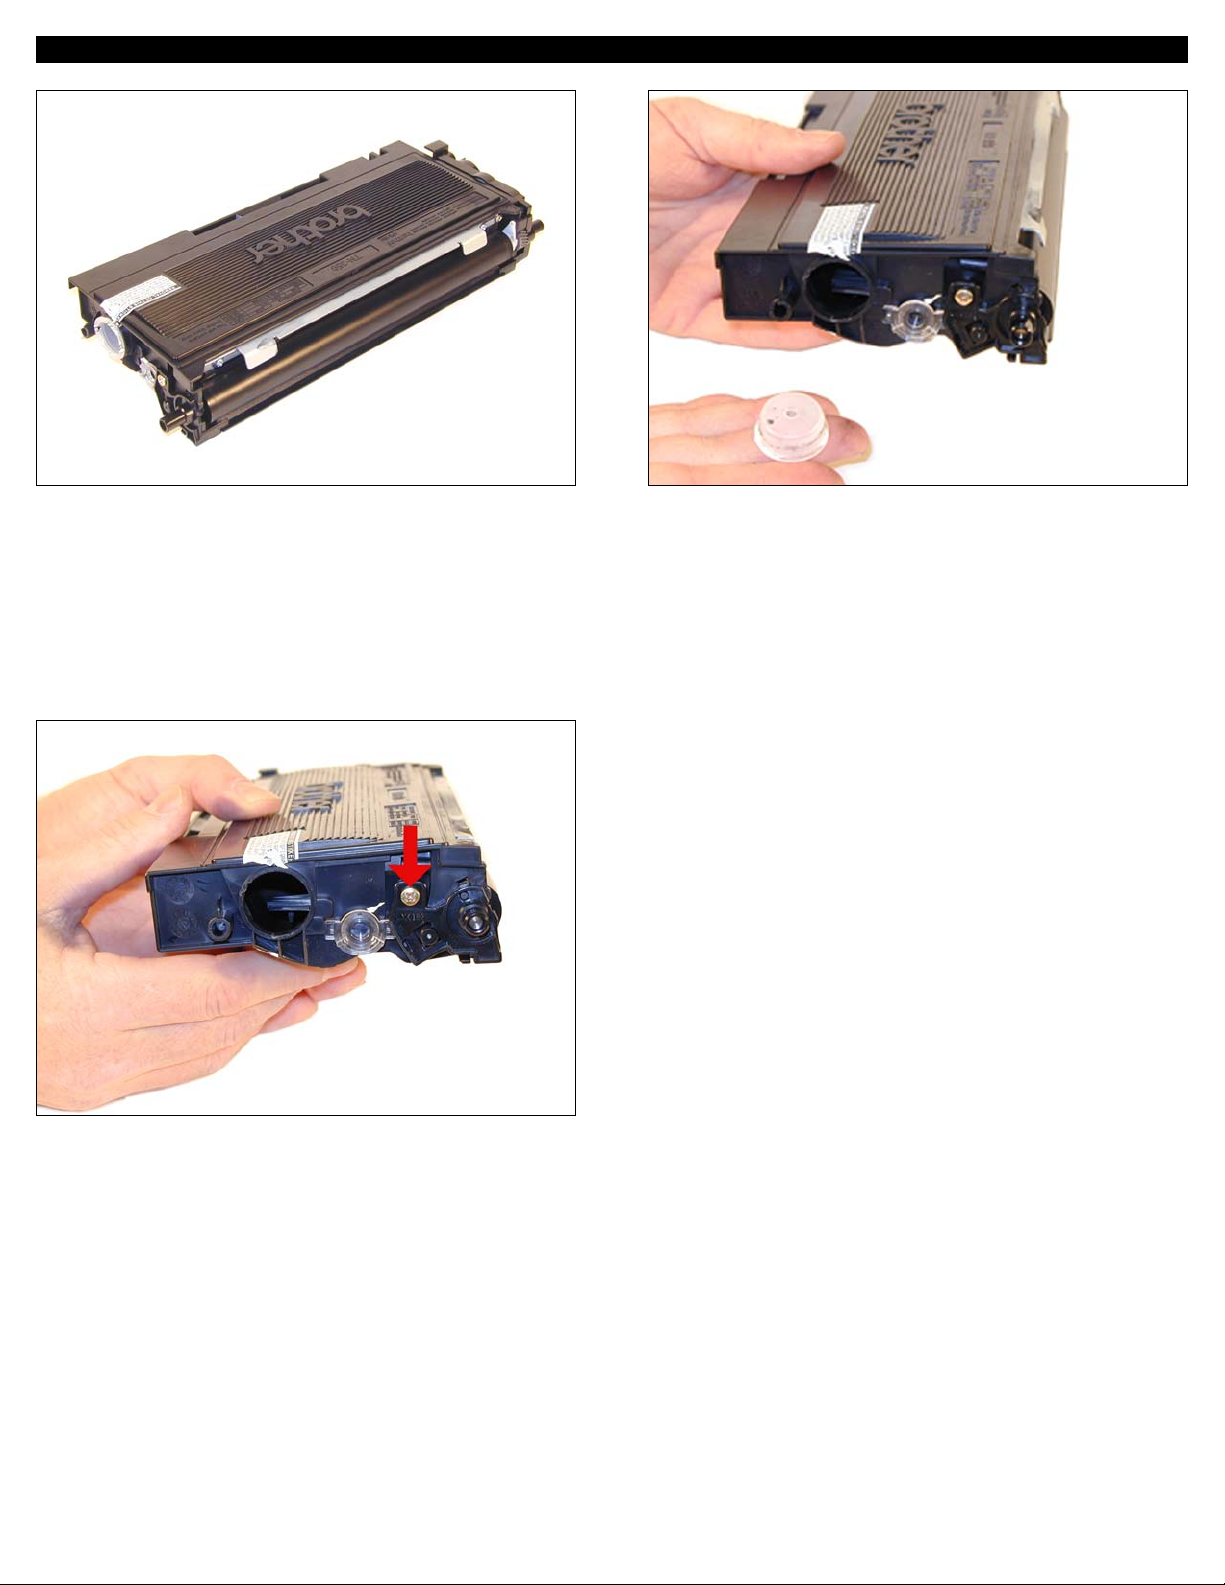
UNINET IMAGING INC. • BROTHER HL 2030/TN 350 CARTRIDGE REMANUFACTURING INSTRUCTIONS
3. On the NON GEAR side of the developer roller, remove the
screw.
NOTES
1. Vacuum the exterior of the cartridge. 2. Remove the fill plug from the toner cartridge. Dump the
remaining toner and vacuum/blow out the cartridge. Make sure
that the gear area is clean. Leaving any toner in the teeth of the
gears may cause a tooth to be damaged and cause a clicking
noise. We have found it best to use compressed air to clean
them out, but to also keep one hand over the gears to protect
them.
© 2007 UniNet Imaging Inc. All Trademark names are property of their respective owners. Product brand names mentioned are intended to show compatibility only. UniNet Imaging does not guarantee or warrant downloaded information.
www.uninetimaging.com/technical.asp
11124 Washington Blvd., Culver City, California USA90232 • Ph +1 310 280 9620 • Fx +1 310 280 0533 • techsupport2@uninetimaging.com
 Loading...