

Apple COMPRESSOR 2 Late-Breaking News

Late-Breaking News
About Compressor 2
This document provides updated information about Compressor 2 and covers
these topics:
Â
Late-Breaking News About Compressor 2.3.1 (p. 2)
Â
Previous Release Information About Compressor 2.3 (p. 2)
Â
Corrections to the Compressor 2 User Manual (p. 6)
Â
Previous Release Information About Compressor 2.1 (p. 13)
Â
Previous Release Information About Compressor 2.0.1 (p. 19)
Â
Previous Release Information About Compressor 2.0 (p. 20)
This document may be updated as versions of Compressor are released or new
information becomes available. You can check for updated information by choosing
Help > Late-Breaking News when Compressor is open.
For the latest information about product updates, tips and techniques, and qualified
third-party devices, choose Compressor Support from the Compressor Help menu or
visit the Compressor support website at http://www.apple.com/support/compressor.
To receive automatic notification about new support issues, use Safari to bookmark the
AppleCare RSS page at http://docs.info.apple.com/rss/compressor.rss. See Safari Help
for more information about configuring RSS feeds.
There is no late-breaking information about Compressor 2.2, which was not released
to the public.
1

Late-Breaking News About Compressor 2.3.1
Compressor 2.3.1 addresses compatibility issues. This update is recommended
for all Compressor 2.3 users.
Mac OS X v10.5 Leopard Support
Compressor 2.3.1 addresses Mac OS X v10.5 compatibility issues for customers
using Compressor 2.3.
Using Compressor Distributed Processing with Mac OS X Server v10.5
To use the Compressor distributed processing feature with Mac OS X Server v10.5
Leopard, you must manually enable NFS.
To enable NFS for Mac OS X Server, do one of the following:
m
Use the Server Admin application to enable NFS. For additional information, see
Mac OS X Server Help.
m
In the command line, enter the following:
qmaster$ sudo nfsd enable
Previous Release Information About Compressor 2.3
Compressor 2.3 addresses performance issues and improves stability. This update is
recommended for all Compressor 2.1 users.
iPod Video Support
Compressor 2.3 adds compatibility with new options for transcoding to iPod-compliant
H.264 files. This section contains detailed information about the various controls within
the H.264 for iPod Encoder pane of the Inspector window. The information in this
section replaces information that was released with Compressor 2.1 about the H.264
for iPod Encoder pane.
2
You make your H.264 for iPod settings using the controls described below, either by
duplicating an existing setting and modifying it or by creating a new setting in the
Settings tab of the Presets window. The H.264 for iPod Encoder pane contains the
following items:
Â
Extension:
This field displays the H.264 for iPod file extension (.m4v) automatically
after the H.264 for iPod output format is chosen from the File Format pop-up menu
or the ( + ) pop-up menu in the Settings tab of the Presets window.
Â
Allow Job Segmenting:
relevant only if you are using Compressor with distributed processing
This checkbox allows you to turn off job segmenting. It is
and
with
multi-pass encoding. (The Compressor 2 distributed processing feature is limited to
computers that have either Final Cut Studio or DVD Studio Pro 4 installed.) For more
information, see “Encoder Pane” on page 43 of the
Â
Size:
Select one of the following size options:
Â
640 (VGA):
Â
320 (QVGA):
Â
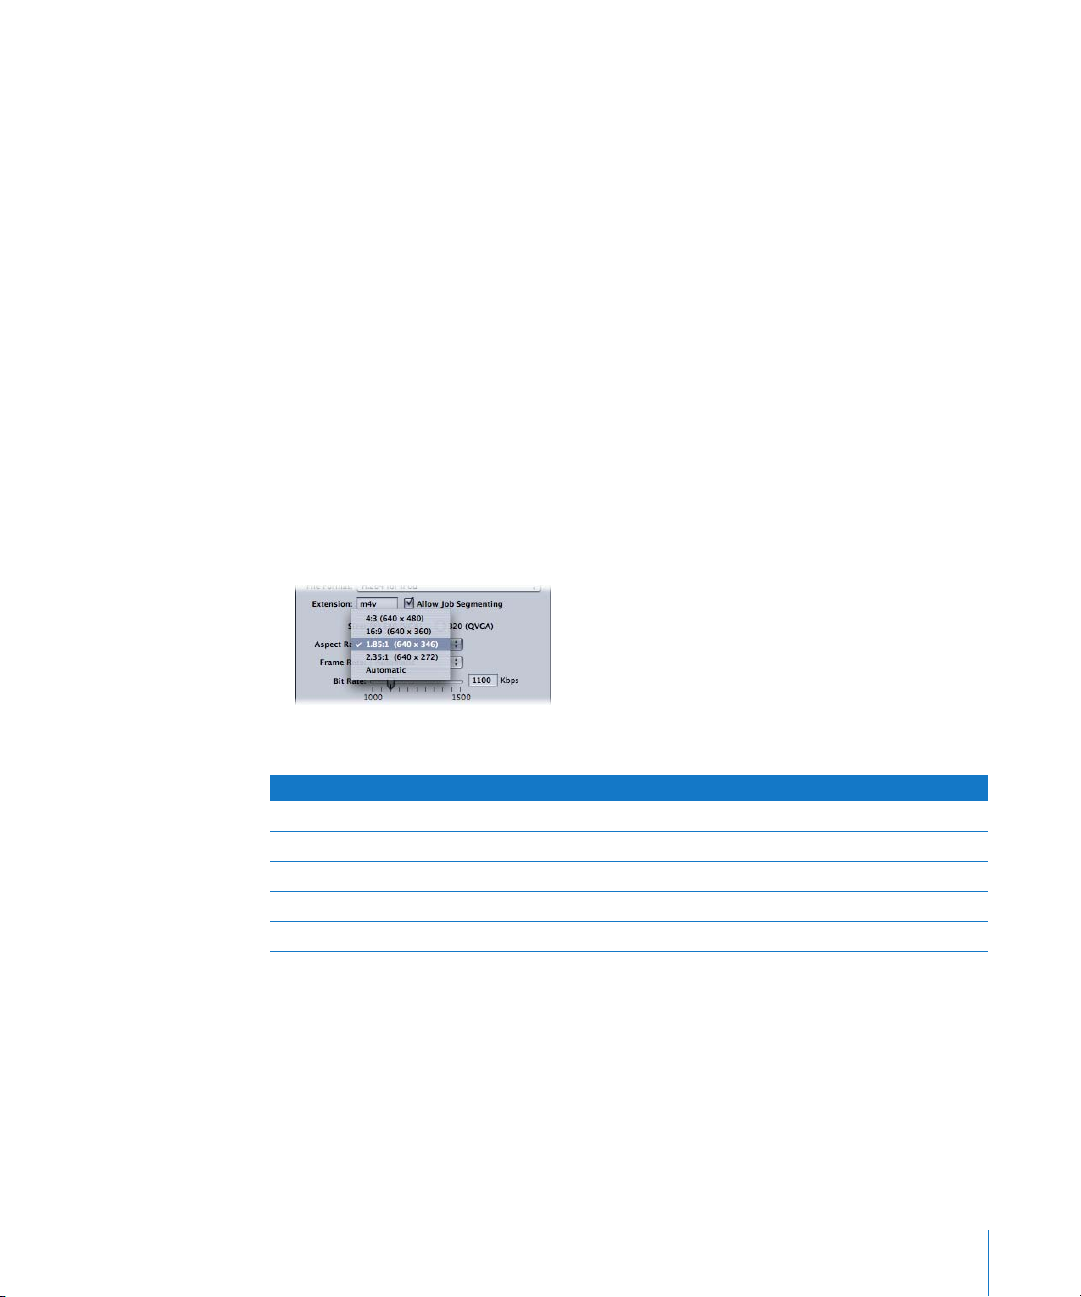
Aspect Ratio:
This option creates video output files with a frame width of 640 pixels.
This option creates video output files with a frame width of 320 pixels.
Use the Aspect Ratio pop-up menu to choose the exact pixel
Compressor 2 User Manual
.
dimensions of the output media file. The available options depend on which size
option (640 or 320) you selected.
The following choices are available in the Aspect Ratio pop-up menu:
640 (VGA) 320 (QVGA)
4:3 (640 x 480) 4:3 (320 x 240)
16:9 (640 x 360) 16:9 (320 x 180)
1.85:1 (640 x 346) 1.85:1 (320 x 173)
2.35:1 (640 x 272) 2.35:1 (320 x 136)
Automatic Automatic
3
If the source media file is either DV NTSC or HDV, but you are unsure of your source
media file’s aspect ratio, choose Automatic. This option analyzes the source media file’s
aspect ratio to determine the appropriate pixel dimensions.
Note:
By default, the Frame Controls feature is set to Automatic. As in the H.264 for
DVD Studio Pro setting, the Frame Controls Retiming Control will be engaged only if
the source file is interlaced.
Â
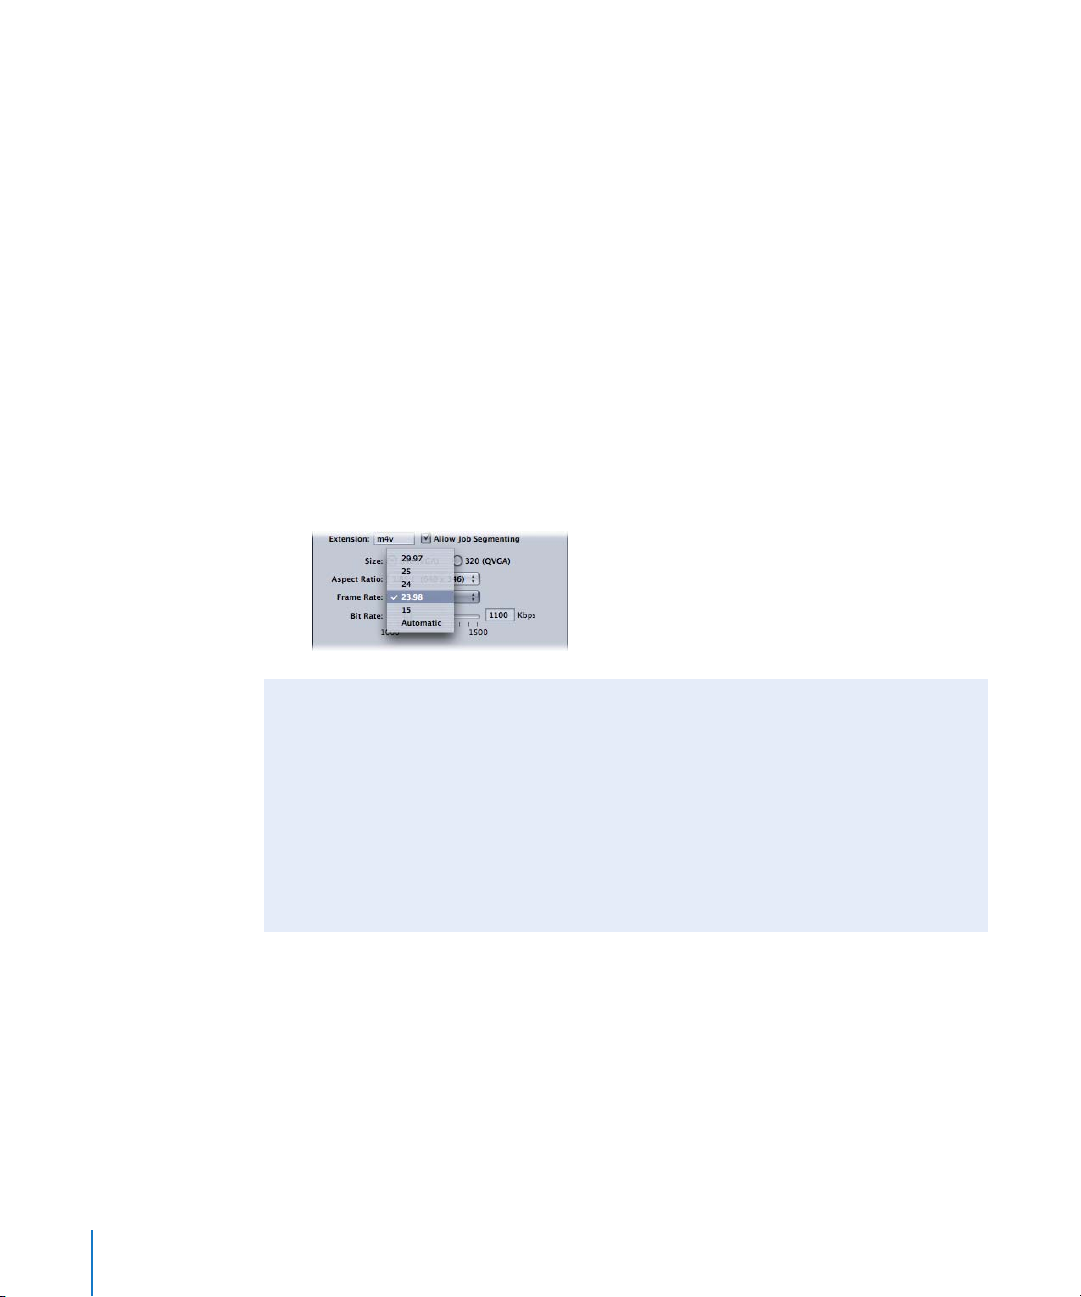
Frame Rate:
Â
29.97
Â
25
Â
24
Â
23.98
Â
15
Â
Automatic:
format. This setting analyzes your source media file’s frame rate to determine the
correct video format.
Use this pop-up menu to choose from the following six choices:
Choose this setting if you are unsure of your source media file’s video
Using QuickTime Export Components for iPod Video
If the frame rate of your video is less than 12 fps, or the frame size is smaller than
320 x 240, you can use the QuickTime Export Components method of transcoding to
iPod-compliant H.264 files. For more information, see “Creating QuickTime Export
Component Output Files” on page 177 of the
processing and Frame Controls are not available with the QuickTime Export Components
method, so if you need to use this method, consider a “preprocessing” pass with Frame
Controls to an intermediate file using the Uncompressed 8-Bit 4:2:2 format. Then use the
QuickTime Export Components method for the final encoding step.
4
Compressor 2 User Manual
. Distributed
Â
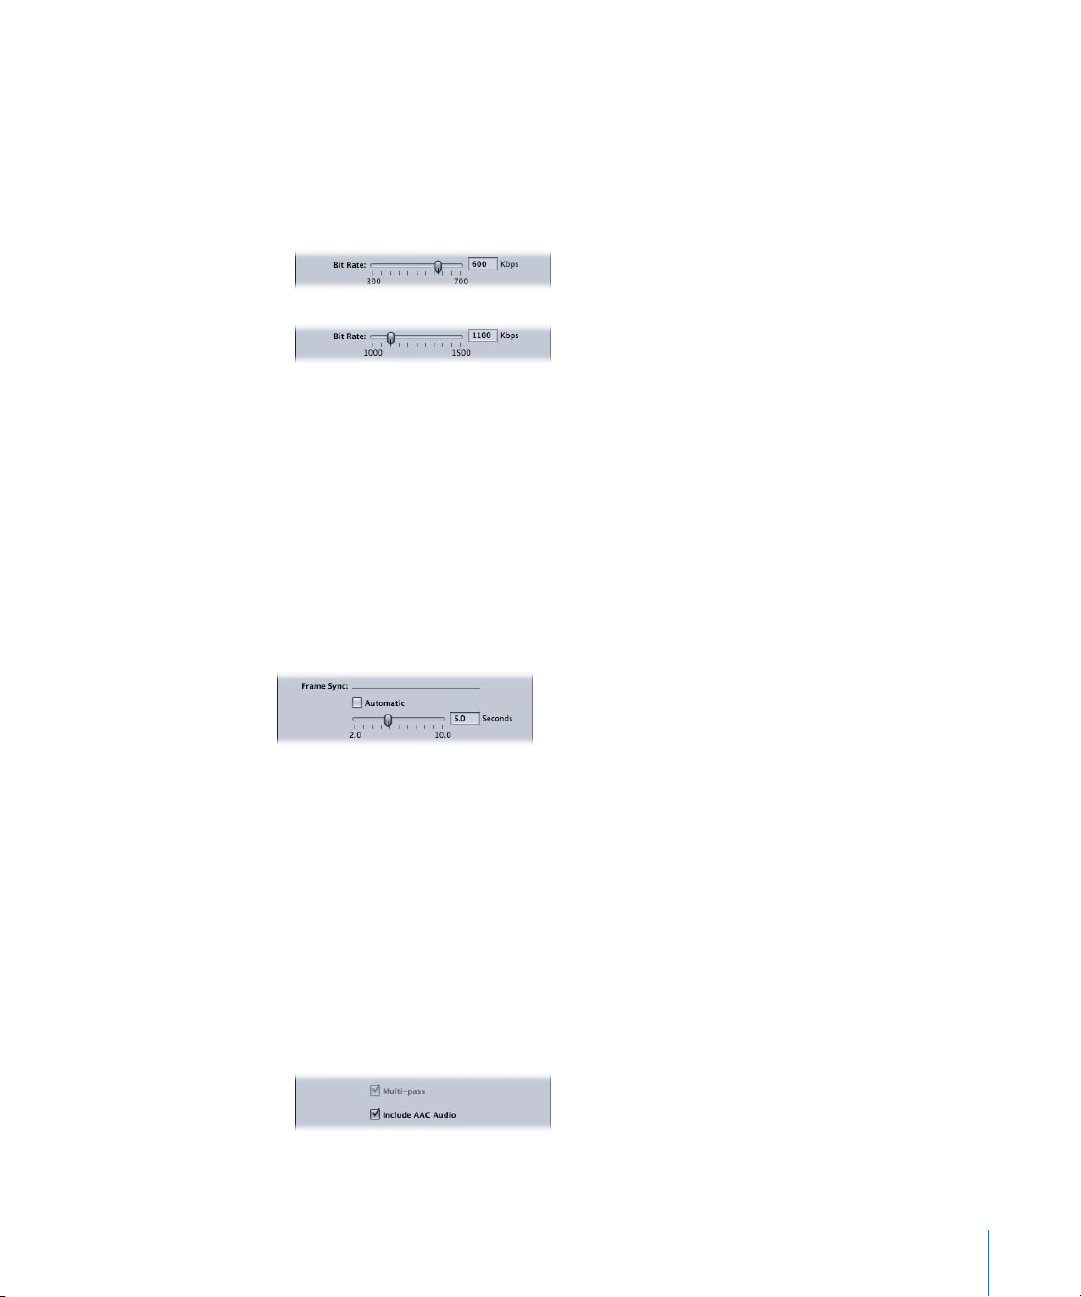
Bit Rate:
Use this slider to choose the bit rate to use for the output video, or enter a
number in the text field. The available ranges are from 1000 to 1500 kbps for 640 (VGA)
files and 300 to 700 kbps for 320 (QVGA) files. The setting you should choose depends
on how the output is to be used. Higher bit rates produce better picture quality, but
they also produce larger output files. Except for the 700 kbps single-pass encoding
option for 320 (QVGA) files, all encoding for iPod-compliant H.264 files is multi-pass.
Â
Frame Sync:
Also known as the
key frame interval
, the Frame Sync value represents how
often a keyframe is inserted in the H.264 stream. The lower the number, the more
smoothly the video can be manipulated (scrubbed) during playback (more frequent
keyframes). The higher the number, the more efficient the compression (less frequent
keyframes). The available range is from 2 to 10 seconds; the default is 5 seconds.
To adjust the Frame Sync value, do one of the following:
m
Use the slider to choose the frame sync (keyframe) rate for the output video, or enter a
number in the text field.
m
Select Automatic to allow Compressor to set the frame sync (keyframe) rate.
Â
Multi-pass:
Similar to two-pass MPEG-2 encoding, multi-pass offers the best possible
quality. For faster (single-pass) encoding for 320 (QVGA) files only, turn this feature off
by deselecting the checkbox. (Single-pass is disabled unless QuickTime 7.0.4 or later
is installed.)
Note:
If you are also using distributed processing, you may want to turn off job
segmenting. (See “Allow Job Segmenting” on page 3.) For more information, see “Job
Segmenting and Multi-pass” on page 112 of the
Â
Include AAC Audio:
Use this checkbox to include a stereo AAC audio track in the
Compressor 2 User Manual
.
output movie. The audio track will have a bit rate of 128 kbps. The sample rate will
be either 44.1 kHz or 48 kHz, depending on the input audio.
5

Chapter Markers for iPod and QuickTime Output
In previous versions of Compressor, you could add and name chapter markers that
DVD Studio Pro would recognize in MPEG-1, MPEG-2, and H.264 for DVD Studio Pro
output files. Compressor 2.3 expands this feature for iPod video authoring and other
QuickTime authoring. Chapter markers are now passed through (transferred) to other
output files that can be recognized by QuickTime Player, iTunes (.m4v files),
Final Cut Pro, and DVD Studio Pro. For information about adding chapter markers, see
“Adding Chapter Markers to a Clip” on page 222 of the
Compressor 2 User Manual
.
Deinterlacing with Frame Controls
Compressor 2.3 addresses issues with deinterlacing quality for the fastest Frame
Controls settings, specifically for the following conditions:
Â
An interlaced source media file
Â
Frame Controls Resize Filter:
Â
Frame Controls Output Fields:
Â
Frame Controls Deinterlace:
Â
Frame Controls Adaptive Details:
Â
Frame Controls Rate Conversion:
Note:
This improvement requires Mac OS X 10.4.7.
Better (Linear filter)
Progressive
Fast or Better
Off (not selected)
Fast (Nearest frame)
Corrections to the Compressor 2 User Manual
The following information covers corrections and updates to the documentation
included with Compressor 2.
Command Line Syntax
The command line syntax in the synopsis example at the bottom of page 246 of the
Compressor 2 User Manual
Compressor [-clustername <name>]
[-clusterid <username:password@ipaddress:portNumber>] [-batchfilepath
<path>] [-batchname <batchname>] [-priority <value>] [-jobpath <path>]
[-settingpath <path>] [-destinationpath <path>] [-info <xml>]
[-timeout <seconds>] [-help] [-show]
In this example,
-jobpath, -settingpath,
as many times as the number of jobs you want to submit.
Note:
Not all of the options are necessary. For example, you can specify the cluster
either by its
-clustername
are specified, only
is incorrect. Here is the correct example:
-destinationpath
and
or by its
-clusterid
-clusterid
is used.
. You do not need to specify both. If both
can be repeated
6

Additionally, if you specify
-destinationpath
-batchfilepath,
-jobpath, -settingpath,
then
and
are not necessary because the previously saved batch file already
contains information about the job, settings, and destination.
Example of
Compressor -clustername "This Computer" -batchfilepath "/Volumes/Hermione/
-batchfilepath:
SavedCompressorBatches/FreeChampagne.compressor"
Surround Sound Channel Identifier Codes
The section on page 104 entitled “Assigning Files to Surround Sound Channels
(Automatic Methods)” contains inaccurate instructions. In order to create a single
surround source media file in the Batch window with this automatic method, you must
use the following channel identifier codes:
Channel assignment Channel Identifier Code
Left front channel -L
Right front channel -R
Center front channel -C
Left surround channel -RL
Right surround channel -RR
Center surround channel -RC
Low frequency channel
(Subwoofer, LFE)
-LFE
For example, to assign an AIFF file to the left surround channel, rename the file as
filename-RL.aiff (where filename is the name of your file).
Note:
This procedure only works when you drag and drop files into the Batch window.
If you drag the files onto the application icon, they will appear as separate sources.
About the Frame Controls Pane
The following is an update of the “Working With Frame Controls” section on pages
196–199 of the
of the Inspector to select and adjust Frame Controls attributes that you want to assign
to your settings.
7
Compressor 2 User Manual
. Use the features in the Frame Controls pane
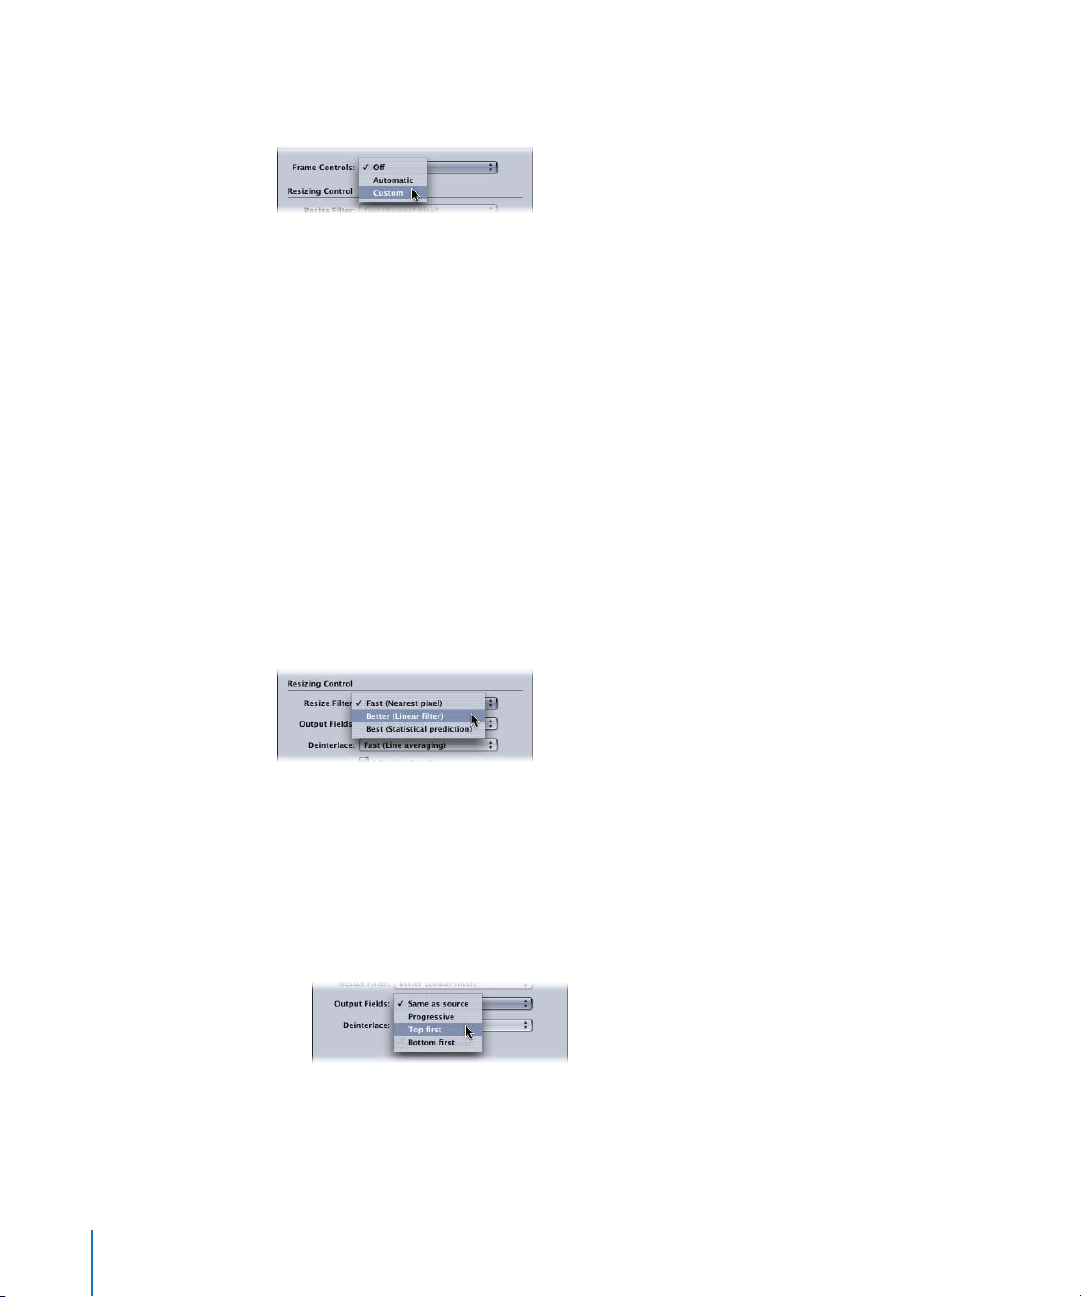
Frame Controls
Use this pop-up menu to choose from the following Frame Controls options:
Â
Off:
The default setting for most Apple presets.
Choose Off if your Compressor project
does not involve changes to the frame size, frame rate, or field dominance.
Â
Automatic:
Compressor analyzes the transcoding job (the source media file and
the applied setting), and then automatically determines the appropriate Frame
Controls attributes.
In Automatic mode, Frame Controls technology is engaged in the following two
types of transcodes only:
Â
Transcoding from high definition (HD) sources to standard definition (SD) MPEG-2
output files
Â
Transcoding from interlaced sources to H.264 for DVD Studio Pro (progressive)
output files
Â
Custom:
Allows you to manually adjust all of the attributes in the Frame Controls pane.
Resizing Control
Use the controls in this section to choose the algorithm with which frames are resized.
Â
Resize Filter:
Use this pop-up menu to choose from the following resizing options.
This decision is a trade-off between faster processing time and higher output quality
in projects that involve a change in resolution.
 Fast (Nearest pixel)
 Better (Linear filter)
 Best (Statistical prediction)
8
 Output Fields: Use this pop-up menu to choose the output scanning method (either
the field dominance or a conversion to progressive scanning).
 Same as source: No change to the scanning method.
 Progressive: Scanning method where each frame is complete (not divided into
fields). Use this setting in place of the Compressor Deinterlacing filter (a legacy
filter in the Filters pane) as it will always provide much higher quality.
 Top first: Interlaced field dominance (field order), also known as field two, the upper
field, or the odd field.
 Bottom first: Interlaced field dominance (field order), also known as field one, the
lower field, or the even field.
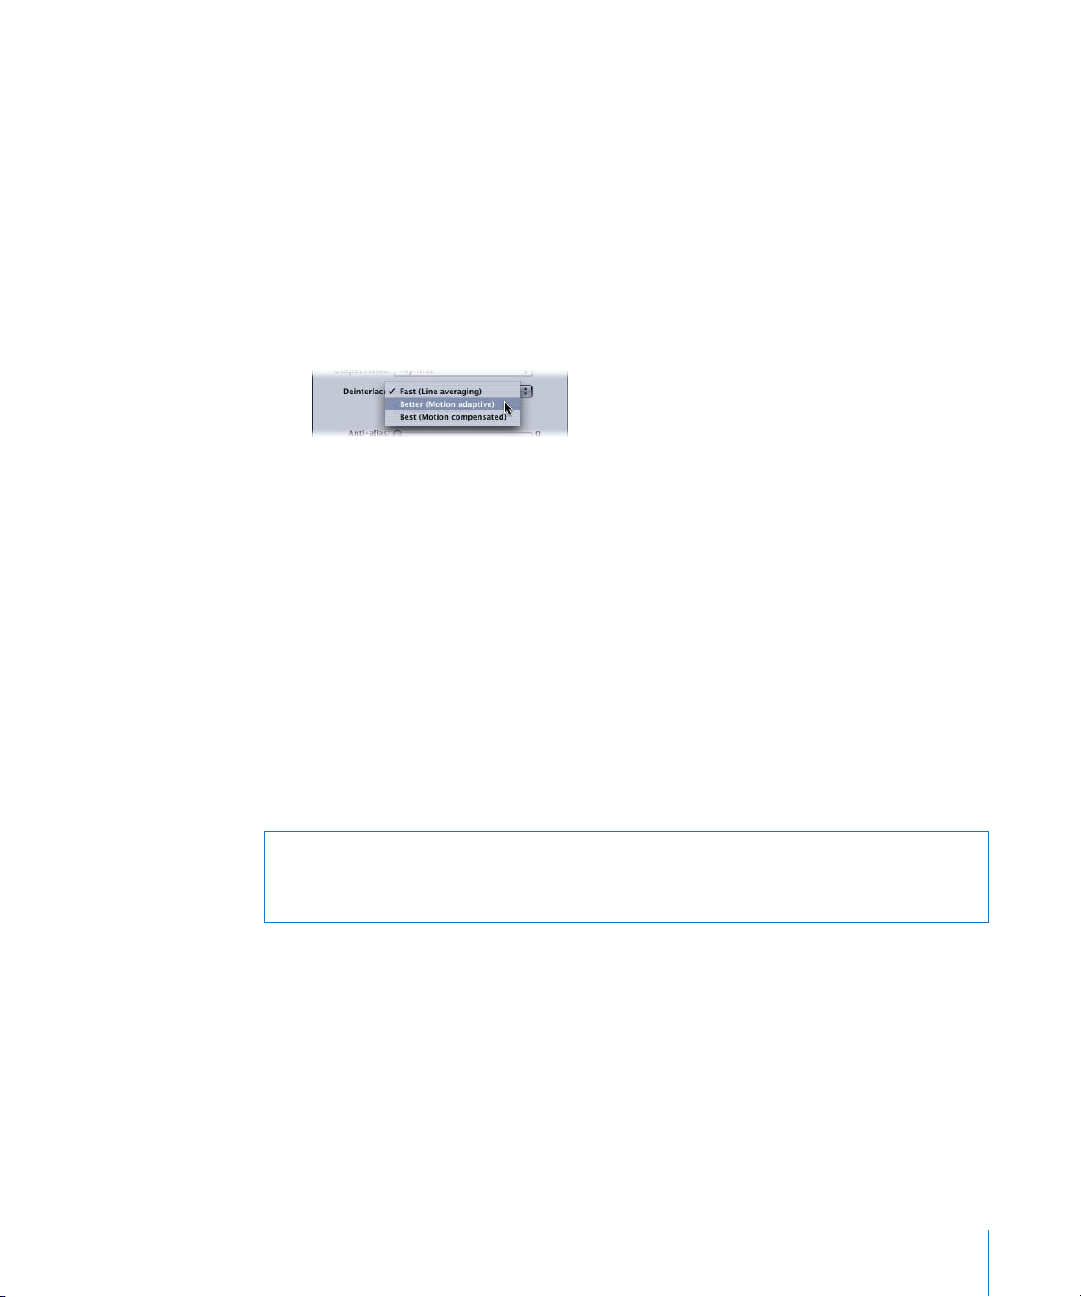
 Deinterlace: Use this pop-up menu to choose from different techniques for
deinterlacing. This decision is a trade-off between faster processing and
higher-quality deinterlacing of motion areas within the frame. In all cases, each
higher-quality deinterlacing option yields the same or better results than the next
lower quality option. However, if downward resizing is also applied to the frame,
improvements in quality may not be noticeable. Under these circumstances, Fast or
Better will likely provide sufficiently high quality, depending on the amount of
downward resizing.
 Fast (Line averaging): This option averages adjacent lines in a frame.
 Better (Motion adaptive): This option offers good-quality deinterlacing for areas of
the image that are in motion.
 Best (Motion compensated): This option offers higher-quality deinterlacing for areas
of the image that are in motion.
Warning: Using all Best settings may result in unexpectedly long processing times. If
you are reducing the frame size in addition to deinterlacing the frame, Fast or Better will
likely provide sufficiently high quality, depending on the amount of downward resizing.
While the Deinterlace pop-up menu is always active, Compressor only deinterlaces jobs
that need it. (For example, if the source is interlaced and the Output Fields pop-up
menu is set to Progressive, Compressor will deinterlace. If the source media file is
progressive, Compressor will not deinterlace.)
9
 Loading...