

Page 1
Title: Defibrillator – Zoll E and M Date: March 12, 2020
By: Zoll Chelmsford, MA USA
File = Zoll Guideline
DISCLAIMER: THIS PROCEDURE PROVIDED "AS IS" AND WITH
POSSIBLE FAULTS. USER MUST VERIFY BEFORE USE. NEITHER
PROVIDER NOR WEBSITE ASSUMES ANY RESPONSIBILITY FOR ITS USE.
1. General
Service Guideline for Zoll Series M and E with ECG, SP02, NIBP.
2. Reference Documents
Operator Manual M Series 9650-0200-01
Service Manual M Series 9650-0450-01
Configuration Guide M Series 9650-0201-01
Operator Manual E 9650-1210-06
Service Manual E Series 9650-1450-01
Configuration Guide E Series 9650-1201-01
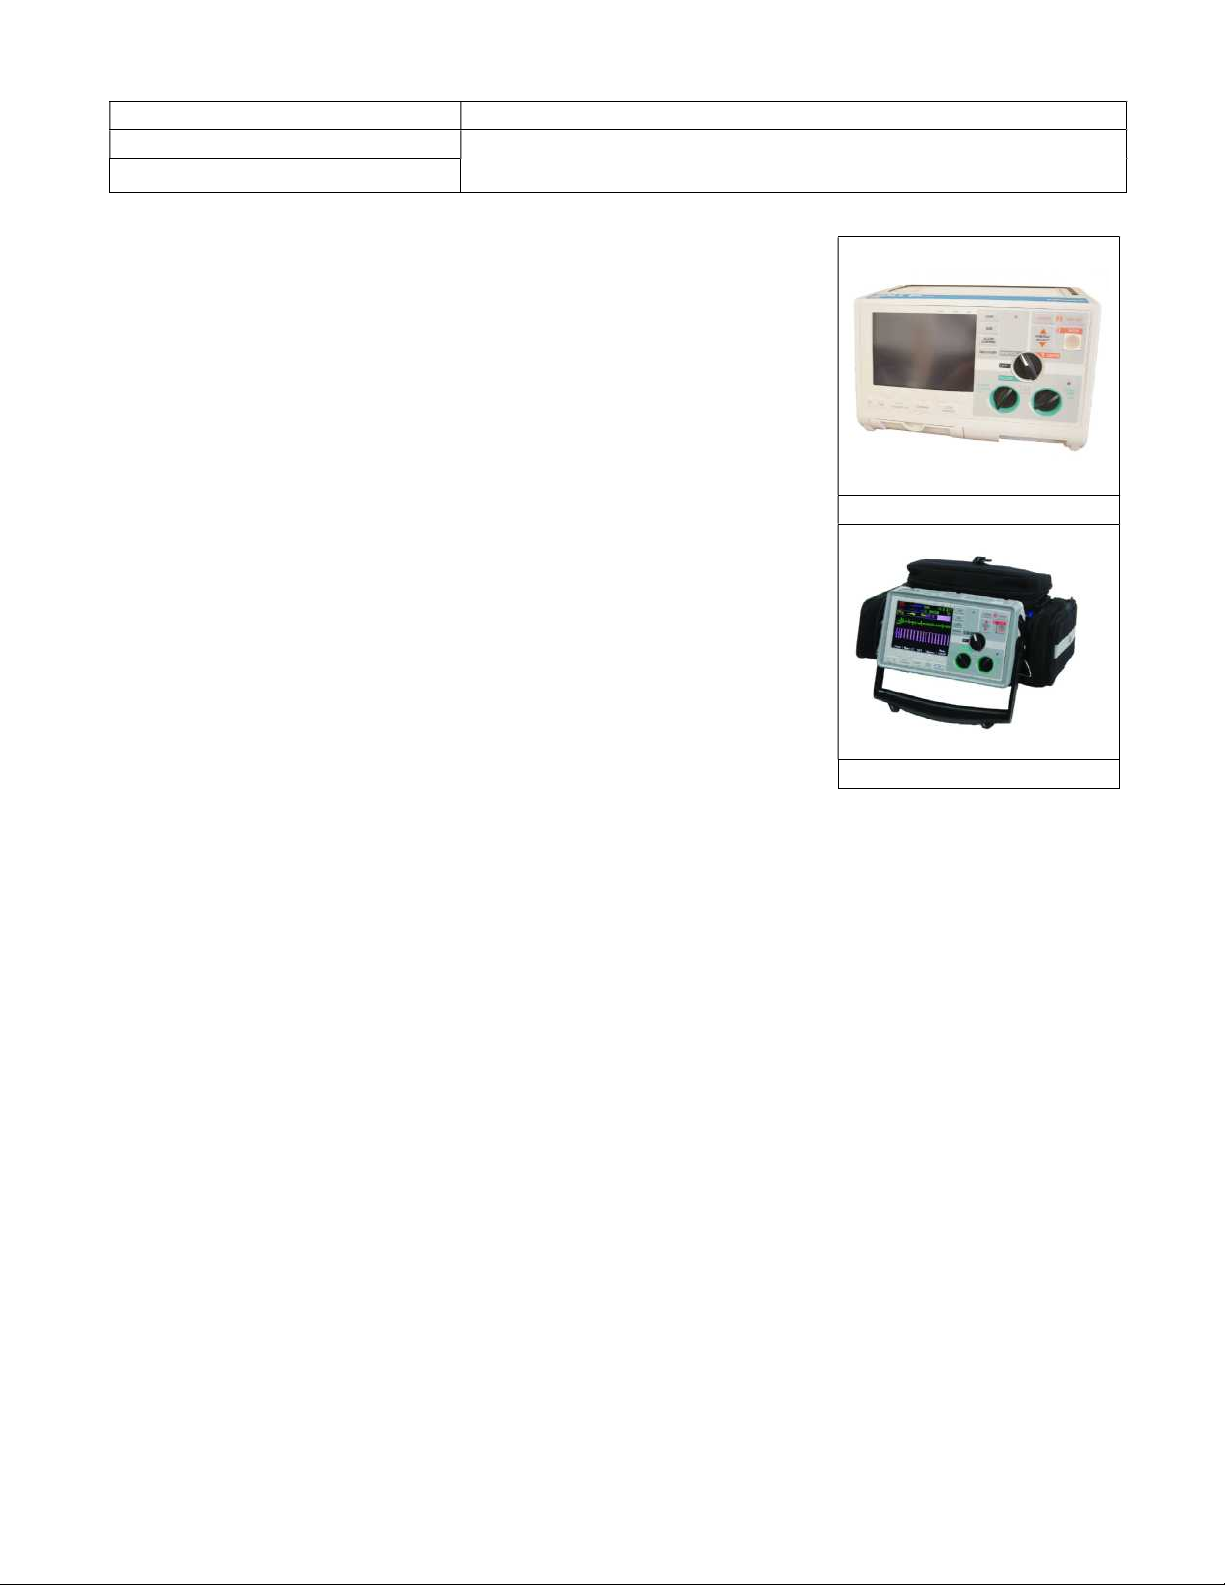
Zoll M
3. Accessories (see Appendix for photos)
HV Paddle Cable, Hard Paddles or _______
Recorder ECG Paper (90 x 90 x 200 Z-fold)
ECG Cable: 3 lead, 5 lead (cable uses normal 6-pin connector)
SP02 Sensor/Cable (Massimo normally supplied)
CO2 Sensor/Cable – not addressed here.
NIBP Cuff/Tubing – standard issue from various sources.
4. Test Fixtures
ECG Simulator; Defibrillator Analyzer if the Dummy Load not available.
Zoll E
Note: Both units have a very wide range of configurable options. The following checks are written with the unit
in factory default. Other various user options are beyond the scope of this document. Warning: Performing a
“factory defaults” reset will affect any custom configurations.
5. Basic PM Procedure (every 6 months per Zoll)
5.1. Physical Inspection – Note paddles, case & power cord integrity, and battery age. Does handle
works properly? Recorder drawer opens and closes properly? Input connectors clean and undamaged?
No cuts on the accessory cables.
5.2. Turn On / Self Test
After connection to AC power, note the CHARGER ON indicator. Turn the defibrillator ‘ON’ by
turning the rotary knob on the main panel.
5.3. Battery Diagnostics / Info:
The E Series products use easily replaced sealed lead-acid or lithium-ion battery packs when new and
fully charged. They provide at least 2.5 hours of monitoring. M-Series use only sealed lead-acid.
The amber or green lights (below the screen) will illuminate after plugging the instrument to the
mains. If both lights flash ON/OFF, no battery is installed or the unit is defective. With a new battery,
the green LED usually lights within a few minutes. Zoll M & E Series Compatible Battery 10V/2.5Ah
5.4. Joule Test – Using Dummy Load (Usually done on a daily or weekly basis.)
Note: This very easy procedure is applicable if and only if the dummy load that comes with the instrument is
available. (Refer to the picture of the dummy load in the Appendix.)
Page 2
Turn the unit ON and plug module into the high voltage cable (the multi-function cable). At this
instant, the instrument will automatically enter the ‘Test Mode’ once turned ON. Reduce the energy to
30 joules, press <Charge>, and <Shock>. When successful, the Display will show “TEST OK” for a
few seconds.
5.5. Joule Test – With Analyzer and Paddles
Note: The “Manual Mode” (not automatic) is used because this procedure is written for basic defib analyzers.
The Zoll method as published requires a sophisticated analyzer that supplies various waveforms into the paddles.
Set the unit in Manual Mode. See screen picture in Appendix. If manual mode appears unavailable, it
may be necessary to perform a reset to factory defaults, also in Appendix (see warning above). To
enter manual mode, hit the left-most soft key below the screen that corresponds to ‘Manual Mode’
option displayed on the screen. Confirm the action by hitting the right most soft key below the screen.
To lessen paper waste, unlatch the printer door to temporarily disengage. With the ECG simulator
connected, press/enable “Sync On/Off”. Confirm that a blinking heart icon flashes on the screen.
With the conventional defib tester, select 50 joules and apply firm pressure with both paddles onto the
analyzer paddle plates. Press CHARGE and confirm that the tone indicating full charge sounds within
10 seconds or less. Then press <Shock> which glows orange once the defibrillator is charged and
ready to deliver the shock. Repeat for 100 and 180 joules, whichever is larger.
5.6. Joule Test -- Automatic Mode
Testing the Automatic Mode is possible only if your defibrillator analyzer can supply the correct nonhealthy waveform(s) into the paddle connection pair. Refer to Service manual if needed.
5.7. ECG Check
Note: If connected to the defib analyzer, the HV-paddles-cable (or at least one lead) must be temporarily
disconnected, because if the unit senses a connection via the paddles or HV electrodes, the 3-lead ECG signal
will be ignored.
Connect the unit’s 3-lead or 5-lead ECG wire set to the ECG simulator or defib analyzer, matching colors or
designators. Turn unit’s main control dial to On. If no waveform, check that the simulator is ON, and press
the <LEAD> soft key. Next, check waveform “SIZE” button and set the size such that the waveform can be
discretely viewed on the screen. See Appendix for changing the QRS volume.
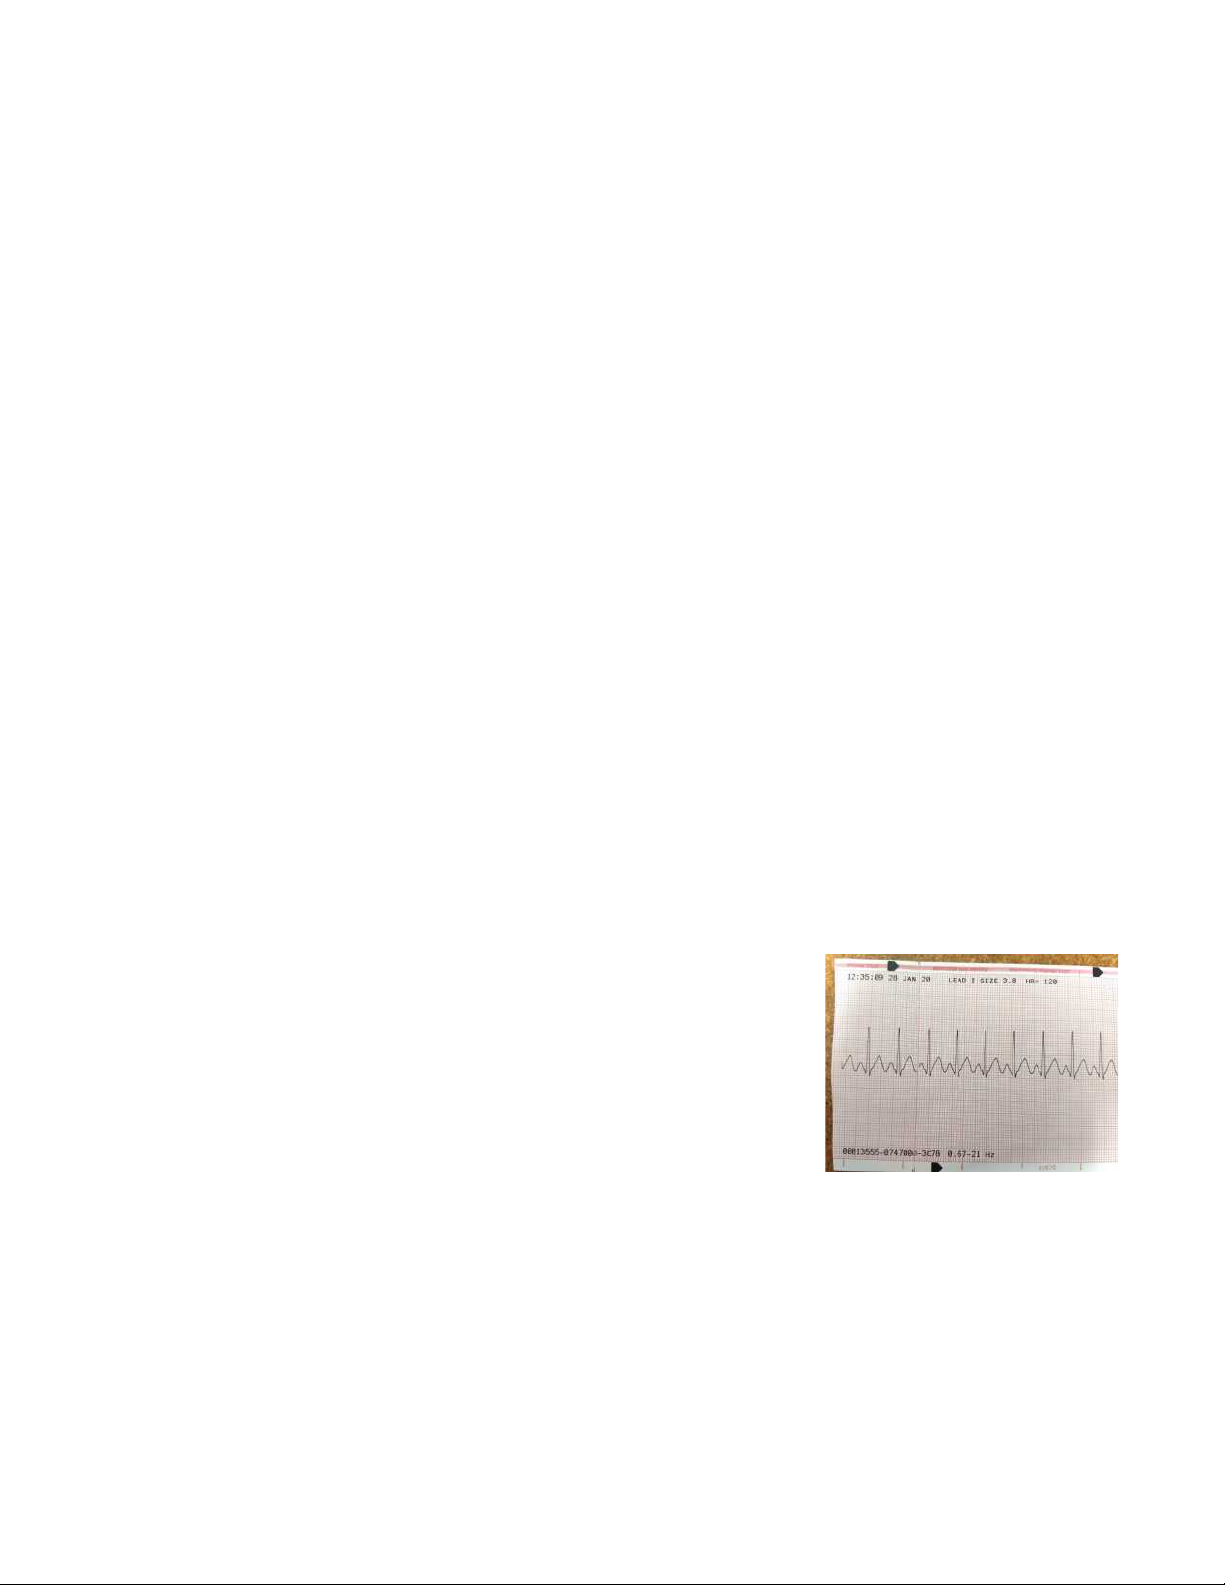
5.8. Recorder (Printer)
If necessary, place a new pad of thermal paper in the drawer with the
paper coming off the top and front of the pad facing you. Make sure
the door is fully shut on both ends.
With the waveform still on display, press the <RECORDER> button
and verify the ECG printer waveform. Note the date, time and other
details are within the margin of the paper. See sample printout for
reference. The PCMIA card, if present, automatically records data,
but is not needed for normal operation.
5.9. Date and Time Re-Enter
Zoll M: Press and hold the right-most soft key on the unit while turning the SELECTOR SWITCH to
the MONITOR or ON position.
Zoll E: Press and hold the leftmost soft key while tuning the instrument ON using the rotary knob on
the front panel. This will lead you to ‘System Utilities’ menu.
Hit soft key corresponding to the <MORE> option at the bottom of the screen, then hit <Clock Sync>,
and then <Manual Time Set>. When the “Set Time” screen appears on the monitor the cursor will
highlight the month field. Press the Inc Value or Dec value soft key to select the appropriate month.
Pressing the Next-Field soft key will set the selected month and move the cursor to the next field
Page 3

(day). Repeat above steps to set the correct day, year, hours and minutes field. Finally, <Enter and
Return>.
5.10. SP02 Check (Massimo)
When a good sensor is connected, check that its internal red LED is on. After approximately 20
seconds using a healthy subject, the small template on the upper part of the display will fill with a
value between 91 and 99. No waveform is displayed.
5.11. NIBP Check
Select the appropriately sized cuff and connect to a simulator. Press the <NIBP> hard key to begin
measurement. Note the screen will display the real-time cuff pressure, and eventually the final
Systolic/Diastolic reading. As a pressure gage, the service manual specs that the unit will measure
pressure +/- 5mmHg compared to a standard. See Sections 23 thru 24 of the E Series Service Manual
for adjustment information. Similar pressure/service info not found in M documentation.
5.12. CO2 Not addressed.
5.13. Summary of Tests: ECG, Recorder, Recorder Paper, Joules, SP02, NIBP
APPENDIX
PATIENT LEAKAGE TEST / LINE LEAKAGE TEST
Refer to the leakage tester’s manual for specific directions. For the M Series, see p. 15 of the service manual. For the E
Series, see p 1-14. The limits are the same for either model. Should be done if unit was dropped/damaged or incurred
moisture.
CONFIGURATION SETUP
Turn the selector switch to OFF, and wait 10 seconds. Simultaneously press and hold the right-most and left-most soft
keys (below the monitor) while turning the selector switch to MONITOR (ON for AED units), and hold the soft keys for
approximately 4 seconds. The unit powers on in System Configuration mode.
Enter the passcode (0 0 0 0 0 0 0 0) using the left “0” soft key. Note: When you enter System Configuration for the first
time, enter the default pass code of 00000000. To change a digit, use the Delete soft key to highlight the entry and reenter the digit. When all 8 digits have been entered, the unit automatically advances to the Select Language screen.
After selecting your language, hit <Restore Defaults><Enter>. The next screen indicates “Defaults Restored”. Hit <Exit
Config>. Then select “Save Changes and Exit”, then <Enter>. Finally “Save Changes To Card?” <Next Item>,
<Enter>.
QRS VOLUME (M model; E almost identical) Change QRS volume by hitting the <Speaker> button soft key in
the lower left corner, and follow the prompts. Note: If no QRS volume despite increasing the volume bar to maximum,
can be remedied by reconfiguring the entire unit to “Factory Default”. Or enter Config Mode, <English> <Enter>
<Change Config> <Tones> <Enter> <QRS Volume on Power Up> <Change Value> <on> <Return> <Save Changes and
Exit> <Enter>. Reminder: turn off ECG simulator to exit configuration.
ACCESSORIES
SP02 Sensor and Cord Manual Mode Screen ECG-3Lead “Test Module” Dummy Load
 Loading...