

Page 1
iRIS-CAM
User Guide
Issue 1
Page 2

Revision History
Issue 1 24/11/06 Initial version
Disclaimer
Under no circumstances will iQuest (NZ) Ltd be liable or responsible for any consequential damage or loss
that may arise from the use of this product.
All examples and diagrams shown in this manual and any supplied software examples are intended as a
guide to understanding this product, not to guarantee operation. iQuest (NZ) Ltd accepts no responsibility
for use of this product based on this information or these examples.
Owing to the wide variety of possible applications of this product, you must satisfy yourself as to its suitability
to your specific application.
© 2006, iQuest (NZ) Ltd
All rights reserved.
This publication, or any part of it, and any software accompanying it may not be copied, photocopied,
reproduced, translated or communicated to any third party, or reduced to electronic medium without prior
written permission from iQuest (NZ) Ltd.
iQuest (NZ) Ltd - PO Box 15169, Hamilton, New Zealand Tel: +64 7 857-0810 Fax: +64 7 857-0811 Email: iquest@iquest.co.nz
Page 3

Contents
1 Introduction.........................................................................................................................................2
1.1 About this Manual ..........................................................................................................................2
1.2 Hardware Required........................................................................................................................2
1.3 Support...........................................................................................................................................2
2 Overview..............................................................................................................................................3
2.1 Introduction ....................................................................................................................................3
2.2 Specifications.................................................................................................................................3
3 Installation...........................................................................................................................................4
3.1 Mounting ........................................................................................................................................4
3.2 Connecting the iRIS-CAM to iRIS.................................................................................................. 5
4.1 PC Based Commissioning Software.............................................................................................. 5
4.1.1 Installing PC Based Software & USB Drivers.........................................................................5
4.2 Connecting to PC...........................................................................................................................6
4.3 Focusing.........................................................................................................................................6
5 Configuration......................................................................................................................................7
5.1 iRIS 320 Configuration...................................................................................................................7
5.1.1 Installing iRIS based Software................................................................................................7
5.1.2 Configure the Camera on the IRIS320.................................................................................... 8
iQuest (NZ) Ltd - PO Box 15169, Hamilton, New Zealand Tel: +64 7 857-0810 Fax: +64 7 857-0811 Email: iquest@iquest.co.nz
Page 4

1 Introduction
1.1 About this Manual
This manual is intended as a general guide for iRIS-CAM installation, commissioning and configuration.
This manual is also available online in Adobe Acrobat® PDF format for registered users at
www.iquest.co.nz
1.2 Hardware Required
• 1 x iRIS320, with free gland
• 1 x iRIS-CAM Kit, which contains:
o 1 x iRIS Camera
o 1 x iRIS 320 to iRIS-CAM adaptor board
o 4 x Mounting bolts or screws
• 1 x iRIS-CAM Commissioning Kit (can be re-used), which contains:
o 1 x USB adaptor
o 1 x USB cable
o 1 x Software and documentation CD
1.3 Support
Technical support for the iRIS-CAM is available by contacting:
iQuest (NZ) Ltd
P.O Box 15169
Hamilton
NEW ZEALAND
Tel: +64 7 857-0810
Fax: +64 7 857-0811
Email: support@iquest.co.nz
For latest information and software updates, visit the iQuest (NZ) Ltd web site at www.iquest.co.nz
iQuest (NZ) Ltd - PO Box 15169, Hamilton, New Zealand Tel: +64 7 957 8160 Fax: +64 7 957 8162 Email: iQuest@iQuest.co.nz
2
Page 5

2 Overview
2.1 Introduction
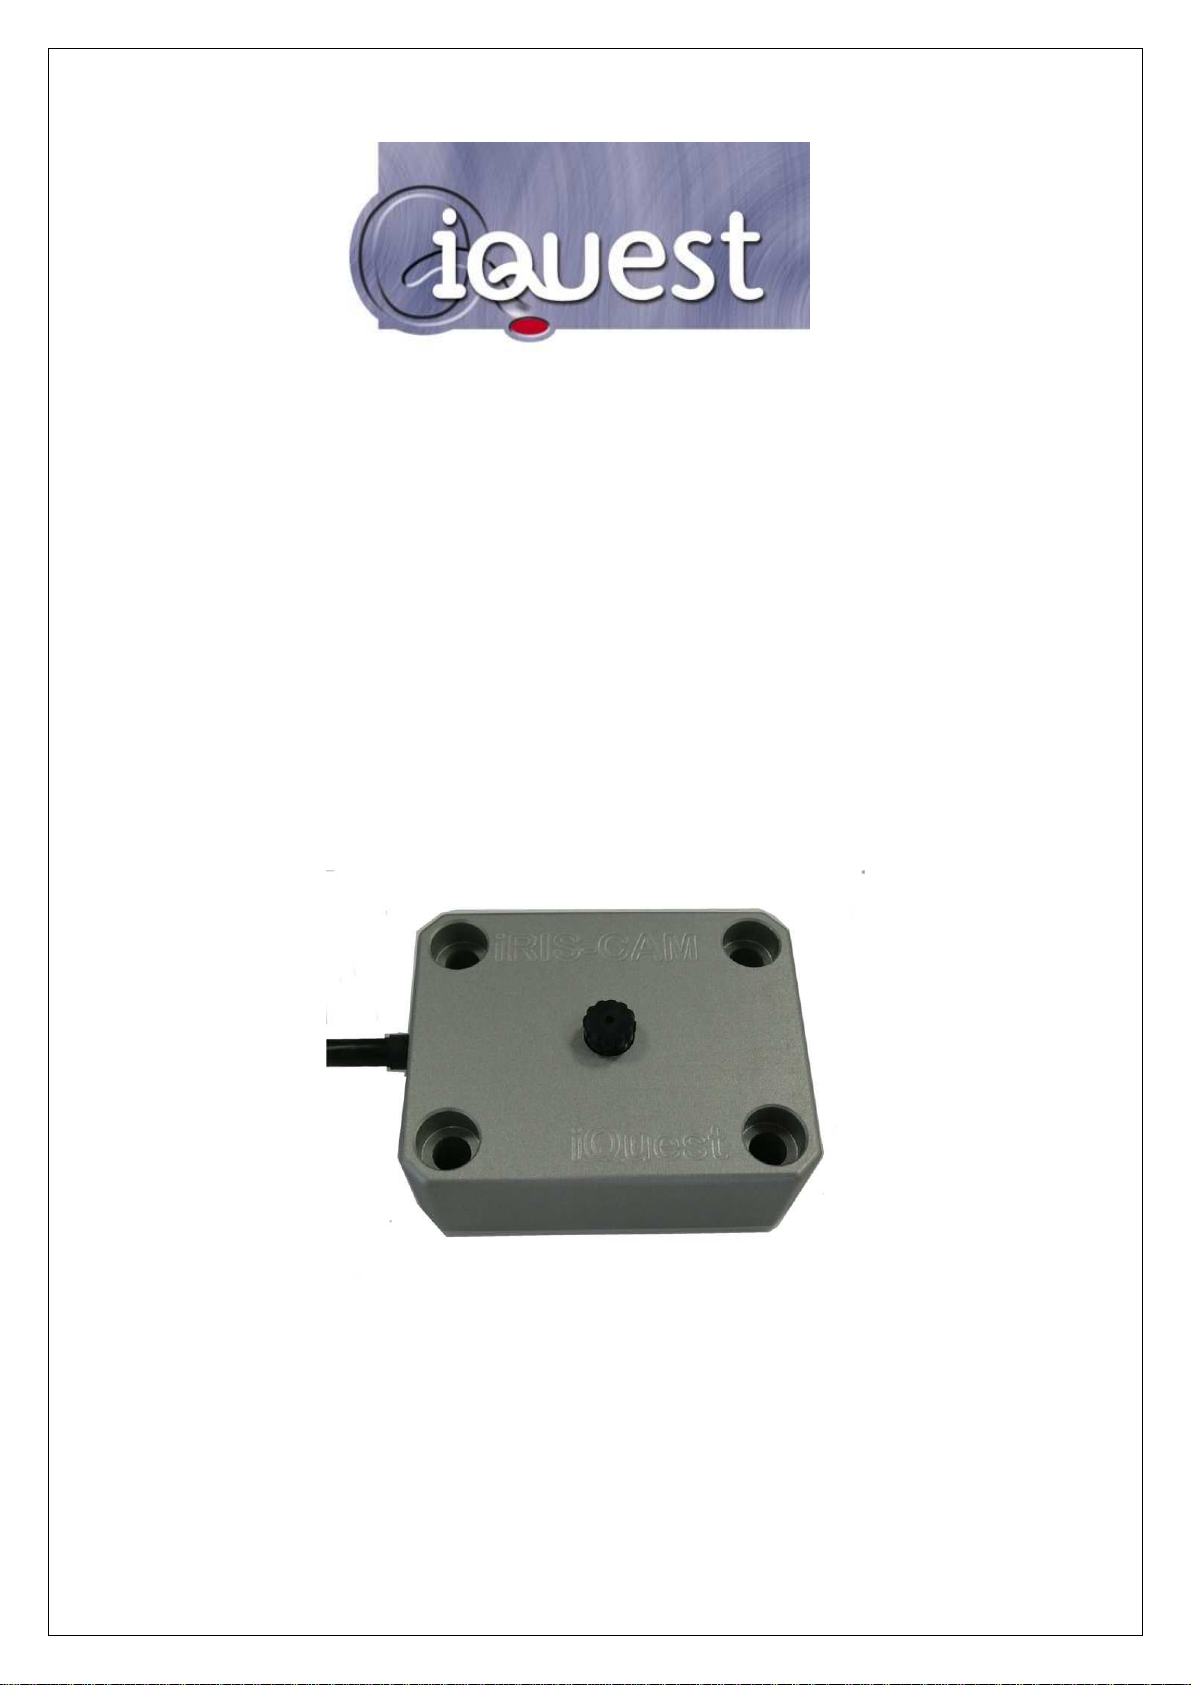
The iRIS-CAM is a camera accessory for the iRIS 320 data logger. It is supplied in an environmentally
sealed (IP65) enclosure constructed from a special corrosion-resistant aluminium alloy that is finished in a
hard-anodised coating. This provides a very high degree of mechanical strength and EMI shielding, and
enables completely stand-alone mounting in outdoor situations. The enclosure is filled with epoxy resin
and the lens is silicon greased in place, which means the potential for water ingress is extremely low.
When connect to an appropriately configured iRIS320 data logger, images can be taken, stored and then
unloaded (at regular intervals) via any of the communication channels available to the iRIS (e.g. GPRS,
CDMA, RS232, CSD).
2.2 Specifications
SIZE: 162mm x 116mm x 65mm (4.60in x 6.37in x 2.64in) (WxHxD)
CONNECTORS: 6 way rectangle connector on the end or 5m of shielded PVC cable
MASS: 300 g (10.6oz)
POWER SUPPLY: 3.3V d.c +/- 10% (powered via cable from iRIS)
RESOLUTION: Selectable 80x60, 160x128, 320x240 or 640x480 pixels JPEG format,
24 bit colour
LENS: F2.8
Focal length 4mm
Integral IR filter
ENVIRONMENTAL: Operating: -10 °C to +70 °C (14 °F to +158 °F)
Storage: -10 °C to +85 °C (14 °F to +185 °F)
Enclosure sealed to IP67
iQuest (NZ) Ltd - PO Box 15169, Hamilton, New Zealand Tel: +64 7 957 8160 Fax: +64 7 957 8162 Email: iQuest@iQuest.co.nz
3
Page 6

3 Installation
3.1 Mounting
This can be achieved with the use of the four M6 Allen Key® bolts or other suitable hardware such as
wood screws. The diagram below shows the overall dimensions and position of the mounting holes for the
IRIS-CAM. The correct orientation is shown in the diagram, where the engraved writing is the right way up.
The cable extends from the left side of the enclosure when viewing the camera from the front.
Due to the lens’s small aperture it can be susceptible to image quality degradation due to droplet of water
(creates a second lens). To minimize the effects, provide the camera lens with a rain shield; position the
camera so that it points down and away from prevailing weather.
iQuest (NZ) Ltd - PO Box 15169, Hamilton, New Zealand Tel: +64 7 957 8160 Fax: +64 7 957 8162 Email: iQuest@iQuest.co.nz
4
Page 7

CAM
3.2 Connecting the iRIS-CAM to iRIS
Connecting the camera to the datalogger is a simple process. First disconnect all power to the logger then
feed the camera cable through the gland. Next connect the iRIS-CAM 6 way connector to the adaptor
board and then the adaptor board into 10 way connector at the top of the iRIS320 PCB. Finally tighten
gland and re-power the logger.
iRIS320 Front
Section
iRIS320 to iRIS-
Adaptor board
iRIS-CAM 6 Way
Connector
4 Commissioning
The easiest way to commission the iRIS-CAM is to connect it to the USB port of a laptop or desktop PC.
This allows quick and repetitive collection of images from the camera, enabling quick focusing and
alignment of the camera.
Note: It is important to install the Windows® iRIS-CAM USB adapter drivers before connecting the
camera to the PC.
4.1 PC Based Commissioning Software
4.1.1 Installing PC Based Software & USB Drivers
The following list of steps will install the iRISCamera commissioning software and the Windows USB
drivers for the iRIS-CAM adaptor.
1. Obtain the installation package from iQuest.1
2. For the CD distribution:
a. Insert CD into PC’s CDROM drive, if the installer does not auto start, run d:\
iRISCAMInstaller.exe (where d:\ is the CDROM drive letter).
b. Click on Install iRIS-CAM button and follow the prompts.
3. For a Web Download:
a. Download the iRIS-CAM windows software installer package from www.iquest.co.nz
b. Run the iRISCAMInstaller.exe program and follow the instructions.
4. Once installation of the iRISCamera Software is complete and the installation program has been
closed, install the USB drivers by:
a. Run the installer from Start->All Programs->iRIS-CAM->USB Driver Installer.
b. Click Install button. Note: if prompted with the message saying the software has not
passed Windows Logo Verification, please ignore and click the Continue Anyway button.
1
Software can be obtained from CD or the iQuest website: www.iquest.co.nz
iQuest (NZ) Ltd - PO Box 15169, Hamilton, New Zealand Tel: +64 7 957 8160 Fax: +64 7 957 8162 Email: iQuest@iQuest.co.nz
5
Page 8

4.2 Connecting to PC
Follow the simple list of steps to connect the iRIS-CAM to a Laptop and download images.
1. Connect the iRIS-CAM’s 6 way connector to the USB adaptor (disconnect from iRIS320 if
required).
2. Connect the USB Cable to the USB adaptor and then connect the other end to a USB port on the
PC. Note: It is important to install the Windows® iRIS-CAM USB adapter drivers before
connecting the camera to the PC see section 4.1.1.
Standard USB cable
USB adaptor
Figure 1 Show how to connect iRIS-CAM to a PC.
3. When the cables are connected for the first time a popup box will appear on the PC indicating an
iRIS Camera Adaptor has been found and a second box will appear named Found New
Hardware Wizard.
a. When prompted whether to search online for drivers choose No, not this time option and
press the Next button twice. Note: if prompted with the message saying the software has
not passed Windows Logo Verification, please ignore and click the Continue Anyway
button.
b. Click the Finish button.
c. Repeat steps 3&4 for the iRIS Camera Virtual Port.
4. Start the iRIS-CAM Commissioning Software (Start->All
Programs->iRIS-CAM->iRIS-CAM). This will bring up a box
should popup indicating the USB adaptor has been found.
Click Ok button to proceed.
5. Select the resolution and the repeat function as desired.
6. Click the Go button to start downloading images. Note: to stop automatic repeat feature, uncheck
the Repeat Automatically checkbox.
4.3 Focusing
Focusing of the camera can be achieved by screwing the lens clockwise or anticlockwise when viewing the
camera from the front. The camera is factory set to for midrange focus.
• Anticlockwise rotation (or screw out) focuses on near objects
• Clockwise rotation (or screw in) focuses on distant objects
iQuest (NZ) Ltd - PO Box 15169, Hamilton, New Zealand Tel: +64 7 957 8160 Fax: +64 7 957 8162 Email: iQuest@iQuest.co.nz
6
Page 9

5 Configuration
5.1 iRIS 320 Configuration
Once the camera has been installed and commissioned using the PC interface the iRIS320 needs to be
programmed and configured.
5.1.1 Installing iRIS based Software
Installation of iRIS datalogger based software is achieved by using the iLink software package on a PC
connected to the logger via a null modem cable2.
1. Check the Firmware version is VN2.21 or higher, if it is, move onto step 2. If not follow these steps:
a. Obtain the latest version, iRIS320_XXX_YY.fls from iQuest, where XXX is the version
number (XXX=221 or higher), and YY is the PCB revision (YY=11 or 12).
b. Start iLink and connect to the logger3.
c. Select Tools->Advanced->Flash Executive menu option.
d. Click the top Browse button and locate the file obtained in step a.
e. Click Download button.
f. When the download is complete, click OK button.
g. Click Start Flash Upgrade button.
2. Obtain the three iRIS 320 program files.
For a GPRS based iRIS:
iRIS_GPRS_ZZZ_1.irs
iRIS_GPRS_Camera_ZZZ_2.irs
iRIS_GPRS_ZZZ_3.irs
For a CDMA based iRIS:
iRIS_CDMA_ZZZ_1.irs
iRIS_CDMA_Camera_ZZZ_2.irs
iRIS_CDMA_ZZZ_3.irs
Note: Where the ZZZ is the software version number.
3. Start iLink and connect to the logger 3.
4. Click the Program toolbar button (or Tools->Program menu option).
5. Click Stop Programs button.
6. If the existing logger data and configuration are no longer required click the Clear Device Button.
Otherwise proceed to the next step.
7. Click the Browse button and select the first file obtained in step 2.
8. Click the Download button.
9. When the download is complete, press the OK button.
10. Repeat steps 7, 8 and 9 with the second and third files obtained in step 2.
11. When all three banks are downloaded, click the Start Programs button.
This completes the installation of camera specific software and firmware. The next thing to do is to
configure the iRIS to take images.
2
See iRIS320 User Guide for more information on the logger to PC connections.
3
See the iLink manual for information on how to connect to data loggers.
iQuest (NZ) Ltd - PO Box 15169, Hamilton, New Zealand Tel: +64 7 957 8160 Fax: +64 7 957 8162 Email: iQuest@iQuest.co.nz
7
Page 10

* Camera Cfg
Figure 2 The programming window of the iLink Software Package.
5.1.2 Configure the Camera on the IRIS320
As with a standard iRIS data logger all configuration is achieved through a terminal session with the logger
from a PC. This is done by connecting a PC to the logger with a null modem cable and connecting to it with
a terminal program like HyperTerminal4. The list below describes the configuring of the settings that relate
to the operation of the camera.
Camera Menu
1. If not already connected, connect to logger using HyperTerminal with communication settings
38400,N,8,1.5
2. When the main menu is shown choose menu item 9 Camera, which will display the following
menu.
0 Exit
1 Resolution [7: 640x480]
1: 80x64
3: 160x128
5: 320x240 (QVGA)
7: 640x480 (VGA)
>
3. Use menu item 1 Resolution to adjust the resolution that pictures will be taken at when in
scheduled mode. Options are:
0: disabled
4. Select menu item 0 Exit to return to the main menu.
4
5
a connection error from iLink. Please wait 30 seconds and retry.
Please see the iRIS 320 User Guide for information regarding connections and HyperTerminal Settings.
If the camera is currently taking a picture, the RS232 port used by the PC will be disabled. This will cause
iQuest (NZ) Ltd - PO Box 15169, Hamilton, New Zealand Tel: +64 7 957 8160 Fax: +64 7 957 8162 Email: iQuest@iQuest.co.nz
8
Page 11

* Digital Output 1 Cfg
>
There are two ways of taking an image:
• Scheduled – This method uses the Digital Output #1 schedule control to take pictures at regular
intervals. Digital Output #1 is still triggered on the schedule, which means it can be used to control
external illumination for the camera.
• Remote – Use HydroTel™ to start a picture capture. Refer to the HydroTel documentation on how
to setup and use this feature.
Scheduled Picture Capture Settings
1. Connect to logger using HyperTerminal with communication settings 38400,N,8,1.6
2. When the main menu is shown choose menu item 5 Outputs, which will display the outputs
menu.
3. Select menu item 1 Output #1, which will display the following menu.
0 Exit
1 Enable [Yes]
2 Polarity [Normal]
3 Mode [1: Schedule]
4 Duration [10 sec]
5 Frequency [15 min]
6 Start Time [0525]
7 End Time [1959]
4. The important settings are as follows
Menu item 1, Yes.
Menu item 3, 1: Schedule.
Menu item 4, 10 seconds.
Menu item 5, how often the images are taken in minutes.
Menu item 6, start taking images at this time (24 hour clock).
Menu item 7, stop taking images at this time (24 hour clock).
Remote Picture Capture Settings
In this mode the iRIS-CAM will take a picture on request from base. There are no iRIS based settings
required for this mode, picture capture will happen automatically and can be used in conjunction with
schedule mode. Note: Resolution of the remote picture can be different to the scheduled one.
6
If the camera is currently taking a picture, the RS232 port used by the PC will be disabled. This will cause
a connection error from iLink. Please wait 30 seconds and retry.
iQuest (NZ) Ltd - PO Box 15169, Hamilton, New Zealand Tel: +64 7 957 8160 Fax: +64 7 957 8162 Email: iQuest@iQuest.co.nz
9
 Loading...