


VTech Kidizoom Camera- Pink Owner's Manual
User’s Manual
© 2011 VTech
Printed in China
91-002361-003

3
INTRODUCTION
Kidizoom Camera™ is a fun and durable digital camera that allows kids
to take photos, shoot movies, and play games!
Kidizoom Camera™ has 128MB of built-in memory (shared with program
data), and it includes a USB port to connect the camera to a computer so
you can save and view your photos and movies.
FEATURES
PRODUCT LAYOUT AND BUTTONS
Shutter Button
Lens
4-Directional
Cursor Buttons
Mode
Button
USB Port for
Computer
Connection
Zoom In Button
Zoom Out
Button
OK Button
Delete
Button
ON/OFF Button
Introduction / Features

4
ON/OFF Button
Press this button to turn the camera ON or OFF.
USB Port
Use this USB port to connect the camera to your computer.
Mode Button
Press this button to go to the main menu or to go back to the previous
submenu.
4-Directional Cursor Buttons
Press these buttons to move the cursor and make selections.
OK Button
Press this button to conrm a choice or action.
Tips: The OK Button can also be used to take a photo.
Delete Button
Press this button to delete the selected le.
Shutter Button
Press this button to take a photo.
Zoom In Button
Press this button to zoom in.
Zoom Out Button
Press this button to zoom out.
Tips: The zoom buttons can also be used to set sound volume when
zoom function is not available.
INCLUDED IN THIS PACKAGE
• 1 VTech® Kidizoom Camera™
• 1 wrist strap
• 1 user’s manual
Note: USB cable is not included.
WARNING: All packing materials such as tape, plastic sheets, wire
ties, and tags are not part of this toy, and should be discarded for
your child’s safety.
Features
PRODUCT SPECIFICATIONS
Display 1.45” TFT color LCD
Photo Resolution 1.3 MP (1280 x 960) or 0.3 MP (640 x 480)
Movie Resolution 160 x 120
Movie Length Limit Maximum 2 minutes per each recording le
5
Digital Zoom 4X
Focus Range 1.5 feet - ∞
Internal Memory 128 MB built in memory (shared with program
File Format Movies: AVI (Motion JPEG) (recorded with
Connectivity Built-in USB port (Mini-USB) for computer
Batteries 4X “AA” (LR6) alkaline batteries
Operating
Temperature
data, approximately 92 MB available)
Kidizoom Camera™)
Photos: Standard Baseline JPEG (taken by
Kidizoom Camera™)
connection
0 - 40°C
STORAGE CAPACITY FOR REFERENCE
1.3 MP photos 0.3 MP photos Video in 160 X 120 (minutes)
~300 ~1600 ~10
Note: The above amounts are approximations, the actual capacity
depends on the shooting environments. The video length limit is 2
minutes per le.
GETTING STARTED
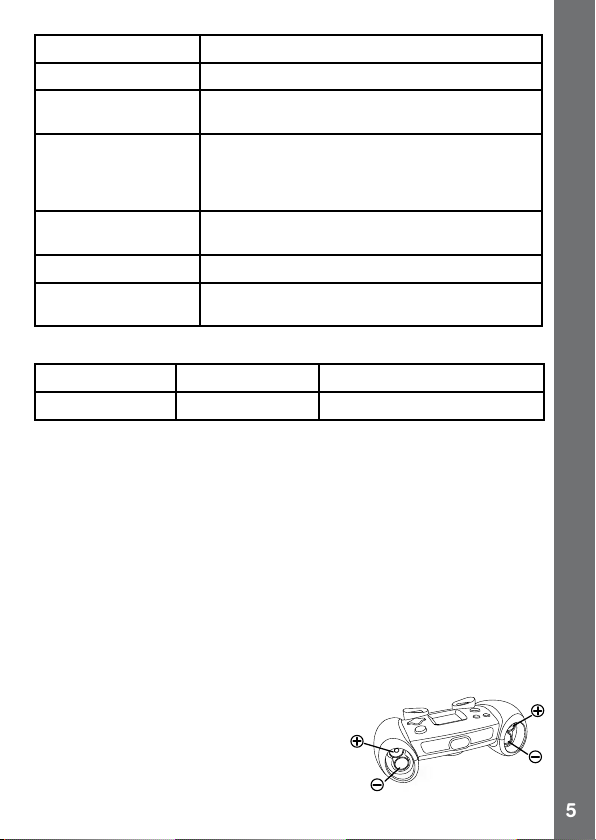
BATTERY INSTALLATION
Note: Adult assembly is required for battery installation.
• Make sure the camera is turned OFF.
• Locate the battery covers on the bottom of the camera. Open the
battery covers by separately pressing each trigger inward.
• Install 4 new “AA” batteries (2 on each side) as shown in the illustration
below (the use of new alkaline batteries is recommended for maximum
performance).
• Replace each battery cover (they will
both t either side) with the arrow on the
trigger pointing inward. Push down until
the battery covers click into position.
Getting Started
6
BATTERY NOTICE
• The use of new alkaline batteries is recommended for maximum
performance.
• Non-rechargeable batteries are not to be recharged.
• Rechargeable batteries are to be removed from the toy before being
charged (if removable).
• Rechargeable batteries are only to be charged under adult supervision
(if removable).
•
Do not mix old and new batteries.
• Do not mix batteries of different types: alkaline, standard (carbon-zinc)
or rechargeable (nickel-cadmium).
• Only batteries of the same or equivalent type as recommended are to
be used.
• Batteries are to be inserted with the correct polarity.
• Exhausted batteries are to be removed from the toy.
• The supply terminals are not to be short-circuited.
• The toy is not to be connected to more than the recommended number
of power supplies.
• Do not use re to dispose of batteries.
TO BEGIN USING
• Press the ON/OFF Button to turn on the camera.
• If it is the rst time that you are turning on the Kidizoom Camera™, the
Try-me demo movie will start playing. Press the OK Button
movie to exit the Try-me demo mode. The Try-me demo will be disabled
and will not play again on start-up. After the camera exits demo mode, the
language selection screen will appear. Press the Up or Down Cursor
Button to select a language, and then press the OK Button to
conrm. After you select a language, you will see an option to select the
date and time. Press the Up or Down Cursor Button to select the
correct day, month, year, hour, and minutes. Press the Left or Right
Cursor Button to jump to the previous or the next setting item. Finally,
press the OK button to conrm the setting. If you wish to change the
language or date & time later, please go to Settings.
• After the Try-me demo mode has been disabled, when Kidizoom
Camera™ is turned on, it will go directly into camera mode and you can
start taking photos.
• To switch to other activities, press the Mode Button
Main Menu. From the Main Menu, you can select the following activities:
KIDIZOOM CAMERA™
during the
to go to the
Kidizoom Camera™
To Begin Using
 Loading...