


3102

966
876
This is supressed for radio and television inter
ference in accordance with the international
Electrotechnical Commission of the CISPR.
ÍMPOHTAMT: Machines for Great Brltam and
some other countries having similar wiring
standards are shipped from the factory
with-out a plug for connection to the mains*
The wire in this mains ie^ are coloured in
accordance wlte the following code:
Blue: neutral (N) Brown: live lU
As the colours of the wires in the n^ains lead
of this appliance may not correspond with the
coloured markings identifying the termináis in
your plug, proceed as follows:
The wire which is coloured blue must be
connected to the terminal which is marked
with the letter N or coloured black: The wire
which is coloured brown must be connected
to the t^minal which is tmrk&á with the
letter L or coloured red« If a 13 Amp« (8S
1363) plug is used, a 3 Amp. fuse must be
fitted, or if any other type of plug is used, a
5 Amp. fuse must be fitted with either either
in the plug or odaptot or at the distribution
bord.
Dear CmtOfmr *
To insure that you are always provided with
the most modem sewing capabilities, the
manufactured reserves the right to change the
appearance, desi^ or accessories of this
n^chine when considered necessary.
We recommend that for future reference
you record the serial number of your
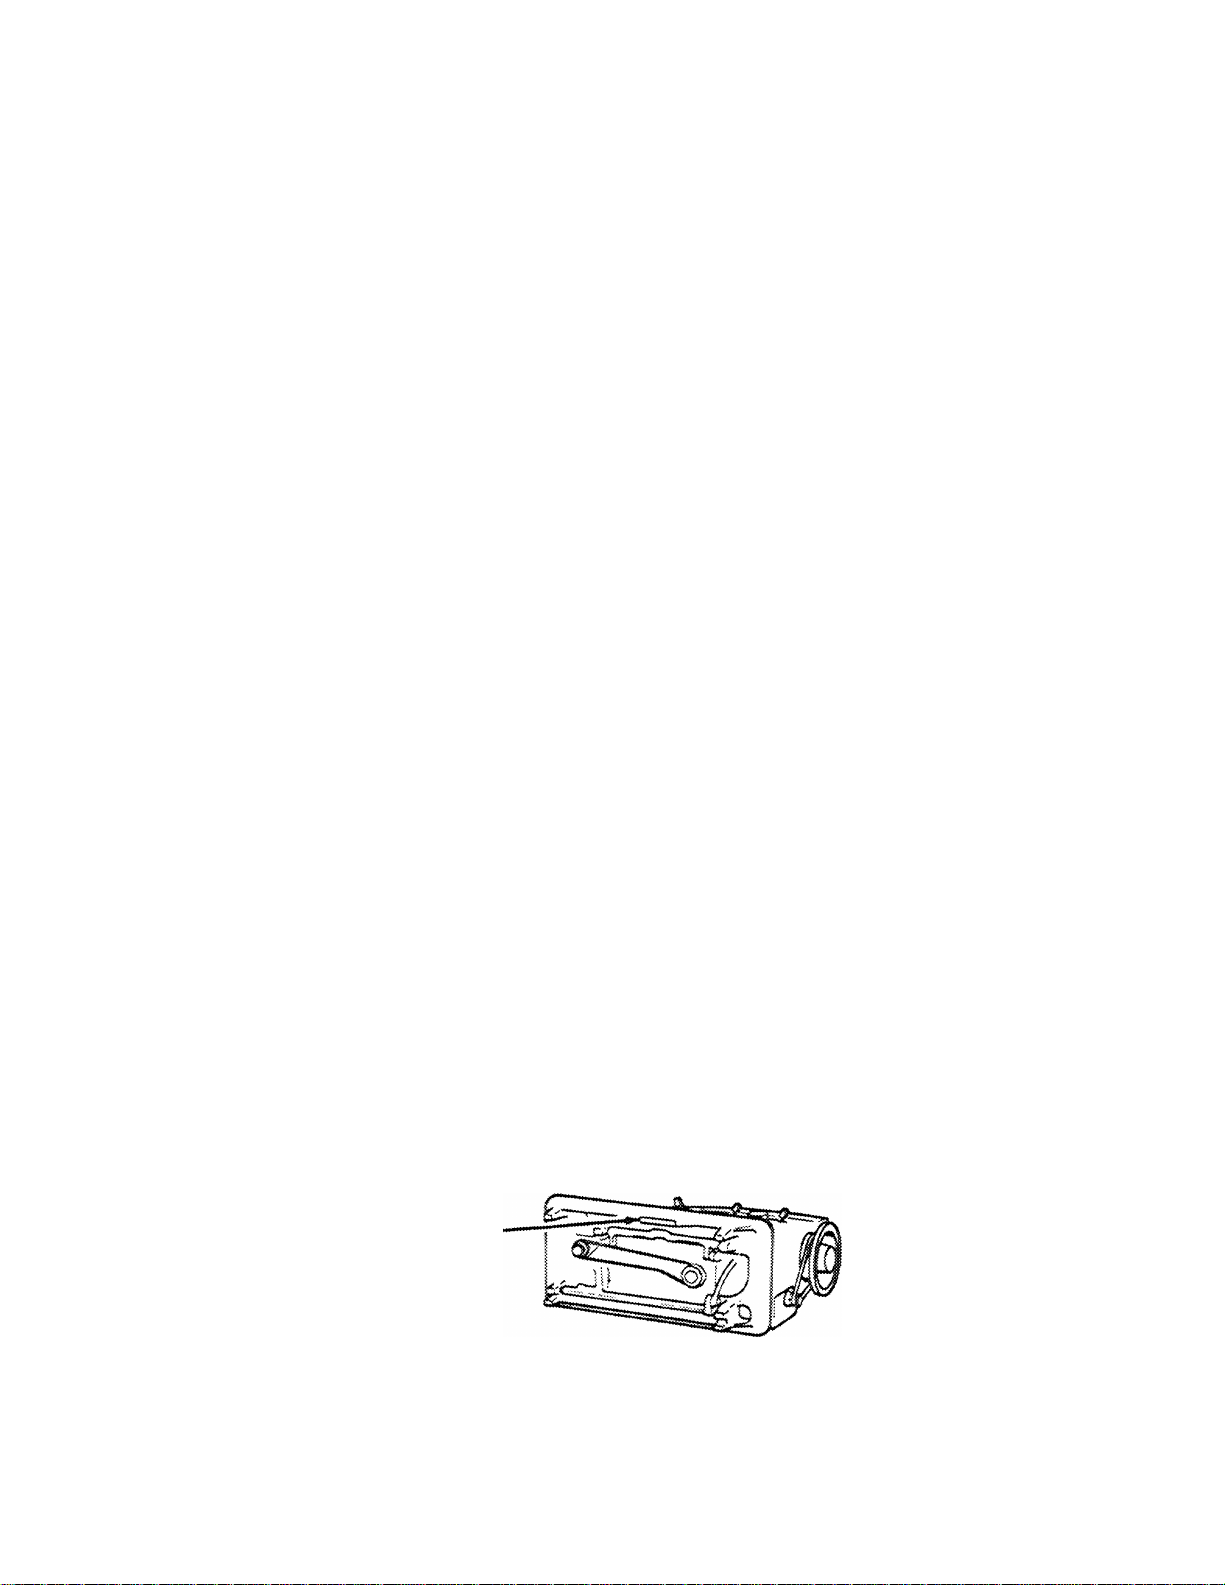
Sewing Machine in the space provided«
Refer to illustration at right for location
of serial number on your machine.
For Europea Territorios
Serial No.
NO

PREPARIMG TO SEW
Conrsecting the Machine
Before plugging your machine, be sure that
the electrical information stamped on the
motor conforms to your electriciel power
supily*
If your speed controller has a motor
disconnected plug, push the plug into the
receptacle at the right end of motor*
Then connect the power-line plug to your
electrical outlet.
If the speed controller cord is wired directly
to the motor, connect the power-line plug to
your electrical outlet.
CAyriON: We recomend you to unplug your
machine from the electrical outlet before
clamping needles, presser feet neddle plates
and wh&n leaving machine unattended, to
avoid accidents.
To turn sewing light on and off press the
switch located on top of sewing light, or on
the motor dust cover, just below the
ventilation grille, Jn this case it also actuates
the motor*
To run the machine press the speed controller*
The harder you press, the faster the machine
will sew*
Glxjosmg ISIeddle Meddle and Thread
The table below is a practical guide to needle and thread selection, which depend
upon the fabric being stitched stitched, 8e sure to use the same size and type of
thread in both needle and bobbin*
Fabric
Thread
Needles
Type
Size
Delicate - íulle, chiffon, fine lace, organza
Fine mercerized cotton
Fine synthetic thread
Catalog
2D2C
(15x1)
9/70
I Lightweight - batiste, organdy, jersey,
voile* taffeta, crepe, chiffon velvet, plas
tic film
5C' mercerized cotton
'‘A" silk
Synthetic thread
Polyester core/cotton
Catalog
2020
(15x1)
11/80
I IViedium Weight—gingham, percale, pique,
linen* chintz, faille, satin, fine corduroy,
velvet, suitings, knits* deep-pile fabrics,
vinyl
50 mercerized cotton
SO cotton
“A'’ silk
Synthetic thread
Polyester core/cotton
Catalog
2020
(15x1)
Medium Heavy — gabardine, tweed, sail
cloth. denim, coatings, drapery fabrics,
vinyl, deep-pile fabrics
merce.nzed cotton
40 to 60 cotton
Synthetic thread
Catalog
2020
(15x1)
le/iool
I Heavy - overcoatings, dungaree* uphol
stery fabrics, canvas
Heavy-duty
mercerized cotton
24 to 40 cotton
Synthetic thread
Catalog
2020
(15x1)
118/110
Ail Weights - decorative top stitching
“D” silkf
(Suttonhole twist)
Catalog
2020
(15x1)
ilS/IIOi
Synthetic Knits and Stretch Fabrics --
polyester doubleknit nylon tricot, Jer
sey, spandex. ciré tricot, panne velvet
"A"' nylon
$0 mercerized cotton
‘"A" silk
Polyester core/cotton
Catalog i
2045 I ^
Ballpoint
(Yellow Band) ;
Leather - suede* kidskin. capeskin, lamb
skin, lined leathers
50 mercerized cotton
Synthetic thread
*’A'' silk
Polyester core/cotton
1
Catalog
2032
(15x2)
11/80
14/901
16/1001
fuse with 50 mercerized cotton or "A” slik in bobbin
IMPORTAHT: Your sewing machine has been designed to obtmn best results
with SINGER needles. You should follow the recommendations In this
instruction book and on the needle package for correct style and size of needle
for different types and weights of fabric.
Flat Side
of Needle
to Back
Remove
Replace
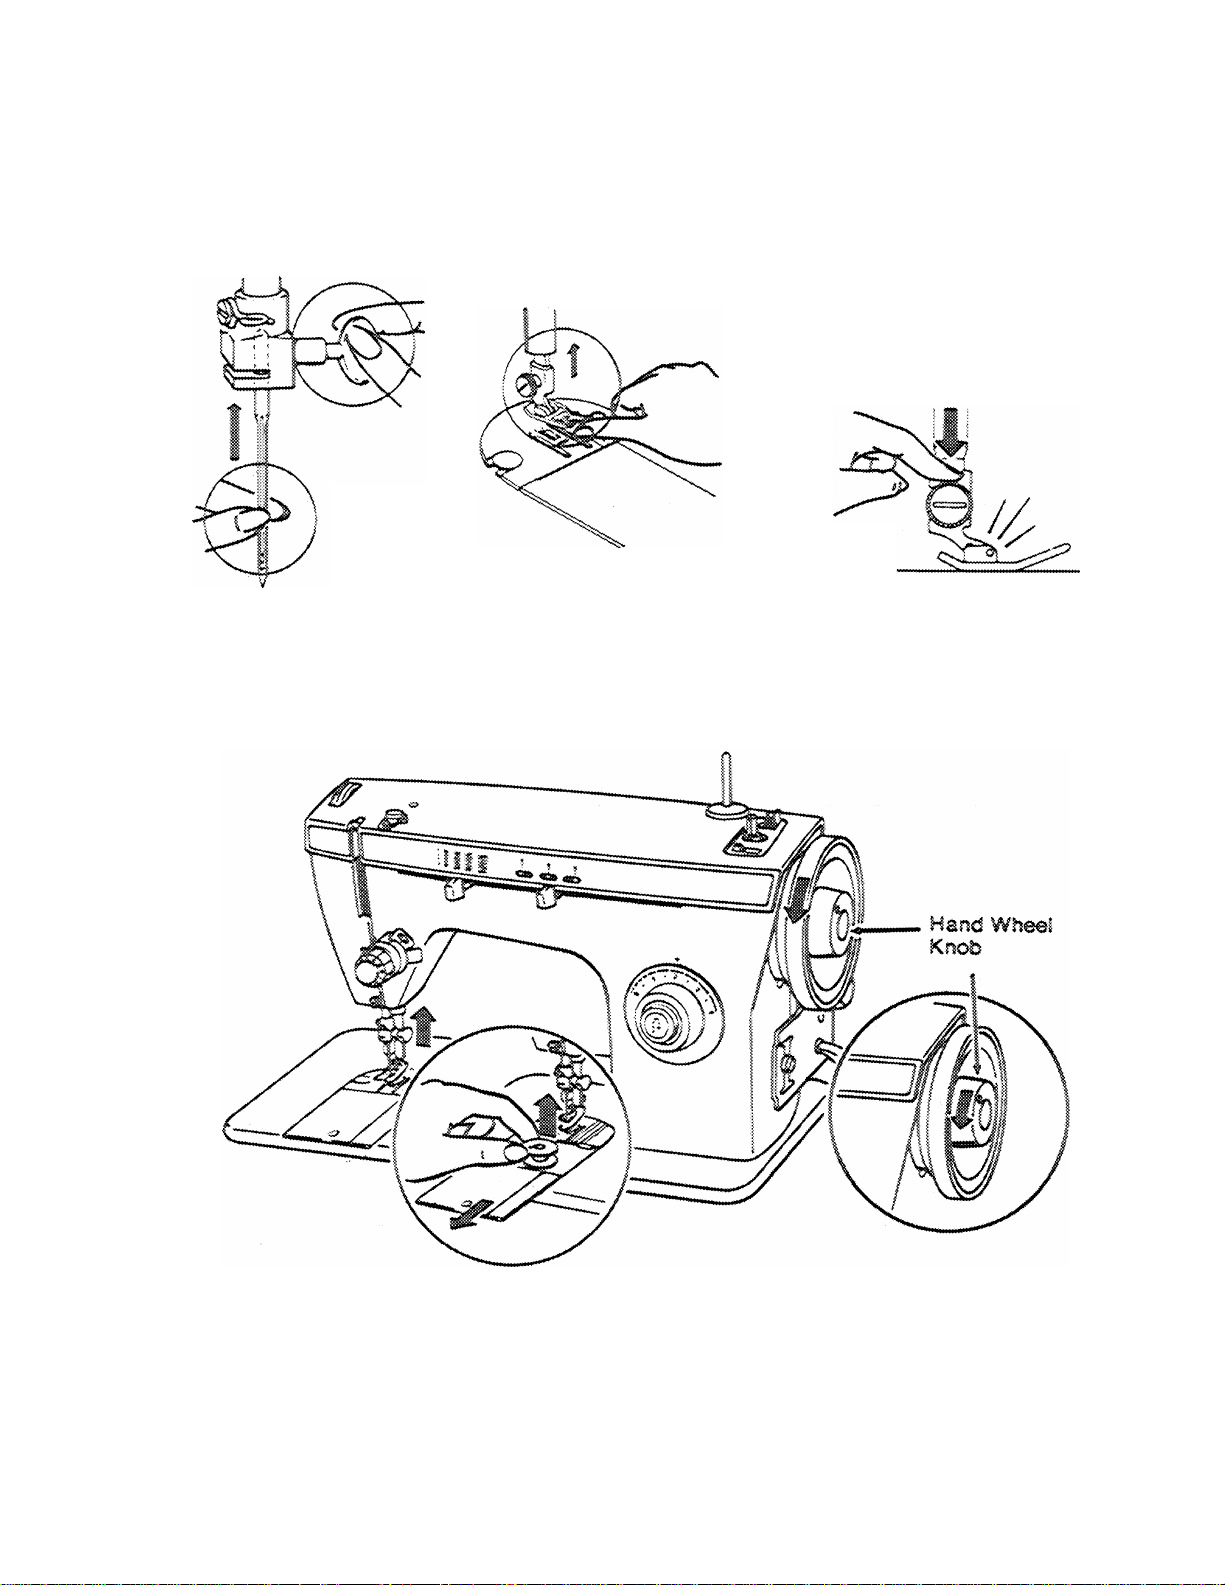
1. Raise presser foot and turn hand wheel toward you until needle is at Its highest point
2, Loosen hand wheel knob by turning it toward you with right hand while holding hand
wheel with left hand.
3. Open slide plate and lift out bobbin.
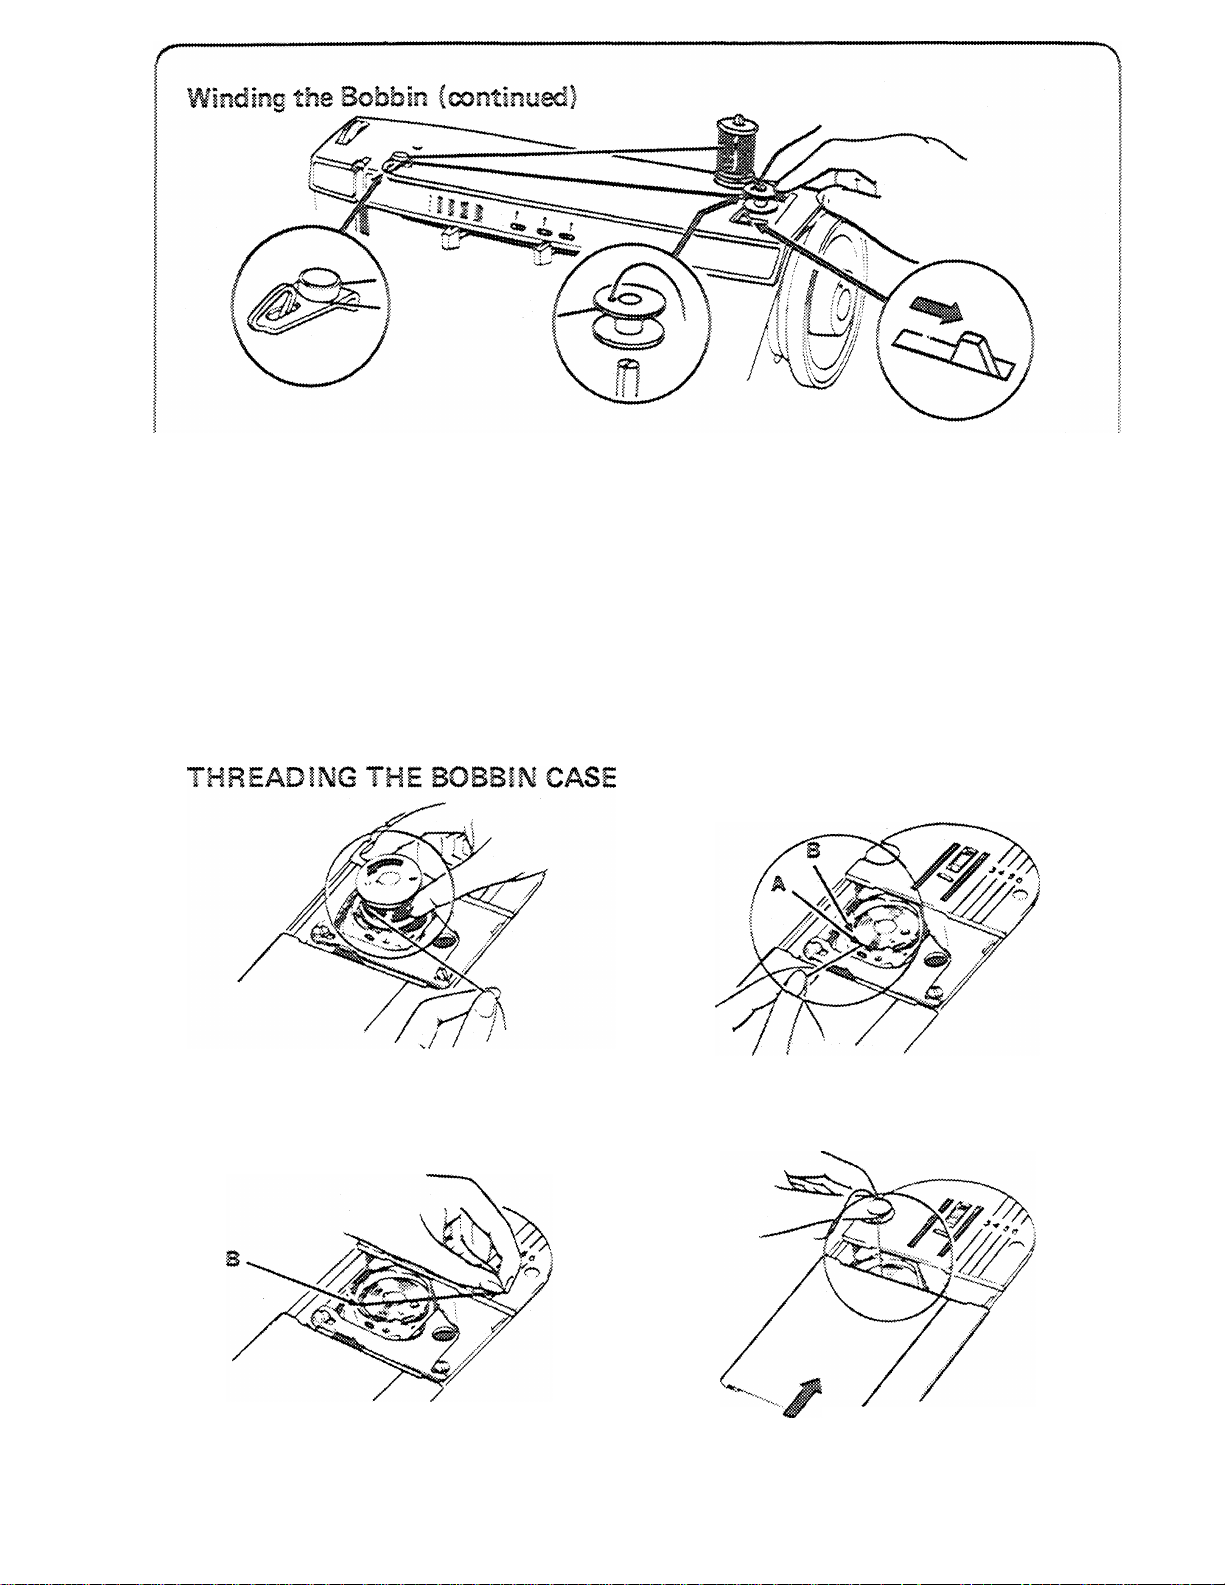
4. Place thread spool on spool pin over the
felt. Lead thread around bobbin winder 7.
tension disc and through small hole in
bobbin ffrom inside out).
5. Place bobbin on spindle and move bob-
bin-winder lever to right. B.
6. Hold thread end and start the machine.
Cut off thread end after a few coils have B.
been wound.
^Hhen required amount of thread has been
wound (winding will stop when bobbin is
full) stop machine and cut connecting
thread.
Move bobbin winder lever to the left and
remove bobbin.
Hold hand wheel and tighten hand wheel
knob.
I. Hold bobbin so that thread unwinds in
direction shown» and insert bobbin in
bobbin case.
2. Pull thread into notch A in bobbin case,
draw It toward left and into slot B.
3. Draw approximately four inches of
thread diagonally across the bobbin.
Close slide plate, allowing thread to ex
tend through the slot between the slide
plate and the needle plate.
 Loading...