

Page 1
DA-WS20
(For DP-2310/3010/3510/3520/4510/4520/6010/6020)
Operating Instructions
Software
Model No.
Before operating this software, please read these instructions completely and keep these operating instructions for future reference.
(For DD Server)
English
IntroductionGetting StartedHow to Save/Retrieve
Page 2

Introduction
Features
By installing the DD Server software in the server of a network, a document can be saved from
the digital imaging system to a server, or the document in a server can be retrieved from the
digital imaging system.
• This software installs in a network server. The digital imaging system requires registering the network server in
it's scanner address book. * see notes
NOTE: This requires the network scanning module to be installed on the digital imaging system. Please see
your authorized Panasonic representative for more information.
Saving Document
Retrieving Document
Cover Page
with DD Code
DD Code
DD code
Digital Imaging System 1
Document Data
Network
Cover Page with DD Code
Digital Imaging System 1
1
Document Data Code
Network Server
Network Server
Network
2
2
Document
3
Prints Document(s)
• The only compatible devices are DP-2310/3010/3510/3520/4510/4520/6010/6020.
• This function requires the Document Manager software from the Document Management System CD.
This CD is included with the digital imaging system.
Page 3

Table of Contents
Introduction
Features ................................................................................................................................ 2
Getting Started
Installing the DD Server Software ......................................................................................... 4
Uninstalling the DD Server Software .................................................................................... 8
Address Book (Adding a New Network Server) .................................................................... 9
Address Book (Editing the Address Book) .......................................................................... 13
Address Book (Erasing the Address Book) ......................................................................... 16
How to Save/Retrieve
Saving the Document..........................................................................................................17
Retrieving the Document .................................................................................................... 19
Introduction
3
Page 4
Getting Started
Installing the DD Server Software
This function requires the Document Manager software from the Document Management
System CD. This CD is included with the digital imaging system. Please be sure to have
this CD with your during the installation process.
The DD Server Software only runs on Windows NT 4.0 with IIS* 4.0 or Windows 2000/XP
with IIS* 5.0 installed. Please have this software installed first before continuing with the
installation of the DD Server software.
* For IIS recommended installation procedure, refer to the Windows documentation or the Microsoft Website.
• Select an appropriate time to install this software as it will require a reboot of the installation computer.
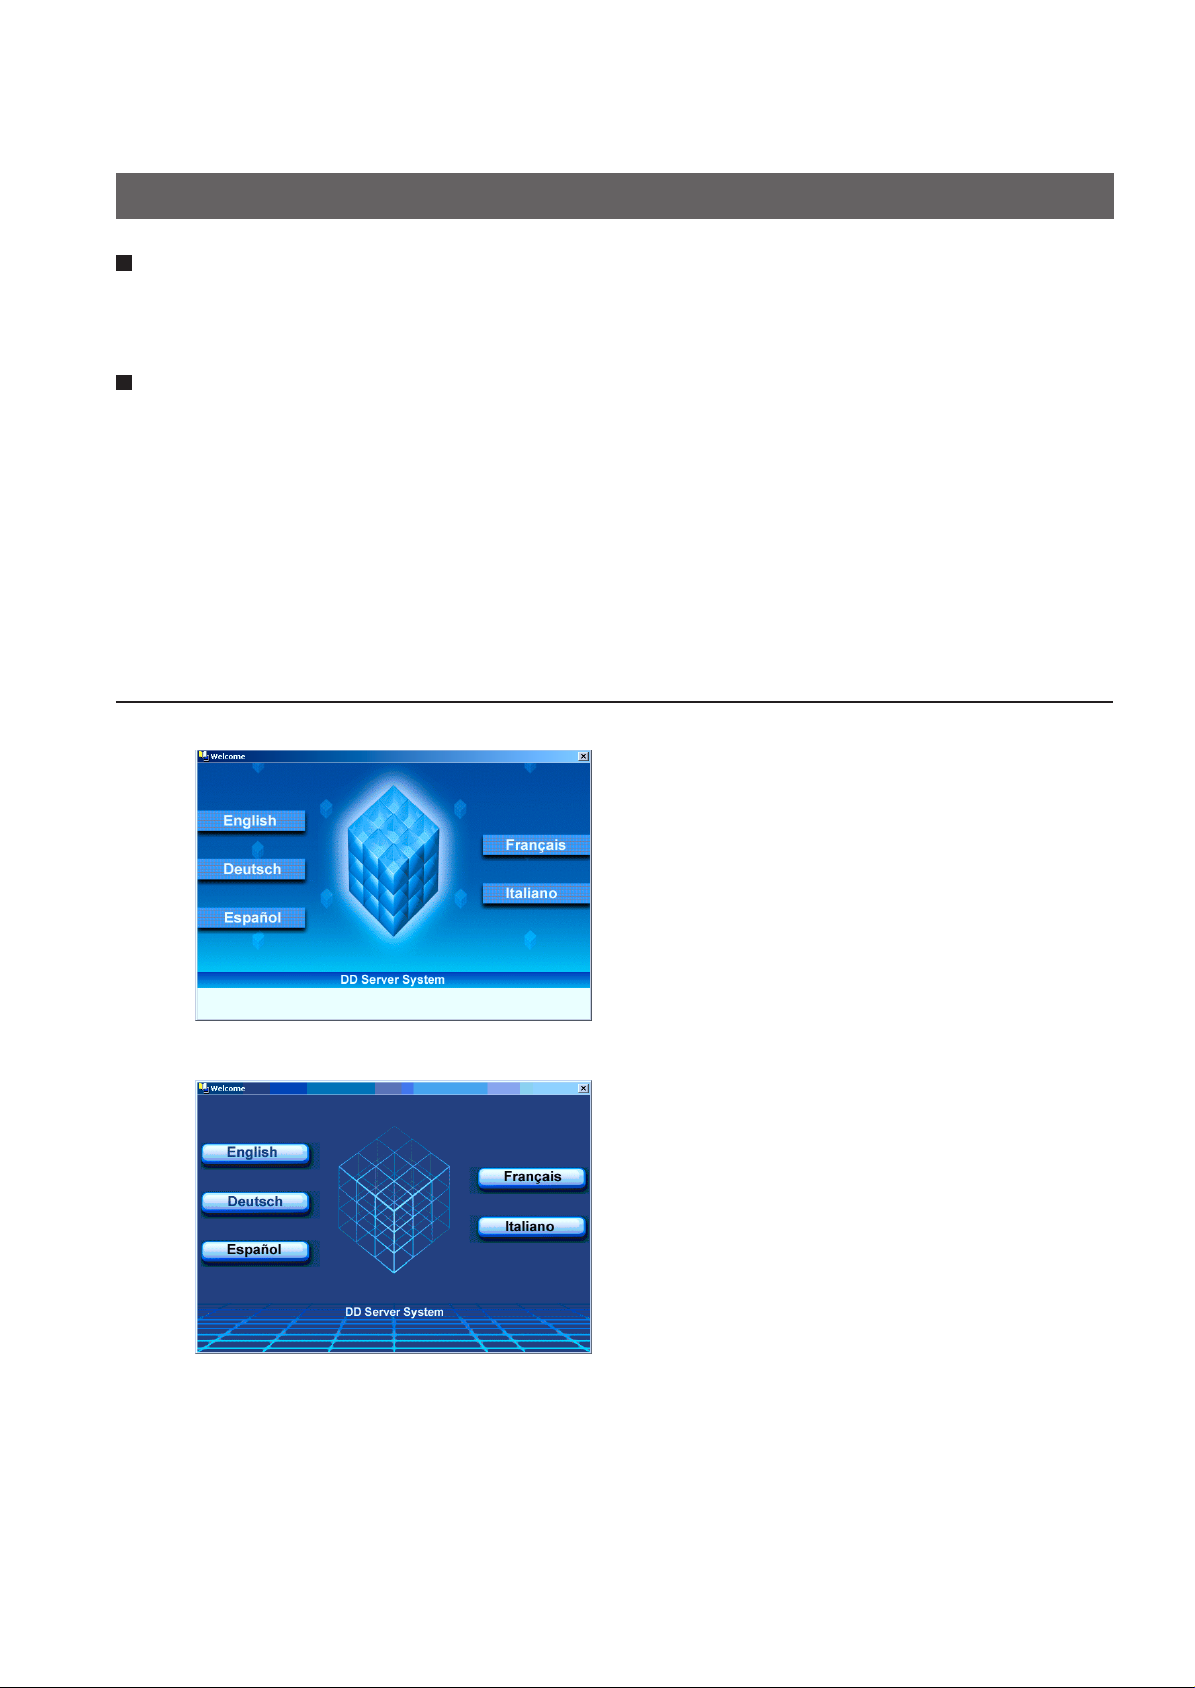
Insert the DD Server CD-ROM into the CD-ROM
1
2
For DP-3510/4510/6010
For DP-2310/3010/3520/4520/6020
drive.
Click English.
4
Page 5
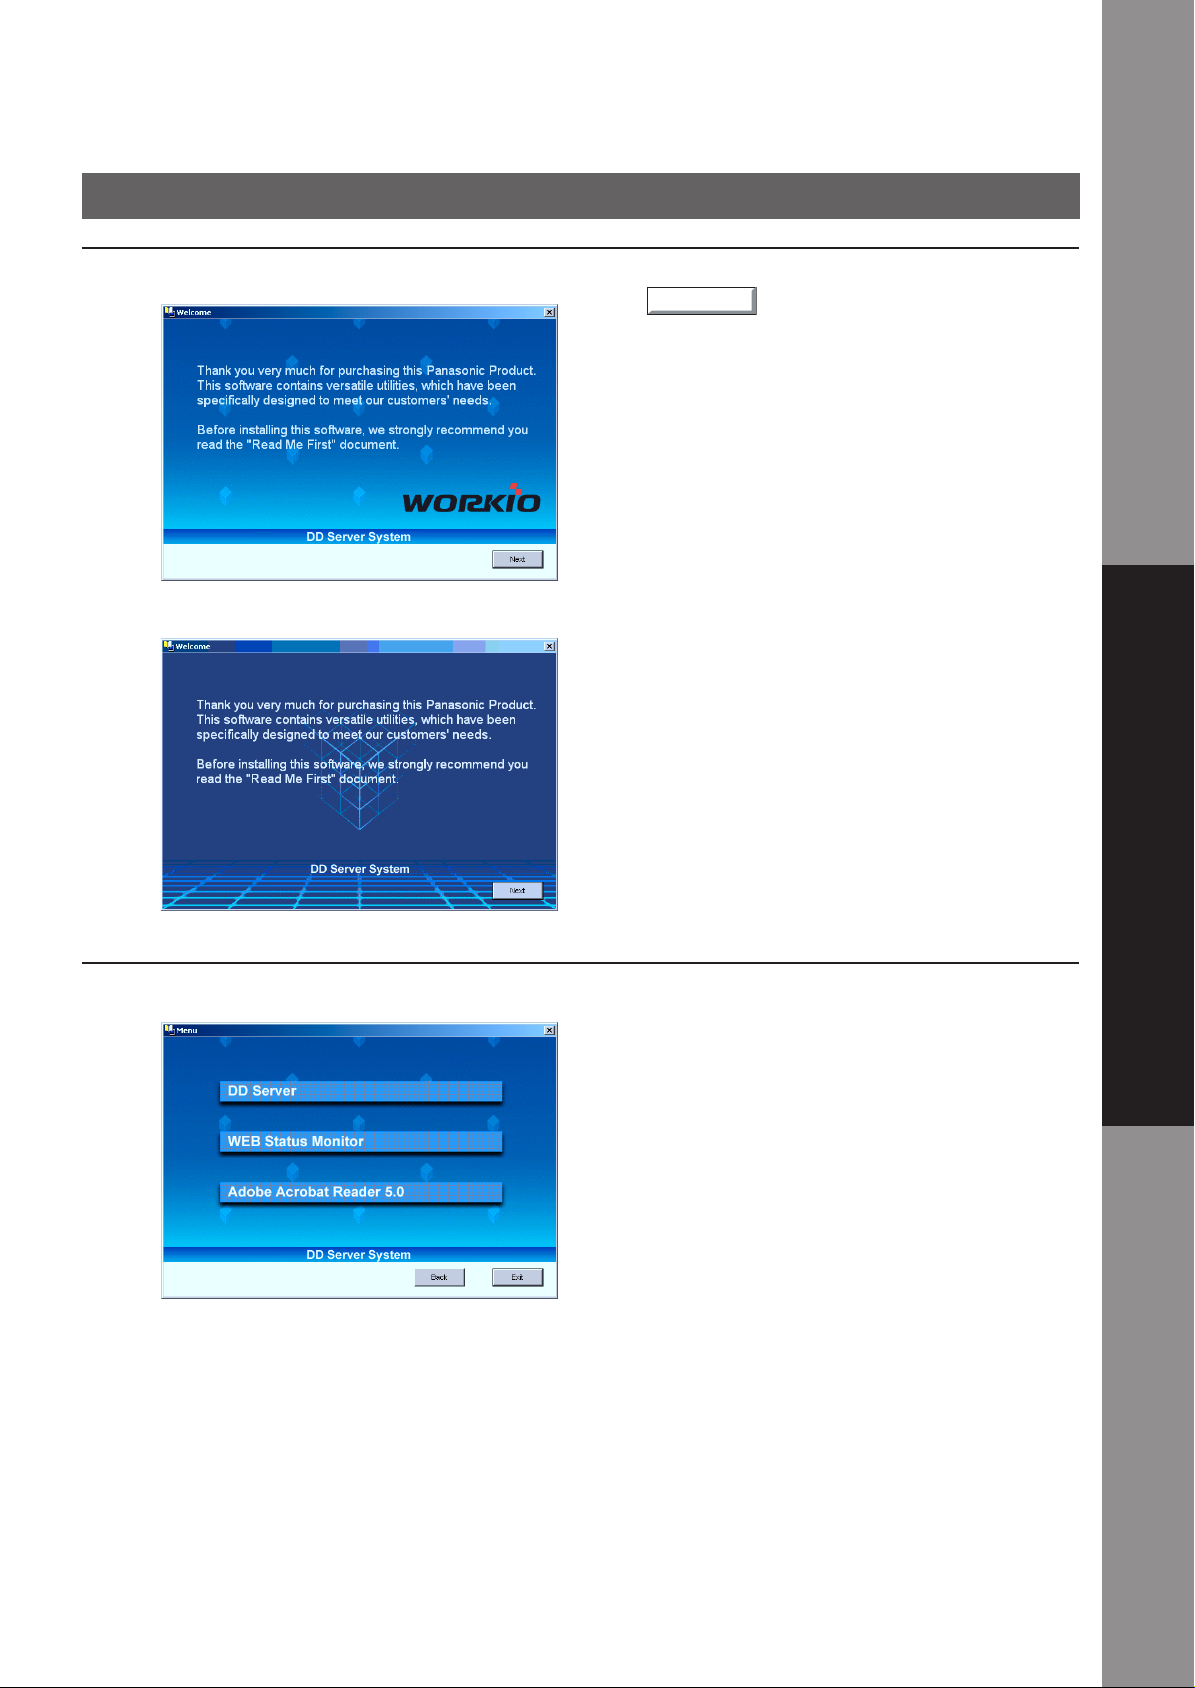
Next
Installing the DD Server Software
Getting Started
3
For DP-3510/4510/6010
For DP-2310/3010/3520/4520/6020
Click
.
4
Only for DP-3510/4510/6010
Getting Started
Click DD Server.
5
Page 6
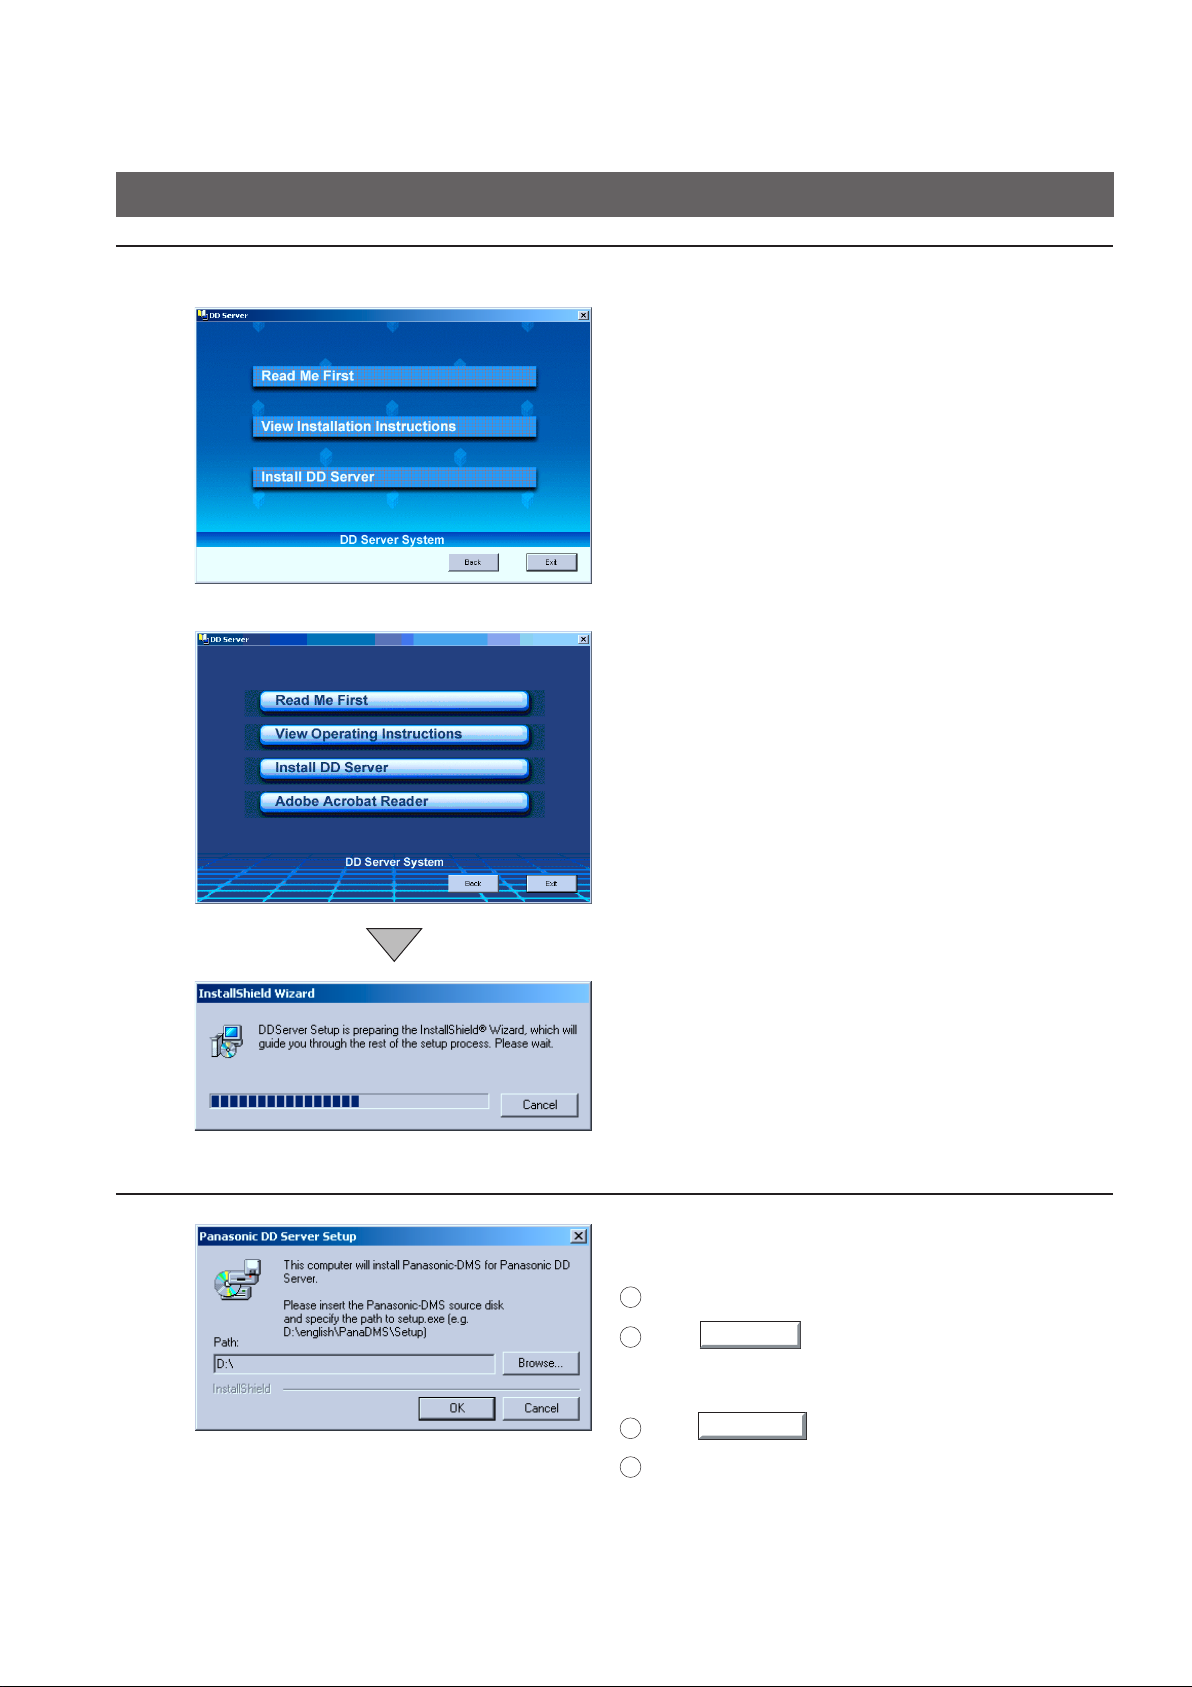
Getting Started
Browse
OK
Installing the DD Server Software
5
For DP-3510/4510/6010
For DP-2310/3010/3520/4520/6020
Click Install DD Server.
6
6
If Panasonic-DMS is not installed, the screen
on the left is displayed:
1
Insert the Panasonic-DMS CD into the CD-ROM drive.
2
Click
Ex: D:\english\PanaDMS\Setup
3
Click
4
Install the Panasonic-DMS software according to
installation screens.
and specify the path to setup.exe.
.
Page 7

Finish
Next
Next
Browse
Installing the DD Server Software
OK
7
Getting Started
1
After the Panasonic-DMS software installation has
finished, you will be prompted to re-install the DD
Server CD. Install the CD into the CD-ROM drive.
2
Click
Check the installation directory and click
.
8
9
.
• When changing the installation directory,
click and select the appropriate directory.
Upon returning to this screen, click .
The required files are copied.
Getting Started
10
When the setup process is completed, a
message is displayed prompting you to restart
your computer.
Click
to restart your computer.
7
Page 8

Change/Remove
Getting Started
Finish
Uninstalling the DD Server Software
When uninstalling the DD Server software, utilize the following procedures.
Click on Start, then Settings, then Control
1
2
Panel (For Windows XP, Click on Start, then
Control Panel).
Double Click Add/Remove Programs icon.
3
4
5
Select Panasonic DD Server then, click
.
Click OK to remove the application.
Click
You will be prompted to restart the computer. After it
reboots, the uninstall will be completed.
.
8
Page 9

Getting Started
Address Book (Adding a New Network Server)
Adding the address for the DD Server in the Address Book.
• Each DD Server requires two addresses to be registered. One each for saving and retrieving.
1
2
Function
1
For DP-3510/3520/4510/4520/6010/6020
2
For DP-2310/3010
2
Press the Function Key.
1
Touch the Scanner Settings button.
For DP-3510/3520/4510/4520/6010/6020
2
Scroll the menu using the " " button and
touch "05 Add New Address".
For DP-2310/3010
2
Scroll the menu using the " " button and
touch "06 Add New Address".
Getting Started
3
For DP-3510/4510/6010
For DP-2310/3010/3520/4520/6020
Enter the IP Address for the DD Server by
using the Keypad and then touch the OK
button.
Ex: 113.1.56.215
NOTE: For DP-3510/4510/6010
When entering a one or two digit address,
add "00" or "0" before that address.
For DP-2310/3010/3520/4520/6020
When entering a one or two digit address,
add "00" or "0" before that address, or enter
"*" after the address.
9
Page 10

Getting Started
Address Book (Adding a New Network Server)
Then enter the Name (Station Name) by using
4
the QWERTY keyboard and the touch the OK
button.
(Up to 15 characters)
Ex: Document Save or Docu. Retrieve
Button Name Function
CAPS Entering capital letters.
NUMERIC/ Entering the numerical and symbol marks.
SYMBOLS When you touch the NUMERIC/SYMBOLS button, the
Moving the cursor (_) to left or right side.
BACK SPACE Erasing the letter to the left of the cursor (_).
SPACE Entering a space.
OK Registration is completed.
CANCEL Registration is canceled.
1
symbols will be displayed.
2
Select the numeric or symbol mark(s) then touch the
CLOSE button.
Then enter the Key Name (up to 15 characters)
5
6
7
and touch the OK button.
By default, the Key Name will be up to 15 characters of
the station's name. If you do not want to change it, touch
the OK button.
If you want to assign this address into the
Favorite section, touch YES.
NOTE: The Address Book area is reduced by the
number of assigned Favorite stations.
Select DD and then touch the OK button.
10
Page 11

Address Book (Adding a New Network Server)
Enter the Account Name using the QWERTY
Getting Started
8
9
10
keyboard and then touch the OK button.
(Up to 60 characters)
Ex: sales
Enter the Password using the QWERTY
keyboard and then touch the OK button.
(Up to 60 characters)
Enter the Directory Name using the QWERTY
keyboard and then touch the OK button.
The Directory Name must be \ddserver.
Ex: \ddserver\sub01
11
12
Touch the OK button.
Getting Started
Do not change the default Port Number without your
Network Administrator's approval.
(Up to 65535, default is 21)
Select Save or Retrieve, then touch the OK
button.
• Save :When entering the Server Name for
Saving.
• Retrieve :When entering the Server Name for
Retrieving.
Note :A separate Address Book entry is required
for each process.
11
Page 12

Getting Started
Address Book (Adding a New Network Server)
Select YES then touch the OK button.
13
• If you select NO, the shortcut button (DD SAVE or
DD RETRIEVE) will not be added on the touch
panel display ( See pages 17 and 19). In order
to select the network server, touch the desired
server name on the address book.
12
Page 13

Address Book (Editing the Address Book)
If you have to change any of the Address Book entries.
Getting Started
1
2
Function
1
For DP-3510/3520/4510/4520/6010/6020
2
For DP-2310/3010
2
Press the Function Key.
1
Touch the Scanner Settings button.
For DP-3510/3520/4510/4520/6010/6020
2
Scroll the menu with the " " button then touch
"06 Edit Address Book".
For DP-2310/3010
2
Scroll the menu with the " " button then touch
"07 Edit Address Book".
Getting Started
3
4
For DP-3510/4510/6010
For DP-2310/3010/3520/4520/6020
Select the entry you wish to change.
Ex: Document Save
Then enter a new IP Address and touch the OK
button.
Ex: 113.1.56.220
NOTE: For DP-3510/4510/6010
When entering a one or two digit address,
add "00" or "0" before that address.
For DP-2310/3010/3520/4520/6020
When entering a one or two digit address,
add "00" or "0" before that address, or enter
"*" after the address.
13
Page 14

Getting Started
Address Book (Editing the Address Book)
Delete the current Name (Station Name) using
the Back Space button, enter a new server's
5
6
7
name, and touch the OK button.
Ex: Sales Server 01
Delete the current Key Name using the Back
Space button, enter a new Key Name, and touch
the OK button.
Ex: Document Save 1
If you want to assign this address into the
Favorite section, touch YES, otherwise touch
NO.
8
9
10
Then select a new selection, DD.
Delete the current Account Name using the Back
Space button, enter a new Account Name, and
touch the OK button.
Ex: Sales2
Delete the current Password using the Back
Space button, enter a new Password, and touch
the OK button.
Verify the Directory Name is set to \ddserver and
14
11
press OK.
The Directory Name must be \ddserver.
Ex: \ddserver\sub01
Page 15

Address Book (Editing the Address Book)
Touch the OK button.
Getting Started
12
13
14
Do not change the default Port Number without your
Network Administrator's approval.
(Up to 65535, default is 21)
Select Save or Retrieve, then touch the OK
button.
Touch the YES button and touch the OK
button.
• If you select NO, the shortcut button (DD SAVE or
DD RETRIEVE) will not be added on the touch
panel display ( See pages 17 and 19). In order
to select the network server, touch the desired
server name on the address book.
Getting Started
15
Page 16

Getting Started
Address Book (Erasing the Address Book)
If you have to delete any of the Address Book entries.
1
2
Function
1
For DP-3510/3520/4510/4520/6010/6020
2
For DP-2310/3010
Press the Function Key.
1
Touch the Scanner Settings button.
For DP-3510/3520/4510/4520/6010/6020
2
Scroll the menu with the " " button then touch
"07 Delete Address".
For DP-2310/3010
2
Scroll the menu with the " " button then touch
"08 Delete Address".
3
4
2
Enter the entry you wish to delete and touch the
OK button.
Ex: Document Save
Touch the YES button.
16
Page 17

How to Save/Retrieve
Saving the Document
When a document is scanned with a digital imaging system and saved to the Network
Server.
1234 5
Place the
original(s)
• Platen or
i-ADF (Up to 70)
Press the SCAN/
FILE Key
Touch the
DD SAVE
button
Select desired
MODE SETTINGS
Press START
• Cover Page will
print with the DD
Code.
3
4
Touch the Document Save or DD SAVE
button.
DD SAVE button
If the shortcut is not connected, select the desired DD
Server from the address book.
Select the desired MODE SETTINGS, if necessary.
1
4
5
6
When touching the
2-Sided Original button.
1
2
3
Resolution
2
Exposure
3
Original Mode
4
Compression
• JBIG should be selected.
5
SADF
• Use this setting to feed in thin originals or when
you want to feed more than 70 originals. Insert
the first batch, starting with page 1, and after all
originals feed, insert the next stack.
6
2-Sided Original
• Allows scanning of 2-sided originals to the same
file.
How to Save/Retrieve
17
Page 18

How to Save/Retrieve
Saving the Document
NOTE:
When selecting the "CoverPrint" parameter for the "Default.ini" file, you can select the cover
page style to print with or without the DD code.
(Default.ini File Path : "C:\Program Files\Panasonic\DDServer\Default.ini")
CoverPrint Parameter
0: Prints cover page without DD code
1: Prints cover page with DD code (default)
* When the Default.ini is changed, the PC should be restarted.
<Default.ini>
[DDServerInfo]
DDFolderSer=C:\Program Files\Panasonic\DDServer\DD Folder
WatchFolder=C:\Program Files\Panasonic\DDServer
WatchInterval=5
WatchFolderLimitDays=100
ErrorMovement=1
ErrorFolderMax=1000
SaveLog=1
ErrorLog=1
ErrorLogSize=1000
TraceLog=0
TraceLogSize=1000
CoverPrint=1
18
[DDConverterInfo]
DDFolderCnv=C:\Program Files\Panasonic\DDServer\DD Folder
MaxDocNumber=1000
TempFolder=Temp
[PrinterInfo]
PrinterName=DD Server Driver
DriverName=DD Server Driver
Page 19

How to Save/Retrieve
Retrieving the Document
When retrieving the saved document from the DD Server.
123 4
Place the Cover
Page with the
DD Code
Press the
SCAN/FILE
Key
Touch the DD
RETRIEVE
button
Press START
1
3
Position of the Cover Page
From i-ADF From Platen
DD Code (face up)
i-ADF Tray
Original Guides
Adjust to the original’s width
Touch the Docu. Retrieve or DD
RETRIEVE button
DD RETRIEVE button
If the shortcut is not connected, select the desired DD
Server from the Address Book.
Original Guide
DD Code (face down)
How to Save/Retrieve
19
Page 20

WARRANTY
PANASONIC DIGITAL DOCUMENT COMPANY MAKES NO WARRANTIES, GUARANTEES OR
REPRESENTATIONS, EXPRESSED OR IMPLIED, TO CUSTOMER WITH RESPECT TO THIS
PANASONIC MACHINE, INCLUDING BUT NOT LIMITED TO, ANY IMPLIED WARRANTY OF
MERCHANTABILITY OR FITNESS FOR A PARTICULAR PURPOSE.
PANASONIC DIGITAL DOCUMENT COMPANY ASSUMES NO RISK AND SHALL NOT BE SUBJECT
TO LIABILITY FOR ANY DAMAGE, INCLUDING, BUT NOT LIMITED TO DIRECT, INDIRECT, SPECIAL,
INCIDENTAL OR CONSEQUENTIAL DAMAGES OR LOSS OF PROFITS SUSTAINED BY THE
CUSTOMER IN CONNECTION WITH THE USE OR APPLICATION OF THIS PANASONIC MACHINE.
SEE YOUR DEALER FOR DETAILS OF DEALER'S WARRANTY.
Panasonic Digital Document Company
Unit of Matsushita Electric Corporation of America
Two Panasonic Way
Secaucus, New Jersey 07094
http://panasonic.co.jp/pcc/en/
DZSD002118-0
September 2003
Ko0903-0
Published in Japan
USA Only
Panasonic Canada Inc.
5770 Ambler Drive
Mississauga, Ontario L4W 2T3
Panasonic Communications Co., Ltd.
Fukuoka, Japan
http://www.panasonic.co.jp/global/
For Service, Call:
 Loading...