

Page 1

Nokia Customer Care
2112 (RH-57) Series Transceivers
Service Software Instructions
Issue 1 07/2004 Company Confidential ©2004 Nokia Corporation
Page 2

2112 (RH-57)
Service Software Instructions Nokia Customer Care
Contents Page
Phoenix User’s Guide ..................................................................................................................................... 3
Introduction ..................................................................................................................................................3
General Setup Procedure ........................................................................................................................ 3
Hardware Requirements for Using Phoenix...................................................................................... 4
Installing Phoenix ........................................................................................................................................4
Installation Instructions.......................................................................................................................... 5
Software Support Bundles ........................................................................................................................5
Starting a Phoenix Session ....................................................................................................................... 5
Concepts...................................................................................................................................................... 5
Initial Session with Phoenix .................................................................................................................. 6
Scanning for a Product ........................................................................................................................... 7
Using Components ................................................................................................................................... 7
Using Profiles ............................................................................................................................................. 8
Uninstalling Phoenix .................................................................................................................................. 8
Uninstalling a Phoenix Version ............................................................................................................. 8
Diego User’s Guide ......................................................................................................................................... 9
Introduction ..................................................................................................................................................9
General Setup Procedure ........................................................................................................................ 9
Hardware Requirements ...................................................................................................................... 10
Installing Diego ..........................................................................................................................................10
Installing................................................................................................................................................... 10
Software Support Bundles ......................................................................................................................11
Starting a Diego Session .........................................................................................................................11
Concepts................................................................................................................................................... 11
Initial Session with Diego and FLS-4S Dongle.............................................................................. 11
Scanning for a Product ........................................................................................................................ 13
Using Components ................................................................................................................................ 13
Uninstalling Diego .....................................................................................................................................14
Uninstalling a Diego Version .............................................................................................................. 14
Page 2 ©2004 Nokia Corporation Company Confidential Issue 1 07/2004
Page 3
2112 (RH-57)
Nokia Customer Care Service Software Instructions
Phoenix User’s Guide
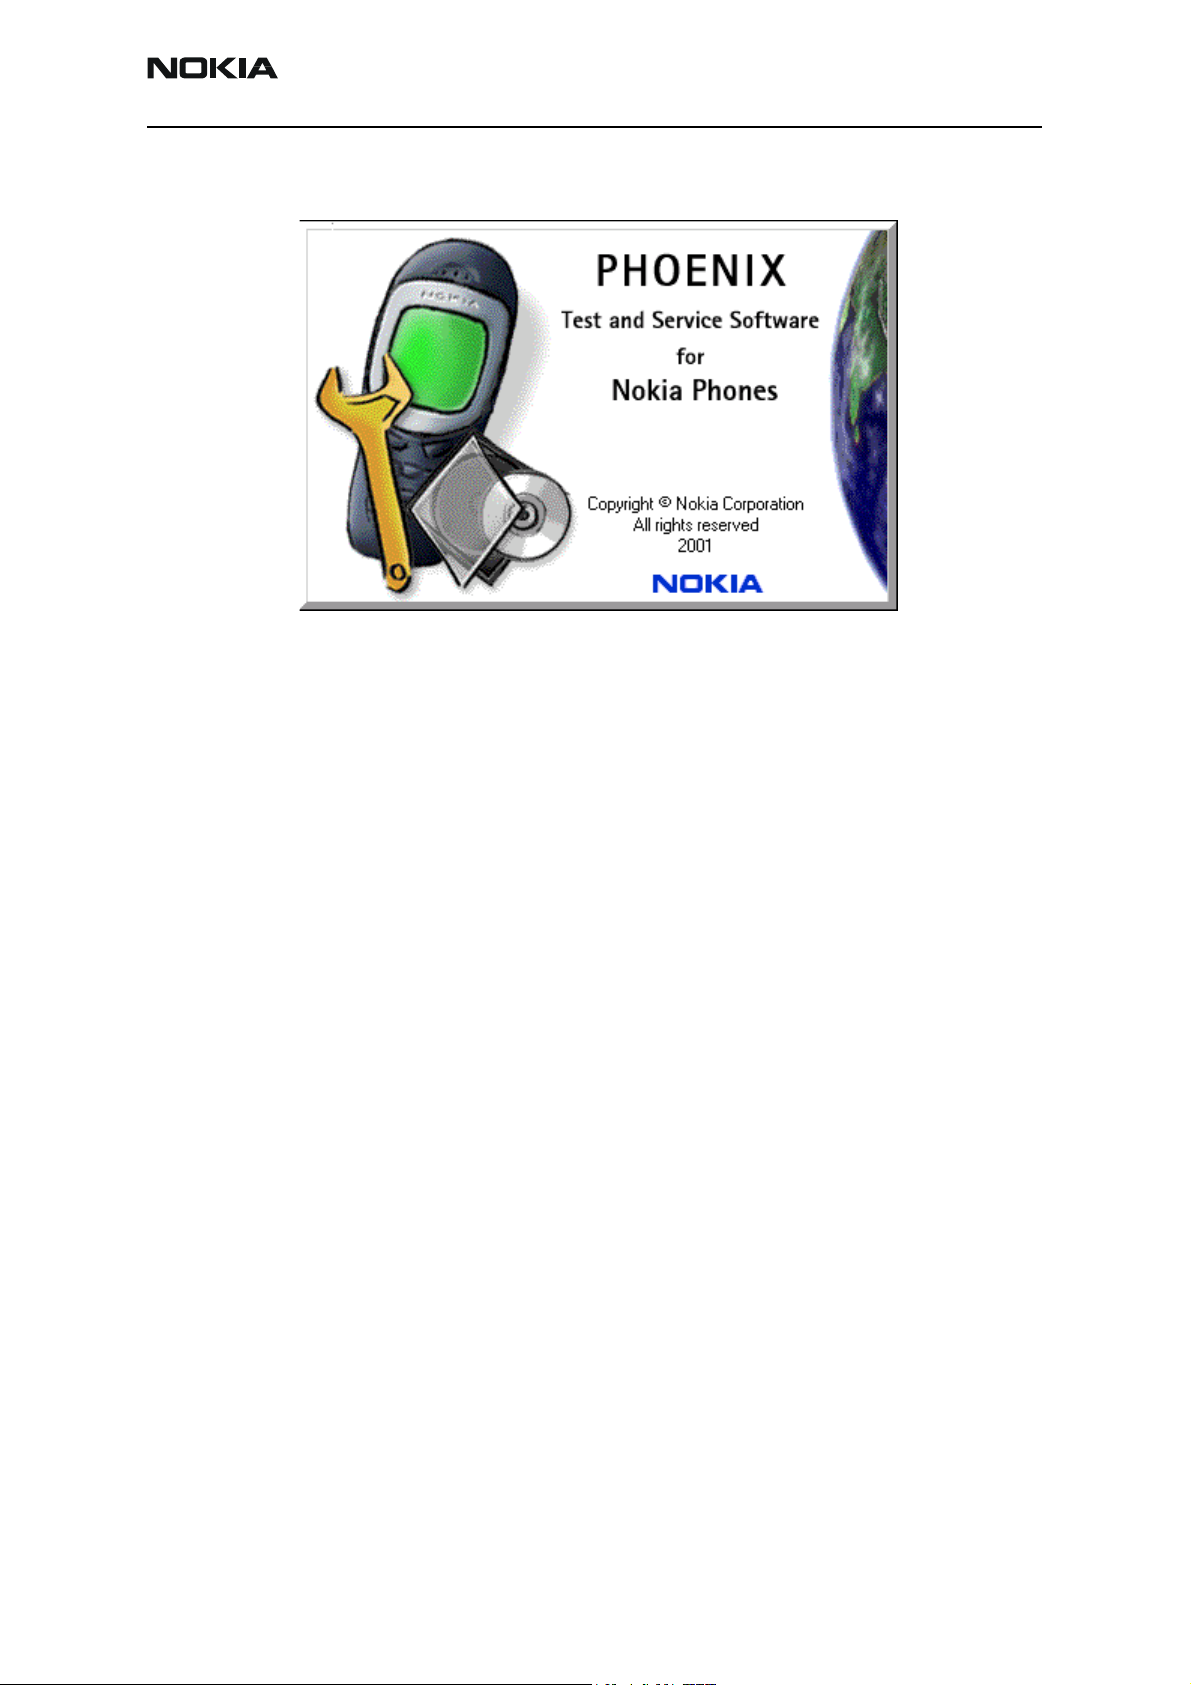
Figure 1: Phoenix introduction screen
Introduction
This section briefly describes how to install Phoenix and includes some basic information
on how to use the program. More detailed information can be found in the Phoenix Help
files. Each feature in Phoenix has its own Help file, which can be activated while running
Phoenix. To activate a Help file while Phoenix is running, press the F1 key or the specific
feature’s Help button.
General Setup Procedure
Initial installation of Phoenix requires the complete Phoenix installation package. This
package, around 30 Megabytes in size, is provided on a CD-ROM disk. Because of this
large size, it is not recommended to download the file nor is it practical to provide it on
3.5-inch floppy disks.
Initial installation of Phoenix requires the complete Phoenix installation package, which
is around 30 MB. Because of its large size, Diego is provided on a CD rather than on a
3.5" floppy or as a download. To install Phoenix, follow the steps as outlined in the
material that comes with the CD.
Note: You MUST have a Nokia dongle installed on the computer prior to beginning the software
installation.
The Phoenix software is packaged into an executable bundle that allows you to doubleclick the executable to access the automatic installation program. Standard installation
(i.e., selecting all of the default choices) is highly recommended. You may do a custom
installation and place Phoenix into a special location on your hard drive, but this is only
recommended for experienced users.
Issue 1 07/2004 ©2004 Nokia Corporation Company Confidential Page 3
Page 4
2112 (RH-57)
Service Software Instructions Nokia Customer Care
The installation process requires that you reboot the computer after installing the
software. Phoenix is not usable until a reboot is completed. After the reboot, the Phoenix
icon appears on the desktop. Double-click this icon to start the program.
Figure 2: Phoenix desktop icon
Hardware Requirements for Using Phoenix
Table 1: Minimum Hardware Requirements
Hardware Minimum Value
Processor 233 MHz
RAM1 64 MB
Disk space needed 50-100 MB
Installing Phoenix
Before installing the software, verify the following:
• The dongle is attached to the parallel port for PKD version dongles, or an FLS-4
version dongle is attached on either the parallel port or the USB port (if the
computer supports USB).
• Ensure that if the computer supports administrator rights (typically on Windows
NT and Windows 2000 installations) that access is enabled for the user
performing the Phoenix installation.
• If a previous version of Phoenix has been installed, it may be necessary to first
properly remove that program prior to installing the new version. If installation is
performed, be sure to reboot the computer prior to continuing. See the
"Uninstalling Phoenix" section for instructions on how to uninstall.
Table 2: Supported Operating System Information
Operating System Notes
Windows 98 SE only
Windows NT 4.0 No USB support
Windows 2000 Professional version
Page 4 ©2004 Nokia Corporation Company Confidential Issue 1 07/2004
Page 5
2112 (RH-57)
Nokia Customer Care Service Software Instructions
Installation Instructions
Use the following steps to install Phoenix:
1. Insert the CD into the computer.
2. Navigate to the CD-ROM drive, and double-click the Phoenix software package.
3. Follow the on-screen prompts.
4. Reboot the computer when the installation is complete.
Software Support Bundles
The Phoenix installation is auto-executable. You must obtain Software Support Bundles
to load software upgrade files to customer-specific phone models. These bundles are
created by Nokia Customer Care (CC) and made available by Nokia After Market Services
(AMS) on the Partners Web Page http://americas.partners.nokia.com. This web page is
password-controlled; if you have not registered as a user, contact Nokia Central Service
in Melbourne, Florida.
Similar to the Phoenix installation, these Software Support Bundles are InstallShield
executable packages. Double-click on the package and it will install automatically.
No rebooting of the computer is required.
Starting a Phoenix Session
Concepts
When referring to Phoenix, Product is the cellular phone attached to the computer. More
specifically, it is the particular type of phone.
Connection is the type of cable used to attach the phone and the port on the computer
where it is attached. Refer to the Service Tools chapter for additional information.
The first time Phoenix is used, certain connection configurations must be made.
Subsequent uses will rely on these selections and they will not need to be made again.
Issue 1 07/2004 ©2004 Nokia Corporation Company Confidential Page 5
Page 6

2112 (RH-57)
Service Software Instructions Nokia Customer Care
Initial Session with Phoenix
It is necessary to create a connection the first time you use Phoenix. Use the following
steps to create a connection:
1. Open the File menu and select Manage Connections.
Figure 3: File Menu with the Manage Connections option
2. Click Add to create a new connection.
Figure 4: Manage Connections dialog box
Page 6 ©2004 Nokia Corporation Company Confidential Issue 1 07/2004
Page 7

2112 (RH-57)
Nokia Customer Care Service Software Instructions
3. Choose one of the following on the Select mode dialog box:
• Select Wizard, which allows Phoenix to auto-detect your connection
configuration.
• Select Manual, which allows you to manually select options to create the
connection.
4. Once a connection is defined, make sure that the connection you want to use
appears at the top of the list. If it does not, use the up and down arrows on the
Manage Connections dialog box to move the connection to the top, and click
Apply.
5. Close the window when you are finished.
You can now proceed with the normal initiation of a session by selecting a
product or scanning for a product.
Scanning for a Product
Many features of this program are product-specific. Therefore it is necessary to configure
Phoenix for the product on which you will be working at the beginning of the session.
Choose Scan Product from the drop-down menu list and Phoenix automatically scans
for the product and selects the necessary configurations. The status bar at the bottom
indicates if the product was found and its type.
Using Components
When working with Phoenix, tasks are generally managed by specific software
components. From the menu, select the desired component or task to be performed.
Figure 5: Select Mode dialog box
“Opening a component” is defined as opening a tool window within Phoenix. When this
window is opened, Phoenix also opens a toolbar for it and adds component-specific
menu items in the Window menu.
Issue 1 07/2004 ©2004 Nokia Corporation Company Confidential Page 7
Page 8

2112 (RH-57)
Service Software Instructions Nokia Customer Care
Using Profiles
Phoenix’s Profile feature allows product, connection, and currently open components to
be stored into permanent storage by creating a profile file with a name of your choice
followed by an .nmp file extension for later retrieval.
Saved profiles makes it easy to configure Phoenix into a desired configuration with
favorite windows already opened and ready to go.
Opening and saving profiles is done via the Open Profile and Save Profile options in the
File menu.
Profiles are stored into a disk file with user-defined names. As a result, there can be
multiple profiles for different repeated tasks or user preferences.
Uninstalling Phoenix
As mentioned in the "Installing Phoenix" section, it may be necessary or desirable to
remove Phoenix. Care must be taken to follow this procedure. Failure to remove the
program properly causes misconfiguration of the computer’s registry.
Uninstalling a Phoenix Version
Use the following steps to uninstall a version of Phoenix:
1. Navigate to the computer's Control Panel, which is accessible from clicking the
Start button or by double-clicking the “My Computer” desktop icon.
2. Double-click the “Add/Remove Programs” icon.
3. Select the Phoenix version that you want to remove, and click Add/Remove.
4. Click OK to begin the removal process.
5. Follow the on-screen instructions.
6. When the removal is complete, reboot the computer.
Page 8 ©2004 Nokia Corporation Company Confidential Issue 1 07/2004
Page 9
2112 (RH-57)
Nokia Customer Care Service Software Instructions
Diego User’s Guide
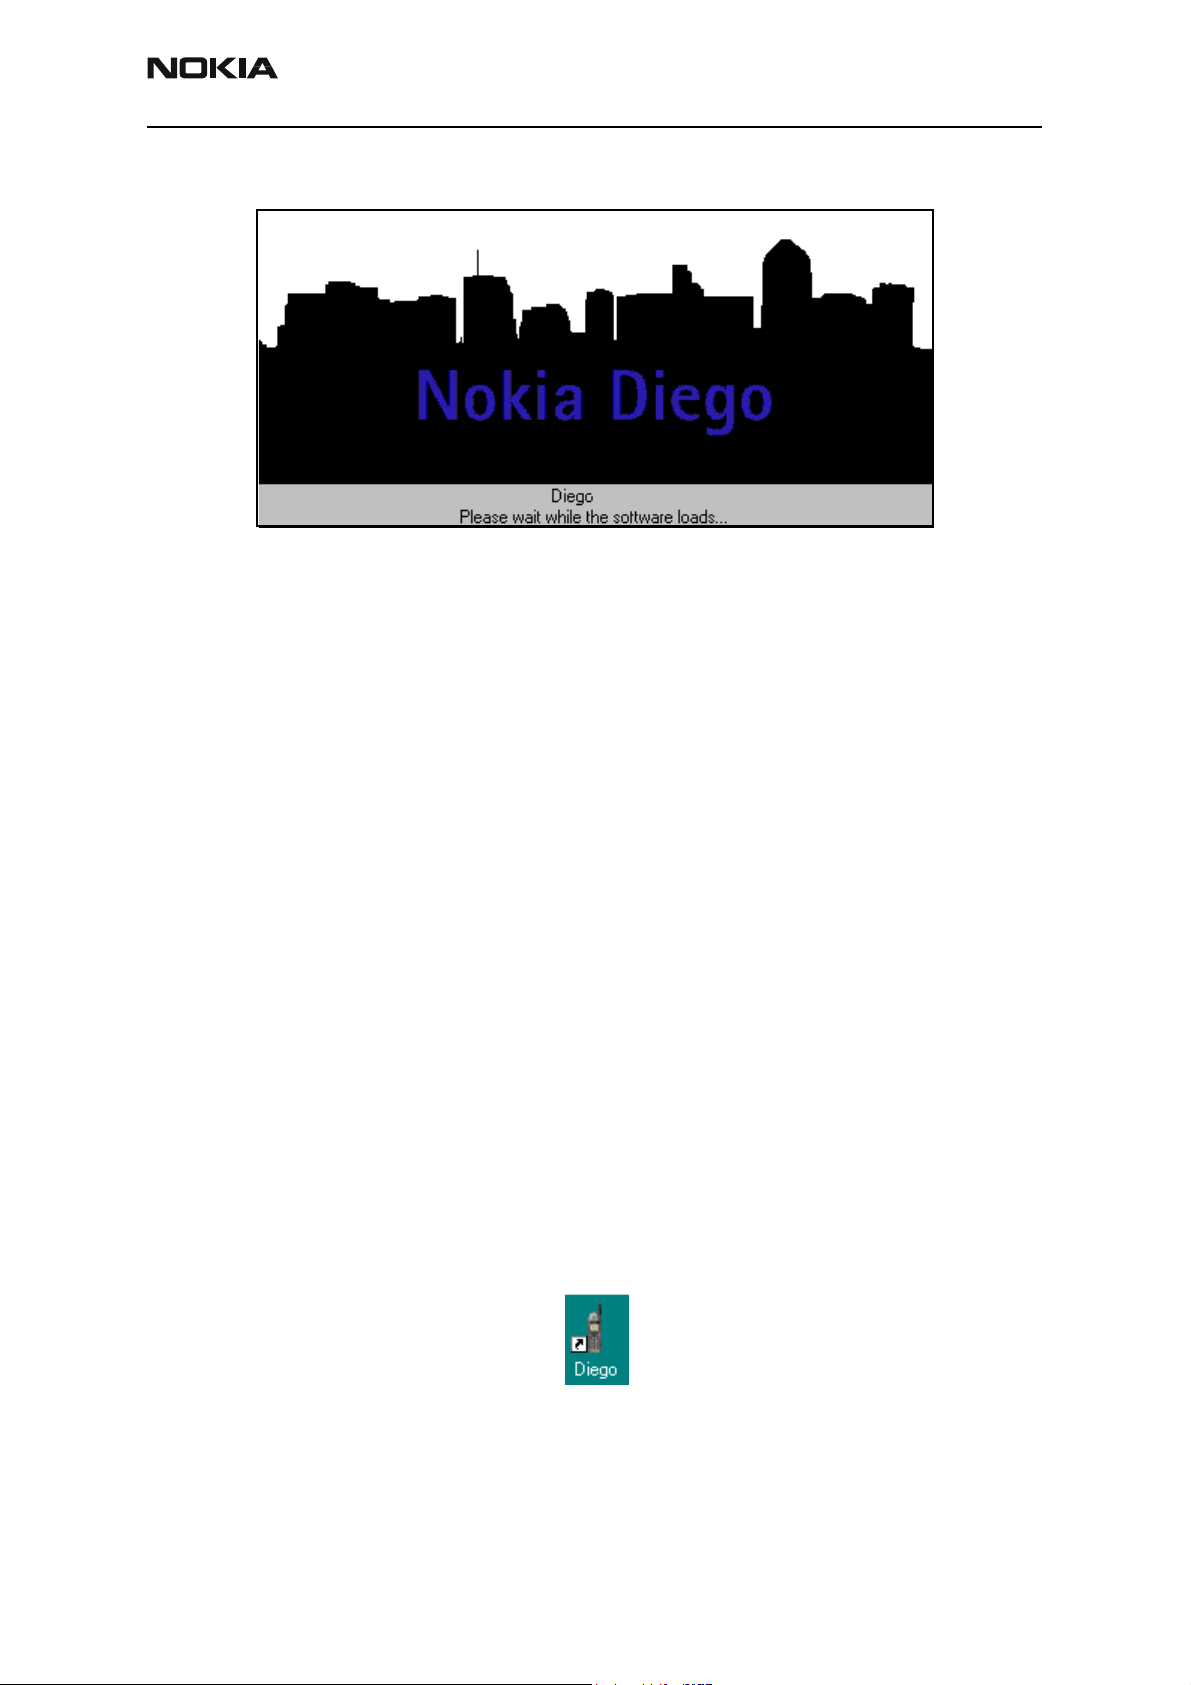
Figure 6: Diego introduction screen
Introduction
Diego was designed as an easy to use, minimal decision-making application for point of
sale locations. This section briefly describes how to install Diego and includes some basic
information about how to use the program. See the Diego Help files for more detailed
information. To activate a Help file while Diego is running, either press the F1 key or click
the specific feature's Help button.
General Setup Procedure
Initial installation of Diego requires the complete Diego installation package, which is
around 18 MB. Because of its large size, Diego is provided on a CD rather than on a 3.5"
floppy or as a download. To install Diego, follow the steps as outlined in the material that
comes with the CD.
Note: You MUST have a Nokia dongle installed on the computer prior to beginning the software
installation.
The Diego software is packaged into an executable bundle that allows you to doubleclick the executable to access the automatic installation program. Standard installation
(i.e., selecting all of the default choices) is highly recommended. You may do a custom
installation and place Diego into a special location on your hard drive, but this is only
recommended for experienced users.
The installation process requires that you reboot the computer after installing the
software. Diego is not usable until a reboot is completed. After the reboot, the Diego icon
appears on the desktop. Double-click this Icon to start the program.
Figure 7: Diego desktop icon
Issue 1 07/2004 ©2004 Nokia Corporation Company Confidential Page 9
Page 10

2112 (RH-57)
Service Software Instructions Nokia Customer Care
Hardware Requirements
Table 3: Minimum Hardware Requirements
Hardware Minimum Value
Processor 233 MHz
RAM1 64 MB
Disk space needed 50-100 MB
Table 4: Supported Operating System Information
Operating System Notes
Windows 98 SE only
Windows NT 4.0 No USB support
Windows 2000 Professional version
Installing Diego
Be sure to check the following items before installing Diego:
• An FLS-4 version dongle is attached to either the parallel port or the USB port
(if the computer supports USB). An FLS-2D may be used; however, the FLS-2D
does not support the new generation DCT-4 version phones.
• If the computer supports administrator rights (typically on NT and Windows 2000
installations), ensure that access is enabled for the user performing the
installation.
• If a previous version of Diego has been installed, remove that program prior to
installing the new version. Once removal is performed, be sure to reboot the
computer prior to continuing. (See the "Uninstalling Diego" section for
instructions on how to uninstall.)
Installing
Use the following steps to install Diego:
1. Insert the CD into the computer.
2. Navigate to the CD-ROM drive, and double-click the Diego software package.
3. Follow the on-screen prompts.
4. Reboot the computer when the installation is complete.
Page 10 ©2004 Nokia Corporation Company Confidential Issue 1 07/2004
Page 11

2112 (RH-57)
Nokia Customer Care Service Software Instructions
Software Support Bundles
The Diego installation program is a generic software load. In order to support specific
custom transceivers (customer-specific phone models), it is necessary to also obtain
Software Support Bundles. These bundles are created by Nokia Customer Care (CC) and
made available by Nokia After Market Services (AMS) for the Americas region on the
Partners Web Page (http://americas.partners.nokia.com). This Web page is password
controlled. Contact Nokia Central Service in Melbourne, Florida, if you have not
registered as a user.
Similar to the Diego installation, these bundles are executables. Double-click the
executable file to automatically install the bundle. No re-booting of the computer is
necessary.
Starting a Diego Session
Concepts
When referring to Diego, product is the cellular phone attached to the computer. More
specifically, product refers to the particular type of phone.
Connection is the type of cable used to attach the phone to the computer, and also
includes the port to which the cable is attached.
The first time Diego is used, certain connection configurations must be made.
Subsequent uses rely on these selections and do not need to be made again.
Initial Session with Diego and FLS-4S Dongle
You must configure the Virtual Port Connection in Diego the first time Diego is launched.
The FLS-4 dongle uses virtual port, which eliminates the need to use the serial port
(as the FLS-2D does). During the installation of the FLS-4 drivers (included in the Diego
installation package), a virtual COM port is set to the next available COM port number.
This port selection must be put into the Diego configuration.
Issue 1 07/2004 ©2004 Nokia Corporation Company Confidential Page 11
Page 12

2112 (RH-57)
Service Software Instructions Nokia Customer Care
Use the following steps to select a port:
1. Select “My Computer” desktop icon, and click the “FLS Virtual Port” icon.
Figure 8: The FLS Virtual Port icon
2. Make note of the value in the Virtual Port Assignment field (COM 2 in this
example).
3. Click Add to create a new connection.
Figure 9: diego - Phone Settings dialog box
Note: COM port settings can only be entered or changed if the auto-connection feature of
Diego is disabled (as indicated in the grey Status box). To disable the auto-connect feature,
click on this icon in the toolbar.
Page 12 ©2004 Nokia Corporation Company Confidential Issue 1 07/2004
Page 13

2112 (RH-57)
Nokia Customer Care Service Software Instructions
4. Select the Virtual COM port setting.
5. Click Apply.
6. You can now proceed with the normal initiation of a session.
Scanning for a Product
Many features of this program are product specific. Therefore, it is necessary to
configure Diego at the beginning of the session for the product on which you will be
working.
Scanning of the product can be done manually or automatically. The default setting is
automatic scanning. In automatic scan mode, Diego automatically scans for a product at
a periodic rate. The default rate is every 5 seconds, but you can change to a different
frequency in the setup menu.
You can change the scan setting to manual scanning on the General tab on the Settings
dialog box. To manually scan for a product, click the “Connect” icon.
Using Components
When working with Diego, tasks are generally managed by specific software
components. Select the desired component or "task" to be performed from the icons
displayed in the pane on the left side of the window.
Figure 10: Serial Port tab on the Settings dialog box
Opening a component refers to opening a tool window within Diego. When this window
is opened, Diego also opens a task box, which includes component-specific menu items.
Issue 1 07/2004 ©2004 Nokia Corporation Company Confidential Page 13
Page 14

2112 (RH-57)
Service Software Instructions Nokia Customer Care
Uninstalling Diego
As mentioned in the "Installing Diego" section, it may be necessary to remove a previous
version of Diego. Follow the uninstall procedure with care.
Note: Failure to remove the program properly causes a misconfiguration of the computer's registry.
Uninstalling a Diego Version
Use the following steps to uninstall a previous version of Diego:
1. Navigate to the computer's Control Panel, which is accessible from clicking the
Start button or by double-clicking the “My Computer” desktop icon.
2. Double-click the “Add/Remove Programs” icon.
3. Select the Diego version that you want to remove, and click Add/Remove.
4. Click OK to begin the removal process.
5. Follow the on-screen instructions.
6. When the removal is complete, reboot the computer.
Page 14 ©2004 Nokia Corporation Company Confidential Issue 1 07/2004
 Loading...