


911.95469
Kenmore 911.95469, 911.95465, 911.95459, 911.95455, 911.95361 User Manual
...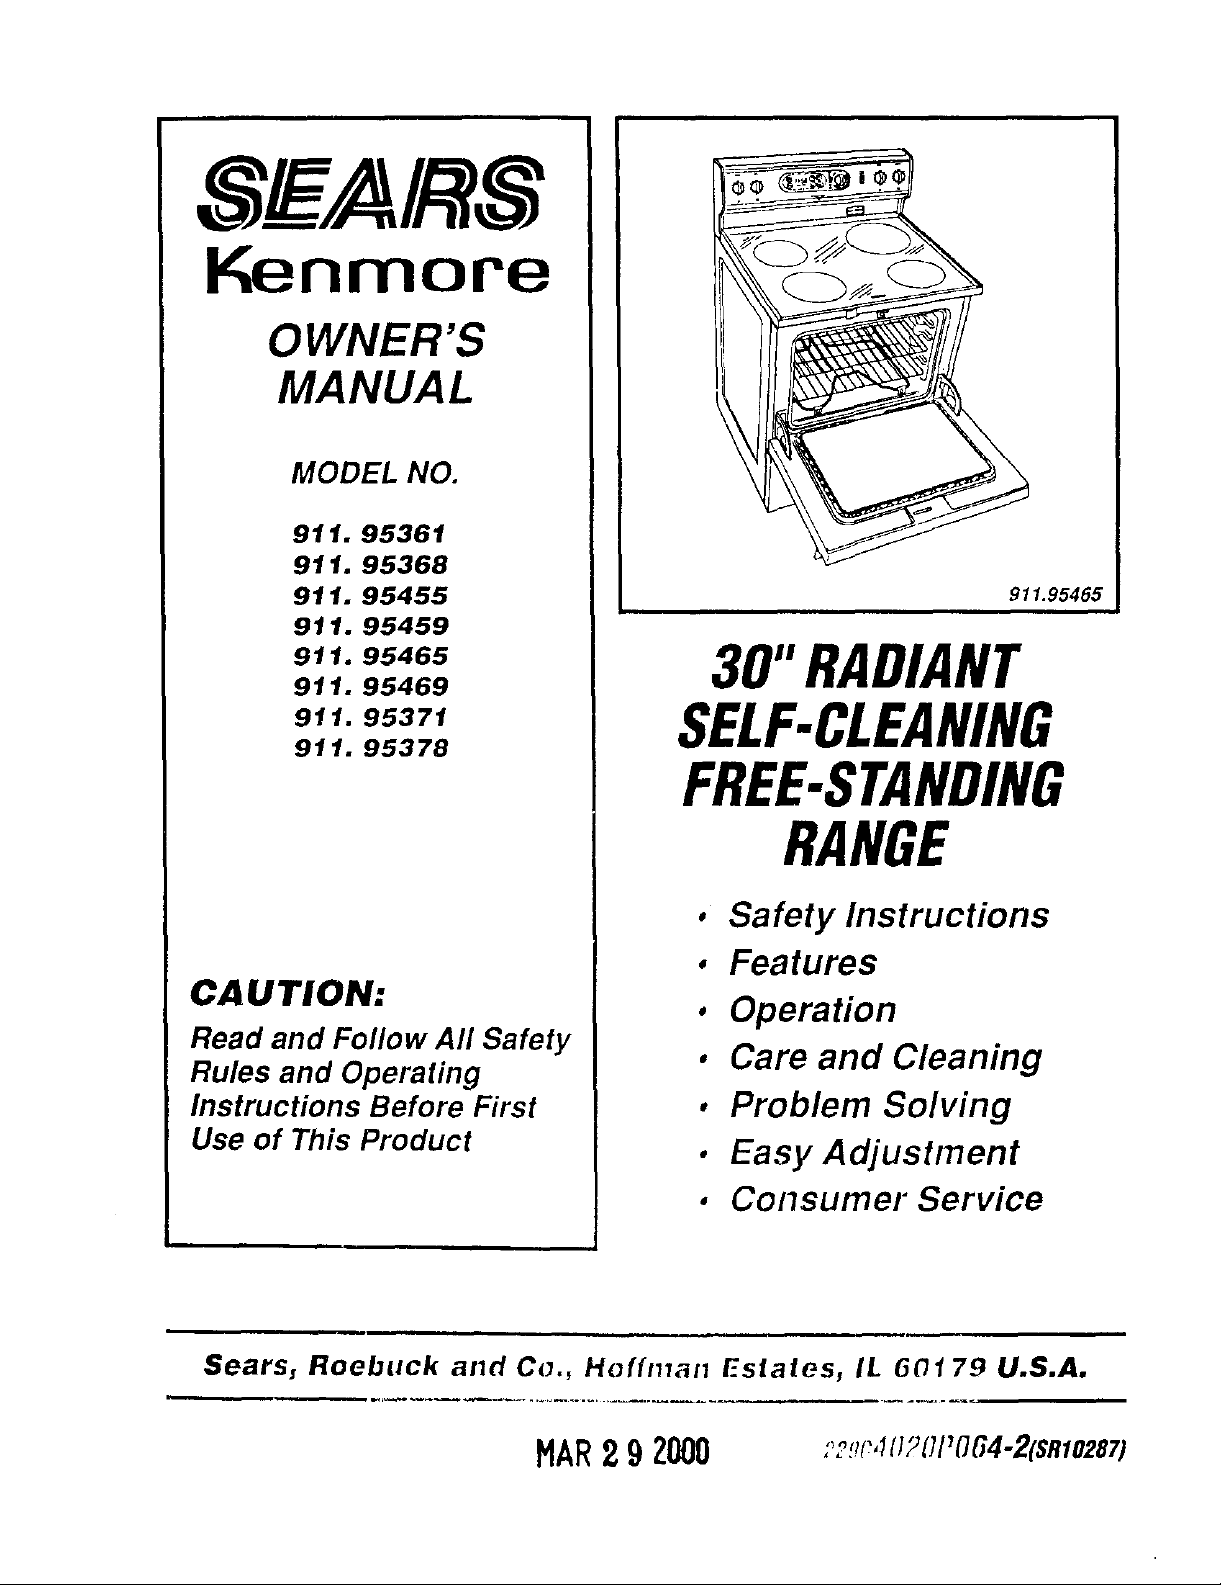
SEARS
Kenmore
OWNER'S
MANUAL
MODEL NO.
911.95361
911.95368
911. 95455
911.95459
911,95465
911.95469
911.95371
911.95378
911.95465
30"RADIANT
SELF-CLEANING
FREE-STANDING
RANGE
• Safety Instructions
• Features
CAUTION:
• Operation
Read and Follow All Safety
Rules and Operating
Instructions Before First
Use of This Product
Sears, Roebuck alld Co., Hoffman Esfales, IL 60t 79 U.S.A.
• Care and Cleaning
• Problem Solving
• Easy Adjustment
• Consumer Service
MAR292000 "2'_r'l(l?lll_(lG4-2($RI0287)
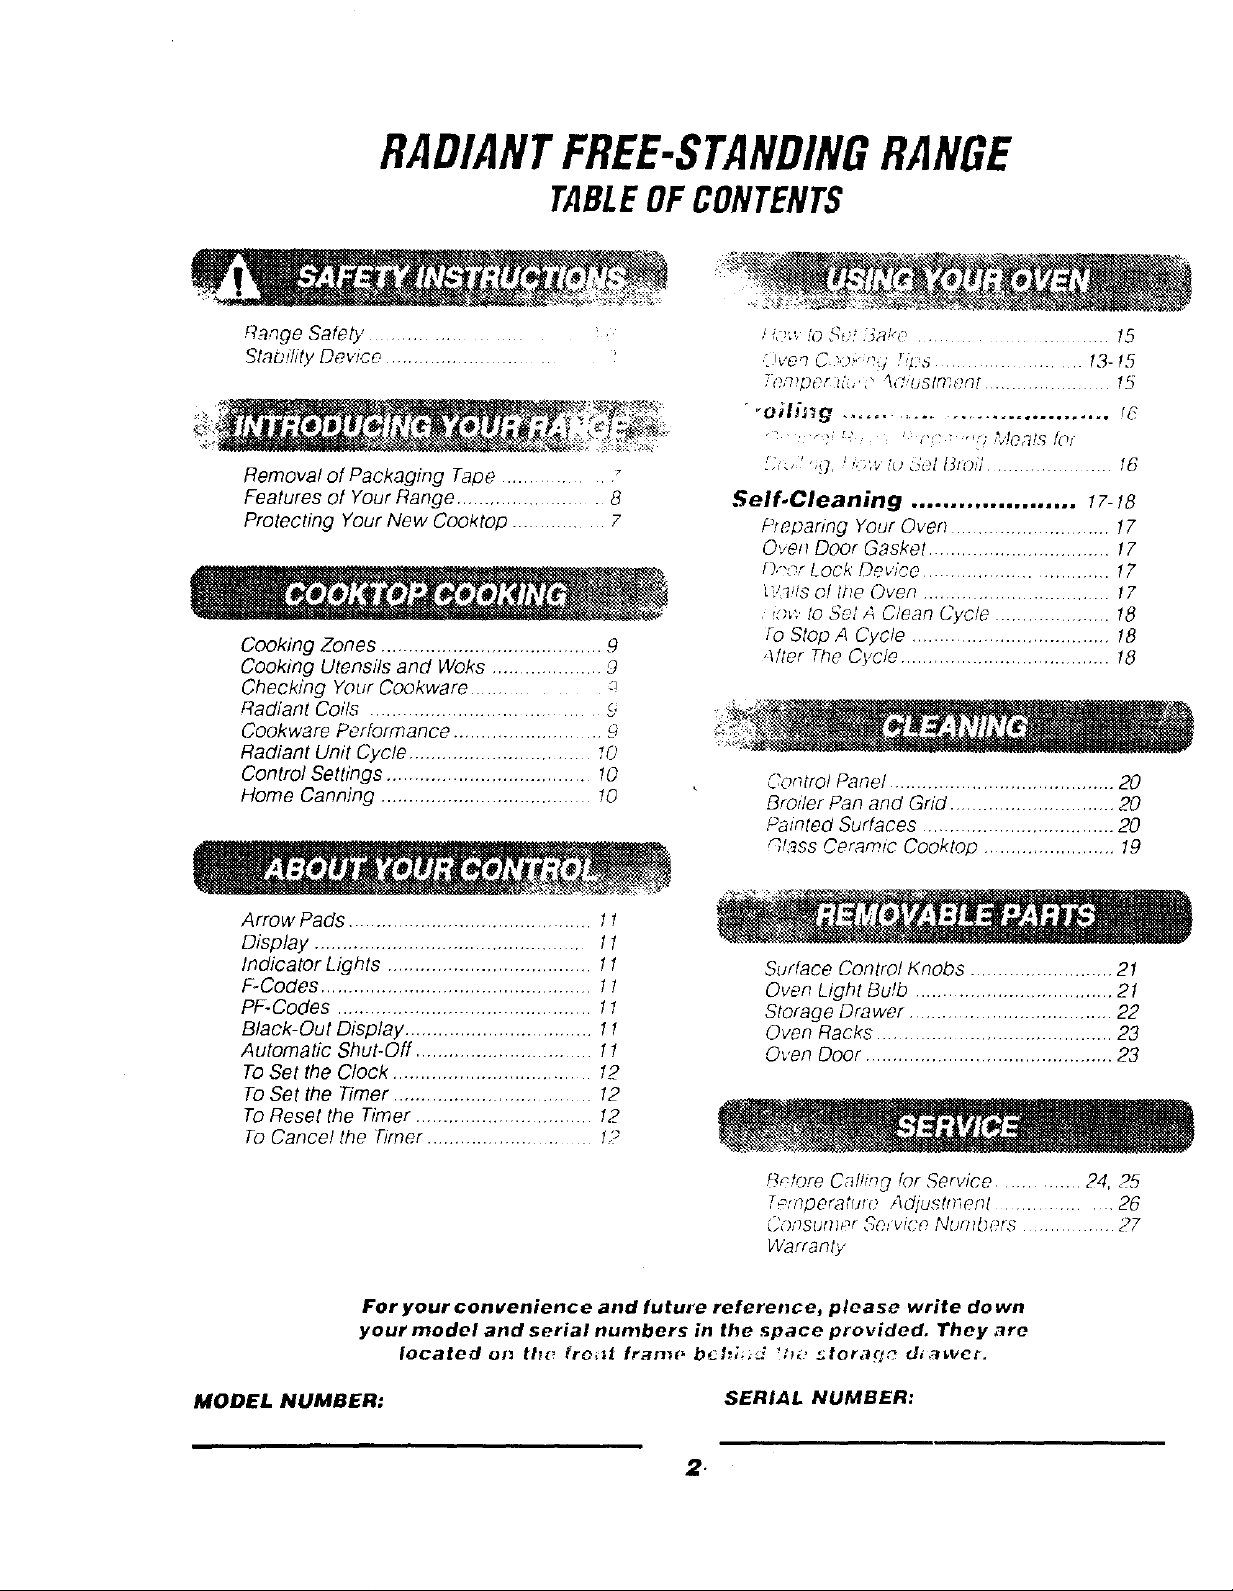
RADIANTFREE-STANDINGRANGE
TABLEOFCONTENTS
Range Safety .............. ,
_tabJlity Device .........................
, _ __ _,..._
Removal of Packaging Tape ........... "
Features of Your Range ....................... 8
Protecting Your New Cooktop ............ 7
Cooking Zones ........................................ 9
Cooking Utensils and Woks .................... 9
Checking Your Cookware ......... _-_
Radiant Coils ................................... b
Cookware Performance ......................... 9
Radiant Unit Cycle ............................... !0
Control Settings .................................... 10
Home Canning ................................... 10
,'empeFi,', ;_ "_T bstmefl[ ................... 15
,: .... _b _.> _ z, ! : ,,[7 _,!oats lof
Self.Cleaning ..................... tz- t8
P_eparing Your Over} ........................... 17
Oven Door Gasket .............................. 17
r?,-7o_Lock De,foe ................................ !7
t',.'_llsel the Oven ................................ 17
m_; lo Set A Clean Cycle ..................... 18
io Stop A Cycle .................................... 18
4Rer The Cycle ..................................... 18
Control Panel ......................................... 20
Broiler Pan and Grid .............................. 20
Painted Surfaces ................................... 20
O/,_ssCeramic Cooktop ....................... 19
Arrow Pads ........................................... 11
Display ................................................ 11
Indicator Lights ..................................... 11
F-Codes ................................................. 11
PF-Codes .............................................. 11
Black-Out Display .................................. 11
Automatic Shut-Off ................................ ! 1
To Set the Clock ................................. 12
To Set the Timer .................................. 12
To Reset the Timer ............................. 12
To Cancel the firner ...................... 12
For your convenience and future reference, please write down
your model and serial numbers in the space provided. They ,_re
located o_ th_ _re,_ fr_m_ b_b;_J t • stor;_o d_,-_wer,
MODEL NUMBER:
Surface Cofttrol Knobs .......................... 21
Oven Light Bulb ................................... 21
Storage Drawer ..................................... 22
Oven Racks ......................................... 23
Oven Door ............................................. 23
_Iore C;tl!ing for Service ............ 24, ,2.5
Temperature Adjustment ............. 26
(_d)aslJnl_r Service NlJni_]ers ........... 27
Warranty
SERIAL NUMBER:
.

IMPORTANTINSTRUCTIONSFORYOURSAFETY
If there is no adjacent cabinet, determine
where the location of the range side (painted
outside panel) wil! be. Place the bracket
with its outside edge at this location and
against back wall. See illustration below.
1
Determine whether you will anchor the
• All Ranges Can Tip
• Injury To Persons Could
Result
• Install Anti-tip Device
Packed With Range
• See Installation Instructions
Tools you will need:
Phillips head screwdriver
1 3/8" open end or adjustable wrench
fo Remove the bracket from the prepack
located inside the oven.
bracket to the floor or wall. Make sure this
location is clear of electrical wiring or
plumbing.
1
Fasten the bracket securely with the screws
provided. Screws are self-drilling in wood,
plywood, particle and chip board, and
most meta! framing. If attaching to
masonry, you can buy suitable screws and
anchorsathardware stores. Useamasonry
drill to drill the required holes.
BRACKET
SCREW MUST ENTER X
WOOD OR METAL
WALL
PLATE
/
!. Decide whetherthe bracket will be installed
on the right or left side of range location.
3. If the bracket side of the range is adjacent
to a cabinet, place the bracket against
back wall and cabinet as shown below.
AOJACEN"
LOCATION OF RANGE SIDE
PANEL
OUTSIDE EDGE OF
0 BE
FLUSH WITH LEFT OR
RIGHT SIDE OF RANGE
N
WALL BEHIND
6. Using the wrench, back out the four leg
levelers at least two turns. See your
installation guide for more leveling
information before positioning range.
7. Sfide the range into place. Be sure rear leg
levelerfully engages the slot in the bracket. If
range cannot be moved back far enough
for rear leg leveler to enter bracket, move
bracket forward as required and attach to
floor in new location.
3 smportant safety instruction continued

IMPORTANTINSTRUCTIONSFORYOURSAFETYeontinue<,
To insure safety for yourself, family and home,
please read your Owner's Manual carefully
Keep it handy for reference Pay close
attention to Safety Sections.
.iF- SURE your ap'pD_u;d<_ ,
) ,u,l,t_lc, dl.,.,cJt_,,,l,/ ,_,t:!L,k , ,
The California Safe Drink;_,_ W-tte_
and Toxic Enforcement _:..
requires the governor of Cali_err_i_
to publish a list of substar, ce
known to the state to cause _irti:
defects or other reproductive hart_ _
and requires businesses to war;;
their customers of potentia_
exposure to such substances.
The fiberglass insulation i;-
self.cleaning oven will give off
very small amount of carbo_:
monoxide during the cleanf,_
cycle. Exposure can be minimiz_ _
by venting with an open door c
window or using a ventilation f_,
or hood.
i
WARNING!
_ Toprevent accidental tippingof the
range from abnormal usage,
including excessive loading of the
oven door, attach it to the wall or
floorbymstalling theAnti-Tipdevice
supplied, ff the range is moved for cleaning,
servicing or any reason, he sure the Anti-T;p
device is re-engaged properly when the rang_
is slid hack in the opening. Failure to do so
could result in the range tipping or personal
injury. Toinspect the anti-tip device, remove
the storage drawer and look to see if the rear
leg leveler fully engages theslot inthebracket.
DO NOT touch heating elements, surfaces
near them or Interior oven surfaces These
m_v be hot enough to burn even though the}
._ d_rk in color Durin B and after use, do nr_i
• ,_l_ "_r i, "+ C!._+i!,_ - <_,, f/_?ln?_Tb! _ _),rTt,,_, ,
_ i_i ' _f?_:? 1,- ; <_f?,/f,;iTe?,jt)t r
,,+ ;}1; s :,, i(_ t( C_)c L',_;} i ?utfacosn,,?[. -
<,7 ._jUrtT.-7
_0 NOT i_a_ Ch_/_'f*(_'_unattended nea/ .
f _:ACH CHILDREN _--i_"Jl,_>,_,i_
• f,d,'_tto play wUh controls or _lllr..__
.:. ;., part of the appDance
,..: t<_s,:, ,.lit'n,) or static' on
;he door or any ot.4er pa// of
tire appliance
+.2..._U TION: Ne vet s tore items
" _nterest to children on the
_uard or in CablrT_',
tb,e appliance Children
.. n,bmg or;, the a_pliance
ouid be seriously injured
_ EEP THIS book for later use.
¢41
NEVER TRY to repair or replace any part of
the _ppllance unless instructions are given in
this manual. All other work should be done by
a qualified technician.
NEVER USE your appliance
:._r _'i_:rmll_g or heating the room.
ALWAYS KEEP comb(ssd_le
:';a)/ coverings, curtains, dish
:_oths, towels, potho/ders and
either ;i,_ens a safe dista_ce from
the _,pp//ance
NEVER HEAT unopez_ed food containers.
Pm_'.,.re L_usl<_upc,_n c_use the container to
burst <'_nd cause in!try
4 importa_t safety instruction contlrlued
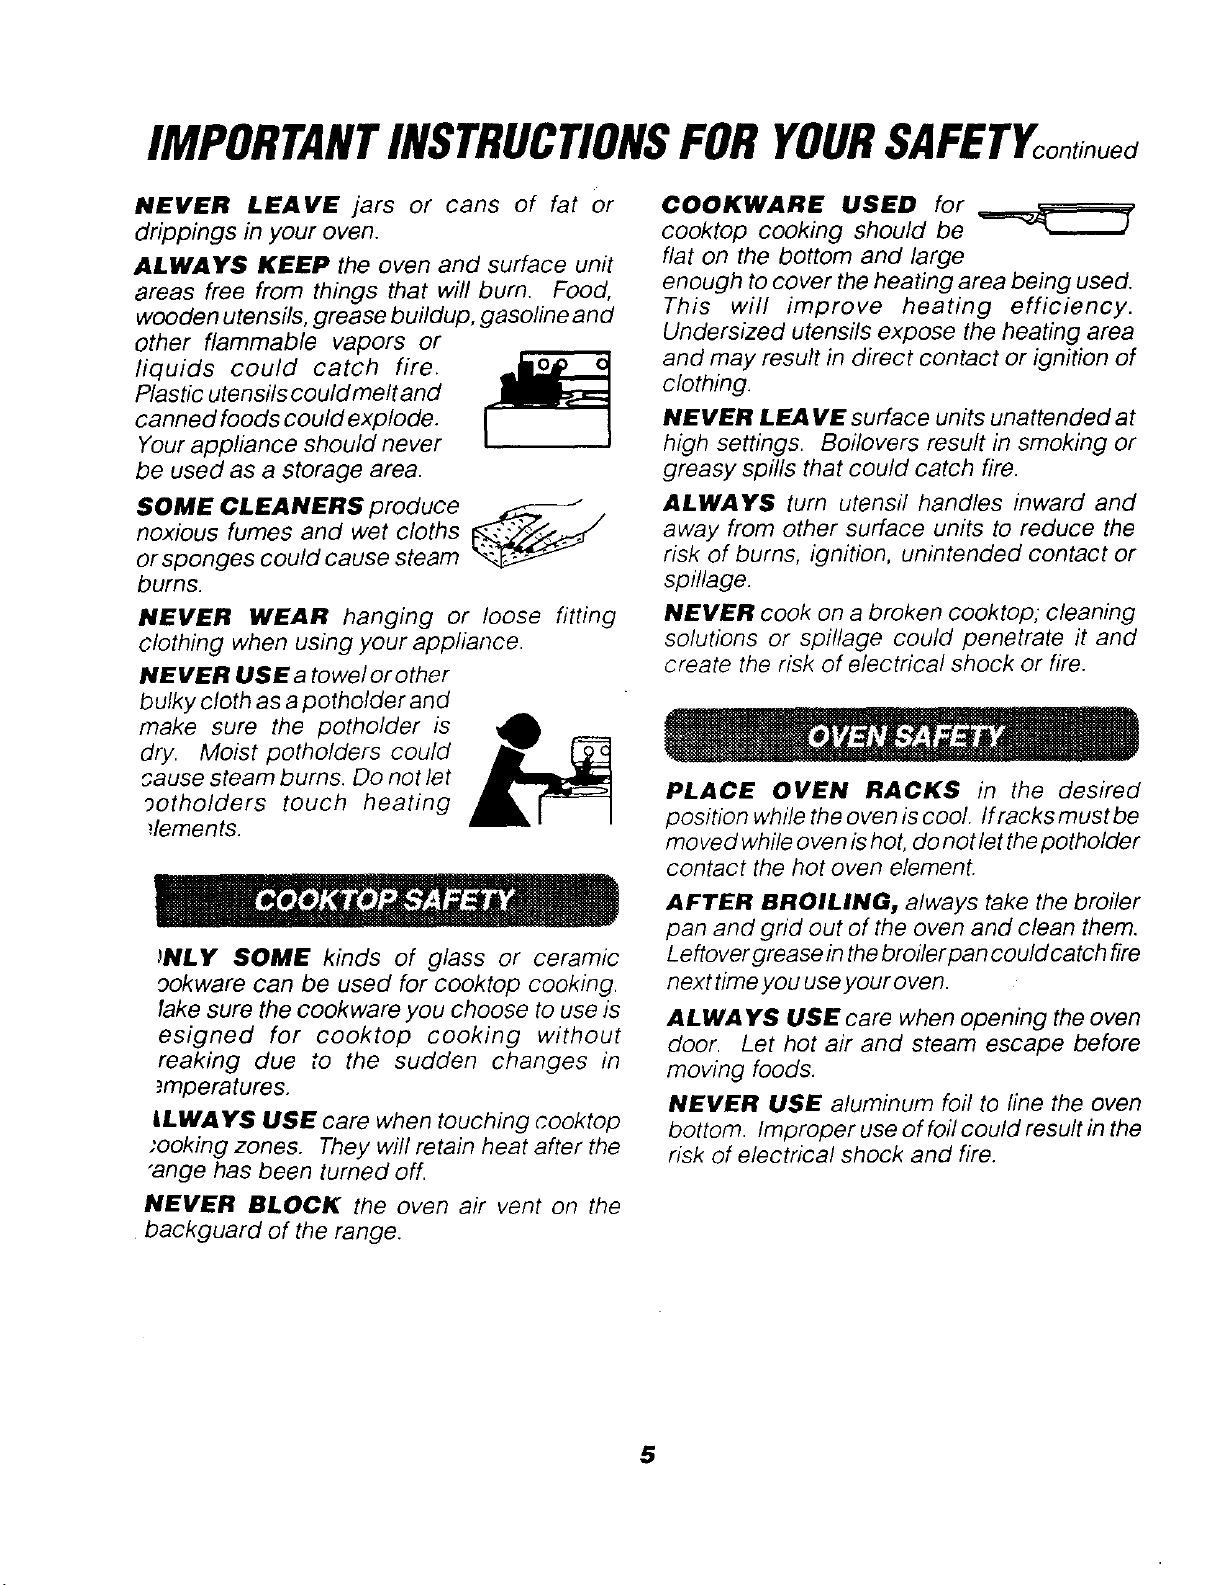
IMPORTANTINSTRUCTIONSFORYOURSAFETYcontinued
NEVER LEAVE jars or cans of fat or
drippings in your oven.
ALWAYS KEEP the oven and surface unit
areas free from things that will bum. Food,
wooden utensils, grease buildup, gasoline and
other flammable vapors or
liquids could catch fire.
Plastic utensils could melt and
canned foods could explode.
Your appliance should never
be used as a storage area.
SOME CLEANERS produce _ ,
noxious fumes and wet cloths
or sponges could cause steam
burns.
NEVER WEAR hanging or loose fitting
clothing when using your appliance.
NEVER USE a towel or other
bulky cloth as a potholder and
make sure the potholder is
dry. Moist potholders could
cause steam bums. Do not let
3otholders touch heating
_lements.
COOKWARE USED for
cooktop cooking should be
flat on the bottom and large
enough to cover the heating area being used.
This will improve heating efficiency.
Undersized utensils expose the heating area
and may result in direct contact or ignition of
clothing.
NEVER LEA VE surface units unattended at
high settings. Boilovers result in smoking or
greasy spills that could catch fire.
ALWAYS turn utensil handles inward and
away from other surface units to reduce the
risk of burns, ignition, unintended contact or
spillage.
NEVER cook on a broken cooktop; cleaning
solutions or spillage could penetrate it and
create the risk of electrical shock or fire.
PLACE OVEN RACKS in the desired
position while the oven is cool. Ifracks must be
moved while oven is hot, do not let the potholder
contact the hot oven elemenL
WLY SOME kinds of glass or ceramic
9okware can be used for cooktop cooking.
lake sure the cookware you choose to use is
esigned for cooktop cooking without
reaking due to the sudden changes in
",mperatures.
ILWA YS USE care when touching cooktop
-ooking zones. They will retain heat after the
"ange has been turned off.
NEVER BLOCK the oven air vent on the
backguard of the range.
AFTER BROILING, always take the broiler
pan and grid out of the oven and clean them.
Leftover grease in the broiler pan could catch fire
next time you use your oven.
ALWAYS USE care when opening the oven
door. Let hot air and steam escape before
moving foods.
NEVER USE aluminum foil to line the oven
bottom. Improper use of foil could result in the
risk of electrical shock and fire.
5

IMPORTANTINSTRUCTIONSFORYOURSAFETYeontin,ed
l
UNDERSTANDTHIS
CLEAN ONLY the parts listed in tb,is manu,_ '
Jlow all cleaning instructions. Be sure r:.
_move the broilerpan and grid befo,"_ _t_r_J___;
e self-clean cycle.
,F THE SELF.CLEANING mode
nalfunctions, turn off the controls or d;sconnect
the power supply. Have serviced by a qualified
technician.
INFORMATIONNOW!
_;._ouldyouever need it, you will nothave time
for reading. Be sure everyone in your home
i_!ows what to do in case of fire. Never use
water ona grease fire; it will only spread the
flames.
READAND
NEVER RUB, move or damage the door
gasket on self-cleaning ranges.
NEVER TRY to clean utensils, cookware,
removable parts or broiler pan and grid in the
self-clean cycle.
DO NOT USE oven cleaners- No commerc sal
oven cleaner or protective coating of any kind
should be used in or around any part of the ove __
COOKTOP GREASE FIRE:
Never pick up a flaming pan...
1. Turn off the surface elements.
2. Smother the flame with
a tightly fitting lid,
baking soda or use a
dry chemical, foam or
halon type extinguisher.
OVEN FIRE:
Do not try to move the pan!
1. Close the oven door and turn
controls off.
2. If fire continues, throw baking
soda on the fire, or use a dry
chemical, foam, or halon type extinguisher.
6

PROTECTINGYOURNEWCOOKTOP
• Donotslidecookwareacrossyourcooktop.
• Do not use a dish towel orsponge to clean
or wipe down your cooktop.
• Do not use scouring powders or plastic,
nylon or metal cleaning pads on your
cooktop.
• Do not apply your cooktop cleaning creme
to the cooktop surface if the surface is hot.
• Read the instruction label on the cooktop
cleaning creme bottle before attempting to
clean the surface of your cooktop.
• Aftercleaning the cooktop surface, be sure
to wipe off any residue that may be left from
the creme with a dry paper towel.
• For major spills, turn the surface control
knob to OFF; use a dry paper towel to wipe
up spill, then use a razor scraper (held with
a potholder) at a 30" angle against the
surface of the cooktop to scrape remaining
spill from the hot cooking zone.
,, Do not cook directly on the surface of the
glass.
, Do not use the cooktop as a cutting board.
To remove the adhesive left from packaging
tape, use household dishwashing liquid,
mineral oil or cooking oil. With a soft cloth rub
into the area and allow to soak. Rinse and dry
well. Repeat procedure using an appliance
polish to insure no damage is done to the
oven. This should be done before the
range is turned on for the first time.
The tape cannot be removed once the
oven has heated.
Packaging tape can be found in the
following areas:
Cooktop surface
Door handle
Control panel area
Door trim
Oven area
r
_ AUTION:
surface has cooled to approximately 150°F.
The glass ceramic surface will retain heat
afterthe indicator light goes out. Usecaution
until the cooktap surface has had time to
When the surface controls are
turnedoff, the HotSurfacelndicator
light willremain lit until thecooktop
cool.
7
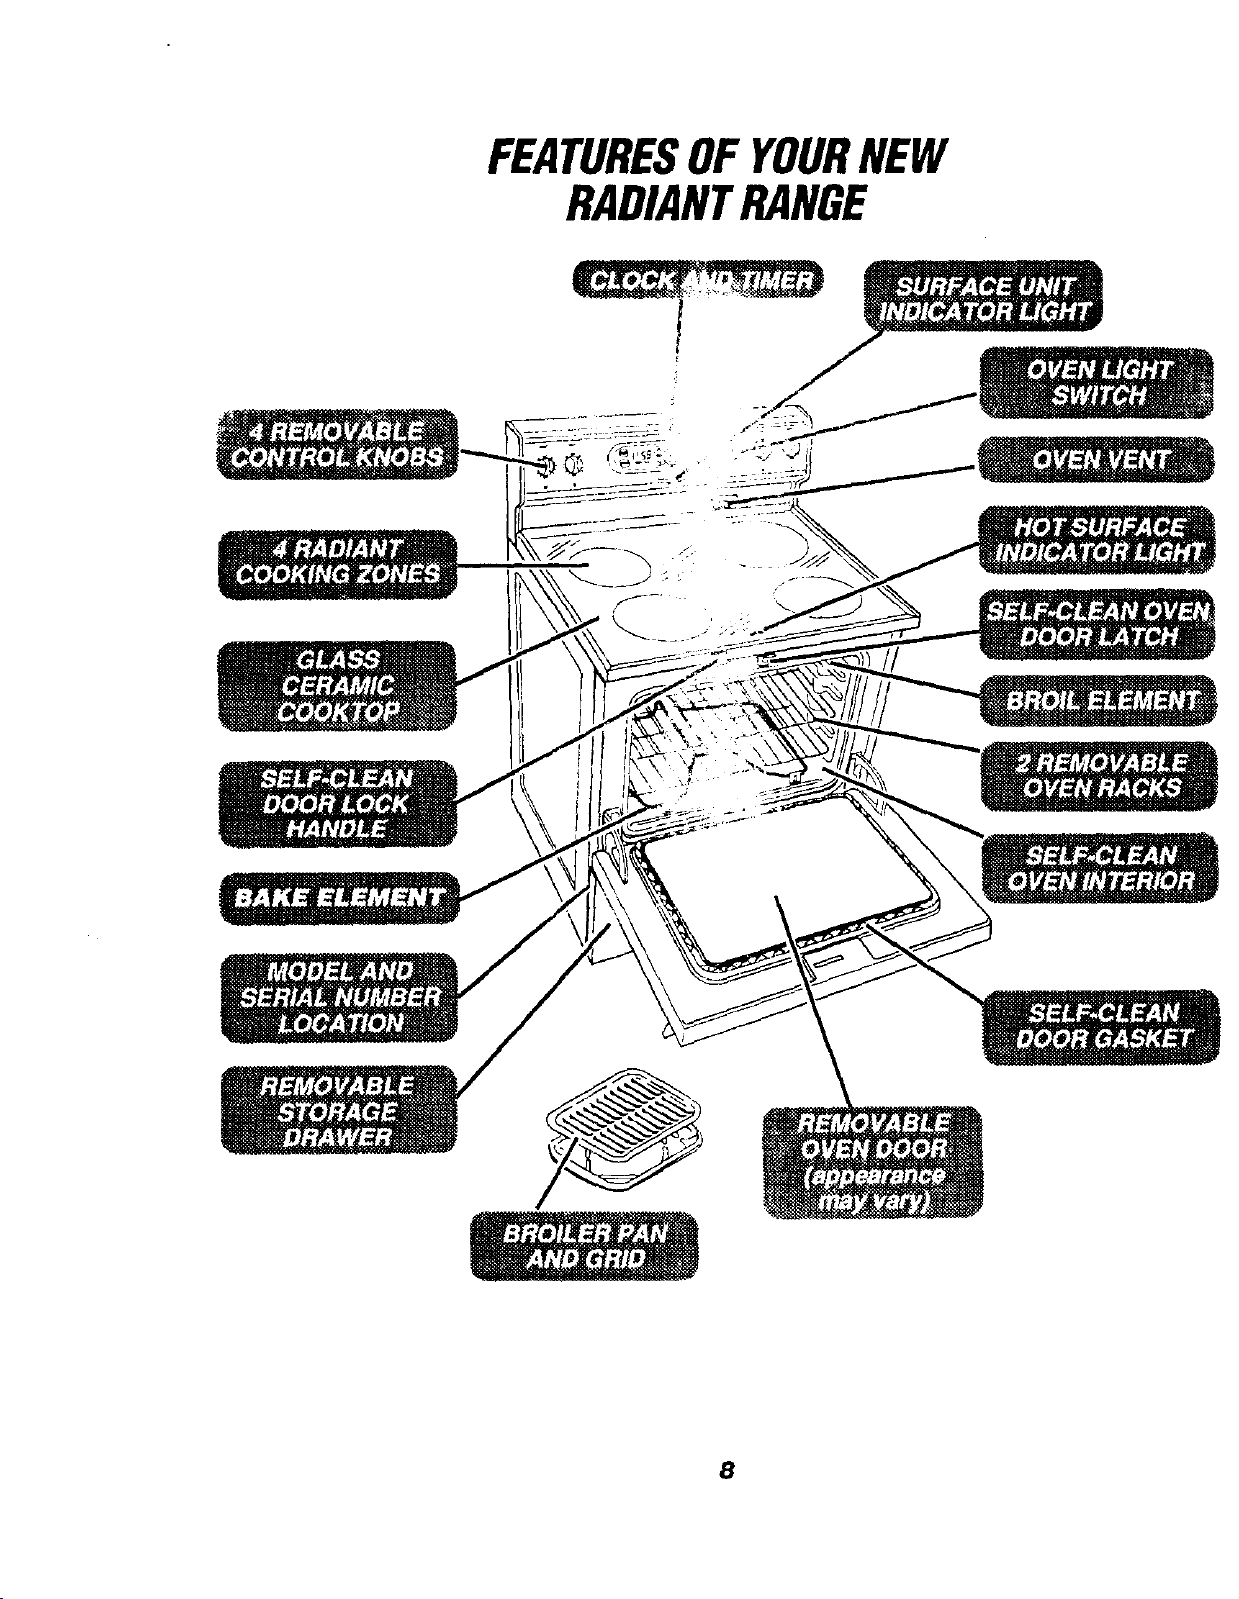
FEATURESOFYOURNEW
RADIANTRANGE
8
RADIANTCOOKTOPCOOKING
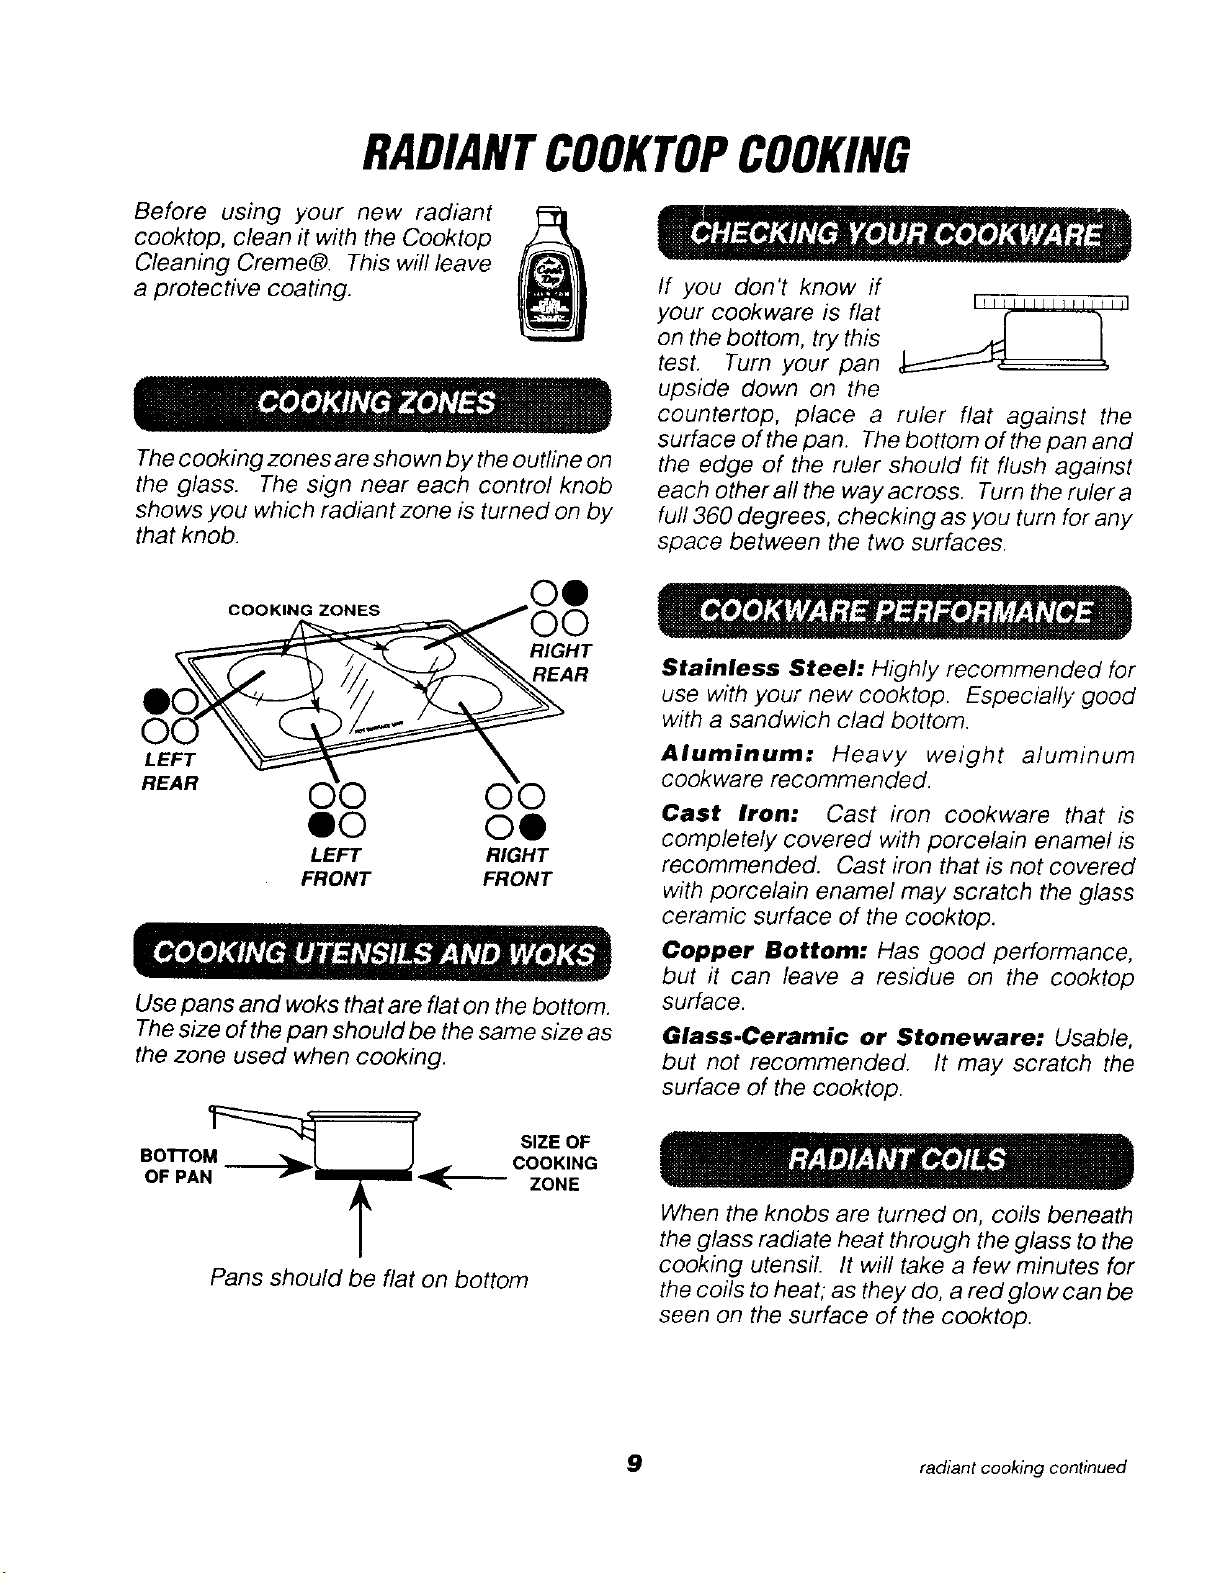
Before using your new radiant
cooktop, clean it with the Cooktop
Cleaning Creme®. This will leave
a protective coating.
The cooking zones are shown by the outline on
the glass. The sign near each control knob
shows you which radiant zone is turned on by
that knob.
COOKING ZONES
RIGHT
REAR
If you don't know if
your cookware is flat (
on the bottom, try this . .,_J
test. Turn your pan
upside down on the
countertop, place a ruler flat against the
surface of the pan. The bottom of the pan and
the edge of the ruler should fit flush against
each other all the way across. Turn the ruler a
full 360 degrees, checking as you turn for any
space between the two surfaces.
Stainless Steel: Highly recommended for
use with your new cooktop. Especially good
with a sandwich clad bottom.
LEFT
REAR
O0 o0
LEFT RIGHT
FRONT FRONT
Use pans and woks that are flat on the bottom.
The size of the pan should be the same size as
the zone used when cooking.
B0"r'I'OM_ i
OF PAN '_m"_
SIZE OF
COOKING
ZONE
/
Pans should be flat on bottom
Aluminum: Heavy weight aluminum
cookware recommended.
Cast Iron: Cast iron cookware that is
completely covered with porcelain enamel is
recommended. Cast iron that is not covered
with porcelain enamel may scratch the glass
ceramic surface of the cooktop.
Copper Bottom: Has good performance,
but it can leave a residue on the cooktop
surface.
Glass.Ceramic or Stoneware: Usable,
but not recommended. It may scratch the
surface of the cooktop.
When the knobs are turned on, coils beneath
the glass radiate heat through the glass to the
cooking utensil. It will take a few minutes for
the coils to heat; as they do, a red glow can be
seen on the surface of the cooktop.
9 radiant cooking continued
 Loading...